
Photo by Bill Bumgarner (some rights reserved)
Taking pictures of LEDs can be difficult. Digital camera sensors just don’t respond the same way that human eyes do, so it is nearly impossible to take a picture that reflects what you are seeing. But manipulating a few settings like white balance and shutter speed can improve things immensely, as can simple physical things like using a tripod.
In the lovely photo above, two LED displays are propped up on a reflective stone countertop. The vivid colors we want to see show up in the reflection, and the LEDs facing us head-on illustrate how washed-out they can look as the camera sensor gets saturated.
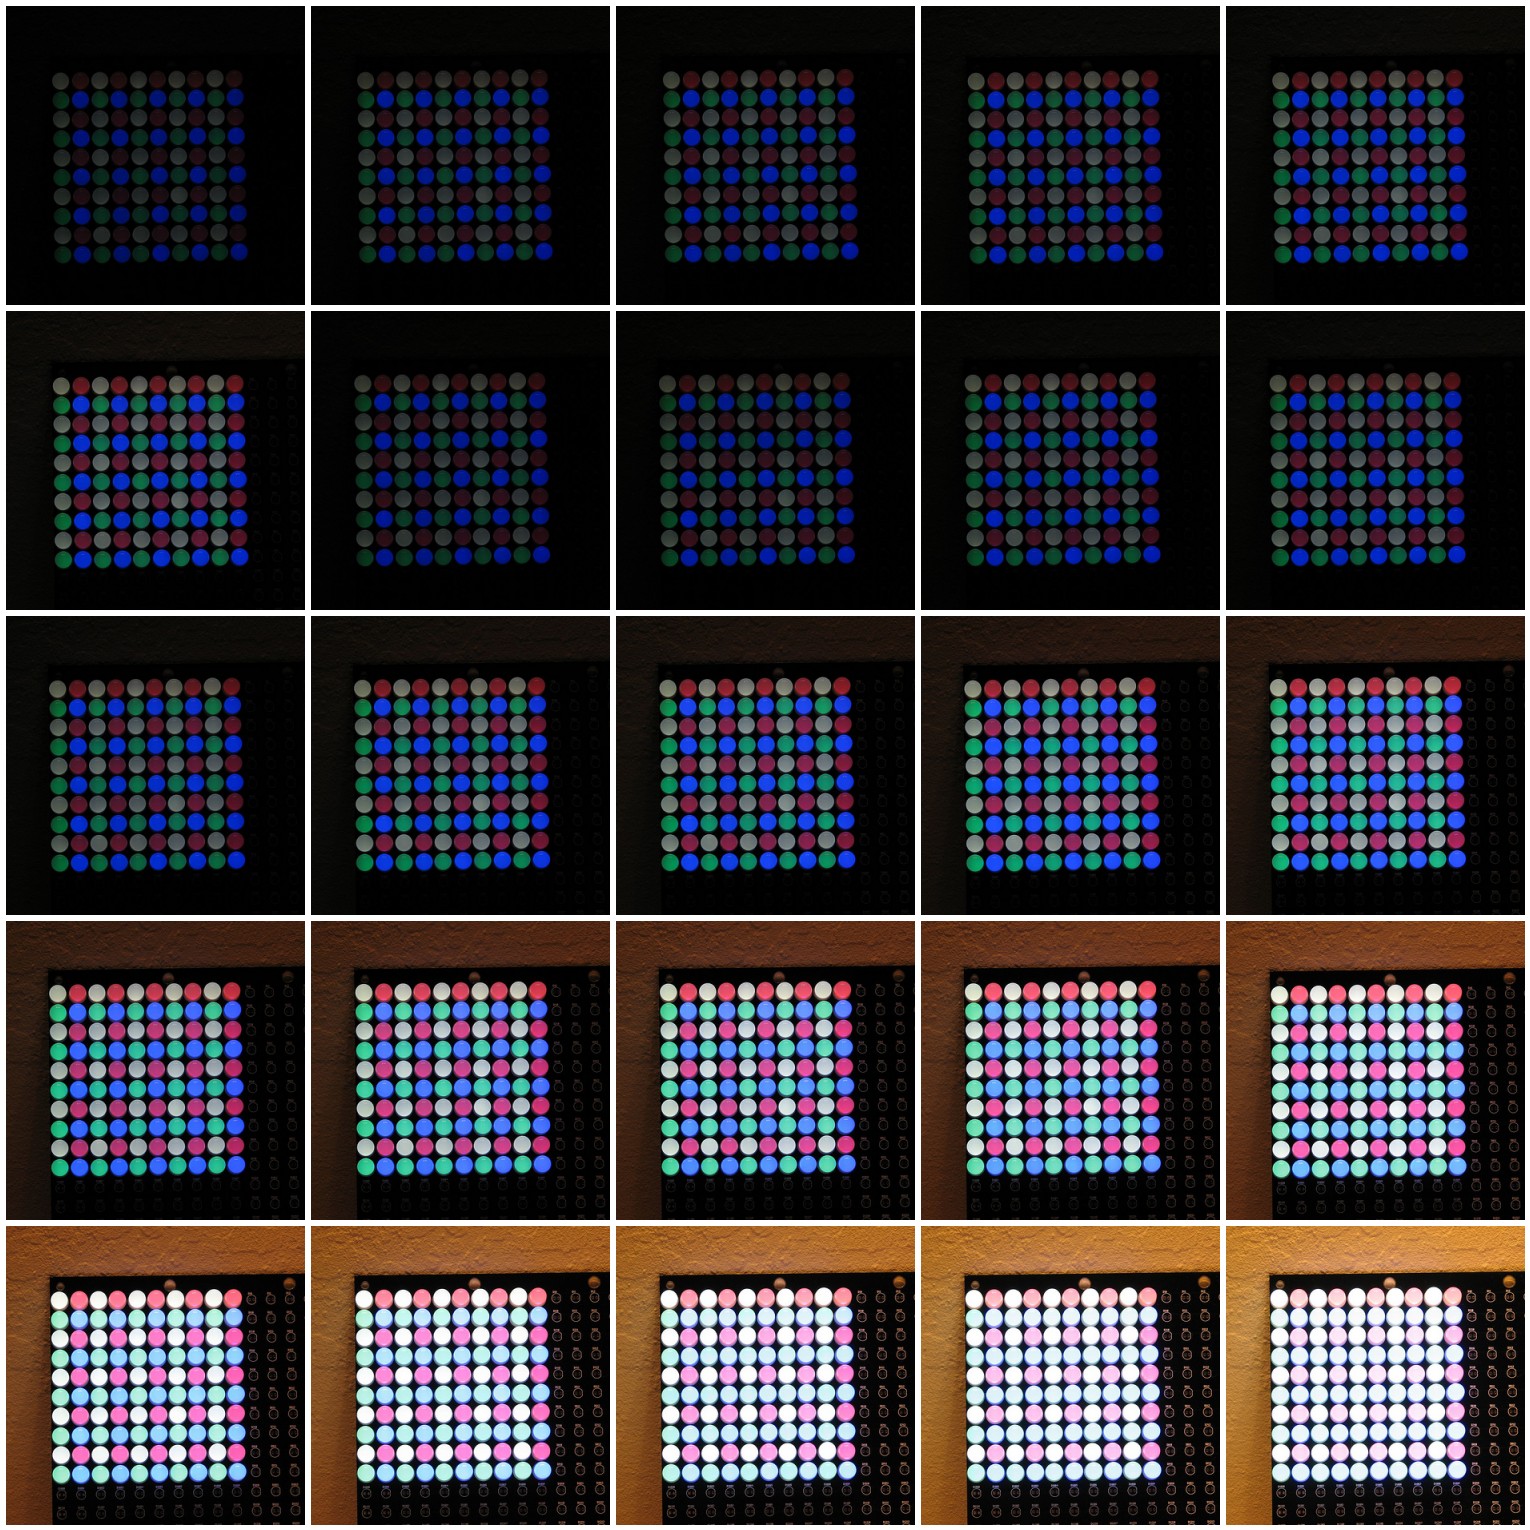
In the examples here, white, red, green and blue LEDs are installed on a Peggy 2 board. In dim room incandescent lighting, we gradually increased the shutter speed. Starting with low shutter speeds, the LED colors gradually become visible. As shutter speeds increase further, the camera sensor gets saturated and all of the LEDs appear white. Finding that sweet spot will vary depending on your camera, your LEDs, and the ambient lighting.
If you want to play around with your aperture and shutter speed, it will help immensely if you have a tripod. Longer shutter speeds are hard to do (even with image stabilization) without a tripod, and as you narrow your aperture, you’ll want to see how long you can extend your shutter speed. A tripod also lets you get multiple shots of the same subject with different settings so you can really compare your results.
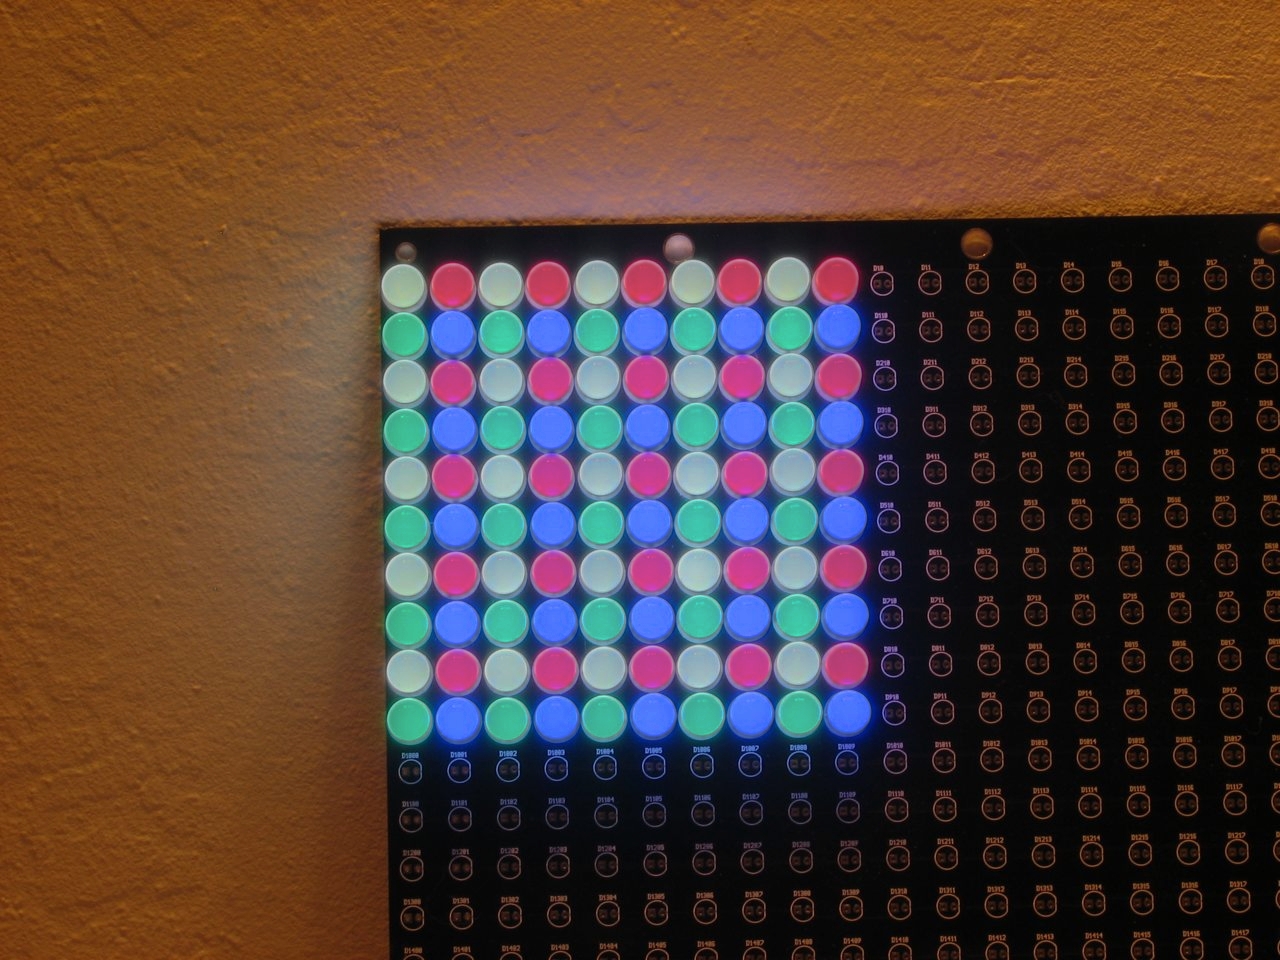
It can also allow you to get images for trying out HDR, as in the photo above.
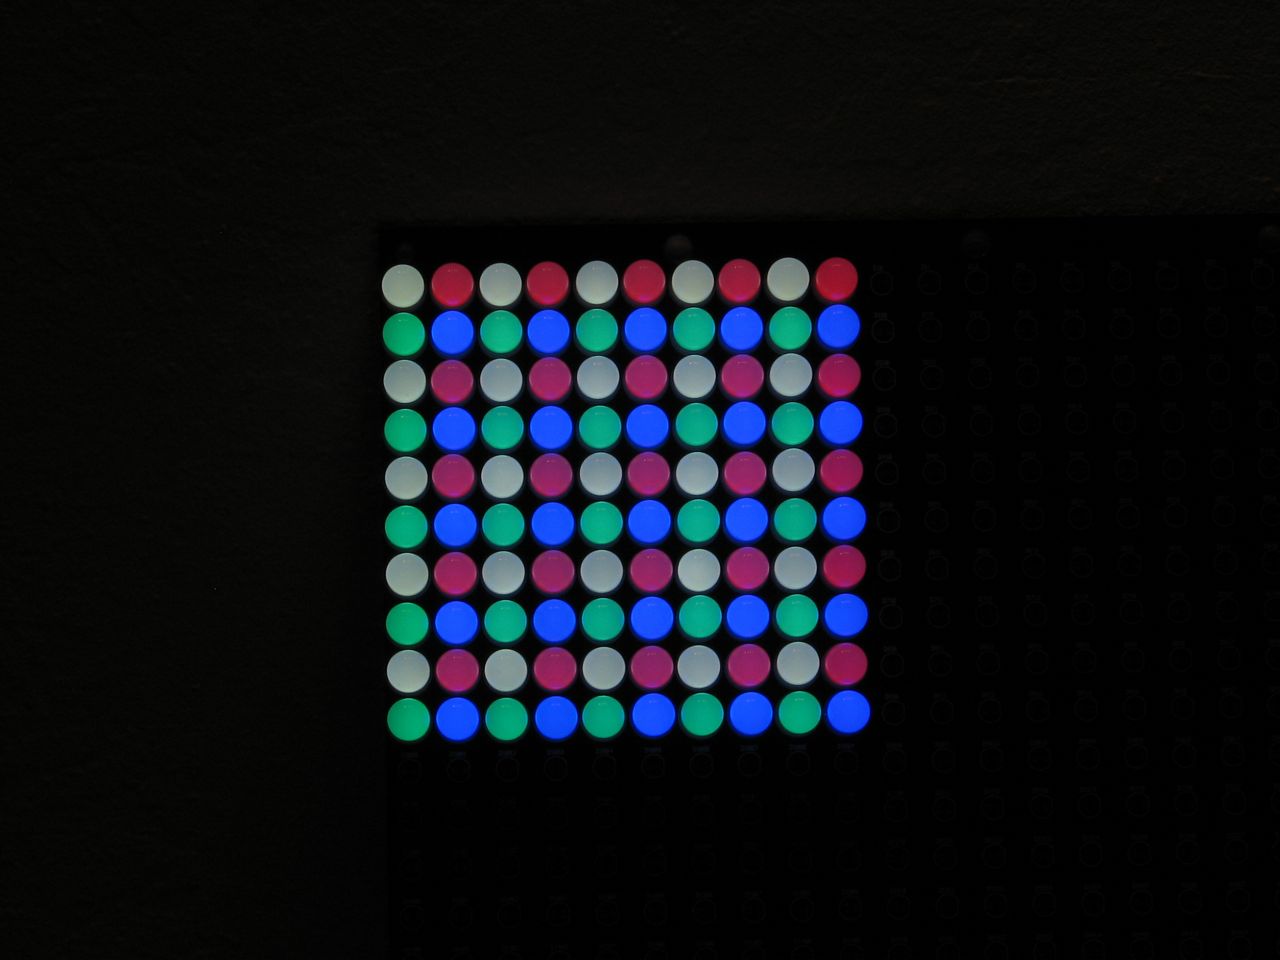
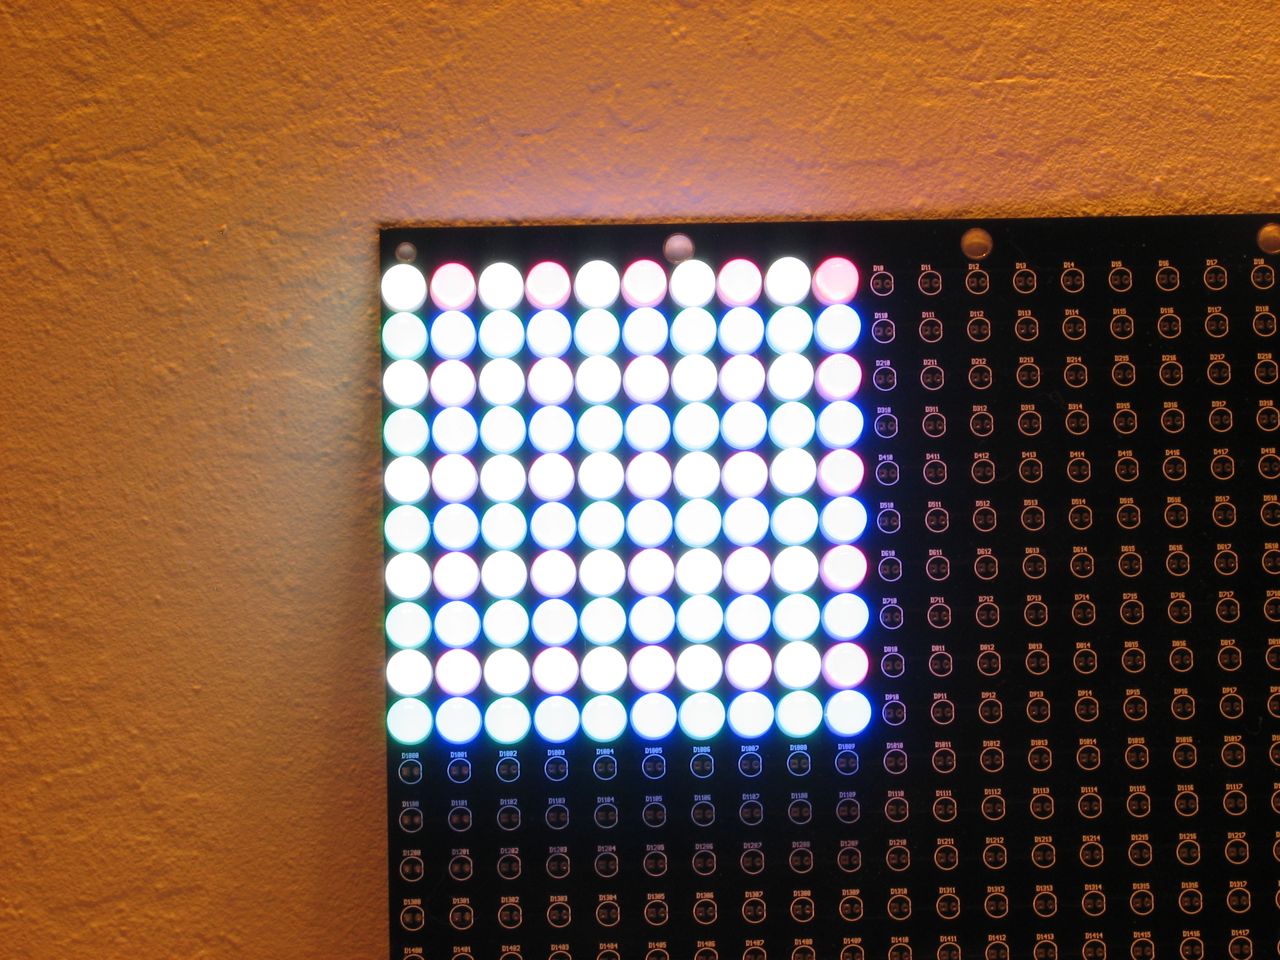
It was made by combining the photo on the left that is so dark you can’t see the circuit board, and one on the right that was so bright that the LEDs all appeared white. The combined image hints at the incredible brilliance of the LEDs while allowing their colors to remain visible.
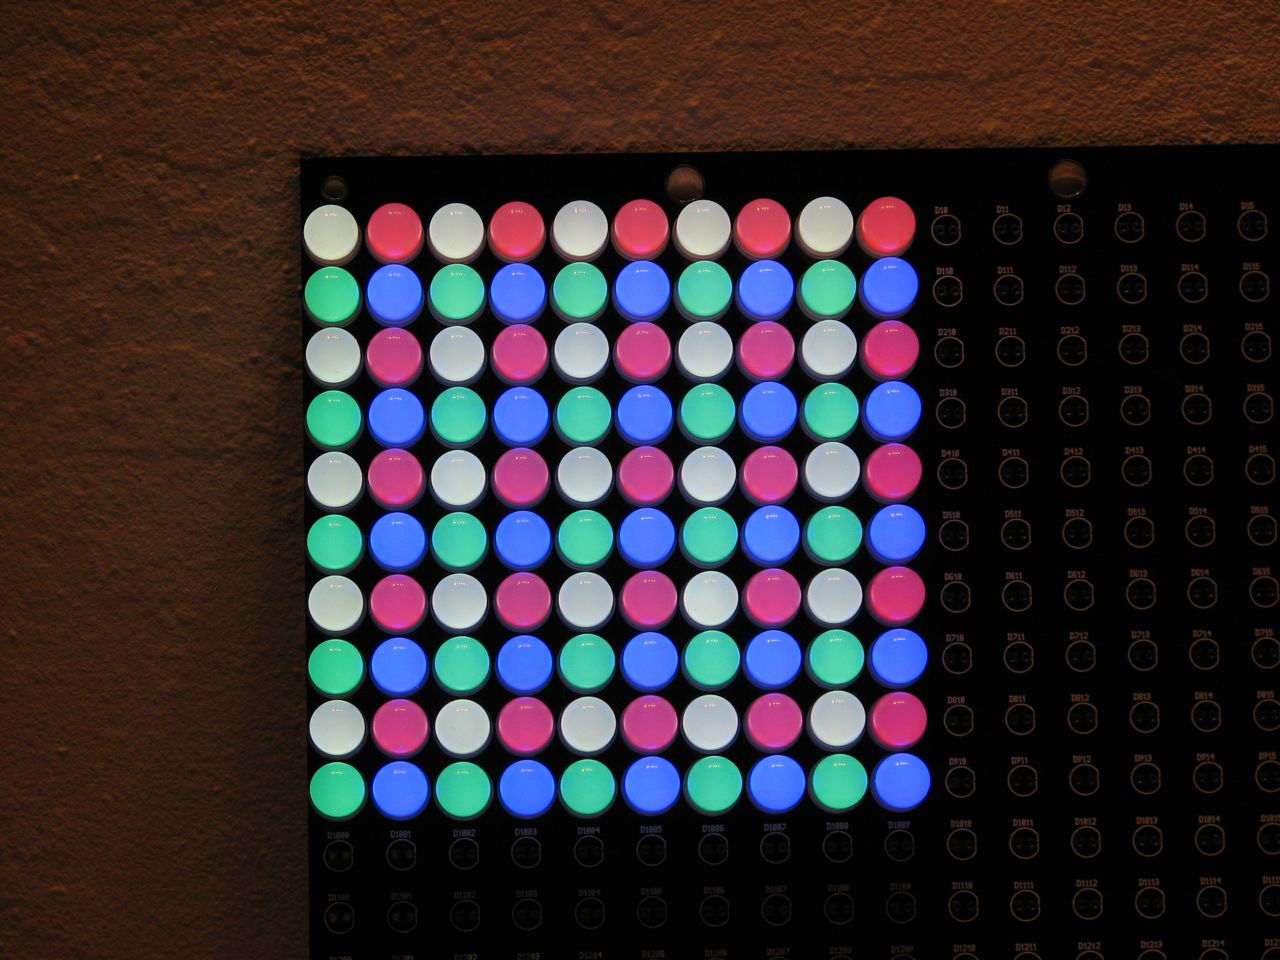
These 10mm diffused LEDs are some of our favorites. They’re fairly well matched in brightness across all of the colors we get and they have a wonderful tactile feel. When they’re installed next to each other like this, the light from one bleeds over to the neighboring LEDs. The color bleeding is most obvious with the red ones, which show a bit of a pinker hue when they are next to the blue ones. The red ones in the top row above look distinctly different from the ones bordered by two blues each. This is not necessarily a bad thing– if you want to make a giant RGB display out of these LEDs, the pixels will bleed together beautifully.
While some color oddities can occur from proximity, your camera can introduce even more severe color changes. An extremely important setting to keep in mind is white balance. Most digital cameras can automatically adjust to the lighting around them or can be set to a particular kind of lighting. LEDs do not appreciate this feature. If you want to make your LEDs look good, turn your camera’s automatic white balance off or switch it to daylight mode.
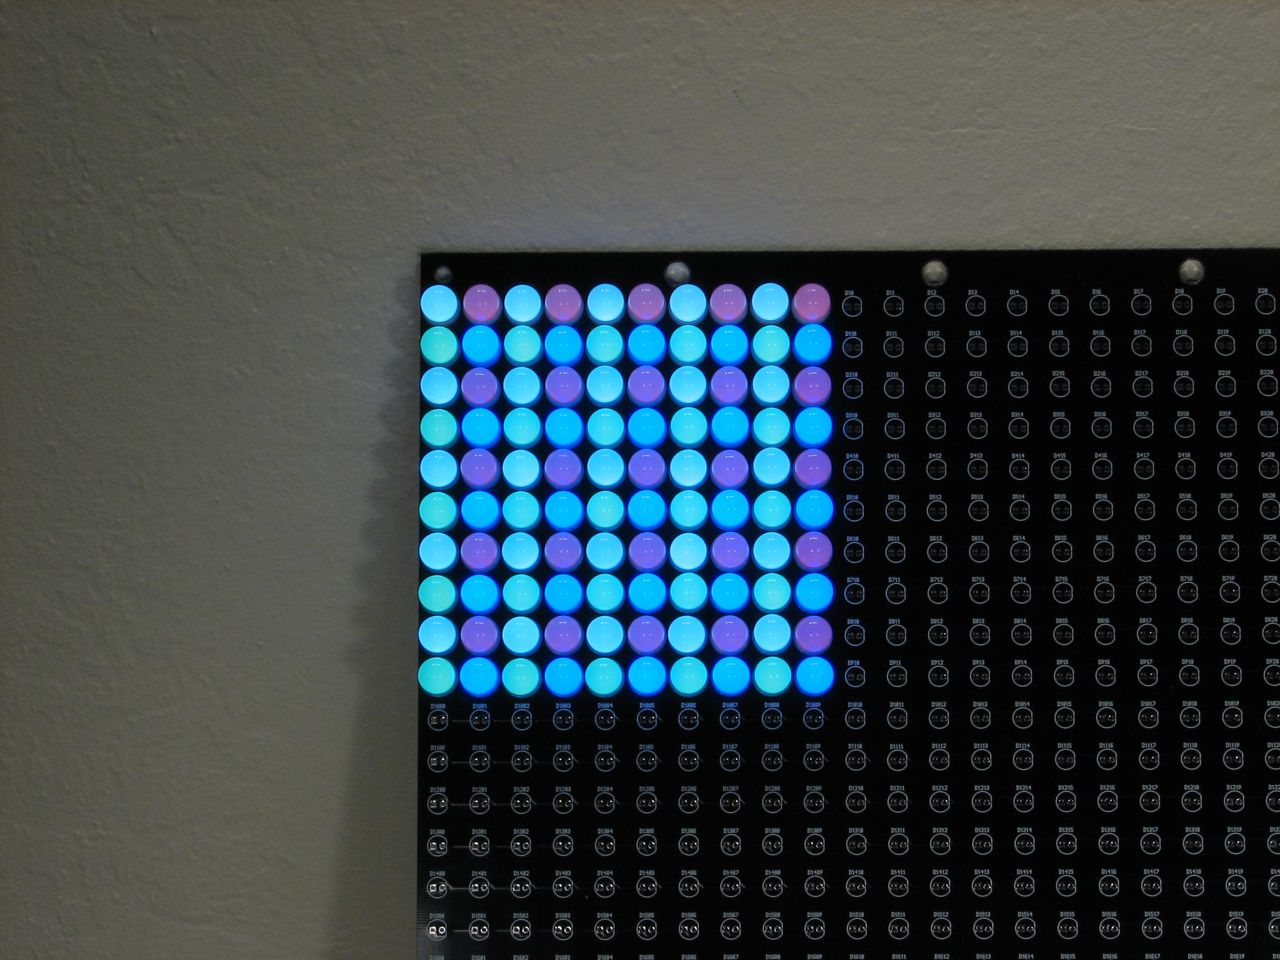
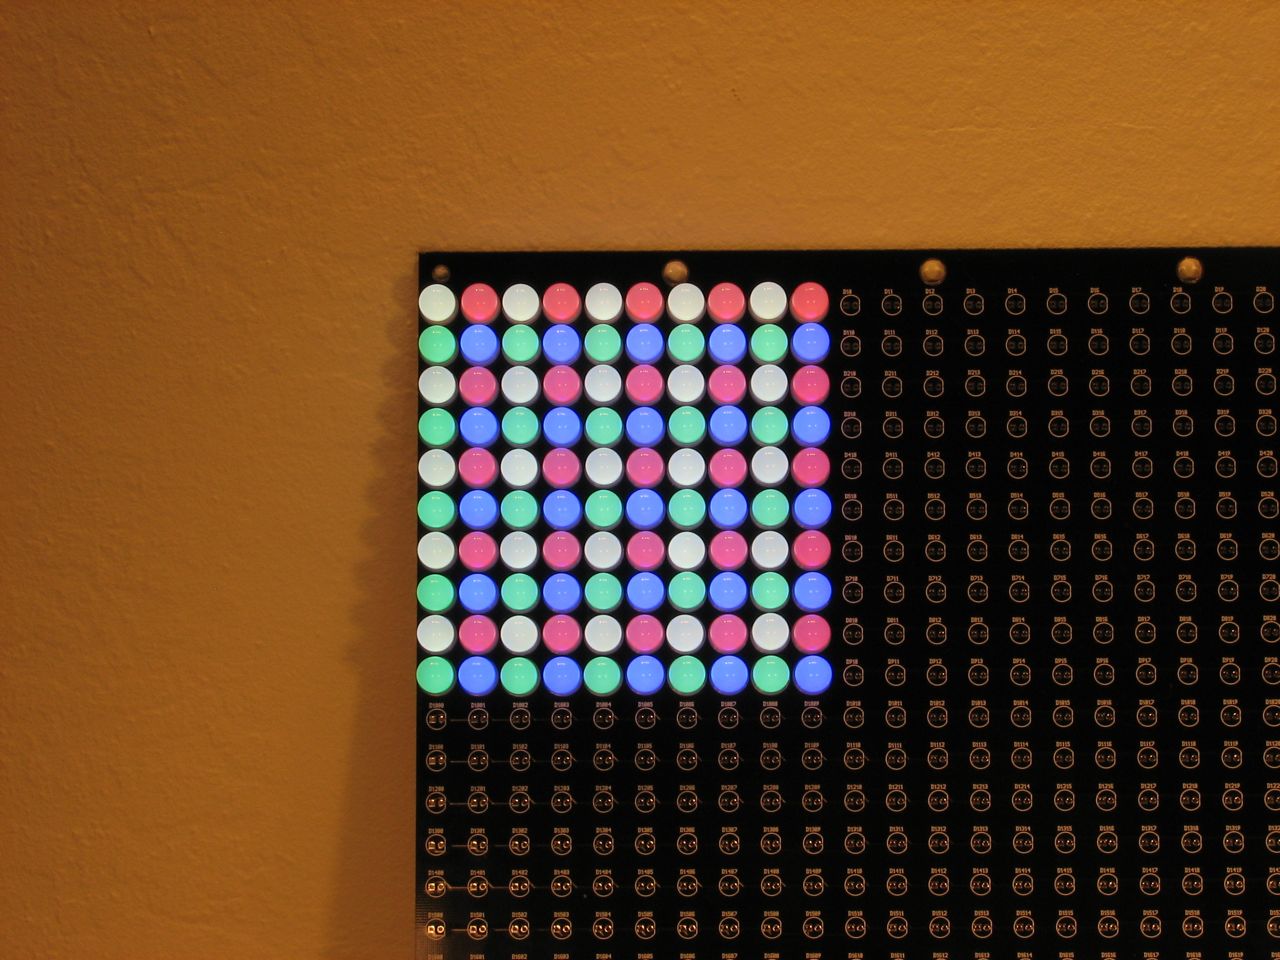
In the first photo above, the white balance is set to tungsten to accommodate the incandescent lighting in the room. The second is set to daylight. The color of wall behind the first looks closer to how we perceive it (a neutral off-white) but the LEDs look like they are way off on the green end of the spectrum. The wall behind the second looks very yellow from the incandescent light, but the LED colors are true. The wall is actually reflecting the yellowish light from light bulbs, which is what the camera sees, but our brains adapt extremely well to the lighting we’re in and we perceive the wall as white.
Both of these photos were taken in a room lit with fairly bright incandescent lighting, reducing the need to resort to complicated tricks like HDR. Indirect daylight for your LED photos would be even better to prevent the spectrum skew of artificial lighting, but more light is generally better than less even if all you can get is a light bulb. And if you’re at all like us, your LED project photography does not often coincide with readily available daylight!


I enjoyed this article. I wasn’t sure what HDR stands for so Googled it and found High Dynamic Range imaging. I’ve read about this before but haven’t tried it. Thanks for the article.
@SomeoneKnows
My camera can do built-in HDR processing… I’ll have to give this a try with my most recent LED project. I am having a heck of a time photographing it accurately. It looks fantastic in real life but only so-so in photos.
Thanks so much!
One way to tackle the the problem of the surroundings getting too dark or having that murky tungsten-yellow, would be to use a flash. Ideally you´d want to be able to point the flash head towards a white wall or ceiling. White, because anything the light bounces via is going to reflect on your subject. In case of a green wall, the light from the flash will turn green. And wall or ceiling, because it will make the light source seem bigger to your subject, and thus creating a softer light in the picture. So a camera with a hot-shoe and an accessory flash would be a requirement. Though there also exists optical slaves which will trigger an off camera flash when the camera´s own flash goes off. Whichever equipment you use, the basic controls for the exposure are essentially the same. You control the brightness of the leds with the shutter speed, and the brightness of the surroundings, lit by the flash, with your aperture or f-stop. Might sound complicated, but for me this works way better and faster than fiddling around with HDRs. If you want to read up on that flash stuff, google for "strobist".
Maybe you could add the aperture, ISO, and exposure settings for each of the pictures you took of the 10×10 matrix of LEDs. That would provide at least a starting point for an LED photographer. With a little digging on Flickr I can find it, http://www.flickr.com/photos/lenore-m/3384428900/meta/in/photostream for example, but without that information compiled here the upshot of the article is "try lots of settings until it looks good."
re. posting the ISO, aperture, etc – that information is meaningless, you can’t just use someone else’s settings in a different situation and expect good results.
The post above that mentioned reading strobist (http://www.strobist.com) and using a flash is on the money, that’s exactly how I’d do it too. (And have done in the past with good results)
You might want to clarify for some people that increasing shutter speed generally refers to making the shutter open and close faster (shorter, i.e. 1/50 to 1/200 is an increase in shutter speed), not the other way around as noted in your post. The faster (shorter) the shutter speed, the less light you will capture. A 1/200 shutter speed is faster than a 1/50 shutter speed. Just thought it might help those who are new to manual settings on a camera.
That jumped out at me at the start
‘faster’ does not mean higher number :D
One really simple method is to use a very long exposure (>1 sec), set the aperture so that everything but the LEDs is correctly exposed, and just turn the LEDs off part way into the exposure. This way the LEDs emit less average light and the exposure looks fine. You may have to do this several times since it’s hard to time the shutting off part.
This also works for neon and fluorescent lights…
I can get decent results photographing LEDs in low-light situations (took a while to figure out, but after spending all of December photographing Christmas lights I figured it out).
Shooting them in really low light at an aperture in the range of 1.4-1.8 on a low ISO and as fast a shutter speed as you can manage can get good results. It’s not perfect, but after practice you can get some pretty nice looking results. I’ve never tried HDR with the type of photography I do, but I’ll have to see the outcome…
PS – Love the site!
That refresh rate is something you need to keep in mind when photographing any electronic display, including LED’s. I try to keep my shutter speed around 1/30 whenever possible; if I have a tripod on hand, I’ll go even slower.
Example: Just watch CNBC video when they pan across an LED ticker.
I have been photographing LEDs for over 6 years now, and I have to tell you I couldn’t agree more with the statement "LED displays are difficult to photograph". I would however add to this my saying "not all full color LED Displays are created equal". After selling more than $8m in LED Display systems I have more than my fair share of project photos in my files. Obviously I need these photos for marketing and future sales opportunities, therefore they MUST look great both in person and also in a photo.
I have found over the years that there is one primary LED Display engineering specification that will make, or break, the visual quality of your LED display in a photograph or video recording; LED Refresh rate.
For those who do not know, LED refresh rate is the rate at which the data is updated on your full color LED Display. The simple point is, the faster the refresh rate, the better the image quality. The better the image quality, the easier the system is to photograph.
Interestingly enough, if you look at Times Square, where I live for example, you have every major player in the industry competing against each other. After taking hundreds of photos of all types of manufactures, I was surprised to learn that some of the big names (I am not here to bask any manufacturer so I will not name who) have refresh rates as low as 400Htz installed here in the Times Square! As a result of low refresh rates, the image quality from this LED Display is absolutely horrible- which is not good in this environment for obvious reasons.
I wanted to comment on this blog because I feel that image quality is of paramount importance to both the human eye as well as the camera lens. Choosing your partner in manufacturing LED Display systems is not just about the price at the time of acceptance or the image quality with the human eye. It’s more about the Total Cost of Ownership at, let’s say year 5 and more importantly- image quality at year 3, 4, and 5, when all flaws are fully exposed and poor quality is fleshed out completely.
LED Display Sales Guy
I have been manufacturing lighted house numbers for 5 years, and have had success photographing LEDs using an inexpensive, older (3 Mpixel) camera by using a tripod and various neutral-density and polarizing filters hand-held in front of the digital camera lense. As shown above, imaging LED reflections will improve results, you can restore the proper view later using software.
The results in the viewfinder after the shot is taken will tell you if you are in the right ballpark with shutter speed, some bracketing with about 3 shutter speeds can be useful. Although the serious photographer wants to get it right beginning with the raw image, standard software like MS Photo Editor can make a huge improvement when tweaking the image.
Some examples of non-flash, total darkness images are at http://www.ledress.com
Larry