We’re pleased to announce the availability of the Egg-Bot Electro-Kistka: An electric hot wax pen designed to be used with the EggBot. A kistka is the wax tool used in the traditional wax-resist and dye (batik) method to produce colorful eggs in the same fashion as Ukranian pysanky.
We would like to acknowledge that this is not by any means the first time that anyone has strapped a kistka to an EggBot— We wrote about Ann’s DIY version a few months ago, and we’ve seen other versions (both manually heated and electric) in YouTube videos dating back several years.
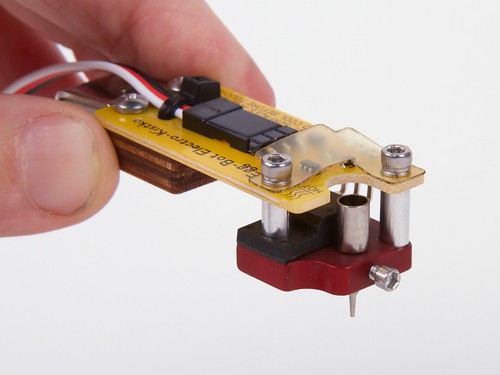
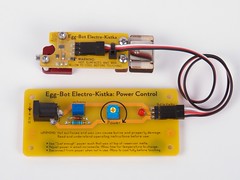
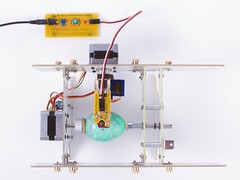
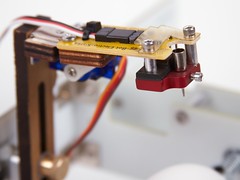
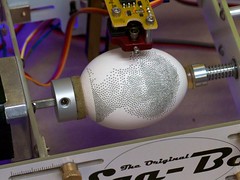
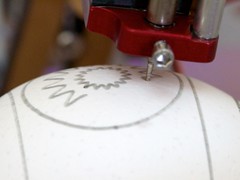
The Electro-Kistka consists of two main parts, connected by a cable: A heater assembly that gets mounted to the EggBot’s pen arm (in place of the usual pen holder), and a power control board that sits behind the EggBot.
The power control board is relatively simple: it accepts input from a plug-in power supply, and has an adjustment pot so that you can set the power level of the kistka.
The heater assembly has two parallel surfaces that you can see in the pictures. The upper is a yellow circuit board with control electronics, and the lower red part is a machined aluminum heater block that holds the actual kistka tip.
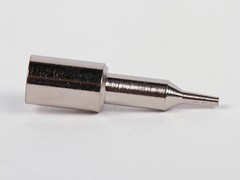
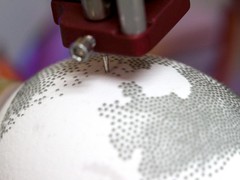
The kistka tip (right) has a small wax reservoir at the top and a smaller-yet point on the bottom that feeds molten wax onto the egg surface through gravity and capillary action.
Designing a good kistka tip is an art unto itself, and we are using field-proven kistka tips, wax, and other accessories from Folk Impressions, manufacturers of the excellent “white handle” electric kistka. The tips are interchangeable and a number of sizes are available. For all of the examples shown here, we’re using only the #2 (medium) tip that comes with the kit.
Process: two-tone
The basic wax resist process is as follows: Apply wax to the parts of the egg that should remain the present color, and then dye the entire egg a different color.
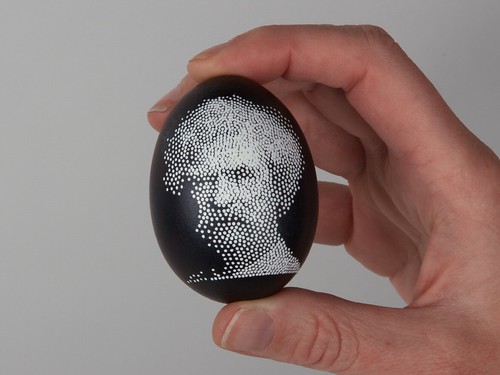
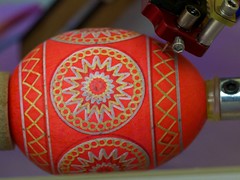
For a simple two-tone image — white on black — we started with Mark Twain, one of our example images from the StippleGen project. From a user standpoint, drawing wax onto the egg works exactly the same way as using a felt tip marker in the EggBot — it’s just a different tool that does the drawing. The wax itself is black-colored beeswax, which is nice because you can see it against the egg.
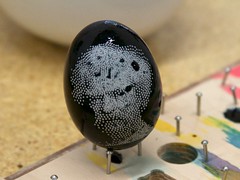
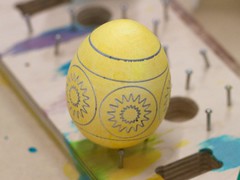
After the EggBot finishes, we dip the egg in dye for a couple of minutes, and leave it to dry on a grid of little nails.
Once the egg is dry, we remove the wax with a heat gun on the low setting (a glorified hair dryer…) and a tissue. With the black wax gone, the contrast is stunning. (If you are interested, here is how it looks before the wax is removed.)

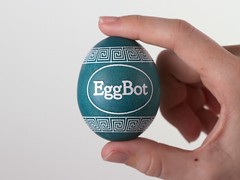
Another example of a two-tone egg. Alternately, you could dye the egg before the wax resist first goes on (say, yellow), and then dye it blue afterwards. The end result would be yellow lettering on a blue background.
Process: Multicolor
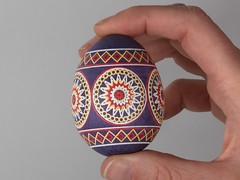
Making multicolor eggs uses the same process, but with added complexity. For this example, we applied wax resist on a bare (white) background, and then dyed the egg yellow and allowed it to dry (upper right). We then applied a second layer of wax, dyed the egg red and allowed it to dry. Finally, we applied a third layer of wax (lower left), dyed the egg blue, and allowed it to dry. The results after removing the wax (lower right) show the white, yellow, red, and blue areas — not bad!
A caveat: It is harder than it looks. While two-tone eggs are straightforward, we have found it to be challenging to precisely reposition an egg after removing it for dyeing. Thus, it takes considerable patience and experience to produce multicolor eggs with good registration between subsequent color layers. We’d be interested in exploring better ways to do this.
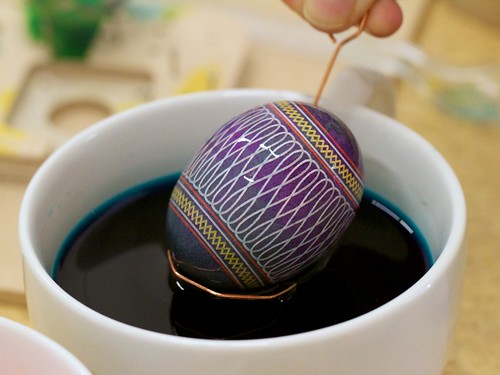
Still, maybe it’s worth the effort.
The Egg-Bot Electro-Kistka begins shipping this week.


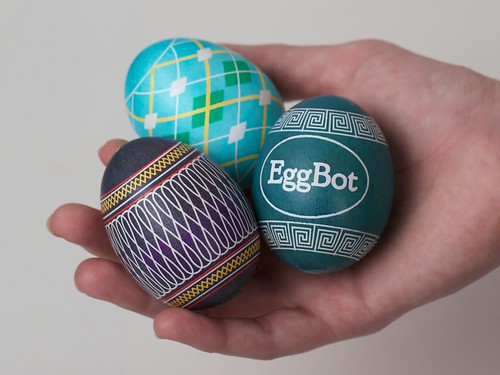

That is awesome, now let’s graft this onto the water color bot and use this to batik fabric!? Sweetness, well done as always!
Absolutely wonderful – that multi-coloured egg certainly ‘pops’!
For accurate repositioning, I would think you need to start looking into (flat?) prongs in the bottom of the egg (as that would be most disguise-able). I’d also assume that the world of lathes would have some adaptable ideas.
I wonder if you can get a coloured wax that will actually stain the egg – or a previous dye (have to watch for colours mixing, perhaps)? Maybe dye the egg yellow, print your design (with both coloured and un-coloured wax (have to swap points, like you can swap sharpies – careful of the heat, though)), then dye the result red. remove the wax, and – voila!
Hi,
Could you share any details of what circuit you’re using for doing the power control? Is it something like a fan PWM chip?
I like the arrangement using the TO220 power resistor as a heater, very clever.
Lindsay
We will be publishing the design and writing a separate article about the circuit. But in short, it’s a single op-amp current regulator circuit that uses a n-mosfet. The “clever” part is that we’re actually using the mosfet itself (not a separate resistor) as the heating element. :)
To position the egg there are two possible solutions. The first is after the egg is mounted, you need to mark it with dots or short lines so you can remount it in the same location.
The other used in wood work is to glue a mount on egg so it can be returned to the exact same location. In wood work, a second wood block is used and they are connected with white glue and paper between the two wood blocks. This makes it possible to split the two blocks apart with a wood chisel. I would suggest the mount could be glued with with bees wax, a weak glue or double sided tape. If you could get the glue they use on sticky notes, that might work as well.
Using this approach, the first or last color used would be the color under the mount.
We were also thinking of the mounting method. Perhaps, if the egg were affixed by beeswax to a coupler on just one side, it could work quite well.
An shaped terrestrial globe might look pretty cool, or even a lunar one..
That should of course read “An egg shaped terrestrial globe might look pretty cool, or even a lunar one.”
For the alignment problem…
Could you leave the egg in the EggBot and paint on the first layer(s) of dye with a brush? Then dip the egg for the last layer to get the ends covered.
Yes! We’ve talked about it a little bit, but haven’t actually tried it yet. It seemed crazy to us– but if we’re not the only people to “say it aloud,” maybe it isn’t that crazy. It will takes some care to ensure even coverage, but even so, it should be easier and more precise than what we’ve been doing thus far. We’ll give it a try– and if it works well, we’ll make that our recommended method.