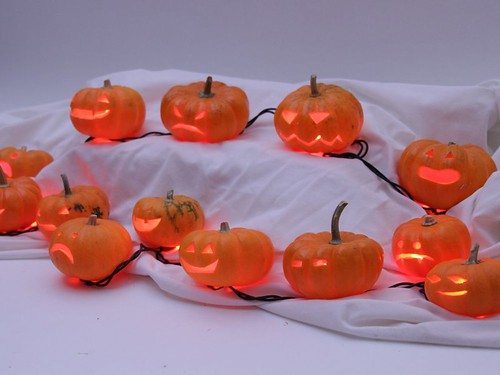
One of our favorite low tech halloween decorations is a (tiny) army of mini jack o’lanterns. Here’s how to carve your own.
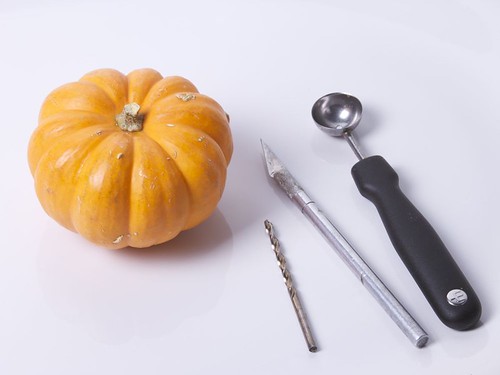
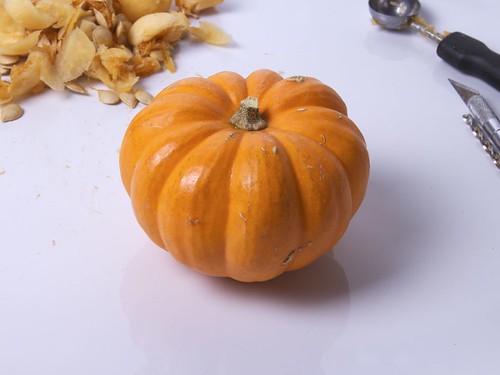
Our basic tools: The hobby knife, melon baller, and a loose drill bit. You’ll also want several to lots of mini-pumpkins, typically palm sized, up to about 4-5 inches in diameter, and squat in aspect.

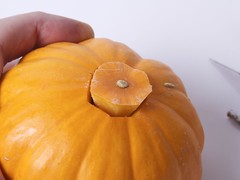
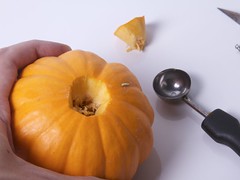
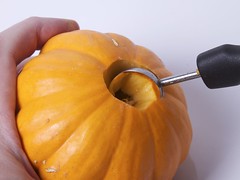
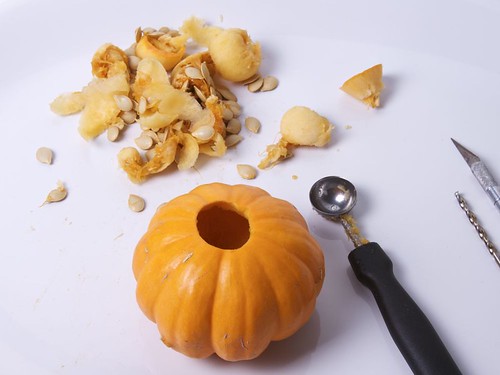
Use the hobby knife to cut a small circular cutout on the bottom side of the pumpkin. Then, widen out the hole and hollow out the inside of the pumpkin with the mellon baller. Most spoons are too large for this job, but a mellon baller is just right. In some cases, if the pumpkin is soft, you can skip the knife step and go right to the baller.
The hollow pumpkin.
The reason to carve it from the bottom is that the pumpkin is hollow, yet perfectly intact when viewed from the top. Also, (1) it’s usually softer on the bottom and easier to carve this way (2) you don’t have to carve the top and hollow it out it all that carefully, since your carving marks are hidden and (3) you can just set the pumpkin on top of a light source, rather than only inserting one from the top.
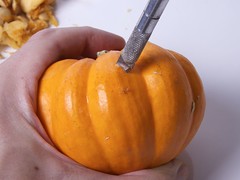
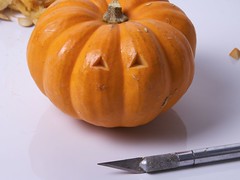
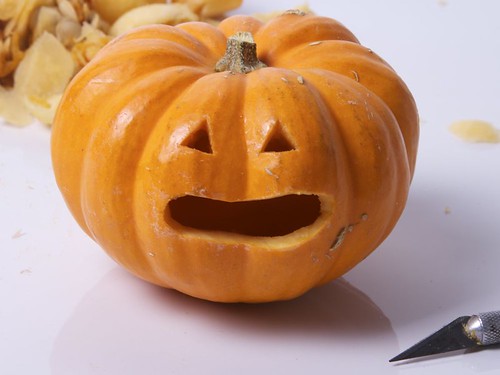
On to carving. Make initial incisions, that define the edges of where the final outer pumpkin flesh will be with the hobby knife.
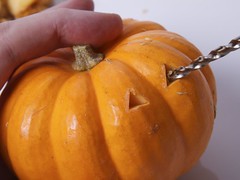
Depending on the particulars of your pumpkin, it may be difficult to cut all the way through without applying excessive pressure to the blade. So it’s sometimes handy to use a twist drill, by hand, to bore out a hole through to the middle, that can more easily be widened with the knife.
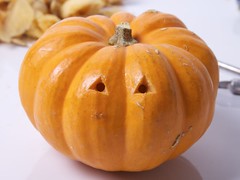
And here’s one down– just a couple of minutes. (No need to copy our design, of course. Make it as simple or as complicated as you like.)
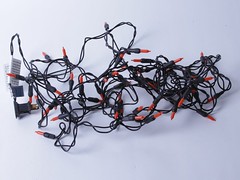
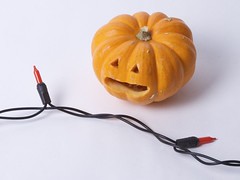
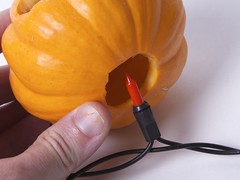
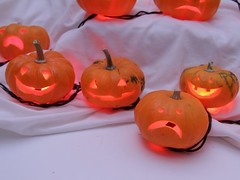
For the lighting, we use strings of “halloween lights” — orange painted christmas lights or (if you can get them) orange emitting LED lights. We imagine that in a few years you won’t be able to find the incandescent ones at all.
You can also do this where you completely hide the cabling, by running the lights underneath a dark surface (cardboard, a wooden countertop), poking up through holes in certain locations, and setting the little pumpkins on top.
Pumpkins like these only take a few minutes each to carve, once you’ve had a little practice.
One thing that you should be aware of is that pumpkins like these don’t keep very well once carved. All pumpkins droop a bit once carved, but that drooping is very noticeable when your overall feature size is so small. So, don’t carve them a week before halloween or your party, but only a day or two in advance.
More photos of this particular batch of pumpkins are visible in our photo set here.
You can find more pumpkin projects in our Halloween Project Archive.



Very cool!
All of my halloween lights are purple, which I’d imagine would have an interesting effect on the pumpkins indeed, but I might go back to my tradition of buying up cheap clearance light sets so that I can have an orange set for next year, too!
I saw the picture and thought, "mini pumpkins + Larson scanner", but it might not be as cool as my imagination makes it out to be.
At first, I was expecting a high-tech approach (modified Eggbot with a cutter). Hmm, that would be interesting…
I enjoy your work but, as a non-american, definitely feel the pumpkin project are a useless waste of food.
Most people don’t consume miniature gourd varieties as a source of sustenance. The larger varieties can (and often are) used as a food source, but that’s also why we grow corn, soybeans, and other crops here.
If there is concern about the way food is treated in the United States, then move to the United States and treat the food the way you would like to treat it.