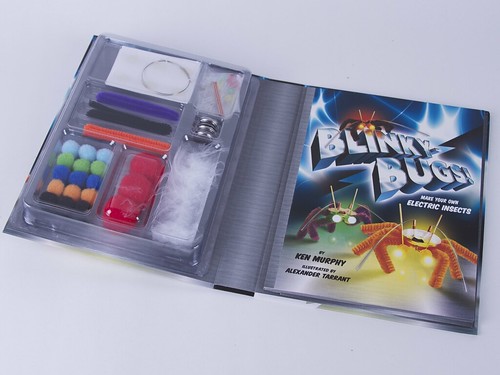
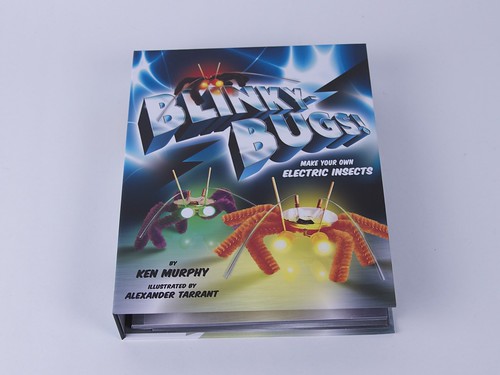
 Chronicle did a very nice job with it–the book itself comes out of the nifty sleeve that holds the kit and book together. The cartoon illustrations by Alexander Tarrant are very clear and there’s a nice assortment of accessories to go with the core hardware.
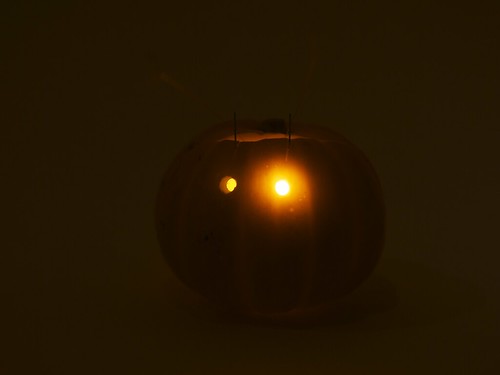
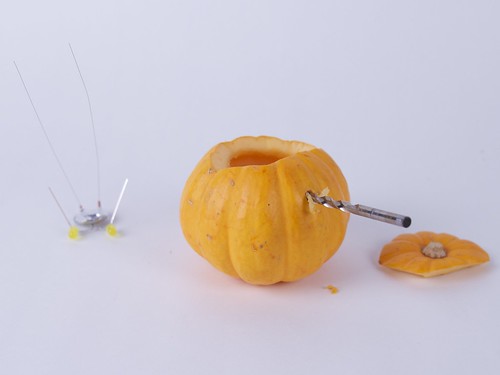 The bug circuit went together very easily. These little guys are super compact and self contained, which means they’re adaptable to all kinds of uses. And while putting them on pipe cleaner legs is seasonally appropriate, they’re a perfect fit for a mini-pumpkin. The first thing to do after gutting the gourd is to mark and cut the holes for the LED eyes. A 3/16″ bit turned by hand makes a hole that is just snug enough to hold a 5 mm LED firmly in place.
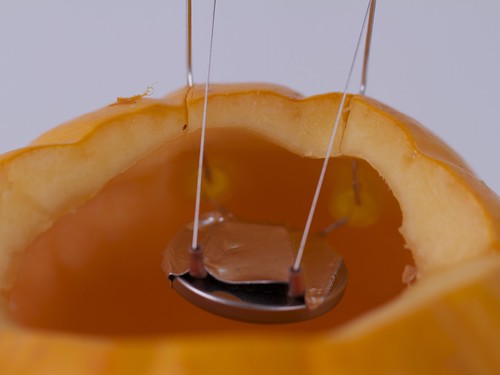 A couple of slits let the LED leads stick up through the body of the pumpkin where the antenna wires will be able to reach them.
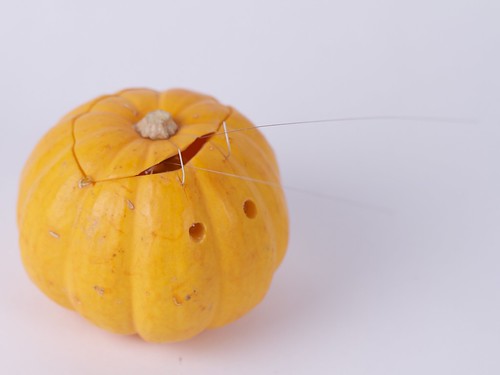 Finally, the pumpkin lid is trimmed to allow the antenna wires to move freely.
You can find more pumpkin projects in our Halloween Project Archive.


That’s pretty cool. So each LED is activated individually? Could you have the two LED leads touch so they activate together?
Of course; it’s just a matter of wiring. :)
Windell H. Oskay
drwho(at)evilmadscientist.com
http://www.evilmadscientist.com/
I have a question. If you changed the LED to a diffrent output or color, would you need to solder any more resistors into the premade board?
There is no board or resistors for this project, and instructions for making blinkybugs are available at the blinkybugs link in the story. The book kit comes with a few colors of LEDs, and the instructions are the same no matter which LEDs you use.
Oh, thank you so much I dont really understand some premade electronics :)