Peggy 2 is our intelligent, Arduino-compatible (“freeduino” based), multiplexed 25 x 25 LED matrix, supporting up to 10 mm LEDs (or up to 5 mm LEDs in the Peggy 2LE version). It supports single-color LEDs at each point in the matrix, but you can mix and match different color LEDs throughout the matrix, and you don’t have to populate every LED location.
Since the whole matrix is available to control, it can be used to make an interesting clock in a lot of different ways.
One of the things that is sometimes helpful on a clock is to get slightly better precision than is available from a regular quartz crystal, and we’ve been using Macetech’s ChronoDot module on our Bulbdial clock kit. However it’s almost as easy to add the ChronoDot to the Peggy, and here’s how to do so.
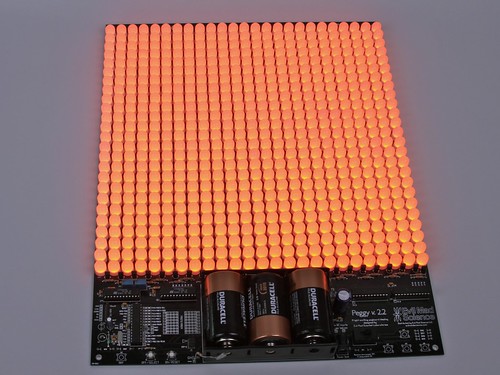
Here’s a Peggy 2, with 625 orange LEDs, just kind of hanging out.
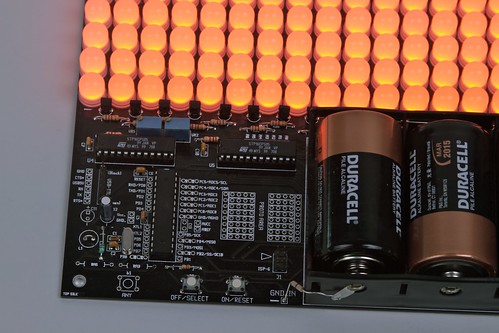
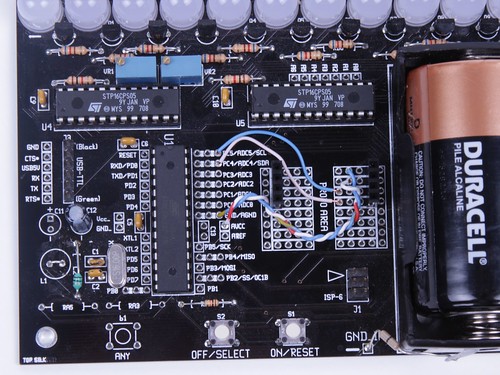
In the lower-left corner there’s a “proto area” with breadboard style connections between the holes.
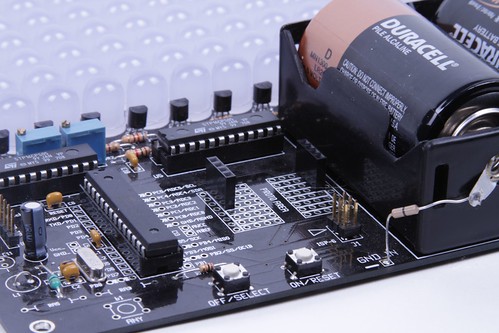
Add a couple of 4-pin female header connectors. These ones are type S7037-ND from Digi-Key. While it’s not absolutely necessary to use these sockets, it does make it easy to remove the Chronodot to swap out its battery, should that become necessary.
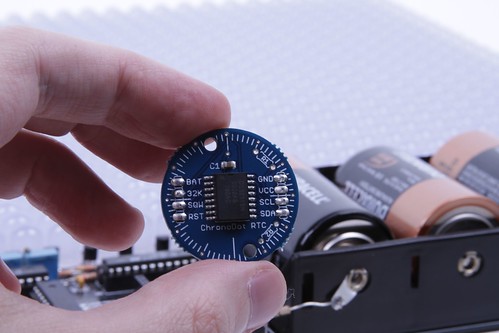
Here’s the ChronoDot. You can get one from here or right from macetech.
We only need to hook up the four lines on the right side of the ChronoDot: Power (vcc) and ground, plus the two I2C lines, SDA and SCL.
The SCA and SDL lines go to pins 27 and 28 of the AVR microcontroller, and the VCC and GND lines hook up to the corresponding power and ground connections on the right side of the chip.
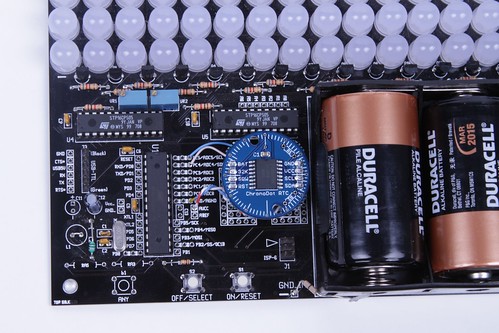
And here it is, all settled in.
To get started using it, you can begin with the documentation on macetech’s site, from the datasheet for the DS3231 temperature-compensated real time clock chip plus the Arduino wire library, or from the source code to our Bulbdial clock kit— which uses the ChronoDot as an optional timekeeper, and is also based on an Arduino-compatible design.


