Mission Objective: Use robotic (CNC) tools to make snowflakes. By any means necessary.
Timeframe: One day.
Resources: Our Snowflake 2.0 application. Laser cutter. Vinyl cutter. CNC router. Industrial embroidery machine. For raw materials, scrap on hand.
Software.
Previously, we’ve discussed Snowflake 2.0, a simple application that makes it easy to draw vector shapes with six-fold symmetry (many of which happen to look a lot like natural snowflakes) and save them as PDF outlines— perfect for use as inputs to computer-controlled fabricating machines.
(We also have a related program Symmetrisketch, which allows you to make similar shapes, but with a wider range of symmetry options.)
CNC Router.
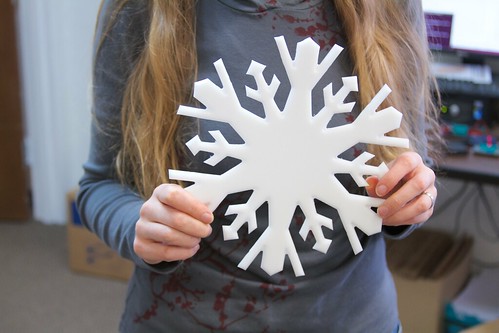
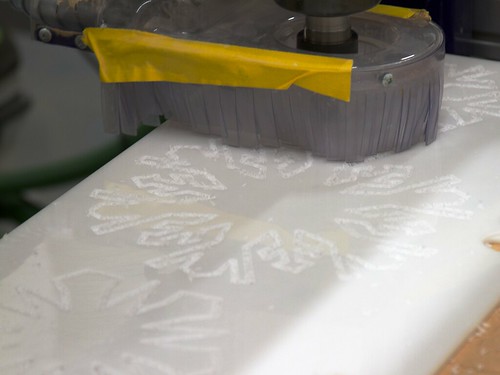
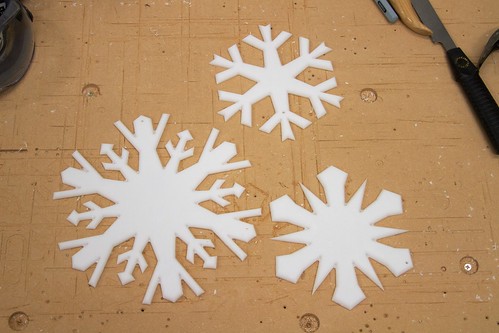
We laid out three of the PDF snowflake shapes to fit on a 12×24″ scrap of quarter-inch thick white Delrin plastic, giving us a largest shape of roughly 9 inches across.
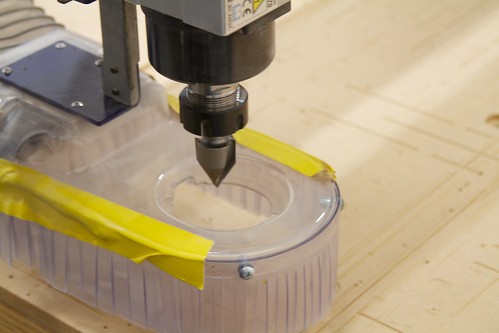
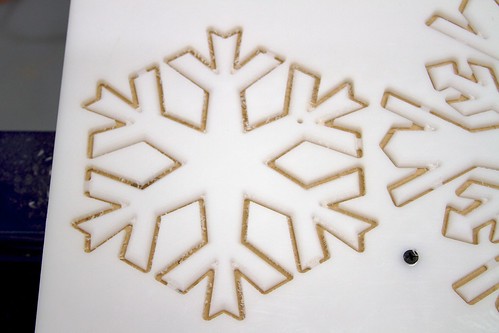
The first pass of machining is directly along the centerline of the snowflake shapes, using a bit that has a 60° angle on the point. The pass is not deep enough to fully cut through the material, but instead produces beveled edges along that centerline, in advance of cutting out the part in the subsequent pass.
The second pass, to cut out the shapes, is with a 1/8″ endmill, and is along the outer perimeter of the snowflake shapes.
After separating the shapes from the scrap material, we’re left with some pretty nifty snowflakes made out of quarter-inch hard plastic.
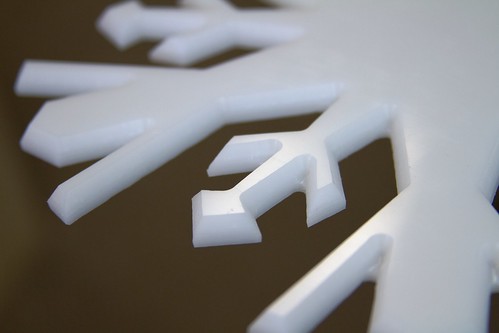
Looking a little closer, you can see the final effect with the beveling; it makes a neat three-dimensional edge.
Laser cutter.
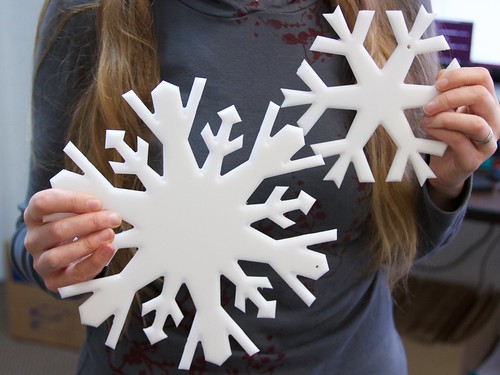
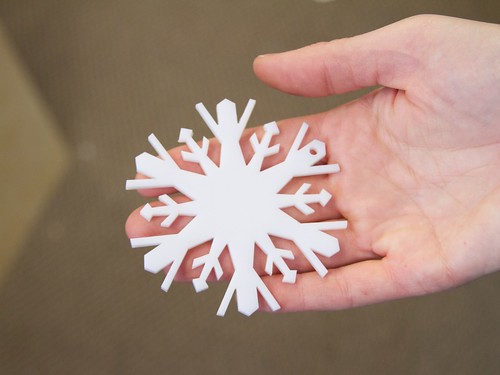
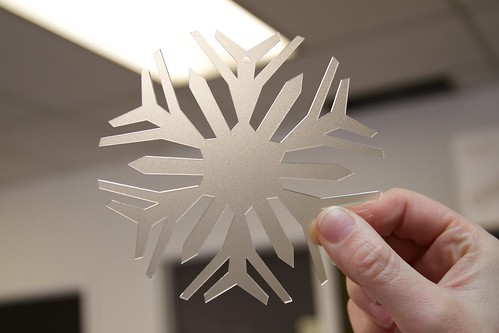
The laser cutter can be used for quite a few different things, like cutting wood, leather, or pie crusts, but we used it for a more common task, cutting the snowflakes out of thin acrylic.
These two shapes were both cut from 1/8″ white acrylic. One of the things that you need to watch out for when cutting these is that some of the sharpest “pointy” features tend to get distorted by the heat from the laser beam. The first shape above cuts more cleanly than the second.
You can also get (or perhaps as the case may be, find in your scrap pile) clear acrylic that comes with a frosted surface, which looks a fair bit more like ice than the white acrylic.
Vinyl Cutter.
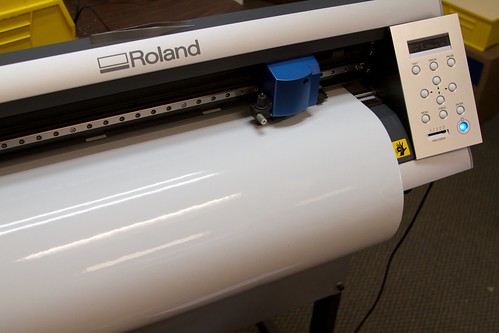
The vinyl cutter is a lot like the laser cutter, in that it simply cuts outlines. But, rather than using a high-powered, invisible laser beam, it uses a swiveling tungsten carbide knife blade to cut shapes from long rolls of sticky-back vinyl.
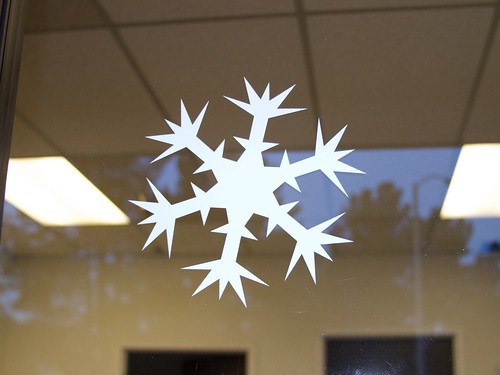
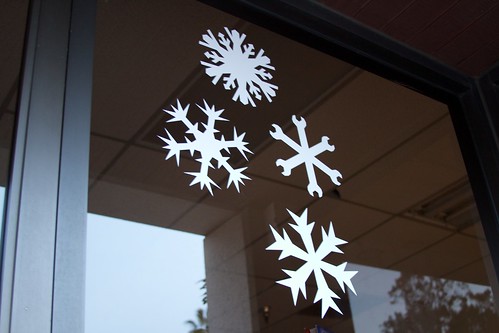
The vinyl material is the same kind frequently used to make permanent window stickers and signs, and we used it to make four big snowflakes for our window, each about 8-10 inches across.
[Note: We’ve never seen any wrench-shaped snowflakes in the wild, but it seems like a good idea to us.]
Embroidery machine.
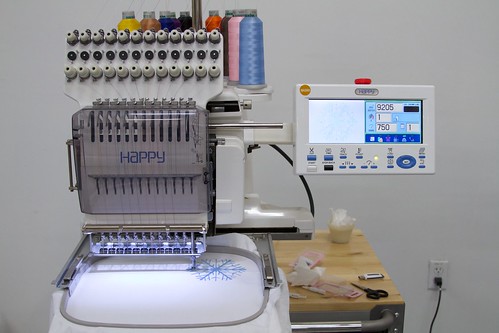
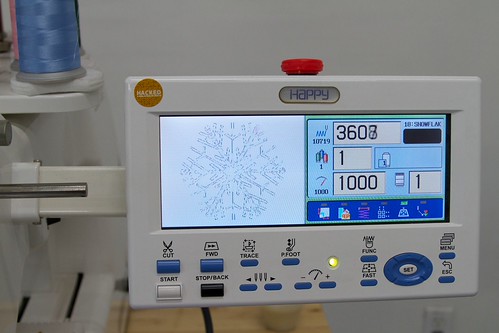
An industrial embroidery machine is a true CNC device, capable of some 1200 stitches per minute, with (in our case) 12 needles and 12 colors of thread, moving across a piece of fabric translated by stepper motors. Here, we’re using it for a simple, single-color application.
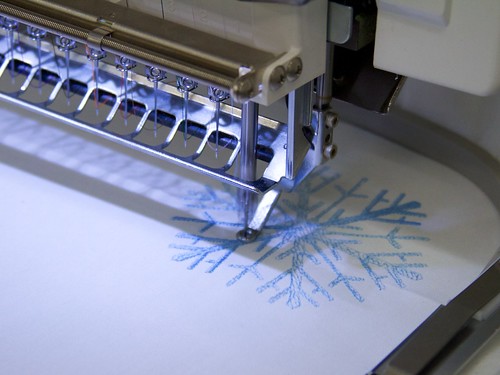
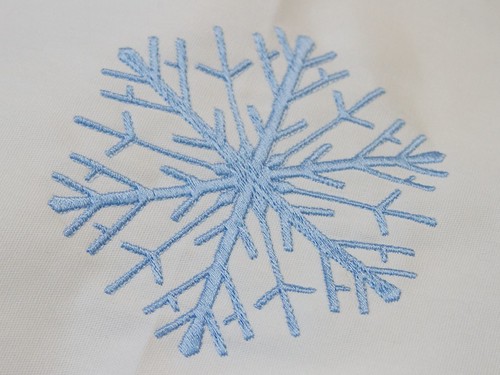
Our first snowflake design is an outline filled in with a satin stitch. A “stabilizing stitch” is laid down first to provide a scaffolding in the material, before the final pattern is stitched.
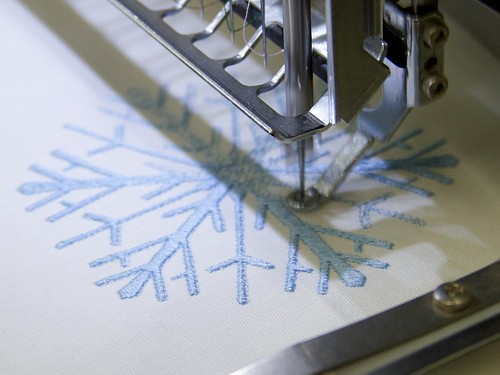
Here is how it looks when finished, about four inches across.

And finally, a second snowflake shape, in a simple outline stitch.
Wrap up.
These are some of our favorite CNC machines. Someday in the future, we’d love to see wire-EDM, waterjet cut, lathe turned, plasma-cut, and [insert your favorite CNC machine here]-made shapes. If you have one to share, please leave a link here, or add your photo to the Evil Mad Science Auxiliary.










Kinda cool, but you forgot one crucial thing for making the snow flakes look realistic: the hexagonal crystalline structure of snow affects more than just the superstructure. Nearly all of the angles involved in a snow flake