We helped build the gold, silver, and bronze medals for this year’s RoboGames competition, which finished up yesterday in San Mateo, California.
Read on for a bit about how we designed and built the electronics for, and assembled these pretty-darned neat medals. It’s a story involving LEDs, some remarkable adhesives, and a how to operate a small-scale surface mount production.
At the point at which we joined the project to make this year’s medals– just a few weeks before the event –the metal part of the project was already underway. The three designs had been sent off to be spun-cast and plated in gold, silver, and bronze colors.
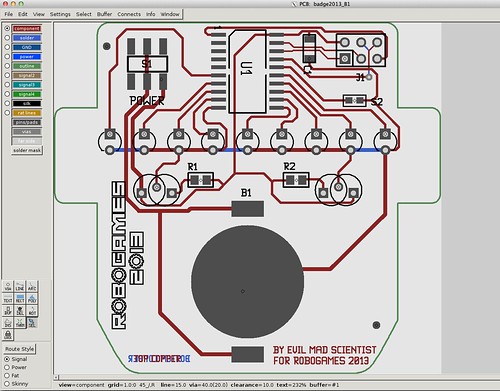
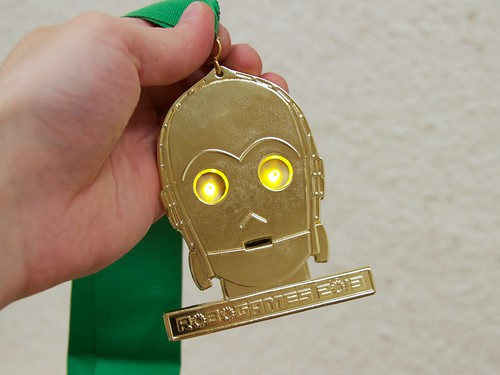
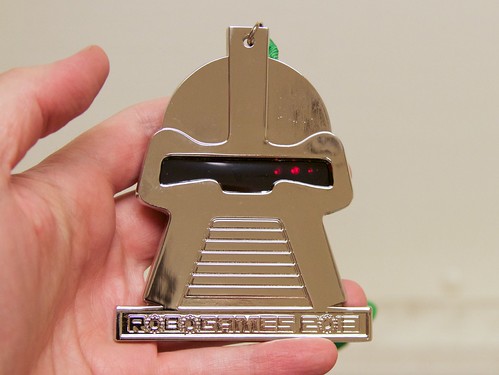
In the scheme of things, the required electronics were pretty simple: some LED eyes, a battery holder, and a power switch. For gold, two yellow eyes, for bronze two blue eyes, and for silver, a Larson Scanner with nine red LEDs. To keep costs and complexity down, we decided to make a single circuit board for all three, with the different required spacings for the gold and bronze medals and the row of LED locations for the silver medals.
Besides just the LEDs, the other spots on the boards were populated for the different configurations as well. The circuit board for the bronze medals had just the battery, switch, and LEDs, in an LED throwie configuration. For the gold medals, we added two resistors to restrict the current to a reasonable level, and for the silver medal, we added a ATtiny2313 microcontroller to drive the nine red LEDs.
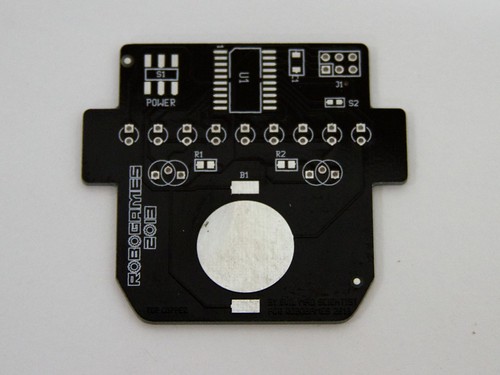
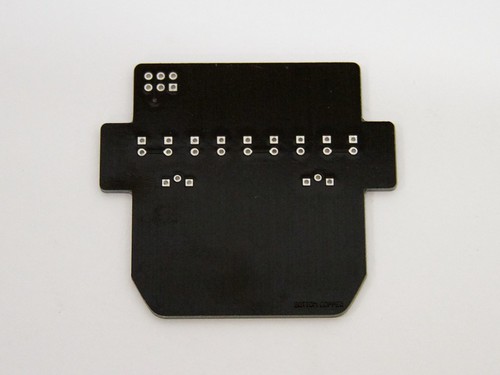
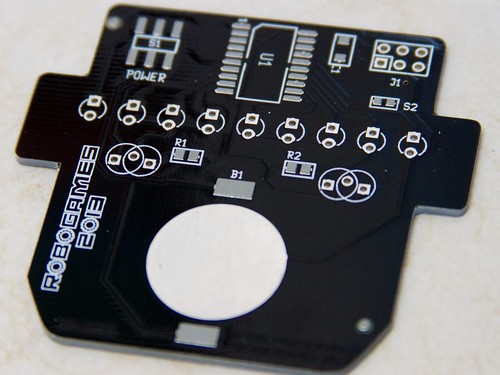
In a time crunch, it’s possible to get custom full-spec printed circuit boards from a few shops in China, in about 10 days delivered, for a small premium. (Or from a few shops in the US, for a large premium….) The unusual outline shape of this board was necessary in order to fit the required parts, whole providing full coverage behind the eye holes of the three medals, without leaving any circuit board showing around the edges. We also needed lead-free construction and black solder mask.
The circuit design is fully surface mount, except for the LEDs and programming header location. That keeps almost all of the electronics compact, out of sight, and located on one side. The header location is actually left empty (as it is only used at programming time), and the LEDs are through hole so that (1) they can be on the other side and (2) we don’t have to deal with double-sided SMT assembly, which can be a little tricky in small-scale production.
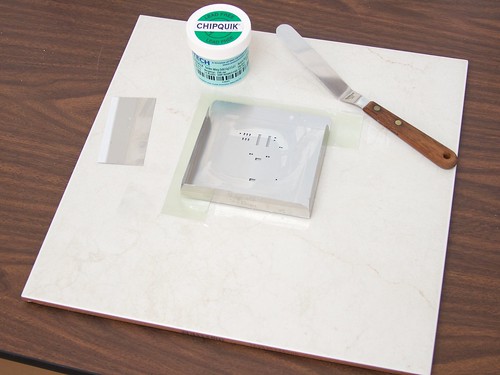
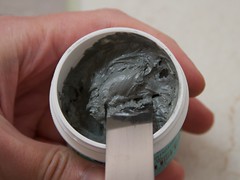
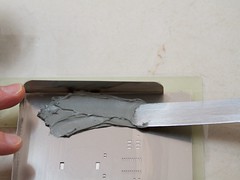
“Toaster oven” aside, here are some of the common tools of the trade for small-scale surface mount production. A small jar of solder paste, a frosting knife (or palette knife) for scooping the paste, a stencil, and a squeegee.
This particular stencil is a laser-cut stainless steel “prototype” stencil, cut to order and available from a number of vendors for about $100. It has folded-up sides that provide a bit of stiffness, helping to keep the stencil flat while we’re using it. This is a good and reliable stencil solution for up to a few hundred circuit boards. (For higher volumes, the most common type of stencil is a similarly laser cut stencil, but held taut and flat in a heavy gauge cast-aluminum frame. These are great, but cost more, take up a lot of room, and are harder to use without a special stencil-printing jig.)
There are also a few types of lower cost stencils out there– mostly Mylar and Kapton (available here) –but stainless works so well and so consistently that you’ll want to use it if your project budget allows it.
The other thing that you need is a smooth, flat workspace that is easy to clean. Our approach, is to use a large, smooth ceramic flooring tile (about $1 at a home improvement store), with rubber feet added to the bottom. That makes for a handy transportable workstation for small PCB stencil jobs, and for easy cleanup on the ceramic tile.
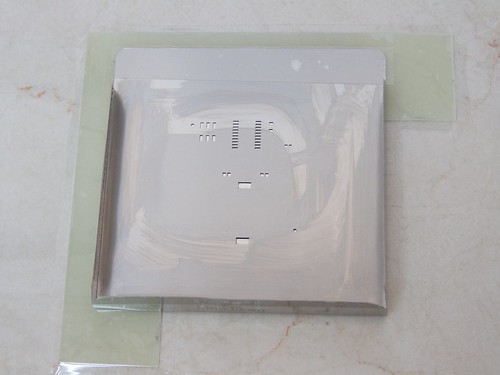
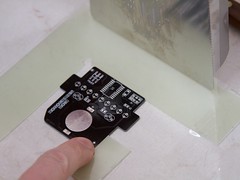
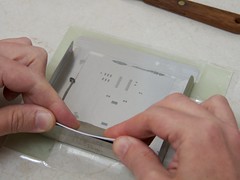
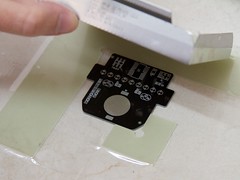
The prototype stencil comes with a couple of bare circuit board ‘L’ shapes to index the two corners of your circuit board. These can be held down with a couple pieces of packing tape.
After aligning the stencil to the pads on the circuit board, add a piece of packing tape (preferably heavy duty packing tape) across the flat top of the stencil, to act as a hinge. There’s a world of difference between a piece of packing tape and the nice hinges that go into professional stencil printing machines, but again, this is actually a great method for small batches.
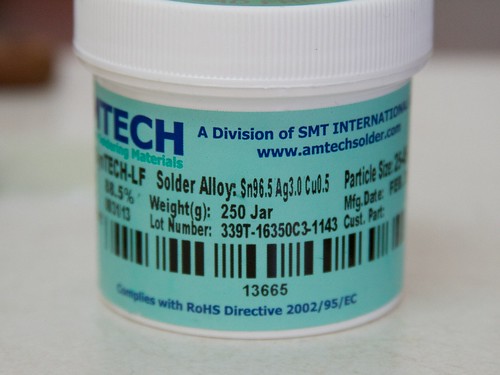
One decent, easy to find brand of solder paste is ChipQuick (Amtech) lead-free “no clean” solder paste.
If you’re new to this, all of the different specifications on solder paste can be a bit confusing. In broad terms, solder paste is basically the same thing as “regular” flux-core solder, except that the metal portion consists of microscopic particles rather than long wires, and the flux filling (normally hidden inside the wire) is used as a binder to hold the particles together. The lead-free part means that this solder is made of a newer, higher-temperature tin/silver/copper alloy rather than the traditional tin/lead, and the “no clean” part means that the solder flux does not need to be washed of the circuit boards after the solder has been reflowed in the oven. One other variable to take note of is the “mesh size” of the solder particles, which has to do with how fine of parts you can use it for. This is “type 3” solder (which allows particles of up to 45 um in size) and is good for soldering parts with features as small as 20 mil pitch. That’s plenty fine for us: the IC on our board (the Atmel ATtiny2313A in a 20-pin SOIC package) has a comfortably large 50 mil pitch.
Solder paste is normally kept refrigerated to extend its shelf life, so you spoon a little bit out onto your stencil and let it sit for a while to warm up to room temperature. Its mechanical properties are almost identical to those of cake frosting– a stiff paste when cold and creamy when warm.
Once the solder paste is warmed up, it’s time to align each circuit board into the jig, and squeegee the solder paste through the holes onto the board. For this circuit board, we’re using a stainless steel squeegee that came cut to size with the stencil.
As this is a simple board, the solder doesn’t actually go in all that many places: the pads for the power switch, IC, capacitor, resistors, and CR2032 battery holder.
Often times it’s hard to guess just how much solder paste you need to get for a project, so an interesting question to ask is, “how much solder paste do you actually use per board?” You can test this by weighing the circuit board before and after stenciling on the solder paste. In this case, only about 250 mg of paste; one 250 g jar of paste should cover about 1000 circuit boards.
This is our easy-bake reflow oven, the T-962A, a $500 batch IR convection oven from China, with preset reflow profiles for a few different solder formulations.
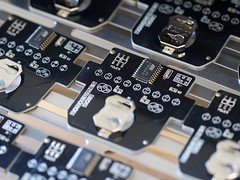

While the temperature profile inside this oven isn’t particularly uniform, and the temperature control is more bang-bang than PID, we were able to bake 16 of our boards at a time, without any significant issues, all using one of the default temperature profiles. For the price, we have no complaints.
Each batch takes about 7 minutes to reflow, which is about comparable to how long it takes to stencil and hand-place the components for this particular board.
After reflow soldering, we insert the through-hole LEDs from the other side, and align them in a special jig that holds them firmly in place during hand soldering.
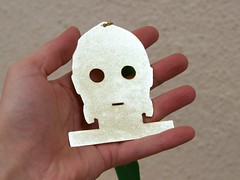
At this point– just a couple of days before RoboGames –the actual cast medals had not arrived yet, but we were able to test-fit them in 3D printed prototypes to have a little more confidence in how everything was going to fit together.
Once the cast medals did arrive, we had a bit of a scramble to get the medals actually put together in time to be awarded. In order to achieve the right appearance and to feel solidly built, we had to follow a rather detailed assembly procedure.
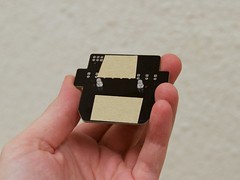
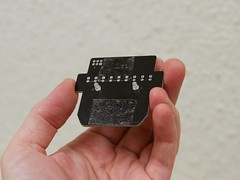
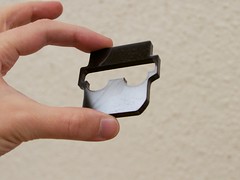
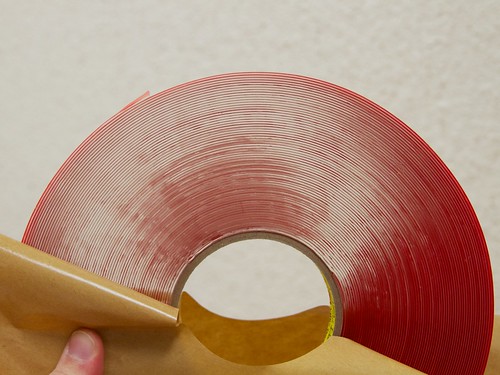
First, we wanted to put a colored lens or diffusing film between the LEDs and the metal top, which meant recessing the circuit board back far enough to allow that. We first used industrial-strength adhesive transfer tape (“glue on a roll” — a double-sided tape without any paper or tape layer) to attach the circuit board to a laser-cut acrylic spacer. The oversized cutout in the middle of the spacer was to allow for the different eye shapes.
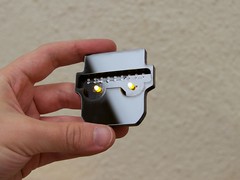
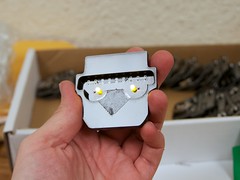
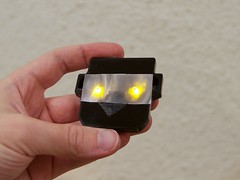
The diffusing film for the gold medals is a “holographic” film that makes an interesting pattern. It’s attached with another piece of the adhesive transfer tape.
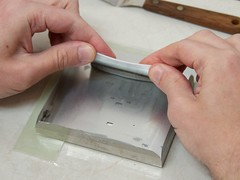
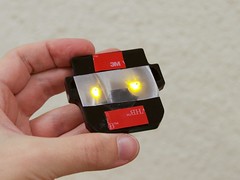
For the next stage of assembly, we’re attaching the pcb+spacer assembly to the rough-textured backs of the medals. Because of that rough texture, the adhesive transfer tape isn’t a good option, so we used 3M VHB tape, a clear, slightly gelatinous industrial assembly tape with a remarkably strong adhesive.
High-strength industrial tapes like these are workhorses for assembly of consumer electronics as well– many tablets, phones, and laptops are made with this same process.
And there it is. A bit bulky, but very sturdy, and not half bad looking!
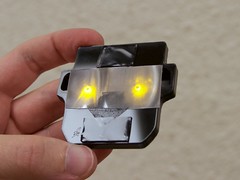
For the silver medal, with its animated eye, the lens is not diffused, but rather just a clear piece of dark gray plastic.
And for the bronze, a simple translucent diffuser for the two blue eyes.
So that’s a wrap, and somehow– with help from quite a few volunteers to help us build these –we got them all done in time for the medal ceremonies as well.
Above, the winners in the Artbot – Painting competition. Our own sponsored entry, Sylvia with her WaterColorBot, took home the nicely-animated silver medal. It’s almost better than winning gold. :)


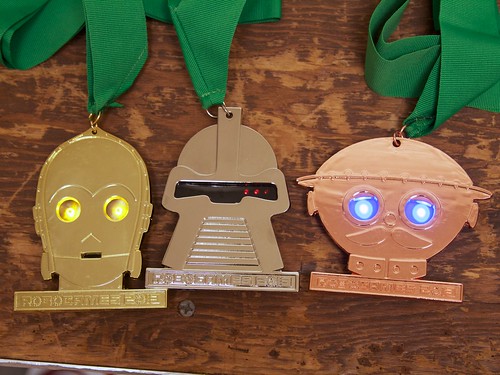








Frakkin sweet!
These medals look fantastic.