In our recent article, The Making of the WaterColorBot, we walked through the manufacturing process of the WaterColorBot, in which we make use of a number of specialized jigs, with varying levels of complexity. We also left a teaser:
“The winch is also assembled from laser-cut wooden parts. The lower part has the shaft collar that mounts to the motor shaft, and the upper part has two halves that disassemble for cord management. It turns out that the winding-drum part of the winch needs to be quite round and concentric with the motor shaft for smooth operation– smoother than we can get with the laser. We solve this with our very-most-complicated assembly jig….”
“Jig” may in fact not be the right word– it’s more of a cutting machine, and (if you squint your eyes enough) there’s just a hint of CNC hiding inside this manually operated tool.
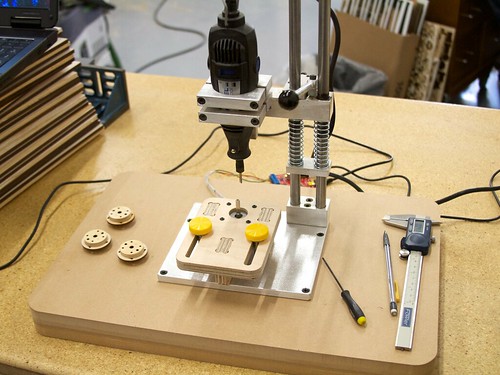
Terminology aside, the jig/machine is based around the Vanda-Lay Drill Press Plus, which we wrote about earlier this week. The Drill Press Plus is a precision drill press type fixture for Dremel and similar rotary tools, and which we attached to a heavy base made of MDF. To its aluminum base plate, we added a pair of tapped holes that allow us to bolt down a wooden superstructure. The superstructure has a single stepper motor, pointed upwards and driven by the same “EBB” motor controller that we use on the WaterColorBot itself.
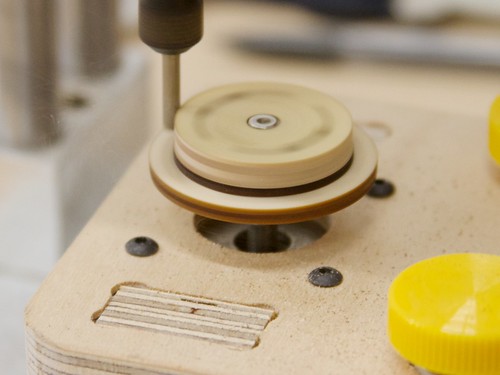
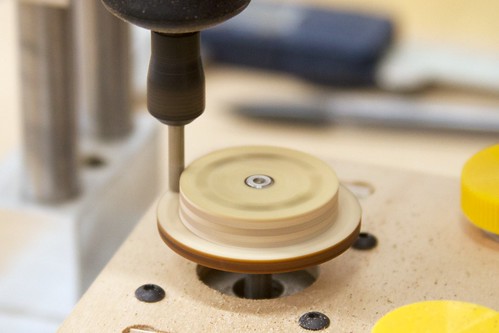
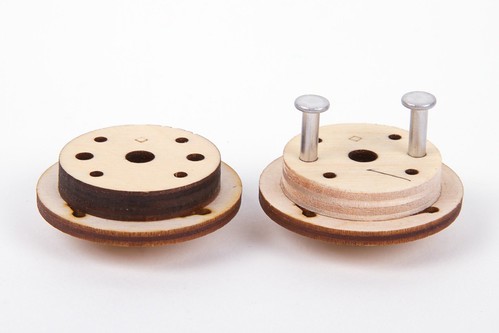
Prior to cutting, the outer “winding-drum” of the winch — the upper cylindrical surface in this photo — is a typical dark brown laser-cut wooden surface.
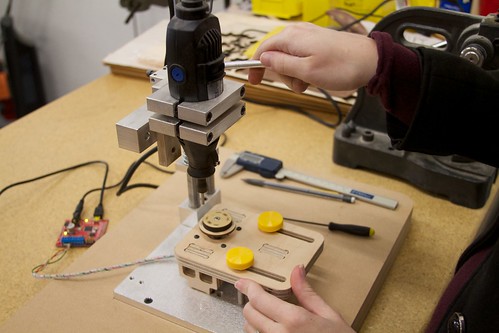
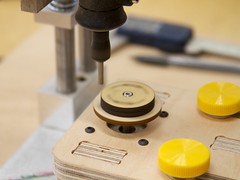
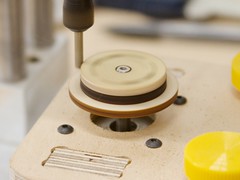
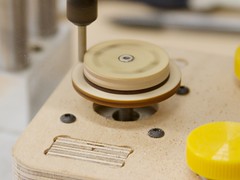
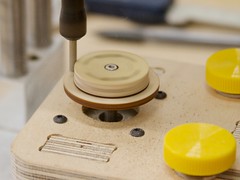
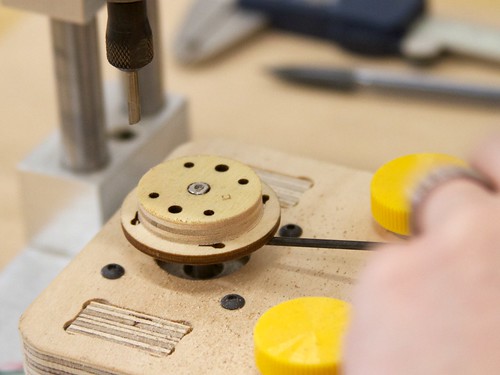
We mount the winch on the shaft of the vertical stepper motor, and spin it around while we lower the (also spinning) Dremel tool with the vertical feed of the drill press. This is a lot like using a power-fed rotary table to cut an outer surface on a vertical milling machine.
Unlike doing this on a 4-axis milling machine, it takes a steady hand to gently lower the feed as it cuts the edge of the winding drum.
From a user’s perspective, one of the really cool things about this machine is that when you’re done cutting, the stepper motor always stops with the set screw (indicated by the diamond) facing towards the front, so that you can easily remove the winch. That’s straightforward because we always command the stepper motor to go an integer number of turns. (And it’s just a hint of CNC, if you squint your eyes.)
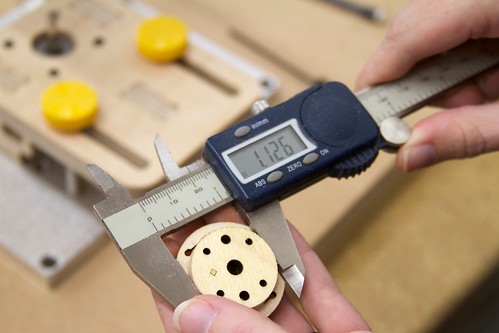
After cutting, we spot check the winches to make sure that the diameter is within tolerance: 1.125 ± .005″. Typically, it’s within 1-2 mils.
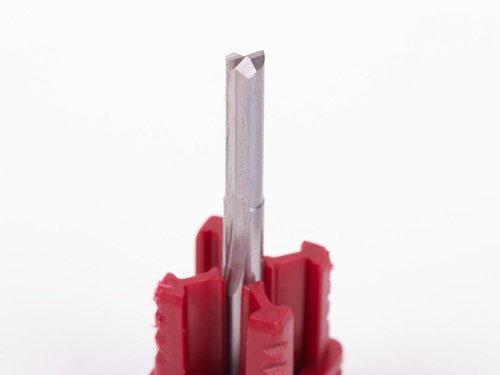
In order to achieve that kind of precision, it turns out to be necessary to use much better cutting tools than the kind that come with Dremel tool sets. This is a 1/8″ diameter solid carbide 2-flute tool with straight flutes (in a red, plastic holder) that works wonderfully for this application. Spiral flutes tend to cause some side forces and/or lift that cause a loss of precision in our small tools.
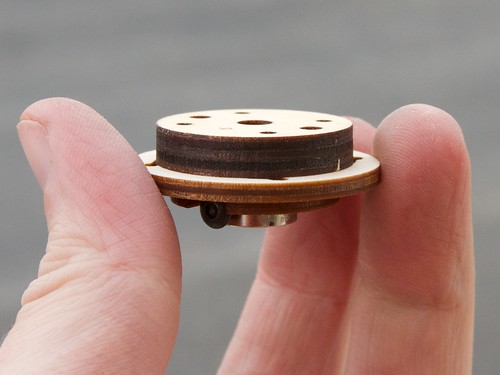
Here is the side by side of a winch before cutting, and after (with its cord-winding rivets pressed in).
And finally, you can watch the process in real time, in the video embedded above, or on YouTube, here.


Windell, do you guys have a lathe in your shop?
We do not currently have a lathe. Using a tiny CNC lathe for this project was under discussion, but we weren’t happy with the available selections, and opted for a more compact option instead, if not as universally useful.