All posts by Lenore Edman

About Lenore Edman

Co-founder of Evil Mad Scientist Laboratories.

Orange Spice Marmalade

Orange Spice Marmalade

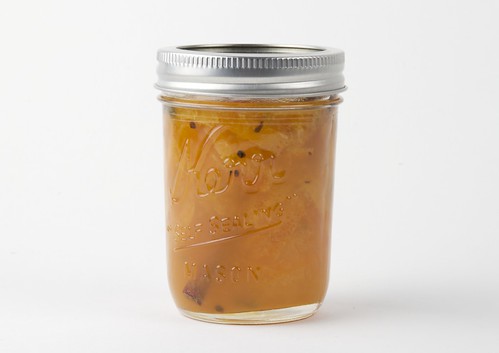
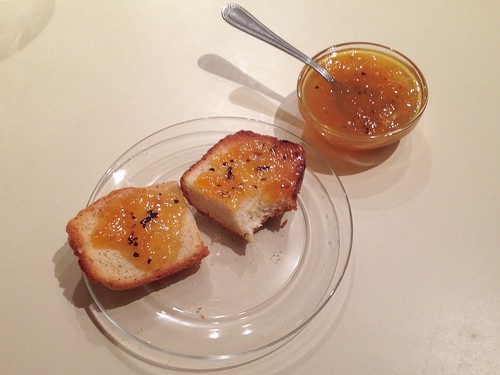
It’s citrus season around here, and that means marmalade. Whole cloves, cardamom seeds and cinnamon sticks decorate this sweet orange preserve and give it an aroma reminiscent of holiday desserts and spiced cider.

Orange Spice Marmalade

Ingredients:
15 navel oranges
2 cups water
6 cups sugar
1 tablespoon whole cloves
1 tablespoon cardamom seeds
1 stick of cinnamon per container

The procedure is from our Marmalade Redux: peel the oranges and cut the peel into strips. Juice the oranges and put the strips of peel, juice and water in a pot to cook. Take the pithy pulpy parts leftover from juicing three or four of the oranges. Cut into smaller chunks and tie into several layers of cheesecloth or a cloth jelly bag (like this one) to cook in the pot with everything else.

After cooking for about 20-30 minutes, the pieces of peel should be softened. Remove the pith bag and put it in the cold equivalent of a double boiler: a bowl on top of a layer of ice that’s in a larger bowl. Turn the bag over every so often to help it cool down more quickly. When it is cool enough to handle, squeeze out a few tablespoons of the cooked pulp and pith through the cloth–this will provide the pectin that will help the marmalade to gel.

Put the pectin goo into the pot (which you conveniently left simmering on the stove) and add the sugar, cloves and cardamom. Stir regularly and cook to the desired consistency. To test consistency, put a spoonful on a plate in the fridge. If it’s too runny after cooling for a few minutes, keep simmering and test again after a few minutes. Put one cinnamon stick in each storage container you’ll be using and pour the finished marmalade over it. Makes about four and a half pints.

If you want to can it for longer storage, Ball has a nice introduction to canning (pdf), and additional resources on their website.


Other fruit preserves from the Play with your food archives:

From the mailbag: DIY holiday lights

Chris wrote in:

I wanted to say thank you for writing your blog and the products you’ve created.  I used both to make my christmas lights this year.  Couldn’t have done it without you.


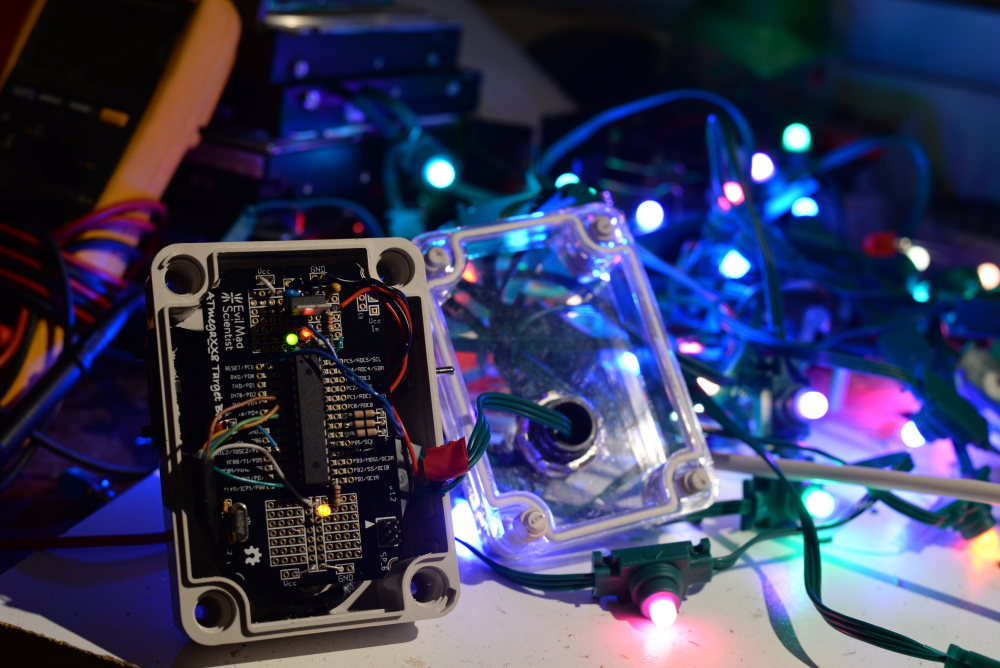
I used an ATmega xx8 mini dev kit programmed with an ISP shield to control a series of WS2811 LED pixels to make beautiful light. The controller is designed to be standalone, not part of a bigger system. I used a BCD thumbwheel switch to select up to 10 looks.


We can give credit to the FastLED Library team for the heavy lifting.  The case is from your friends at Adafruit. The target boards don’t quite fit in the Adafruit cases.  Thankfully ya’ll had the schematic PDFs posted and I saw I could literally cut corners to make them fit.

Back to why I appreciate what you do so much, growing up my dad tried to teach me about electronics.  He was putting motorola 6802 CPU’s in Sperry New Holland hay bale wagons.  Unlike how easy we have it today with Arduino he had to program in assembly…


I got a degree in Theatre and loved doing sound and lighting design.  So I really love the art you put into your technology. I’ve built many of your kits.  My favorite are the interactive LED panels.  Blinking lights!  I like to put them behind the ikea glass “white boards” so my ideas really shine when I write them down.  I’m looking forward to seeing what you do in 2015!

EggBot holiday project roundup

It’s close to the holidays, which means people are pulling out their EggBots and getting creative. Last year, we posted a set of holiday designs and some tips for working with ornaments. Here are a few projects we’ve found this year.

Erin Ruppert made this lovely “First Christmas” ornament. The gold ink looks great on the clear ball.

Erin also made ornaments with ornaments on them, which somehow seems fitting.

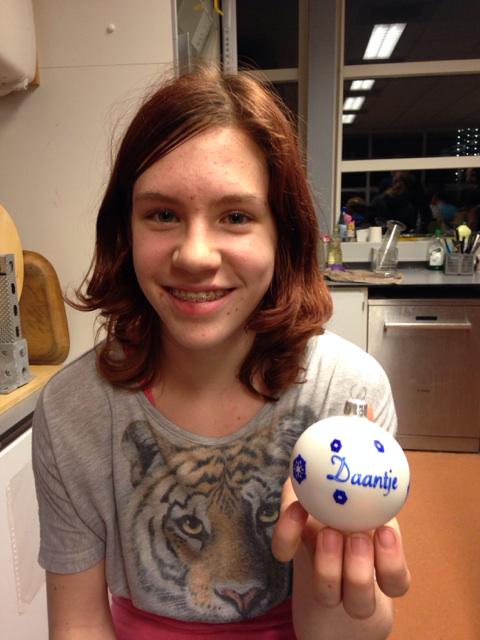
Lotte made an ornament for her mom at FABKlas, a maker education program.

The folks at FABsterdam made this Mario ornament.

MAKE Ventura used gold Sharpie markers on a matte finish ornament to great effect. Other makerspaces are playing with their EggBots, too. The Johnson County Library in Kansas is doing Eggbot ornament tutorials in their makerspace.

Chris Lynas took the EggBot to “work and school Christmas fair raising money for charity – result: £200 in under four hours!”

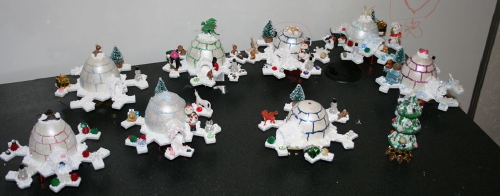
Fran marked up eggs for a family igloo making craft party.

Lastly, our friend Miguel engraved glass ornaments with his EggBot.

Linkdump: December 2014

Katz & Maus

Interactive LED Cats

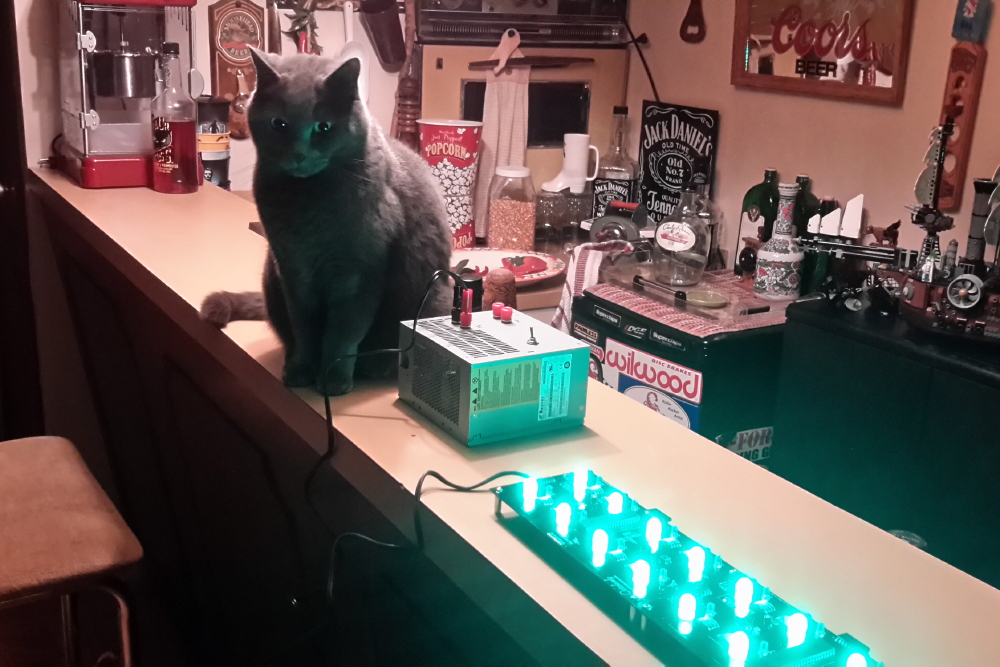
We were sent a picture of handsome cat Gandalf with an array of green Octolively kits all built up.

Mr. Pumpernickel also looks great in the green glow. Both Gandalf and Mr. Pumpernickel are continuing in a longstanding tradition of cats and interactive LEDs.

Harley Cat, Before frosting glass

Harley Cat (who passed away a few years ago) helped test our very first interactive LED project: our Interactive LED Dining Table.

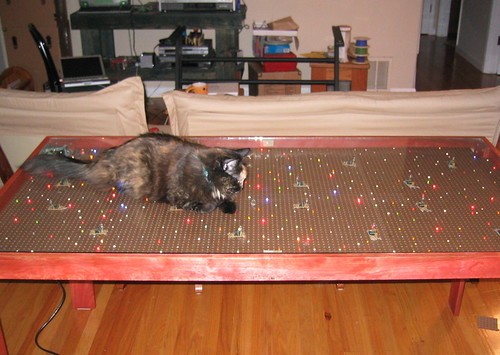
Jellybean helped demonstrate a later project: our interactive LED coffee table. She is featured at about 48 seconds into this video.

LED Pez Menorah, this time with instructions!

Joyce wrote in this year with her latest Pez Menorah (using our Deluxe LED Menorah kit), featuring a Star Wars theme.

She also wrote up a thorough set of instructions on tumblr, which looks like a remarkably easy way to publish a step-by-step tutorial without using a platform like instructables. It may take some getting used to reading chronologically, but it is effective.

Previous Pez Menorah posts: