


We’ve seen a lot of great Arduino Halloween projects out there this year. A few of them have been submitted to our Arduino contest over at Instructables, and we’d love to see more. The entry deadline is Nov. 15, so you’ve still got time to send them in.
Speaking of contests, the Make Halloween contest deadline is here. Quick, get those microcontroller projects entered before midnight on Nov. 3!All posts by Lenore Edman
24 Hour Tombstones
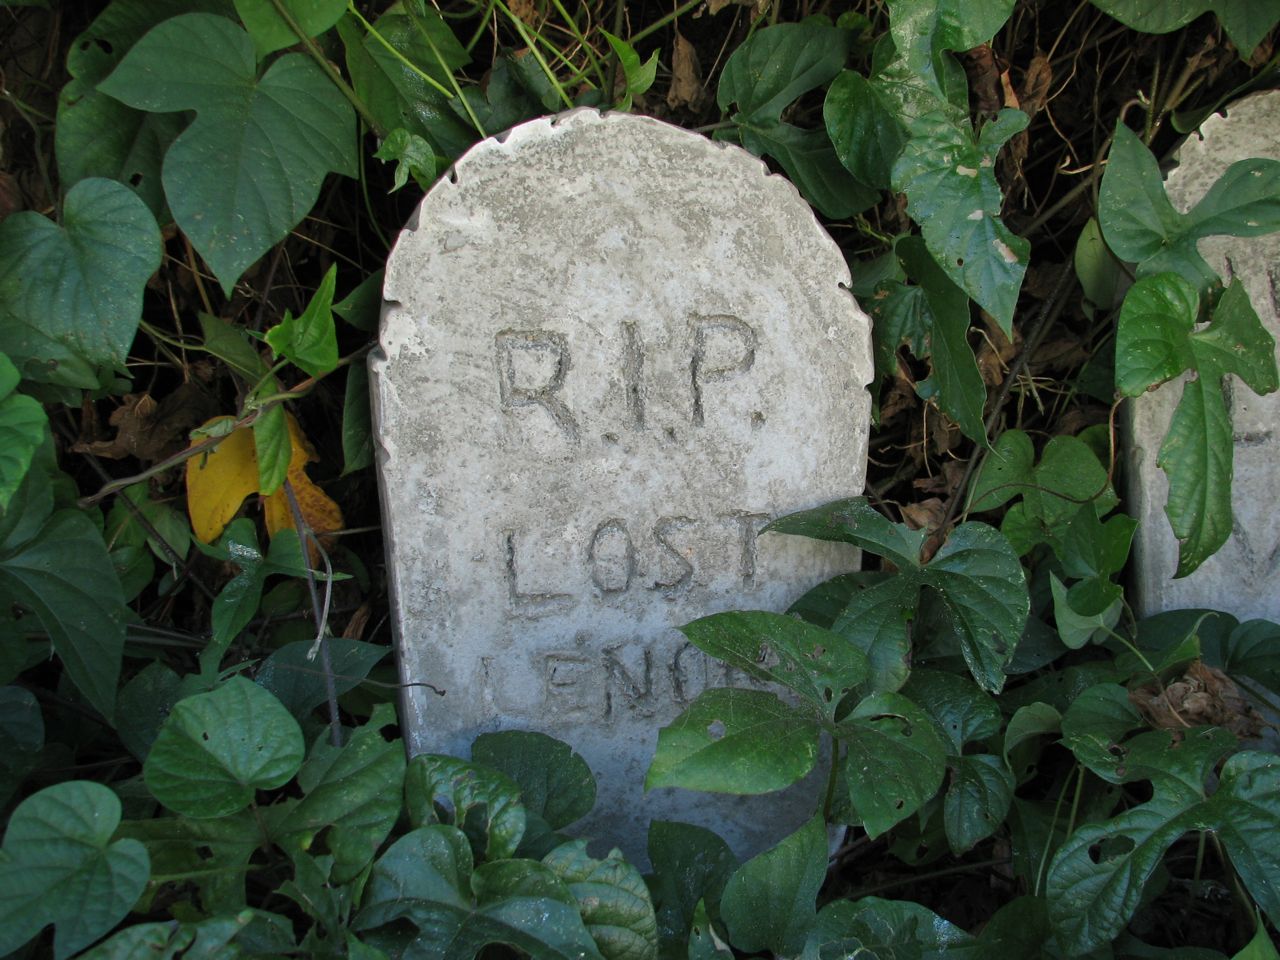
Here is how to make your own cast concrete tombstones. These are easy, inexpensive, impressive and tough Halloween props, ready to spook in 24 hours.
Instructables Arduino Contest
Over at Instructables, we’re sponsoring an Arduino contest with prizes including Meggy Jr RGB kits. The rules are simple: use Arduino in your project! And by Arduino, we mean any project involving the Arduino IDE in some way. (And yes, you can use your Meggy Jr RGB or your Peggy 2 for this contest.) We look forward to seeing your projects and would love to see them in the flickr auxiliary, too.
Bookends for physics geeks
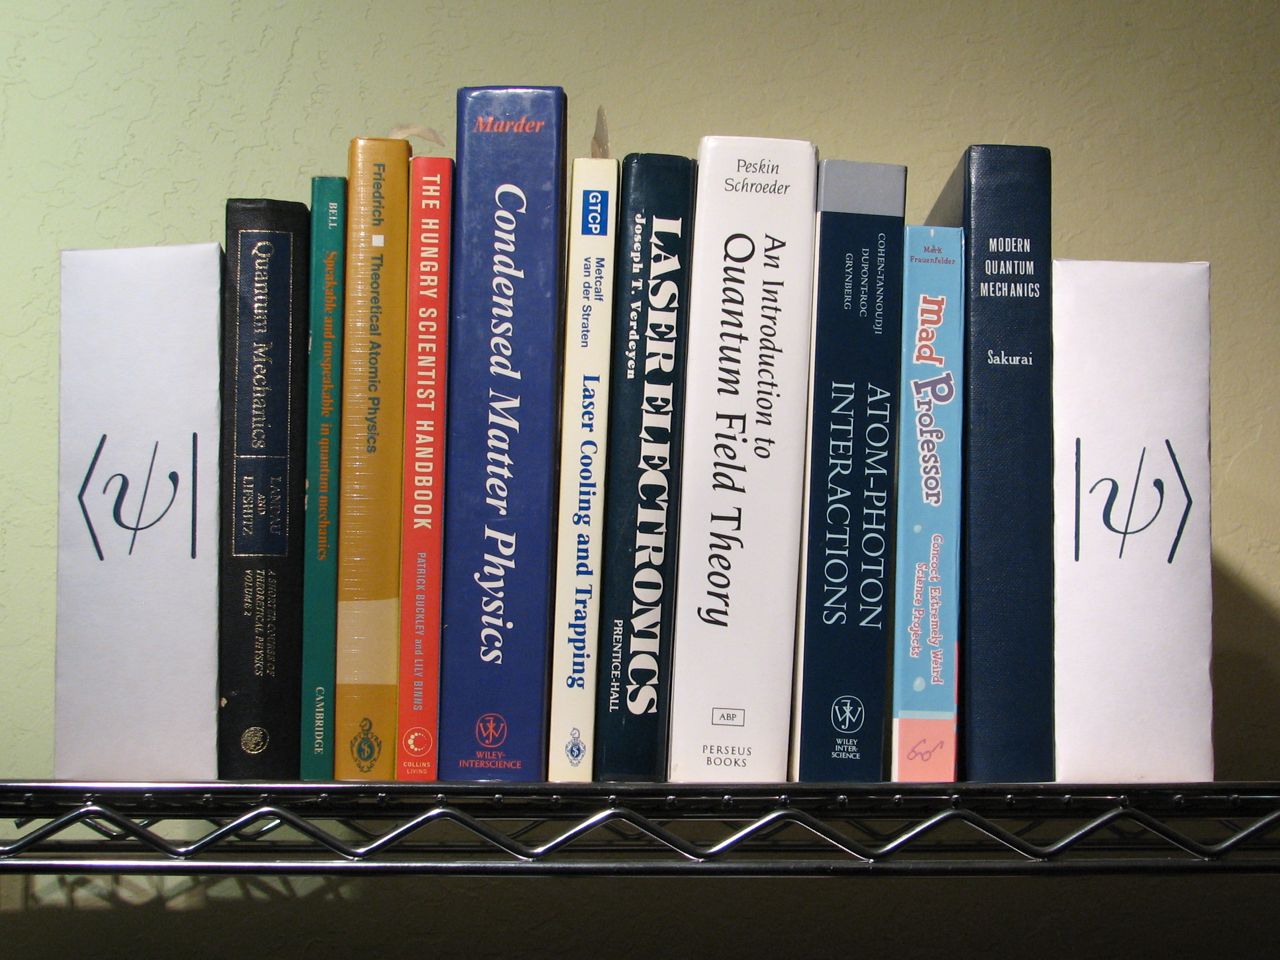
Books falling over? Here’s a simple bookend project. Total cost under a buck, and you can make them in just a few minutes.
The symbols on these particular bookends are in bra-ket notation, which is very common in many fields of physics related to quantum mechanics. Obviously, you can use other symbols as well– we put /* and */ around our programming books.
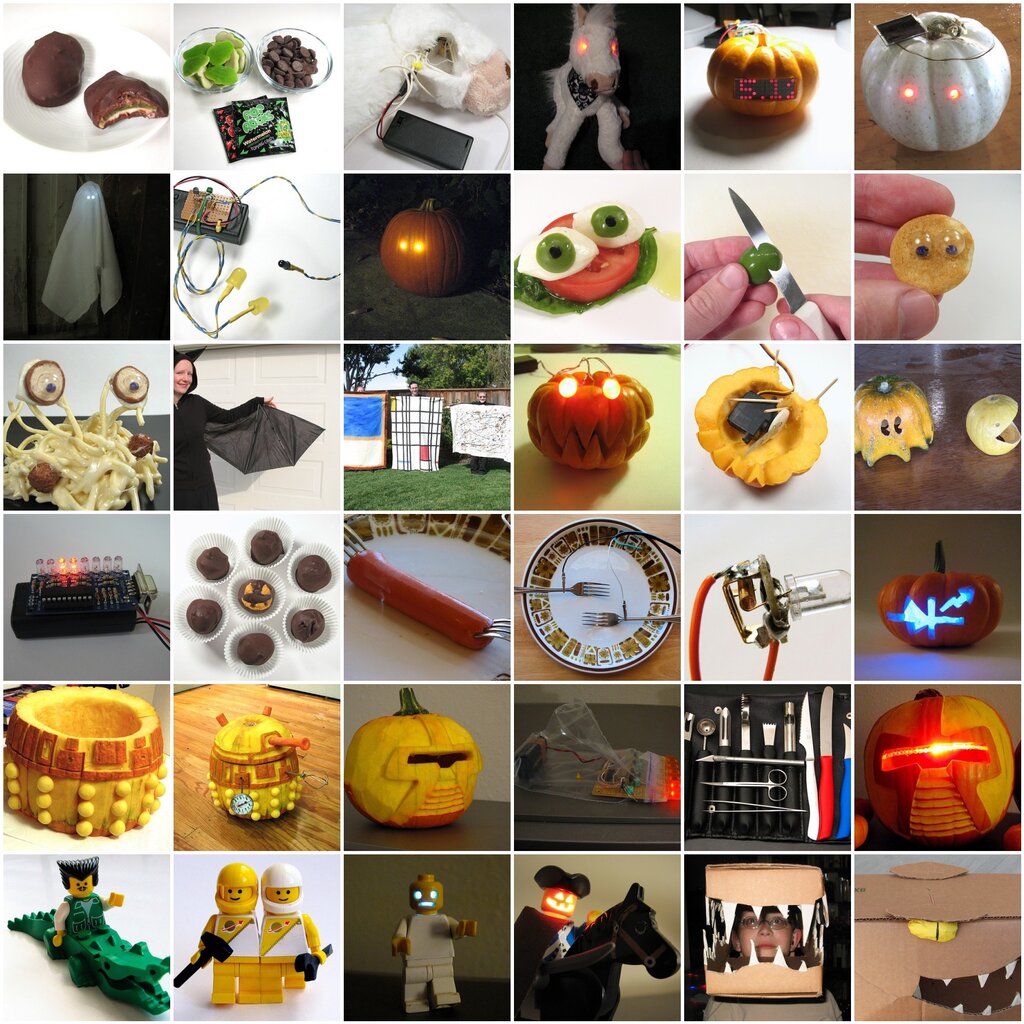
Time to get ready for Halloween
Digi-Key sends cat toys

Ice Cream Gyoza
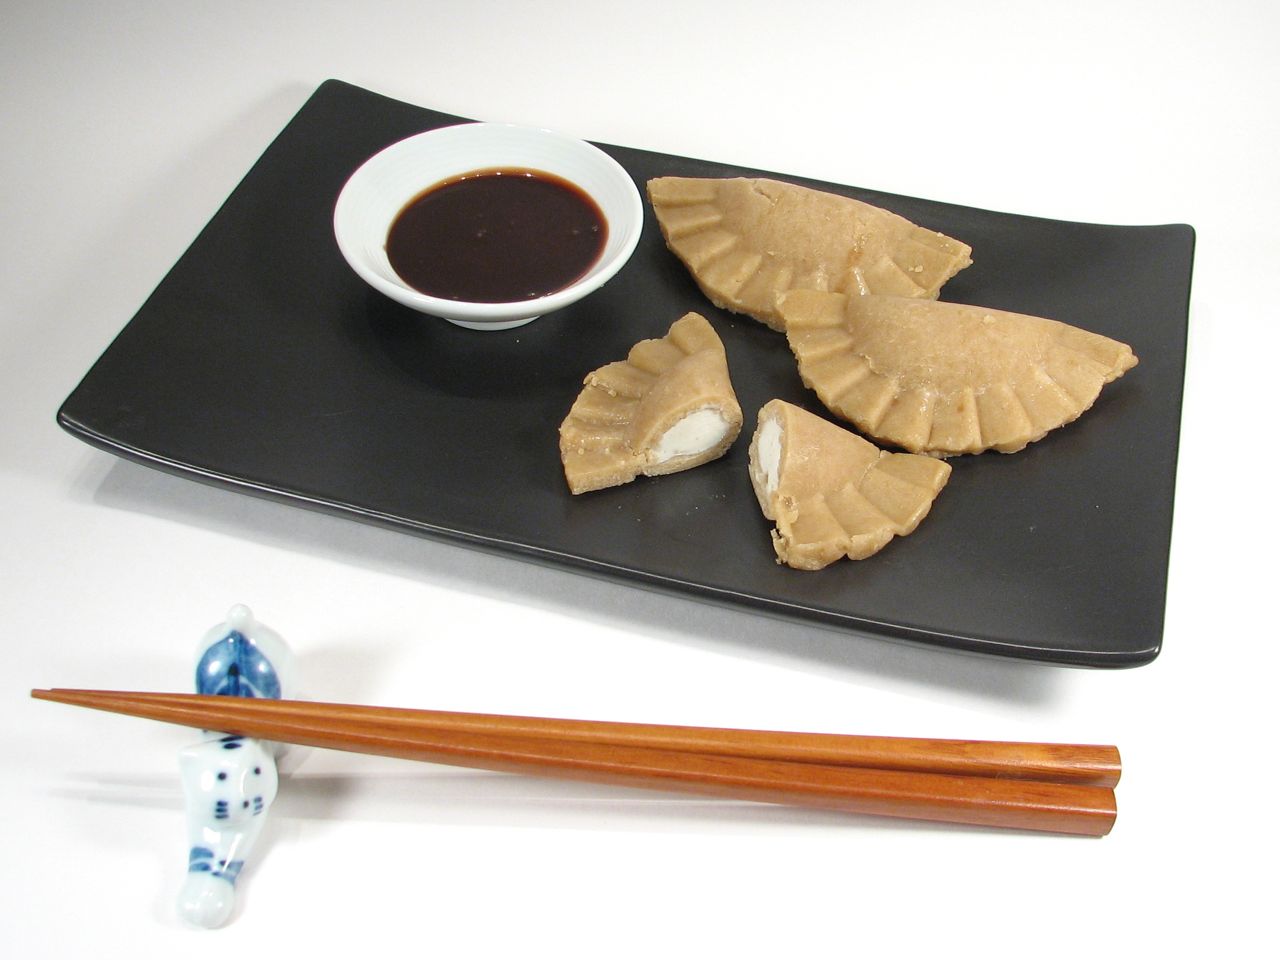
Gyoza, or Japanese potstickers, are not normally served with chocolate fudge sauce, but ice cream gyoza are!
Here’s how to make your own cookie dough and ice cream dessert gyoza.
Peggy goes wild
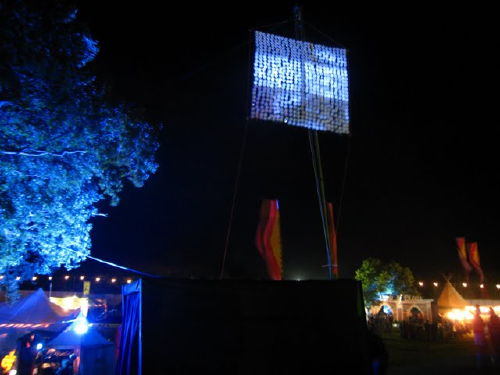
The Peggy 2 board is not small by PCB standards, but it was just not big enough for a couple of folks.
 MonsieurBon built a Giant LED Board based on the Peggy 2 circuit with a 30 x 30 display area. Here’s his photoset and video on YouTube.
 Dave took his Peggy 2 and mounted his LEDs off board for his u:moon project. Here’s the project page and video and photos.
You can read about more Peggy 2 projects in our earlier story, The Peggy Strikes Back.
Remaking a portable stool
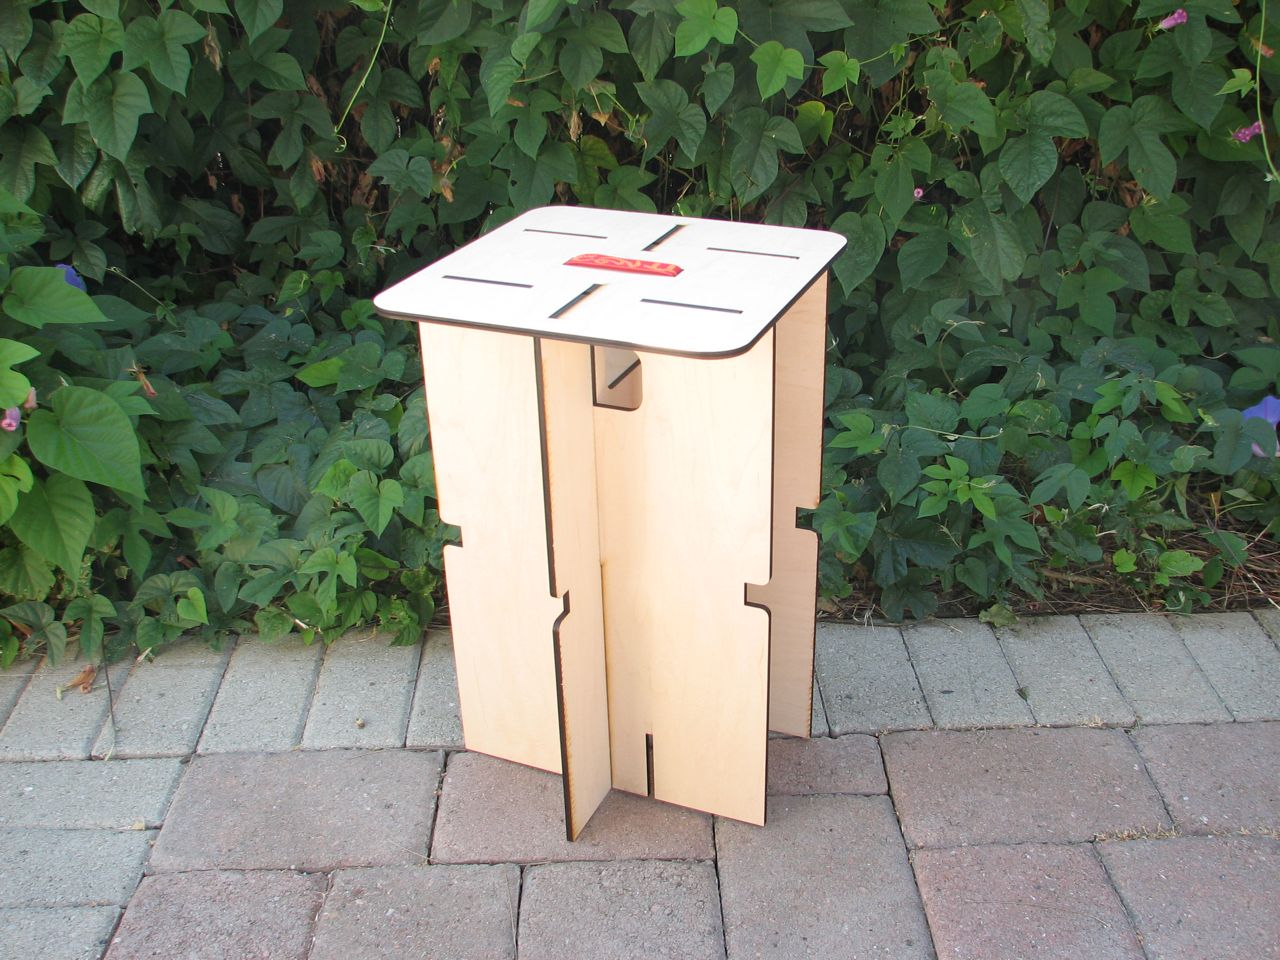
My grandfather used to make portable stools from a couple of thin pieces of wood that tied together with a simple string. Growing up we usually had a couple of these “tie stools” conveniently stashed around the house, and we always got them out for backyard barbecues and took them with us when we went camping.
Although my woodworking skills are nowhere near what my grandfather’s were, we’ve been inspired by that stool to play around with making small, lightweight furniture that can be disassembled, stacked flat and tied together for easy transport. My first try was pretty wobbly, and felt like a little twist would splinter it. A couple of revisions later, I have a reasonably sturdy stool that is held together with a nylon strap. The leg pieces are notched on the sides so that when they are stacked together, the strap on the seat piece can be used to hold all the pieces together. There are handles cut into the leg pieces as well for easy carrying.

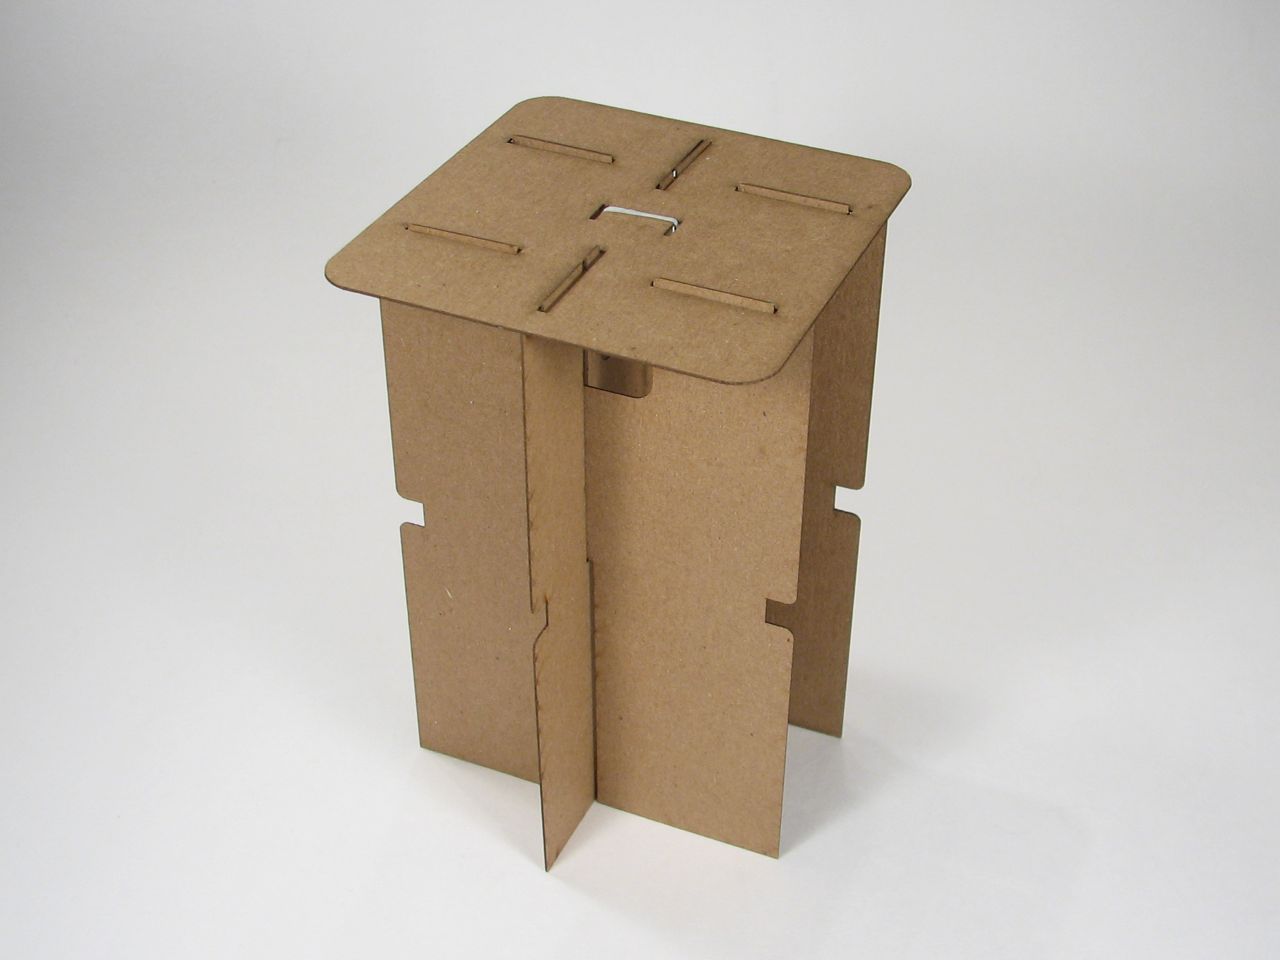
While plywood is inexpensive and a reasonable material for prototyping, miniatures in paperboard are much faster to make and are a pretty good analog for the behavior of the wood.

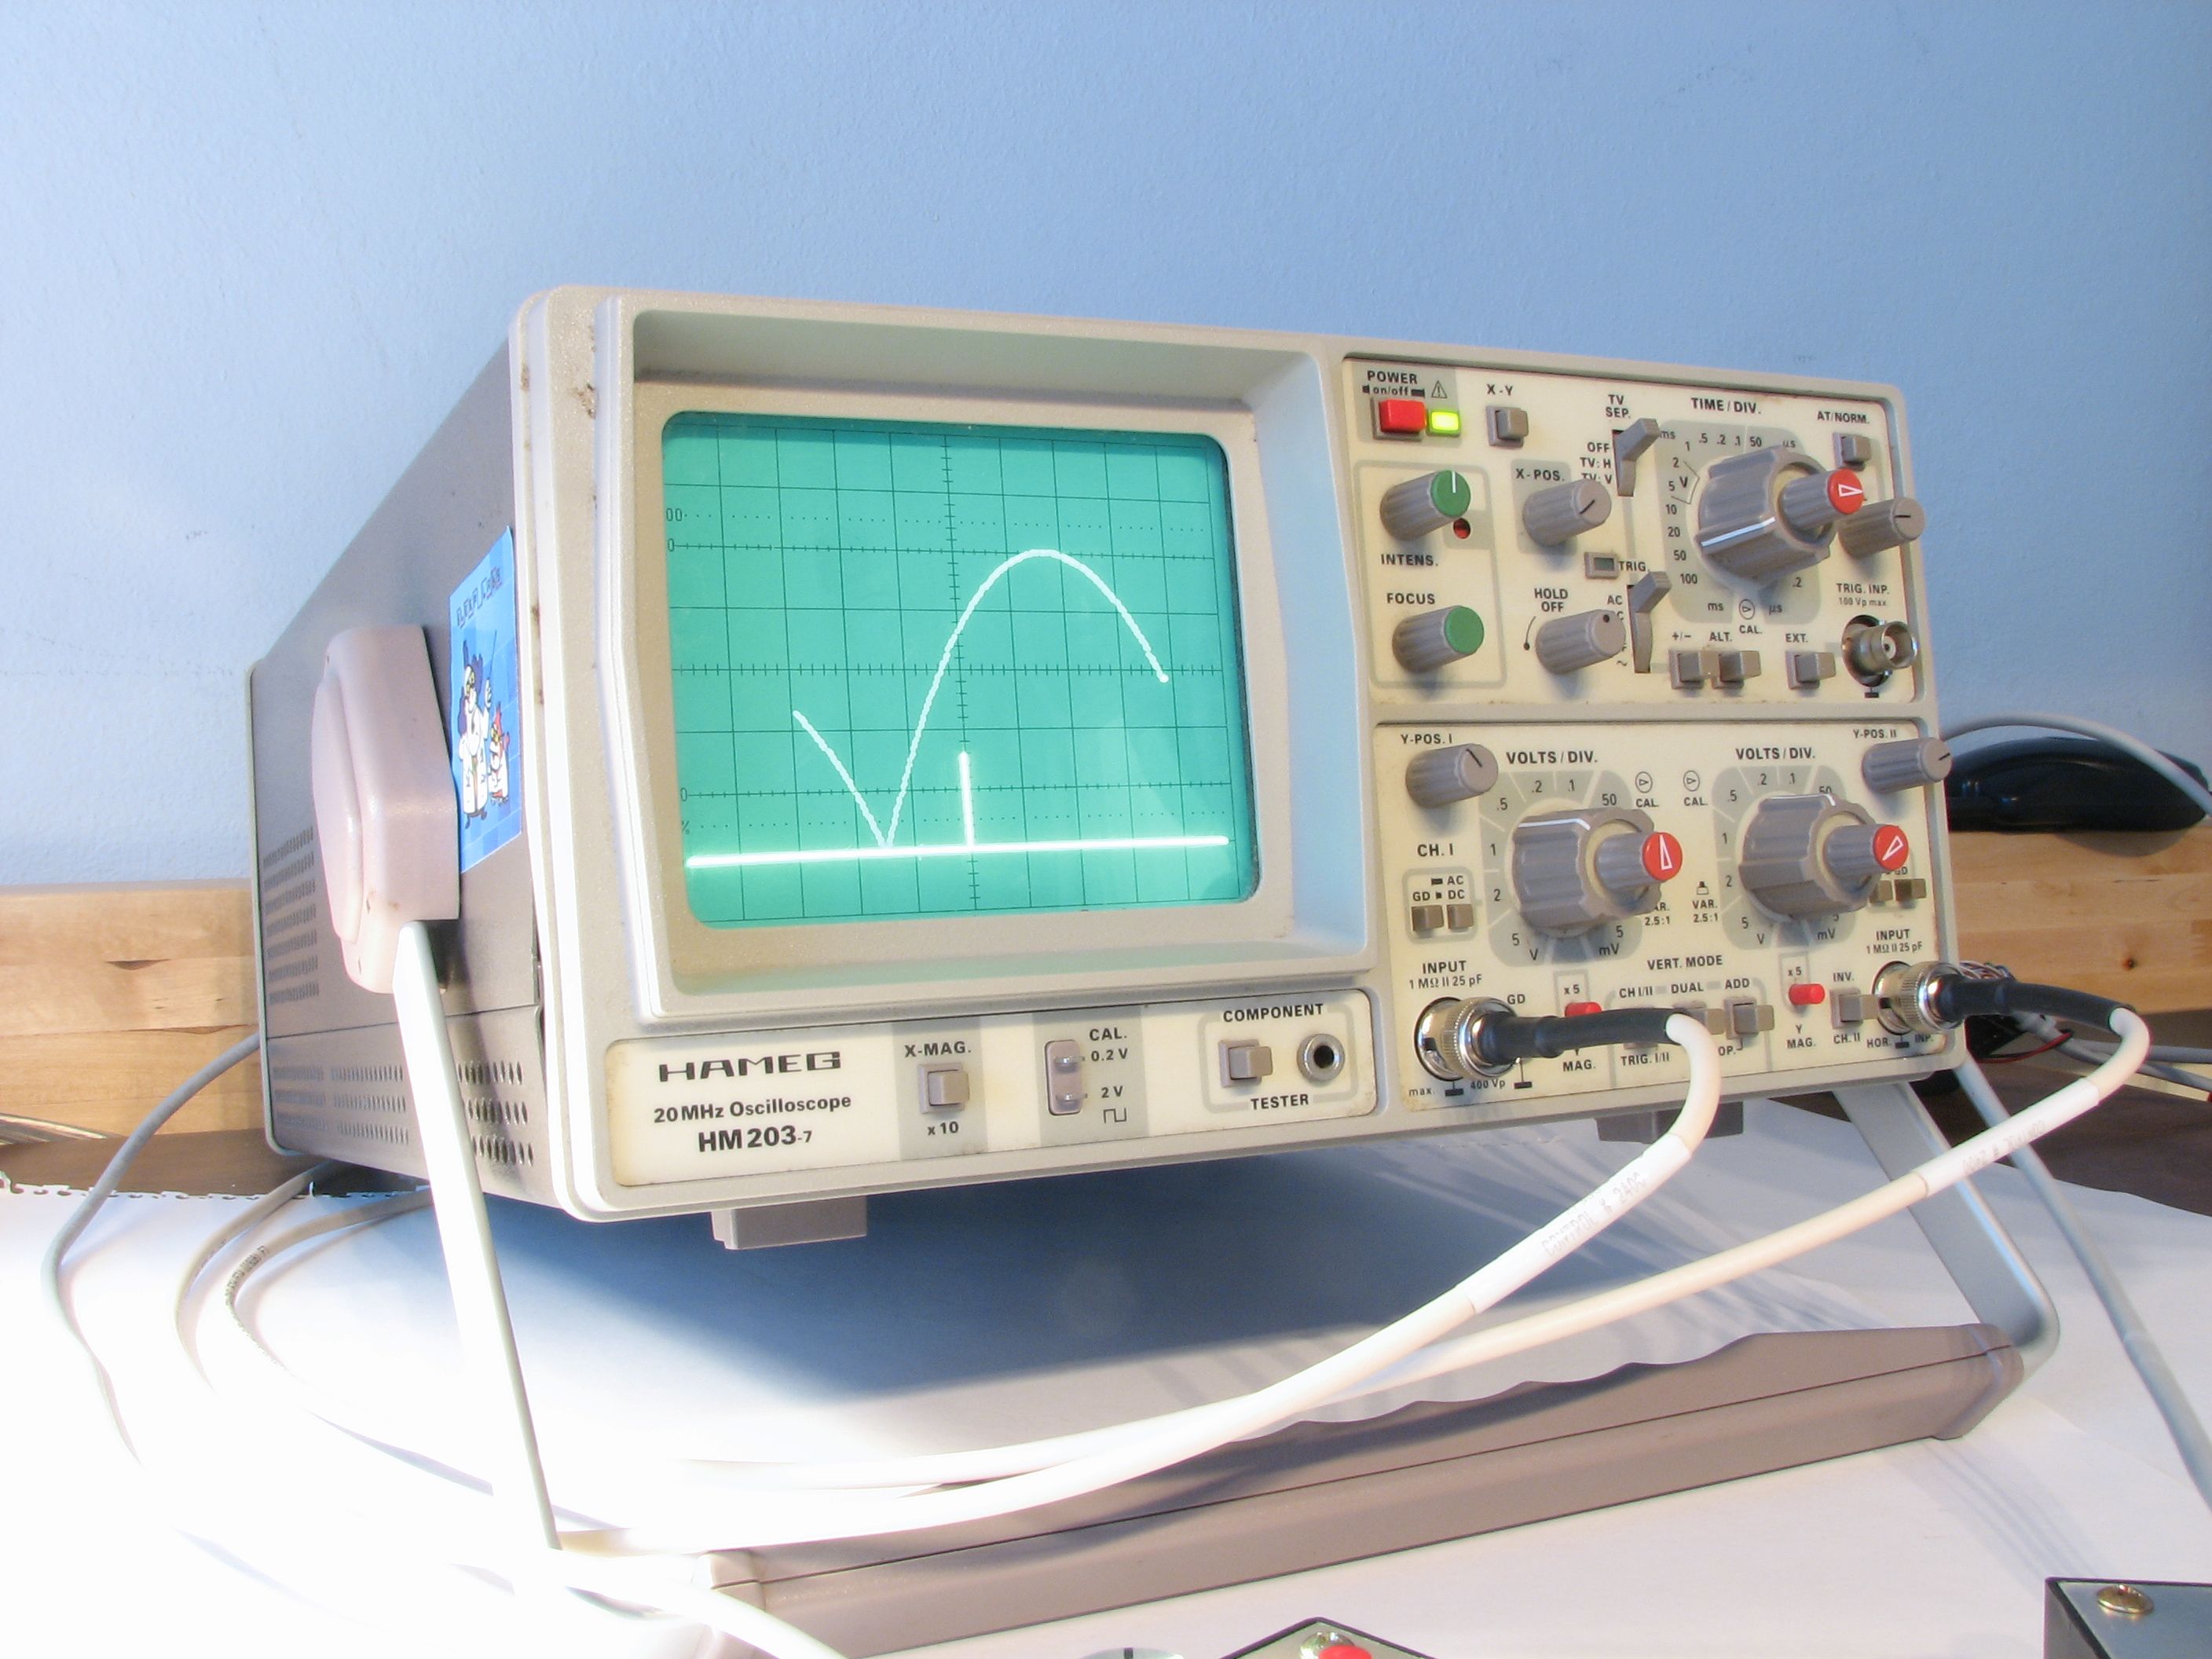
More Tennis for Two
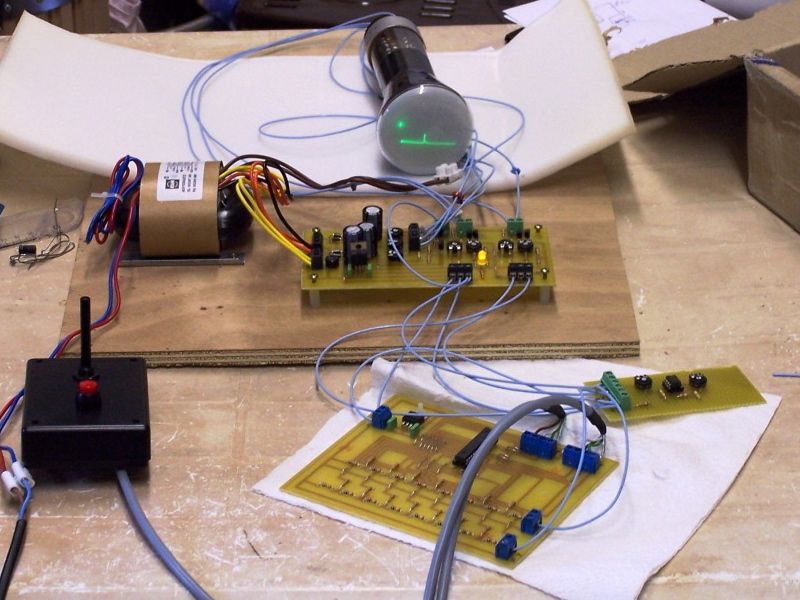
Romain saw our post on our Tennis for Two project and decided he wanted to make his own. He ordered a preprogrammed microcontroller from us and got to work. Once he was done, he was kind enough to share build photos and circuit diagrams with us.
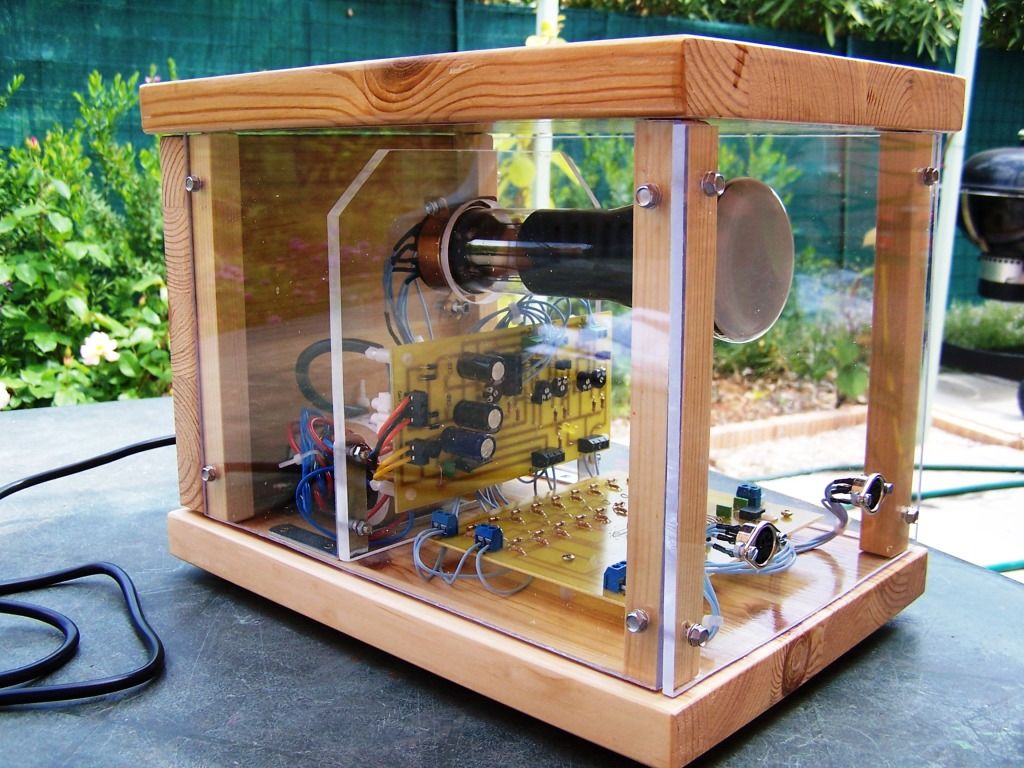
Since he was starting with a bare CRT rather than a full scope, he built a wood and plexiglass enclosure which shows off the electronics very nicely.
We’re glad to see really retro gaming getting the attention it deserves!
