

My Classic Lego Space flight jacket project appears starting on page 70 of the current issue of Make: Magazine, Volume 39. You can find the complete instructions on our blog, here.


Part of our continuing coverage of highlights from the 2014 Bay Area Maker Faire.
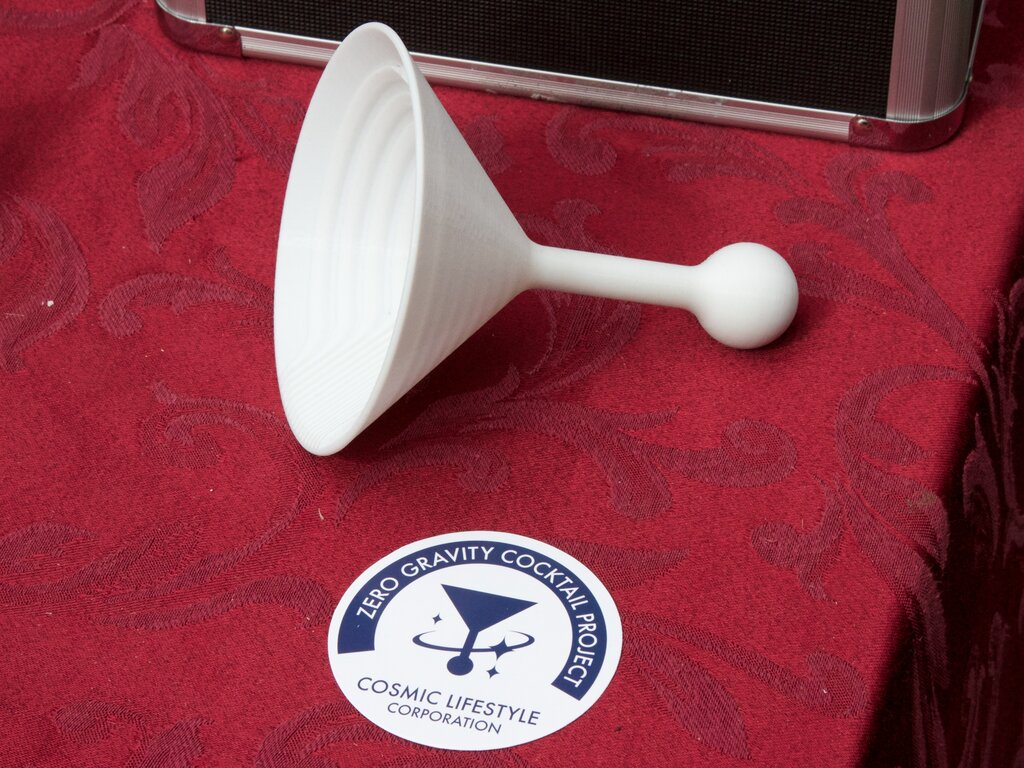
The Zero Gravity Cocktail Project from the Cosmic Lifestyle Corporation aims to make a cocktail glass suitable for drinking fluids in zero-G:
The Zero Gravity Cocktail Project is an attempt to bridge the gap between the space tourism vision and mainstream reality. By creating a fun object that appeals to many people, we hope to show that space tourism is not an abstract concept but a stepping stone for improving the way people live, work, and play beyond planet Earth.
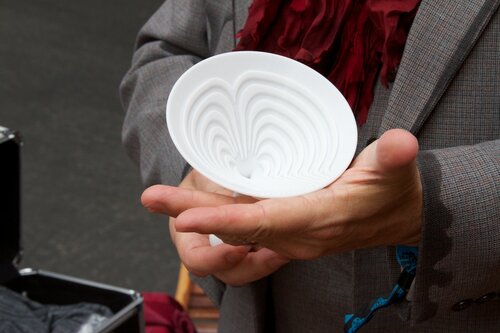
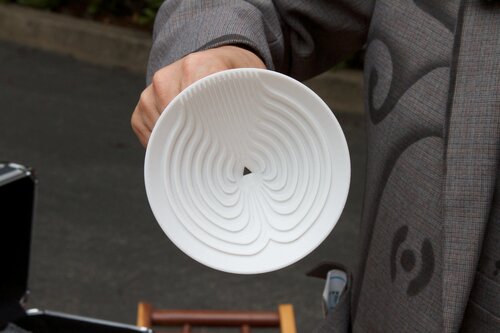
Fluids don’t behave the same in outer space, so a glass would have to have quite a different design, relying on capillary action not gravity to move them from point A to B. Channels guide the fluid from stem to rim.
These are 3D printed prototypes of white plastic. Future versions might be 3D printed from clear biocompatible plastic, or made of glass or stainless steel.
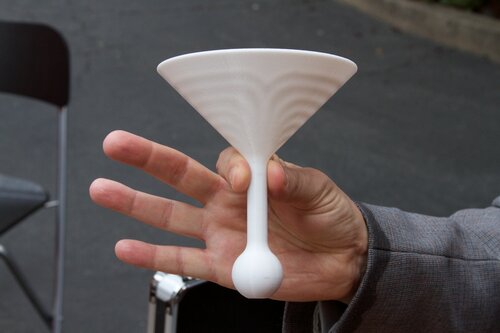

The glass has bulbous bottom with a hollow stem, for balance and fluid delivery. A rubber one-way valve can be inserted into the bottom to allow the glass to be refilled as you drink. They have also made an earthbound variant of this glass that has a more traditional base, allowing it to be set down, when gravity permits.
We’re secretly hoping that the next version includes a way to suspend your olive in the middle of the conical section, no toothpick required.
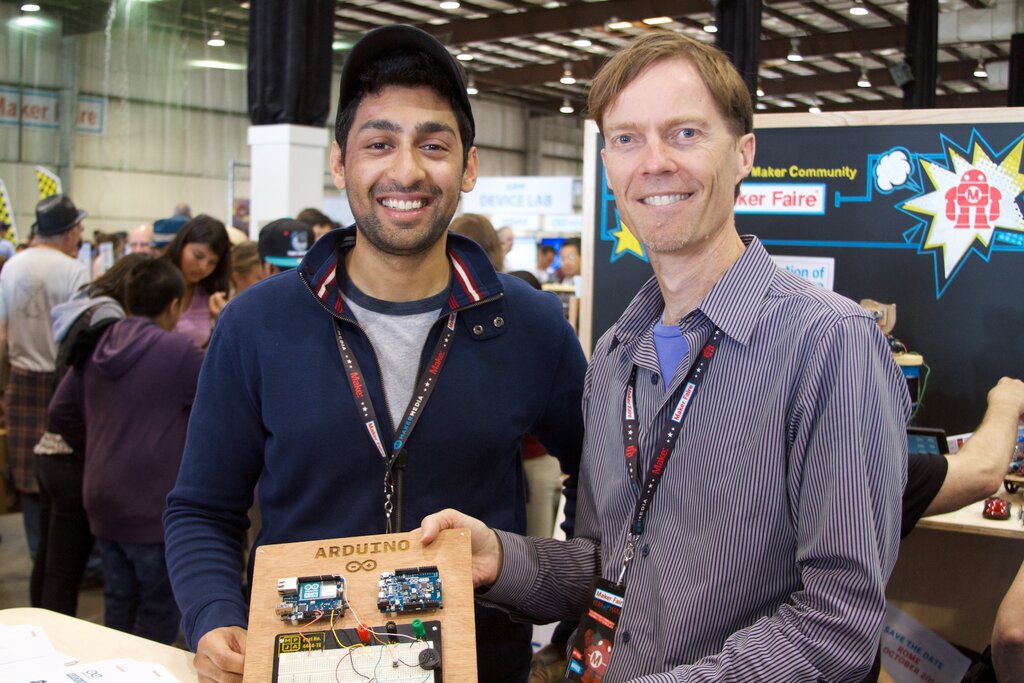
The 2014 Bay Area Maker Faire was an amazing, amazing event. We took hundreds of photos, which we have posted in a flickr set here. Here are just a few of the highlights— both technological and artistic, and we’ll be featuring several more over the course of the next week or so.
(Above: Rolf and Abhishek show off the new Arduino Zero in the Arduino booth.) Continue reading Highlights of the 2014 Bay Area Maker Faire

Over at OSHWA.org (of which I am a board member), there’s a blog post about different Creative Commons license choices, and their implications for open source projects:
The reason is that there is not a single entity called the “Creative Commons license.” Rather, Creative Commons offers a number of different licenses that can apply some rights and protections to your work, including the CC-BY and CC-BY-SA licenses which reflect open source values closely. […]
Creative Commons also offers licenses that carry restrictions — against commercial use and/or derivative works — that are strictly incompatible with open source. The open source hardware definition states that a license for open source hardware “[…] shall allow for the manufacture, sale, distribution, and use of products created from the design files, the design files themselves, and derivatives thereof.” Thus, if you choose to release hardware under the banner of “open source,” that means that you agree to allow others to use your design commercially, as well as to create derivative works (and to use them commercially). Consequently, you cannot advertise your project or product as “open source” if it carries restrictions against either of those uses.
Image CC-BY creativecommons.org.
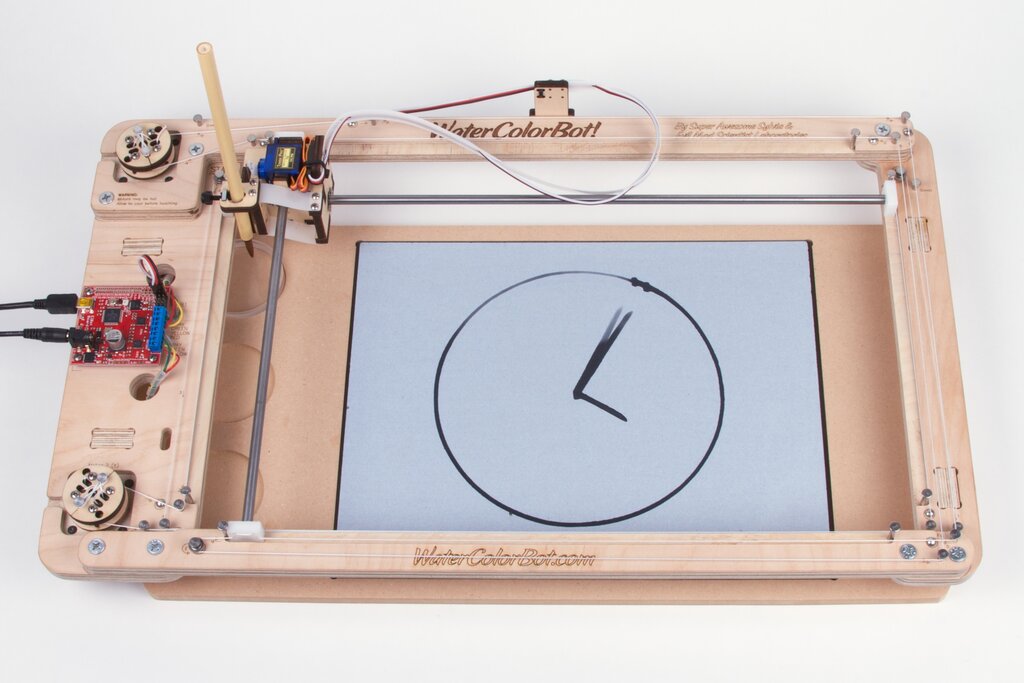
We built a evaporating-hand water clock using a WaterColorBot fitted with a Buddha Board. The Buddha Board is a black board with a gray ceramic coating that becomes transparent when wet, so you can paint on it with plain water to make black marks that disappear as the water evaporates. (And, it fits nicely in a WaterColorBot with the appropriate jig.)
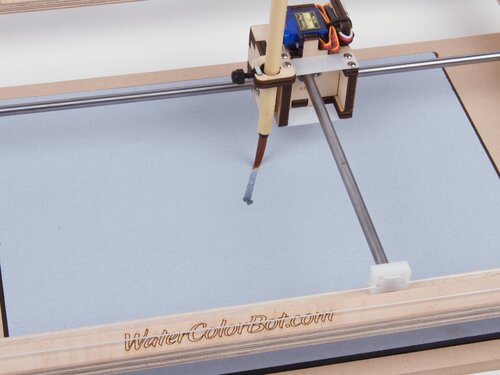

As a clock, once a minute it draws the minute hand, then the hour hand, and finally the outline of the clock face.
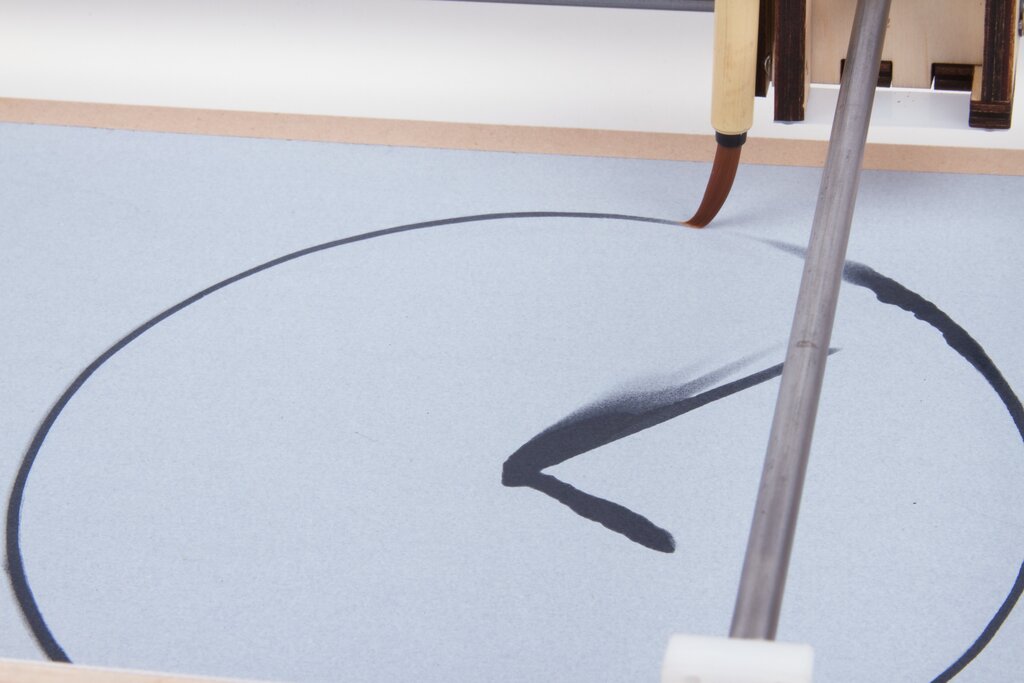
As the water evaporates over the course of a few minutes, the old minute hands fade away. It’s a neat effect.
And of course, video:
Continue reading A WaterColorBot Water Clock
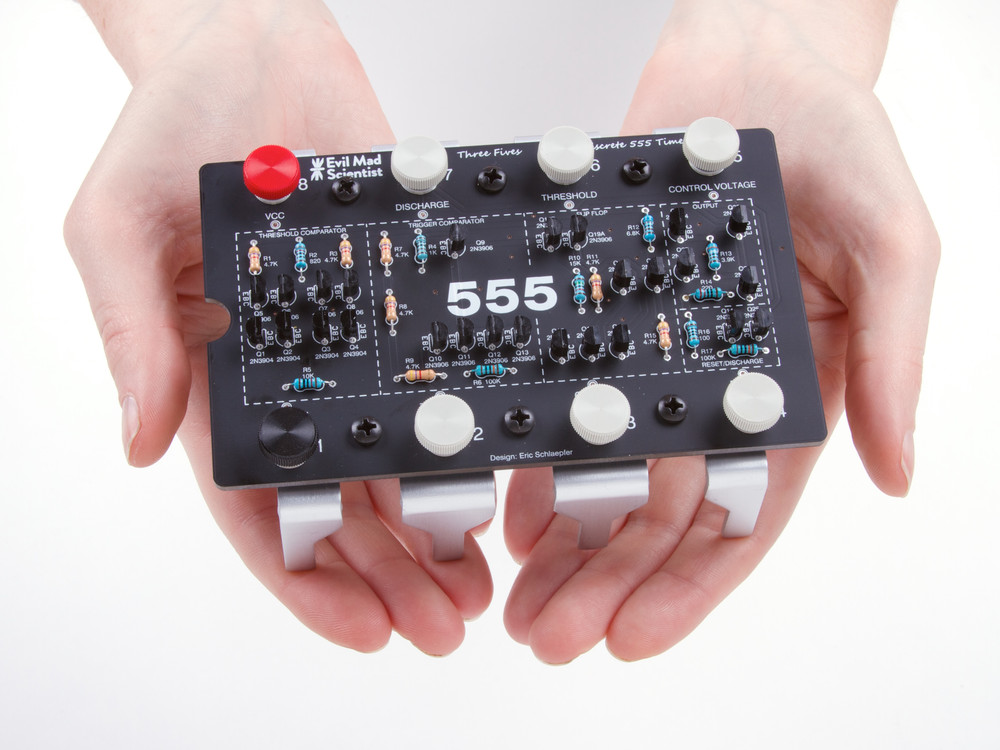
Today we’re introducing version 2.0 of our “Three Fives” Discrete 555 timer kit. Version 2.0 has a number of little tweaks and improvements, with a cleaner design and — coolest of all — an all-new set of smooth anodized aluminum legs.
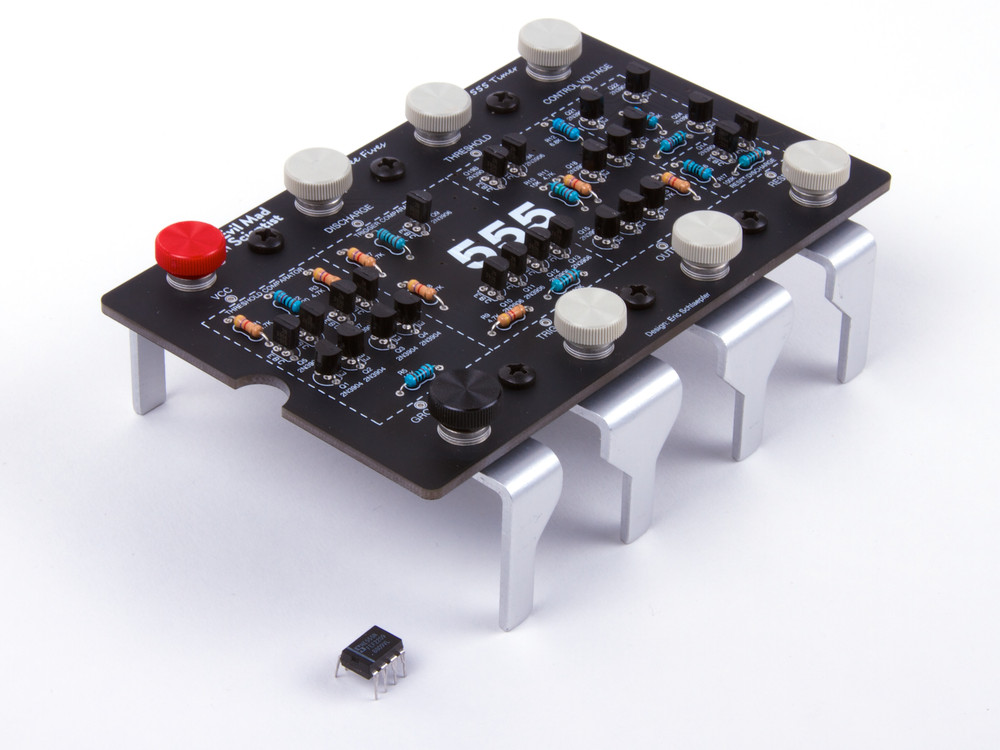
The Three Fives kit is a faithful and functional transistor-scale replica of the famous 555 timer integrated circuit — one of the most popular and well-loved chips of all time. (An original NE555 IC is shown above for scale.)
We are also releasing the first version of our educational supplement for the Three Fives kit: A detailed description of how the 555 circuit actually works, with plenty of opportunities for further exploration. You can find it on the downloads section of the product page or on our documentation wiki.

The Call for Papers is now open for the 2014 Open Hardware Summit. This year’s summit will be September 30 and October 1 in Rome, Italy.
The Open Hardware Summit is the annual conference organized by the Open Source Hardware Association and the world’s first comprehensive conference on open hardware; a venue to discuss and draw attention to the rapidly growing Open Source Hardware movement. Speakers include world renowned leaders from industry, academia, and the maker community. Talks cover a wide range of subjects from electronics and mechanics to related fields such as digital fabrication, fashion technology, self-quantification devices, and DIY bio. Workshops focus on, but are not limited to, education, manufacturing, design, business, and law.
The call is on a short schedule this year: Submissions are due by 25th of May 2014.

Over at Thingiverse, user gkrangan posted this wacky contraption: A machine to write with a stylus on a Boogie Board e-writer, built from PrintrBot Simple frame components, along with EggBot electronics and the pen-holder. It’s driven through the EggBot extensions for Inkscape.
I was initially taping an index card onto the print platform for testing purposes, but when I saw this Boogie Board at a toy store, it seemed like a perfect choice to be used as the writing surface. One can draw/write anything on it, and erase with a press of a button. Of course, it can still be removed and any other suitable surface can be taped or mounted on the print platform, as necessary.
Printer Egg Boogie Board Bot @ Thingiverse

Wearing my OSHWA hat, I’ll be giving a talk about Open Source Hardware at this year’s Bay Area Maker Faire:
Best Practices for Open Source Hardware in 2014
In the past year OSHWA, the Open Source Hardware Association, has worked with the community to develop a modern list of best practices for designing, releasing and building upon existing open source hardware projects. Windell Oskay, Vice President of OSHWA, will discuss recommended approaches, touching upon open source design tools, documentation, hosting, licenses, and other current issues. Time permitting, we will also take questions from the audience.
The talk is scheduled for Saturday, May 17, 4:45-5:00 pm. You can find the rest of the center stage schedule for Maker Faire right here.
