All posts by Windell Oskay

About Windell Oskay

Co-founder of Evil Mad Scientist Laboratories.

Basics: Base Resistors on Transistors

highside-good

Our reader Jon wrote in with a question about our open collector tutorial:

I really appreciated the tutorial, and I was able to follow along and understand it very well. One question I had was – what is the purpose of the 1 kilo-ohm resistor that is connected to the base of the PNP transistor? Because when the open collector is ‘high’ then the base of the transistor is at 12 V and it appears the 1 kohm resistor didn’t affect anything, and then when the open collector goes ‘low’ then the base is connected to ground through the output of the SN7407. So basically, what would the difference be if there was no 1 kilo-ohm resistor at all?

And, that’s actually an excellent question, about something that we usually gloss over.

The short answer is that this is a “base resistor” that we use to limit the maximum current that flows through the base of the PNP transistor.  But, let’s take a look in a little more detail, and see what would happen if we didn’t have that there.

Continue reading Basics: Base Resistors on Transistors

Making the Legs for the 555 Kit

555 Legs 1

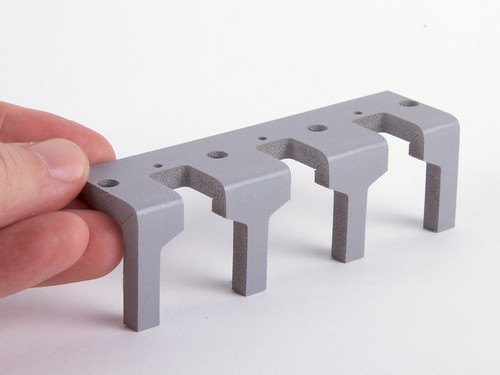
This past week we introduced our “Three Fives” discrete 555 timer kit, which comes with a set of “legs” to make it look like a (DIP packaged) integrated circuit. In that introduction, we mentioned that the legs are machined and formed from PVC foam. But what exactly does that mean? Here (in gory step by step detail) is how we make them!

Continue reading Making the Legs for the 555 Kit

The “Three Fives” Discrete 555 Timer Kit

555 kit

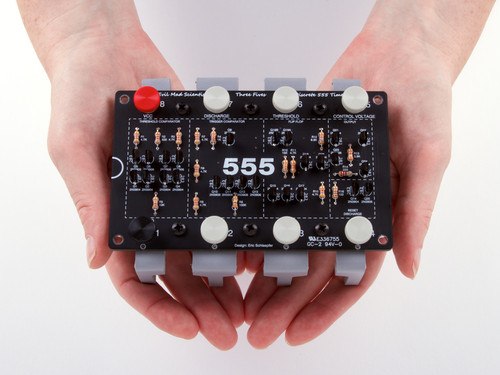
We’re pleased to announce our newest kit, the “Three Fives” Kit, a kit to build your own 555 timer circuit out of discrete components. Here’s a way to re-create one of the most classic, popular, and all-around useful chips of all time.

The kit is a faithful and functional transistor-scale replica of the classic NE555 timer integrated circuit, one of the most classic, popular, and all-around useful chips of all time. The kit was designed and developed as a collaboration with Eric Schlaepfer, based on a previous version (pictured here), and adapted from the equivalent schematic in the original datasheets for the device.  There have been a few other examples of circuits like these (such as the one that we featured in our article about the 555 contest), but we really like how this one has come together.

555 kit

The kit is designed to resemble an (overgrown) integrated circuit, based around an extra-thick matte-finish printed circuit board. The stand— which gives the circuit board eight legs in the shape of DIP-packaged integrated circuit pins —is made from machined and formed semi-rigid PVC foam.

555 kit

To actually hook up to the giant 555, there are the usual solder connection points, but there are also thumbscrew terminal posts that you can use with bare wires, solder lugs, or alligator clips.

555 kit

One of the really cool things about having a unintegrated disintegrated discrete circuit like this is that you can actually hook up probes and monitor what happens at different places inside the circuit.

555 kit

So that’s our new “Three Fives” Kit (shown above with an original NE555 for scale). It’s not quite as big as our 555 footstool, nor as tasty as our edible version, but it’s a great little circuit, and it’s got legs.

Roundup: Simple LED Projects

SimplePumpkins - 11

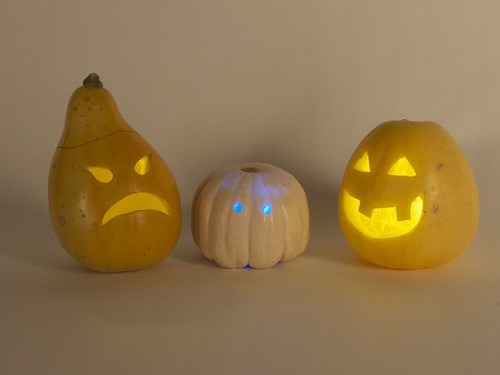
We’ve put together a roundup of our simplest LED projects; easy things to put together mostly with a bare LED and a coin cell.

Pictured above, Basics: Simple LED Pumpkins

Headless horseman LED Ghostie

How to hack LEDs into Lego minifigures for Halloween, and LED Ghosties for Halloween

urchin - 13 RoboGames Awards (on)

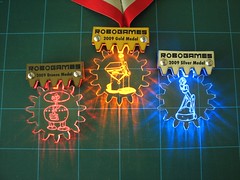
LED-lit sea urchin shells, RoboGames Awards

5 mm warm white diffused-lens LED Throwies - 03

Picking resistors for LEDs  and Some thoughts on throwies

lanterns - 11

Quick, easy, temporary, and beautiful LED garden lights

toner - 15 Soft Circuit Merit Badge14

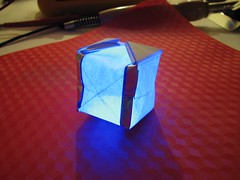
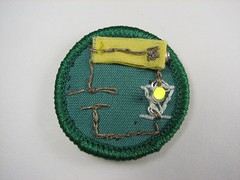
Paper Circuitry at Home: Electric Origami, and the Soft circuitry merit badge

EdgeLitCard - 49 Edge Lit Cards

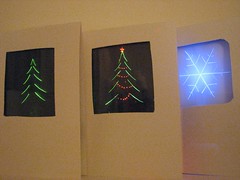
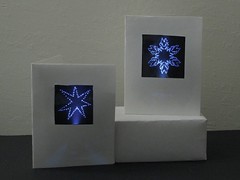
Edge-lit holiday cards and part II, Refining edge-it holiday cards

WaterColorBot at Kickstarter: One Day Left

WaterColorBot Drawing
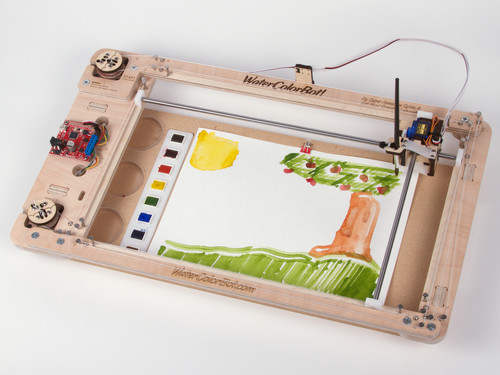
The Kickstarter campaign for Super Awesome Sylvia’s WaterColorBot is almost at a close, with just 24 hours remaining; it winds up tomorrow (Thursday) morning, at 7 AM eastern time.

So, if you haven’t signed up yet— and you think you might like to —this would be a great time to do so. If you’d like to learn more about the WaterColorBot, we’ve written a number of articles here on our blog, and there is also a detailed introduction on the Kickstarter page itself.

And for those of you who have backed our project, we are thrilled to have your support, and to have you along with us as we unleash so many art robots upon the world this fall. We can’t wait to see what kinds of amazing things people will create with them.

WaterColorBot Drawing

Artwork painted on the WaterColorBot by Robert “RoboGenius” Sloan

Laser Marking with Moly

MolyMarking 9

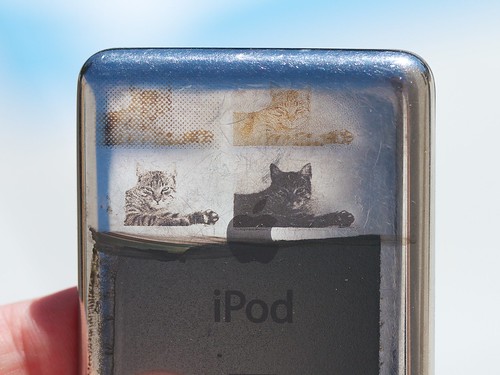
A low power CO2 laser cutter (like the one that we use) is fantastic for cutting and engraving wood, fabric, paper, and plastics. It’s also great for engraving painted or otherwise surface coated metal, like anodized aluminum (for example, making the labels on a Maglite).

However, with only a few exceptions, a laser like this generally falls down flat if you want to cut or engrave a chunk of bare metal. One exception is that you can actually cut through metal if it’s thin enough. Another is that you can make dark marks on metal with the help of a ceramic coating compound like CerMark.  CerMark is sprayed on metal, then blasted with the laser so that it fuses to the surface, leaving a dark, permanent mark. Unfortunately, a spray can of CerMark costs $60, and as it is a specialty item, it may not be easily available when you happen to need it. So what do you do if you need something like this and you don’t have it?
Continue reading Laser Marking with Moly

Three Little Upgrades to the WaterColorBot

WaterColorBot Drawing

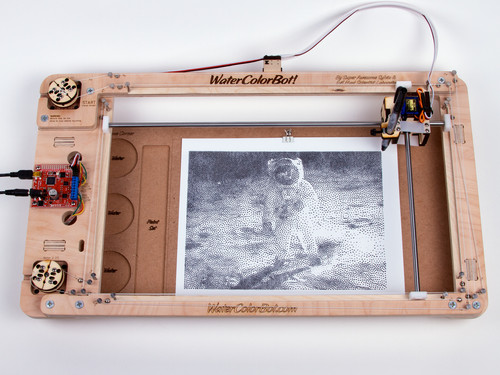
Even while the Kickstarter campaign for our WaterColorBot is in full swing, we’re continuing to improve its hardware design. Here are a select few of the refinements we have made since the last revision that will make the WaterColorBot better for everyone.

Continue reading Three Little Upgrades to the WaterColorBot

Using Artist Grade Materials with the WaterColorBot

watercolorbot paints

One of the questions that we’ve had on the WaterColorbot is about its ability to use higher-quality materials. And in particular, can you use it with fine (artists’) watercolor paints?

The WaterColorBot comes with a starter set of Crayola watercolors. This kind of paint set is great for kids and great for learning how to use the WaterColorBot. And in the United States at least, it’s also easy to obtain direct replacements from your local office or art supply store.

But on the other hand, watercolors like these do not offer the depth or range of color nor the archival quality that professional artists expect and require. And, replacement paint sets may not be so easy to find overseas, or even in less urban areas of the US. Fortunately, you can use the WaterColorBot with other paints, and we’re working on expanding the number of different ways that you can.

watercolorbot paints

The first, easiest solution is to note that the Crayola paint set actually comes with (well, in) a perfectly-sized paint palette; simply rinse out the remaining paint with cold water.

The empty Crayola palette can be reused with tube-based watercolor paints, which are available at art supply stores worldwide. Like dry (pan) watercolors, tube based watercolors are available in many grades, from very inexpensive to fine artists’ watercolor, and in a truly impressive range of colors.
watercolorbot paints

While the the empty Crayola palette is perfectly serviceable, it is a bit flimsy, and we are also planning to offer a couple of more durable permanent palettes as optional accessories for the WaterColorBot.

watercolorbot paints

Here is the first of those accessories: A milled plastic palette for use with tube-based watercolor paints. It’s tough and permanent with eight oval wells.

watercolorbot paints

For artists who prefer to paint from pans (dry paint), our second accessory is a palette that cradles up to eight “standard” half pans, which are one of the preferred shapes for artists’ watercolors. The word “standard” is in quotation marks because there is actually quite a range of variation in the size of half pans; this particular palette is sized for Winsor & Newton (and Cotman) watercolors. We also plan to offer other holders to fit half pans from other manufacturers.

And what about paper?

The WaterColorBot is designed to fit 9×12” paper, which is one of the most common sizes for watercolor paper. Heavier and finer grades of paper (140 Lb, 300 Lb) can be used without issue, and standard methods for affixing paper to the board– such as tape and tacks –will work just fine. Larger sheets of paper can be cut down to fit, and smaller paper– including A4 and US letter –can be used, although you may need to pay attention to the margins.