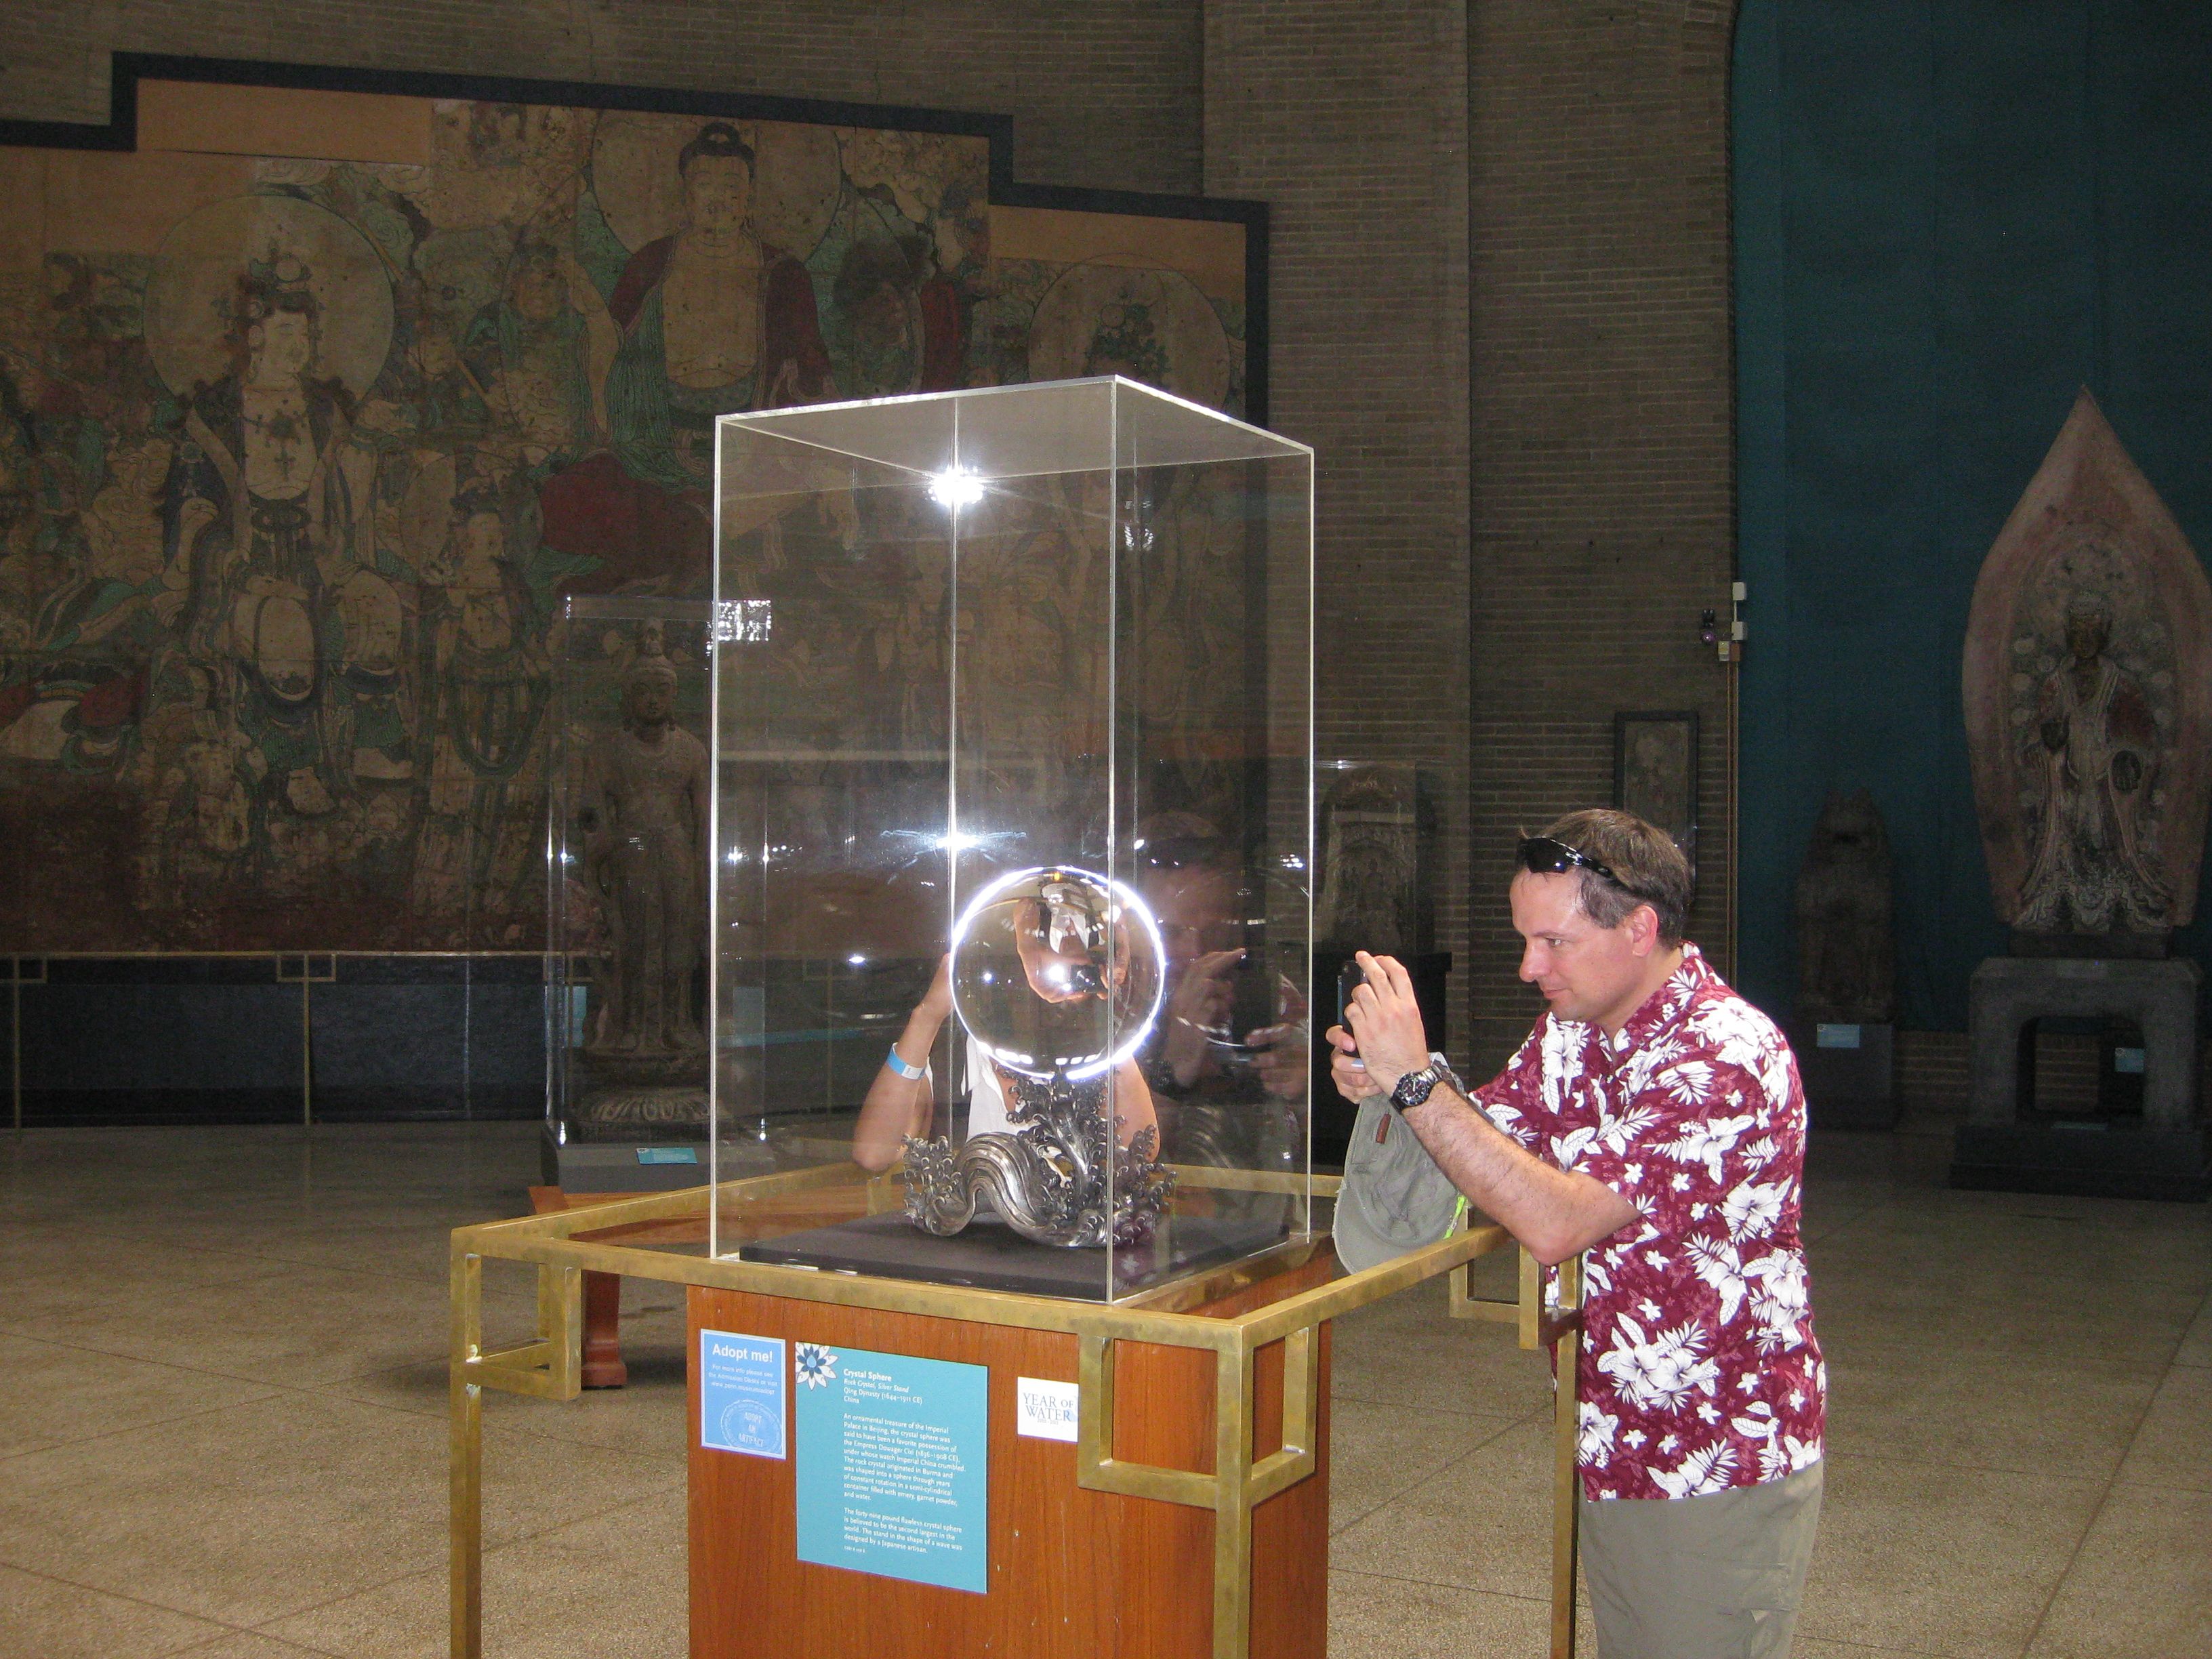
 For a higher-quality image– without the display case– take a look here.
Here is what the display placard has to say:
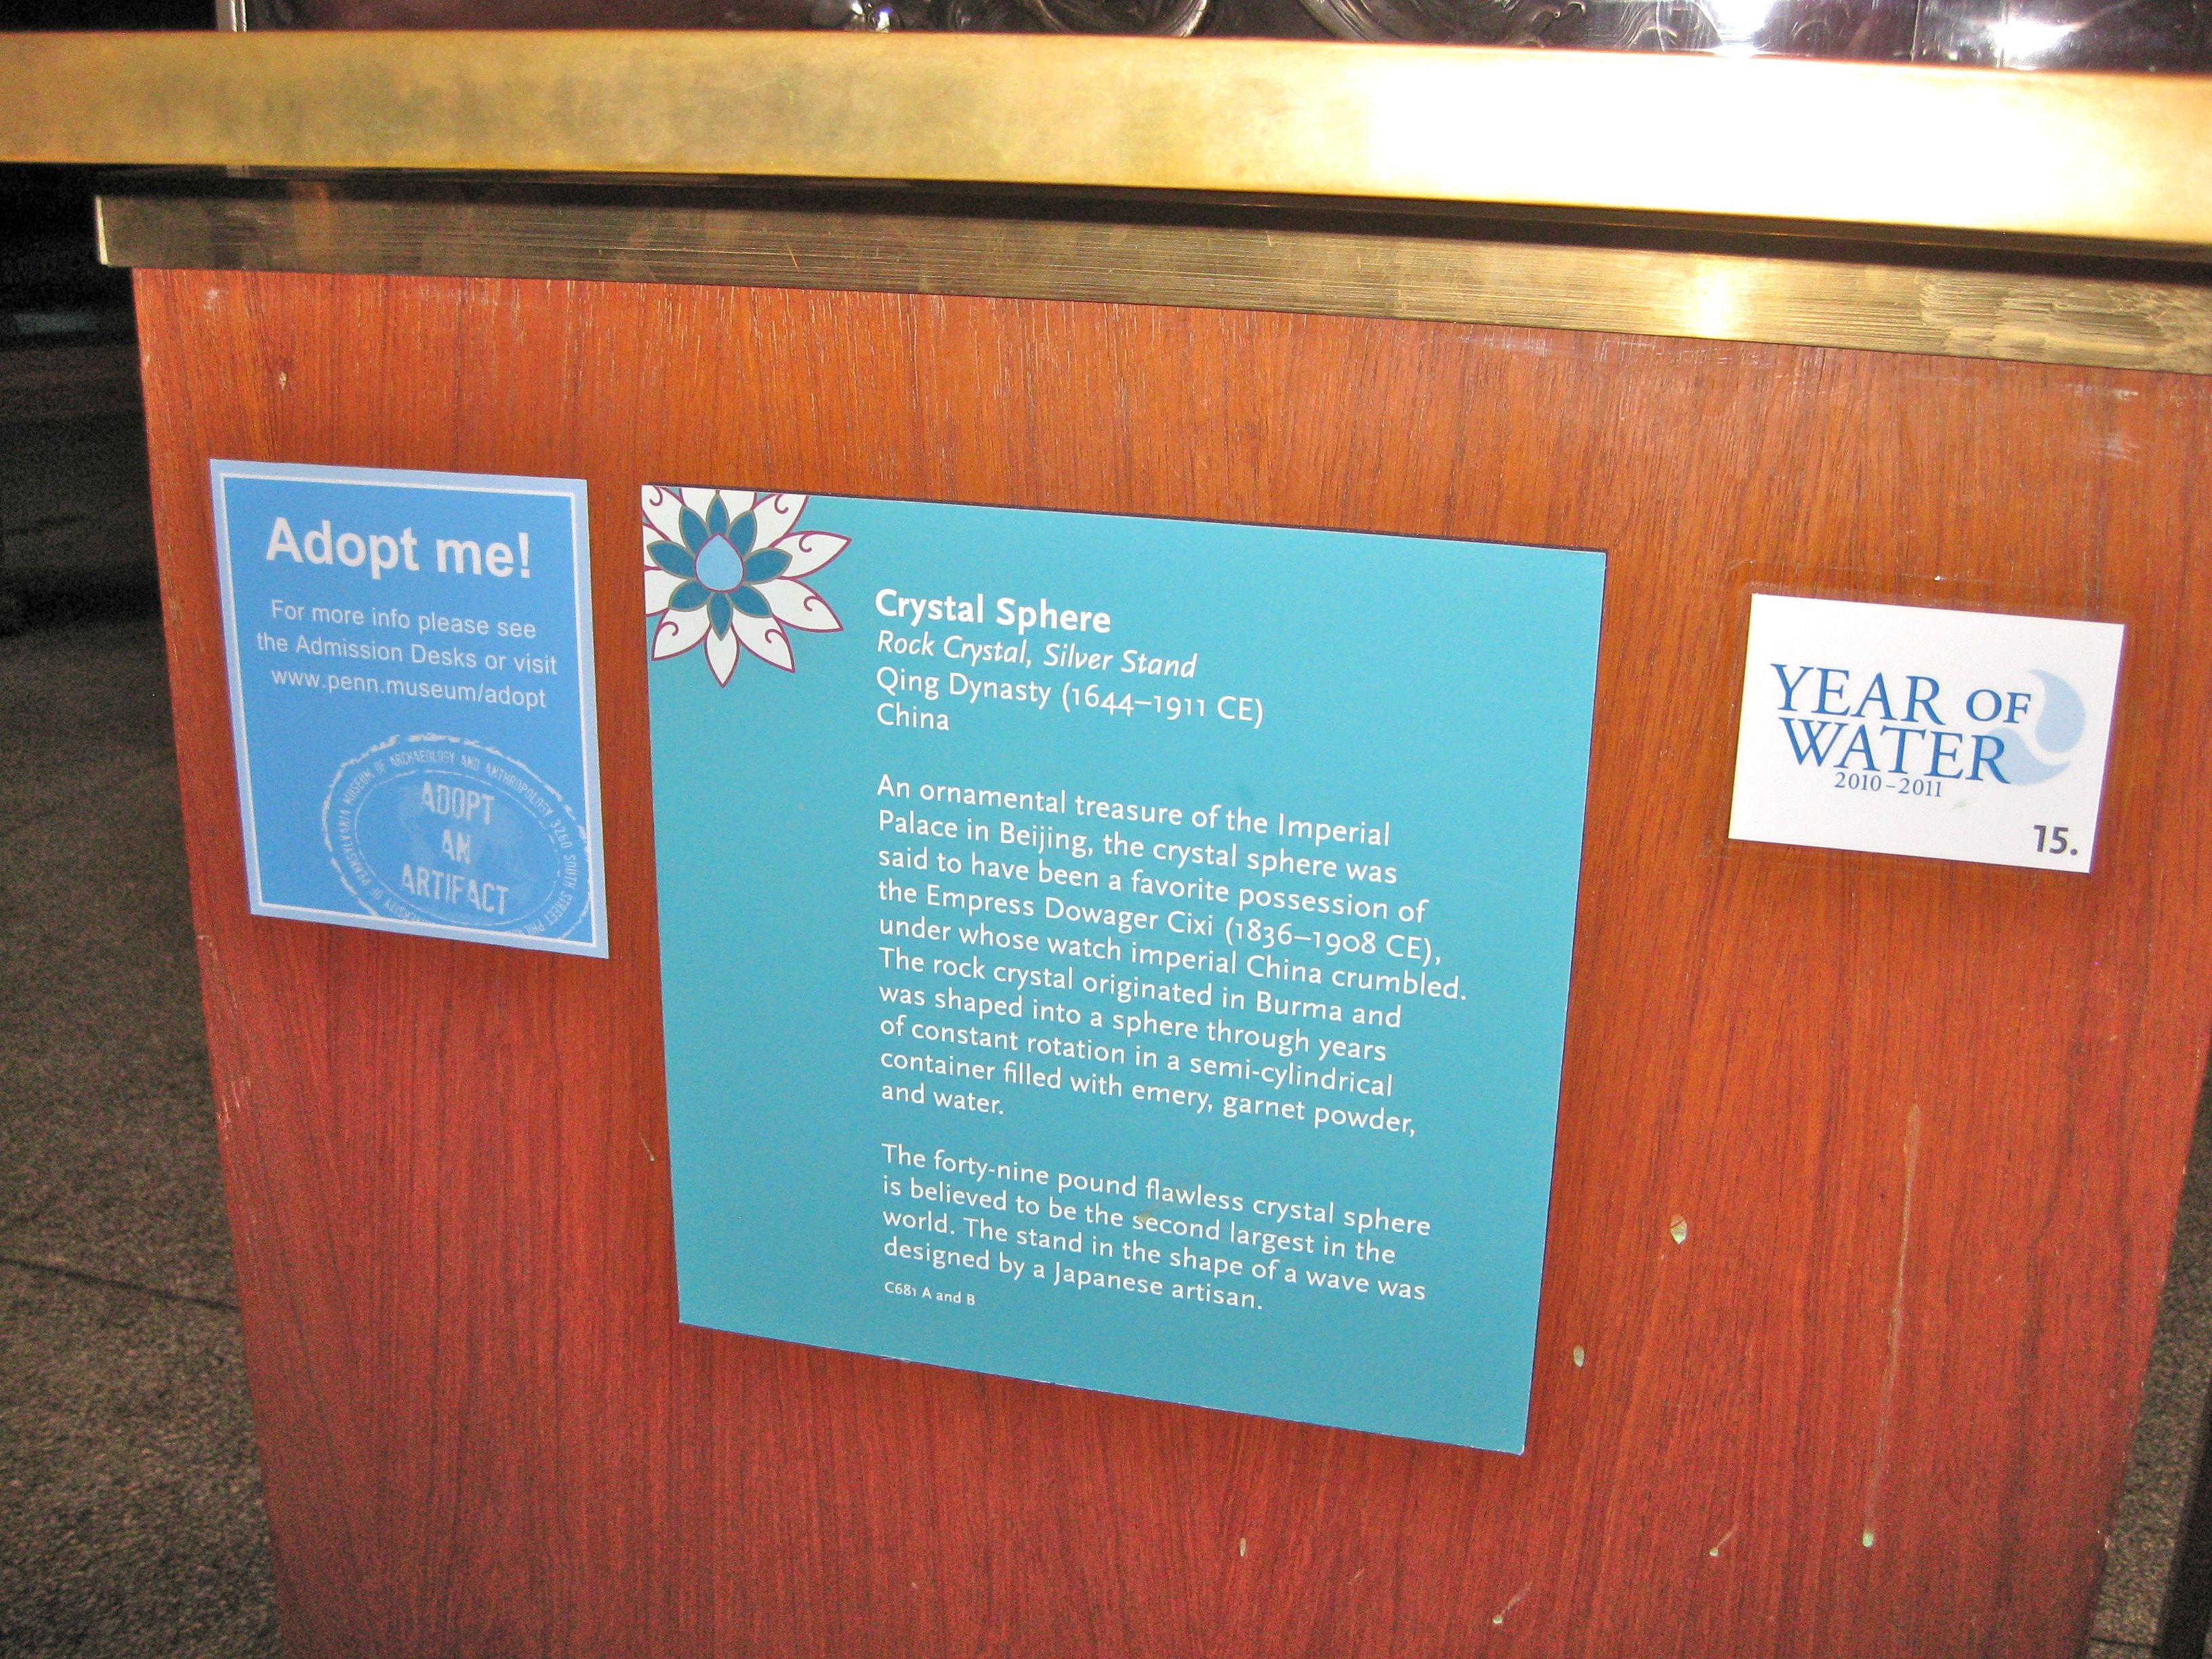
“Crystal Sphere
Rock crystal, Silver Stand
Qing Dynasty (1644-1911 CE)
China
An ornamental treasure of the Imperial palace in Beijing, the crystal sphere was said to have been a favorite possession of the Empress Dowager Cixi (1836 -1908 CE), under whose watch imperial China crumbled. The rock crystal originated in Burma and was shaped into a sphere though years of constant rotation in a semi-cylindrical container filled with emery, garnet powder, and water. The forty-nine pound flawless crystal sphere is believed to be the second largest in the world. The stand in the shape of a wave was designed by a Japanese artisan.”
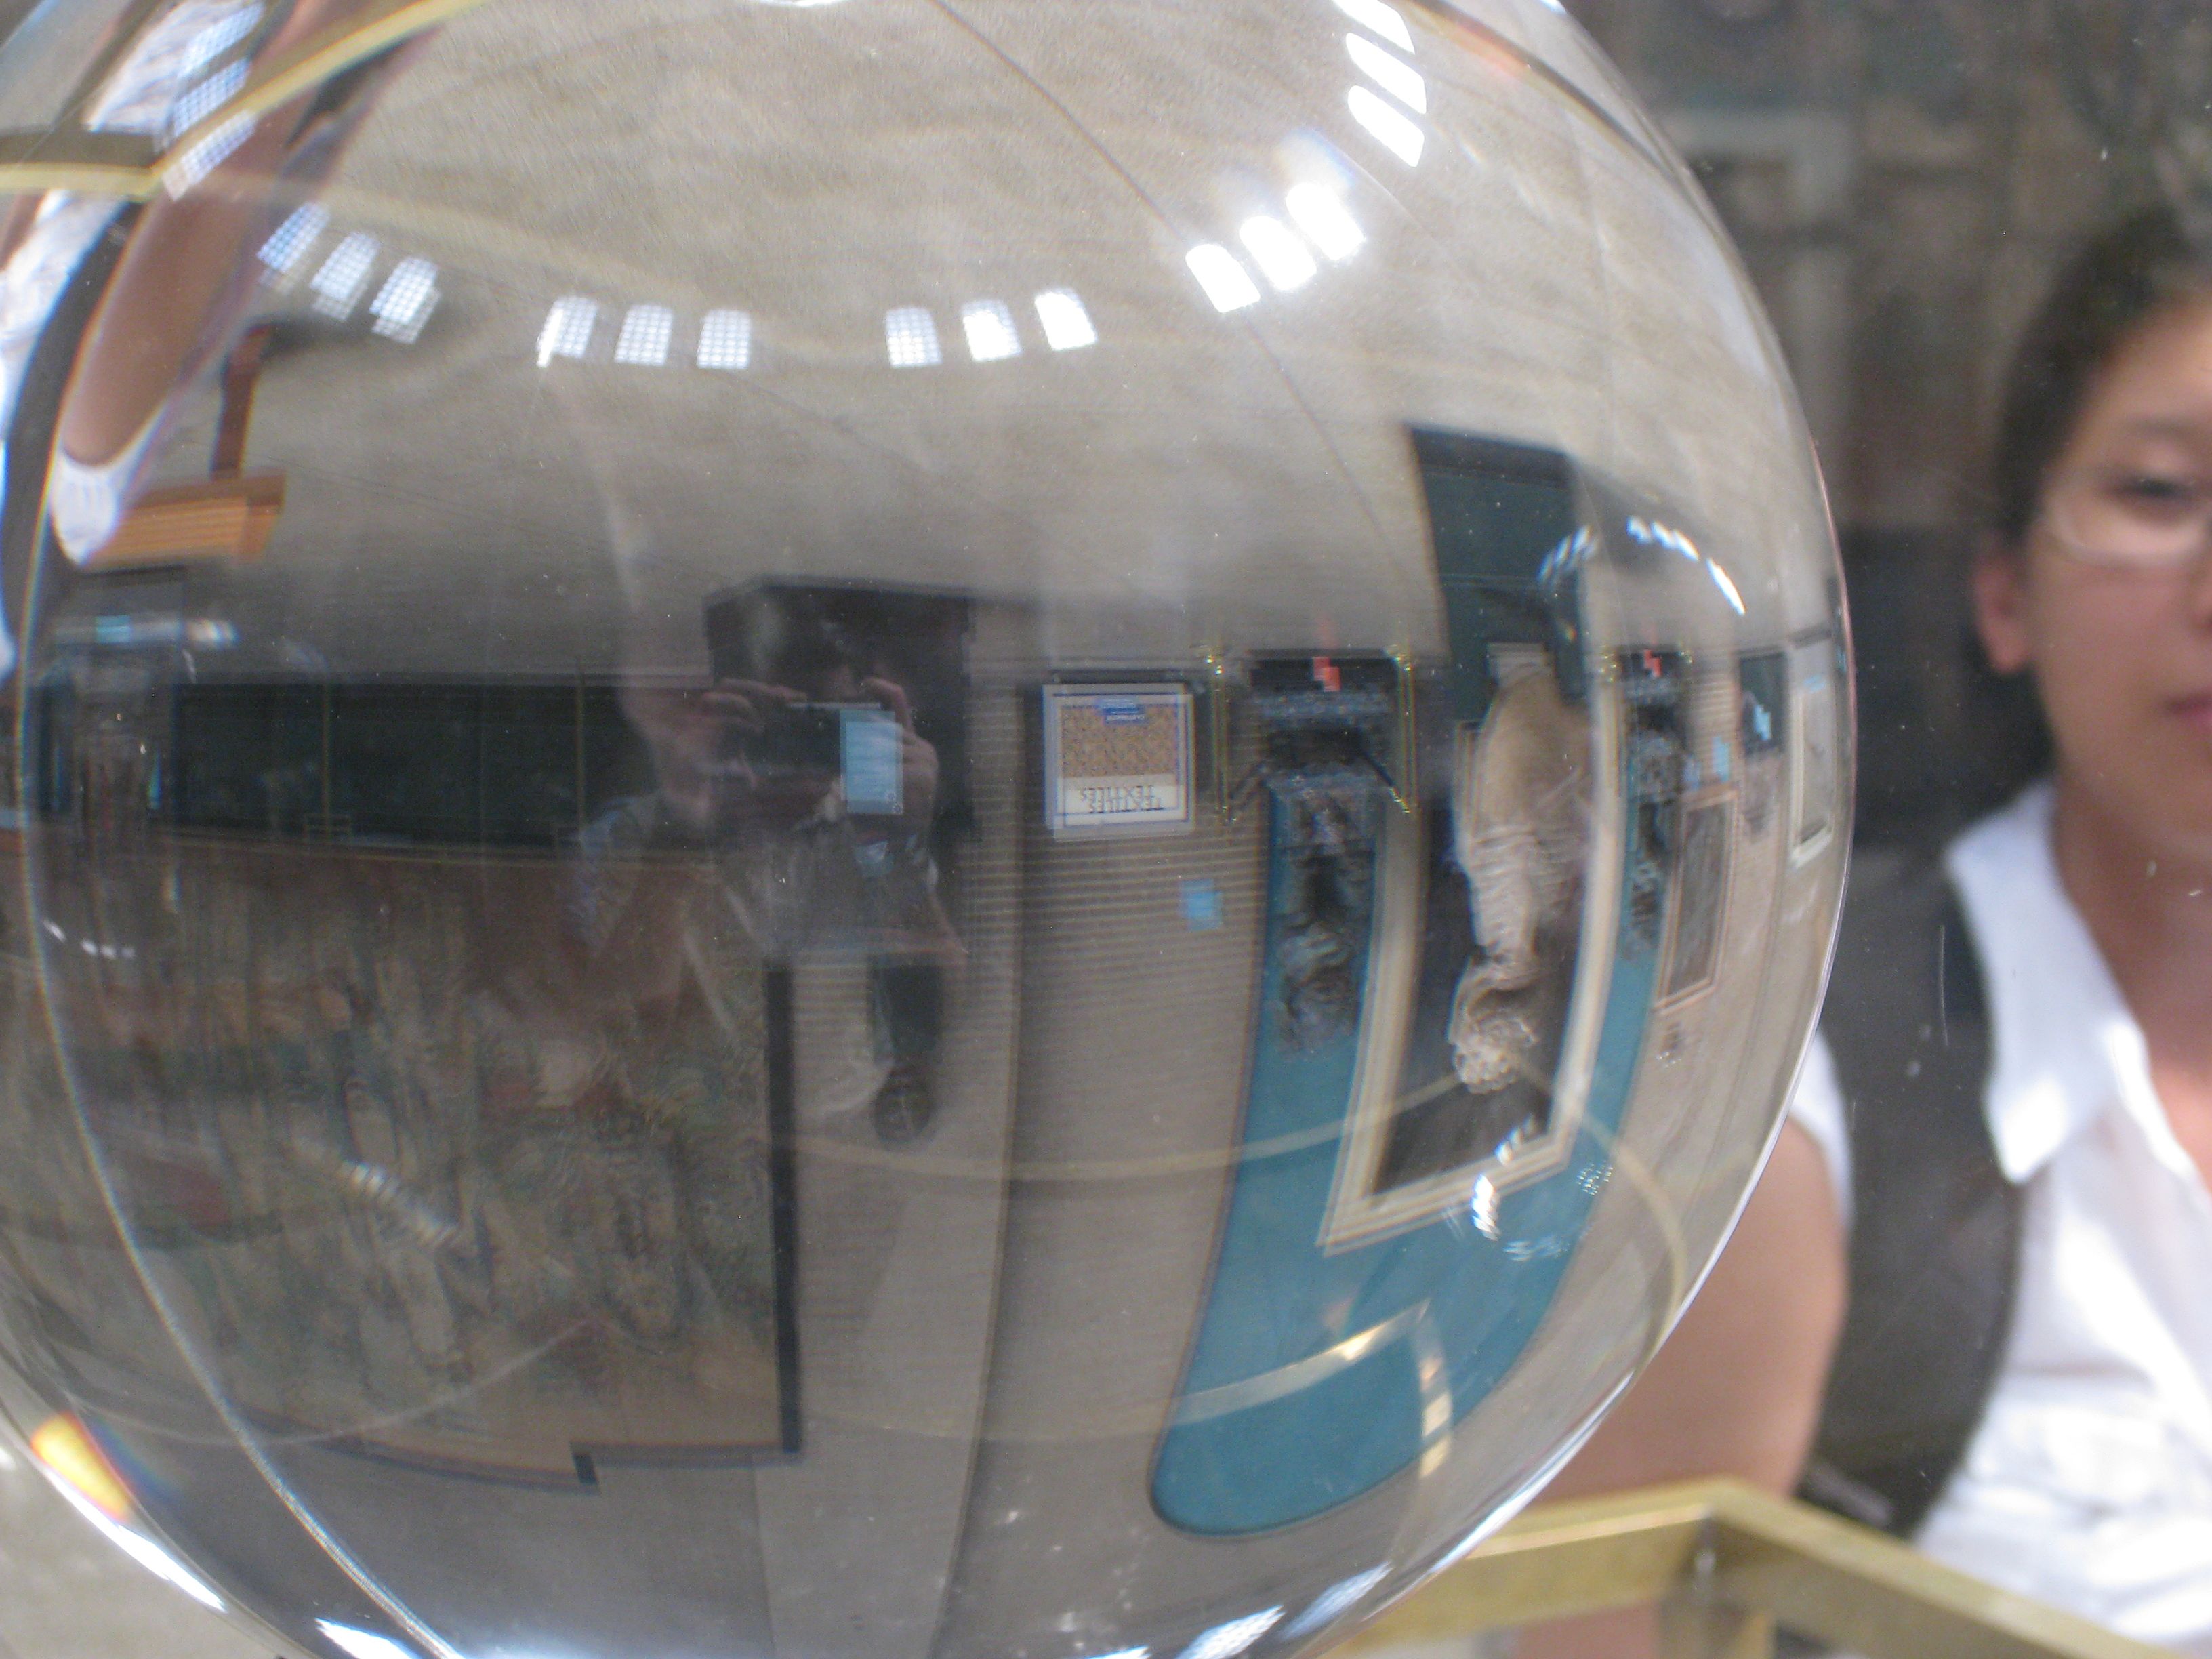
So, not only is it a giant crystal ball, but it’s a historically interesting giant crystal ball. But besides that– and its brief modern stint as a hat rack –what’s genuinely remarkable about this particular artifact is that it’s made from a chunk of rock crystal, better known as quartz crystal. Now, those “crystal balls” that run-of-the-mill fortune tellers use are often just glass— glorified playground marbles or perhaps so-called lead crystal, which is actually just another type of glass. Quartz crystal, on the other hand, has a structured atomic lattice that leads to some very interesting physical properties including piezoelectricity, triboluminescence, and birefringence. These properties arise from the crystal structure itself; they are typically minimal or absent in glasses such as fused silica (glass made by melting quartz crystal). While the museum probably wouldn’t want you compressing or grinding their crystal ball for piezoelectricity or triboluminescence experiments, the birefringence is boldly sitting out on display. Let’s look a little closer: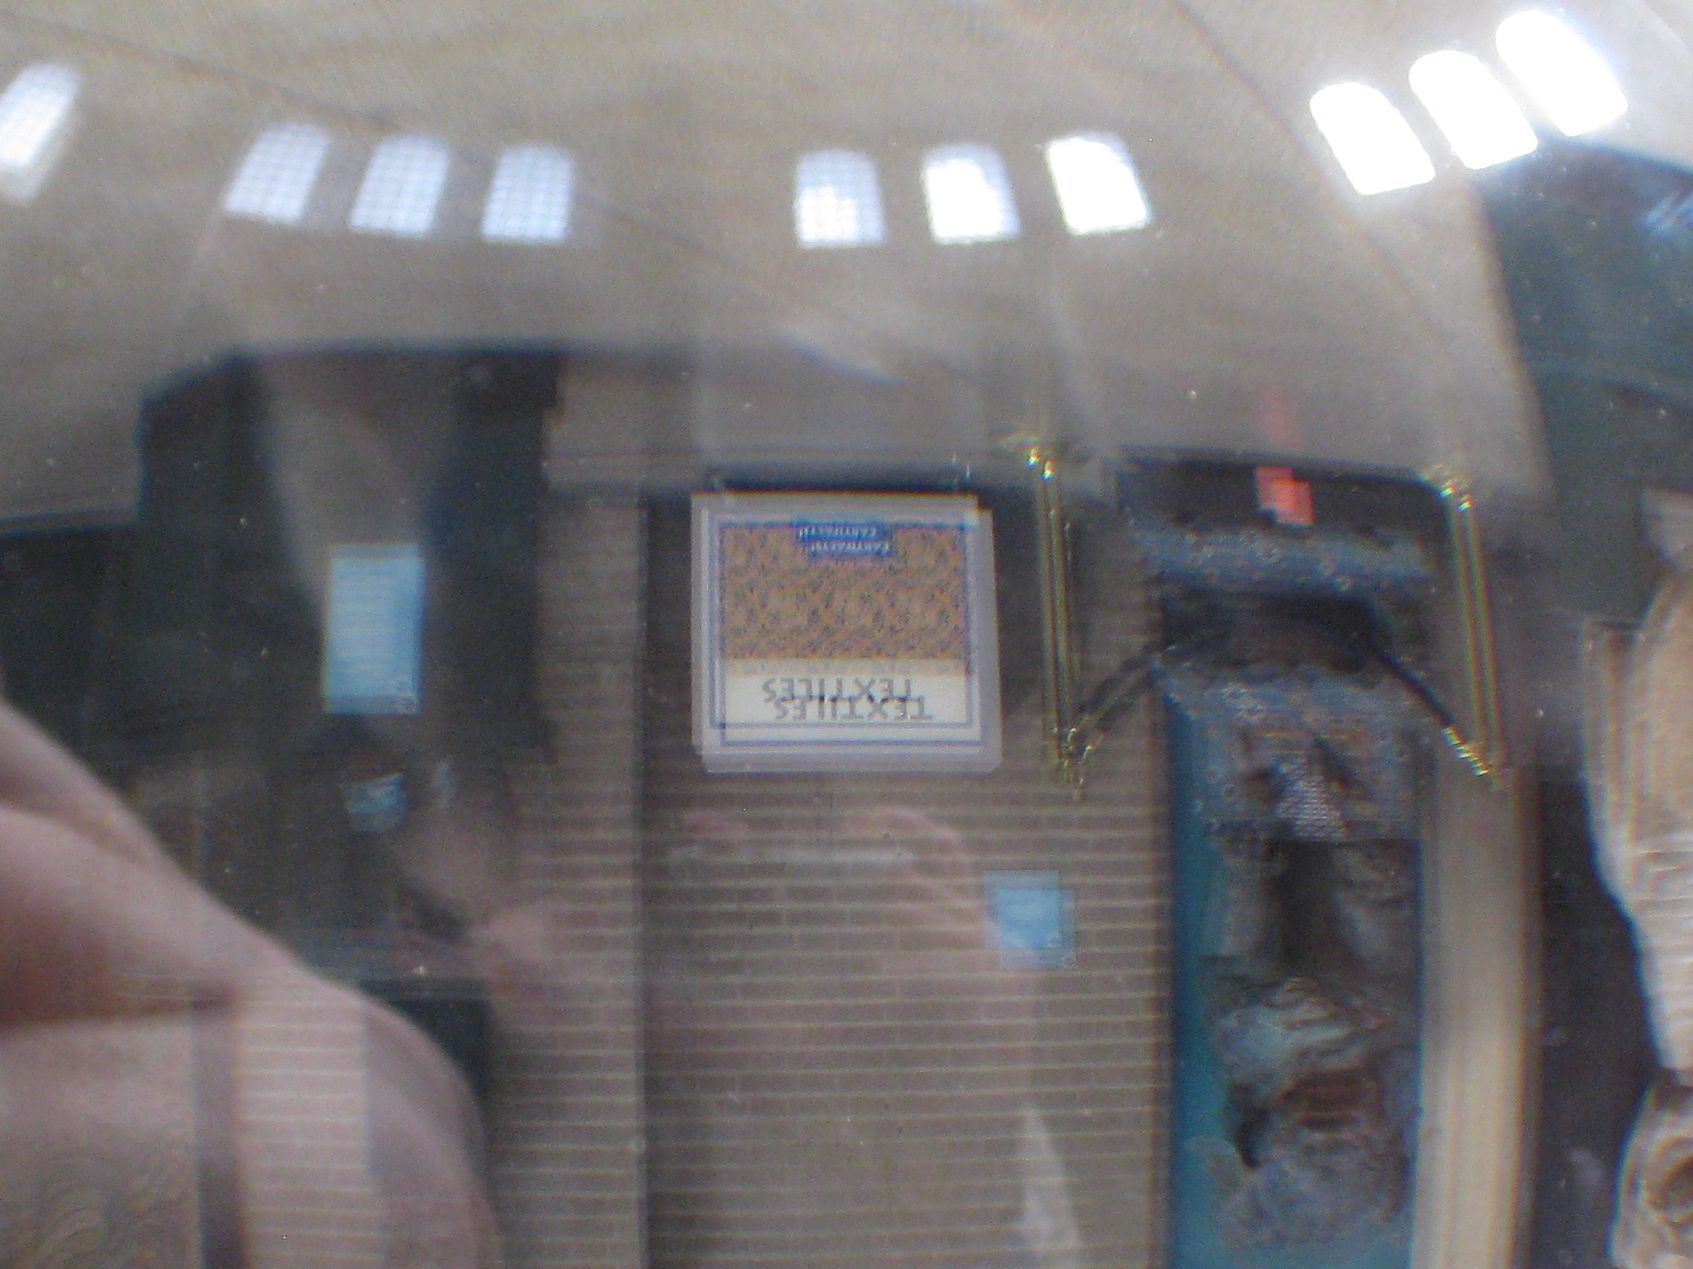 The sign, across the room reading “TEXTILES” is not just inverted like it would be with a spherical lens, but also– plain as day –appears as double image, even through our single camera lens.
Why? Quartz crystal is a birefringent material, which means that light rays entering the material experience two different indices of refraction, depending on their polarization and orientation with respect to the crystal lattice. In practice, our eyes see all polarizations, so this means that the crystal ball acts like a superposition of two glass balls with different indices of refraction– and light rays entering the sphere at any given point can follow two different paths to reach your eyes. Hence the double image.
It’s also worth noting that the two separate images are composed of photons with perpendicular polarization. If you were to look at this sphere through a linear polarizer (e.g., one lens of the 3D glasses that they use in modern movie theaters), you could turn it such that only one of the two images was visible at a time.
Birefringence is not particularly rare, and there are materials (like certain forms of calcite) that have huge, easily visible birefringence. Optical devices made from flawless natural calcite, exploiting this property, are tremendously important to scientific research and industry.
We tend to think of a quartz crystal as being perfectly clear– not something that gives you a double image when you look through it. That’s because quartz is only very weakly birefringent, especially when compared to calcite. Quartz is, however, still extensively used in industry in applications for which high transparency and very slight birefringence are key, such as optical wave plates. And, what’s truly remarkable about the Penn Museum sphere is that this tiny property– usually so hard to see –is so plainly visible to the human eye.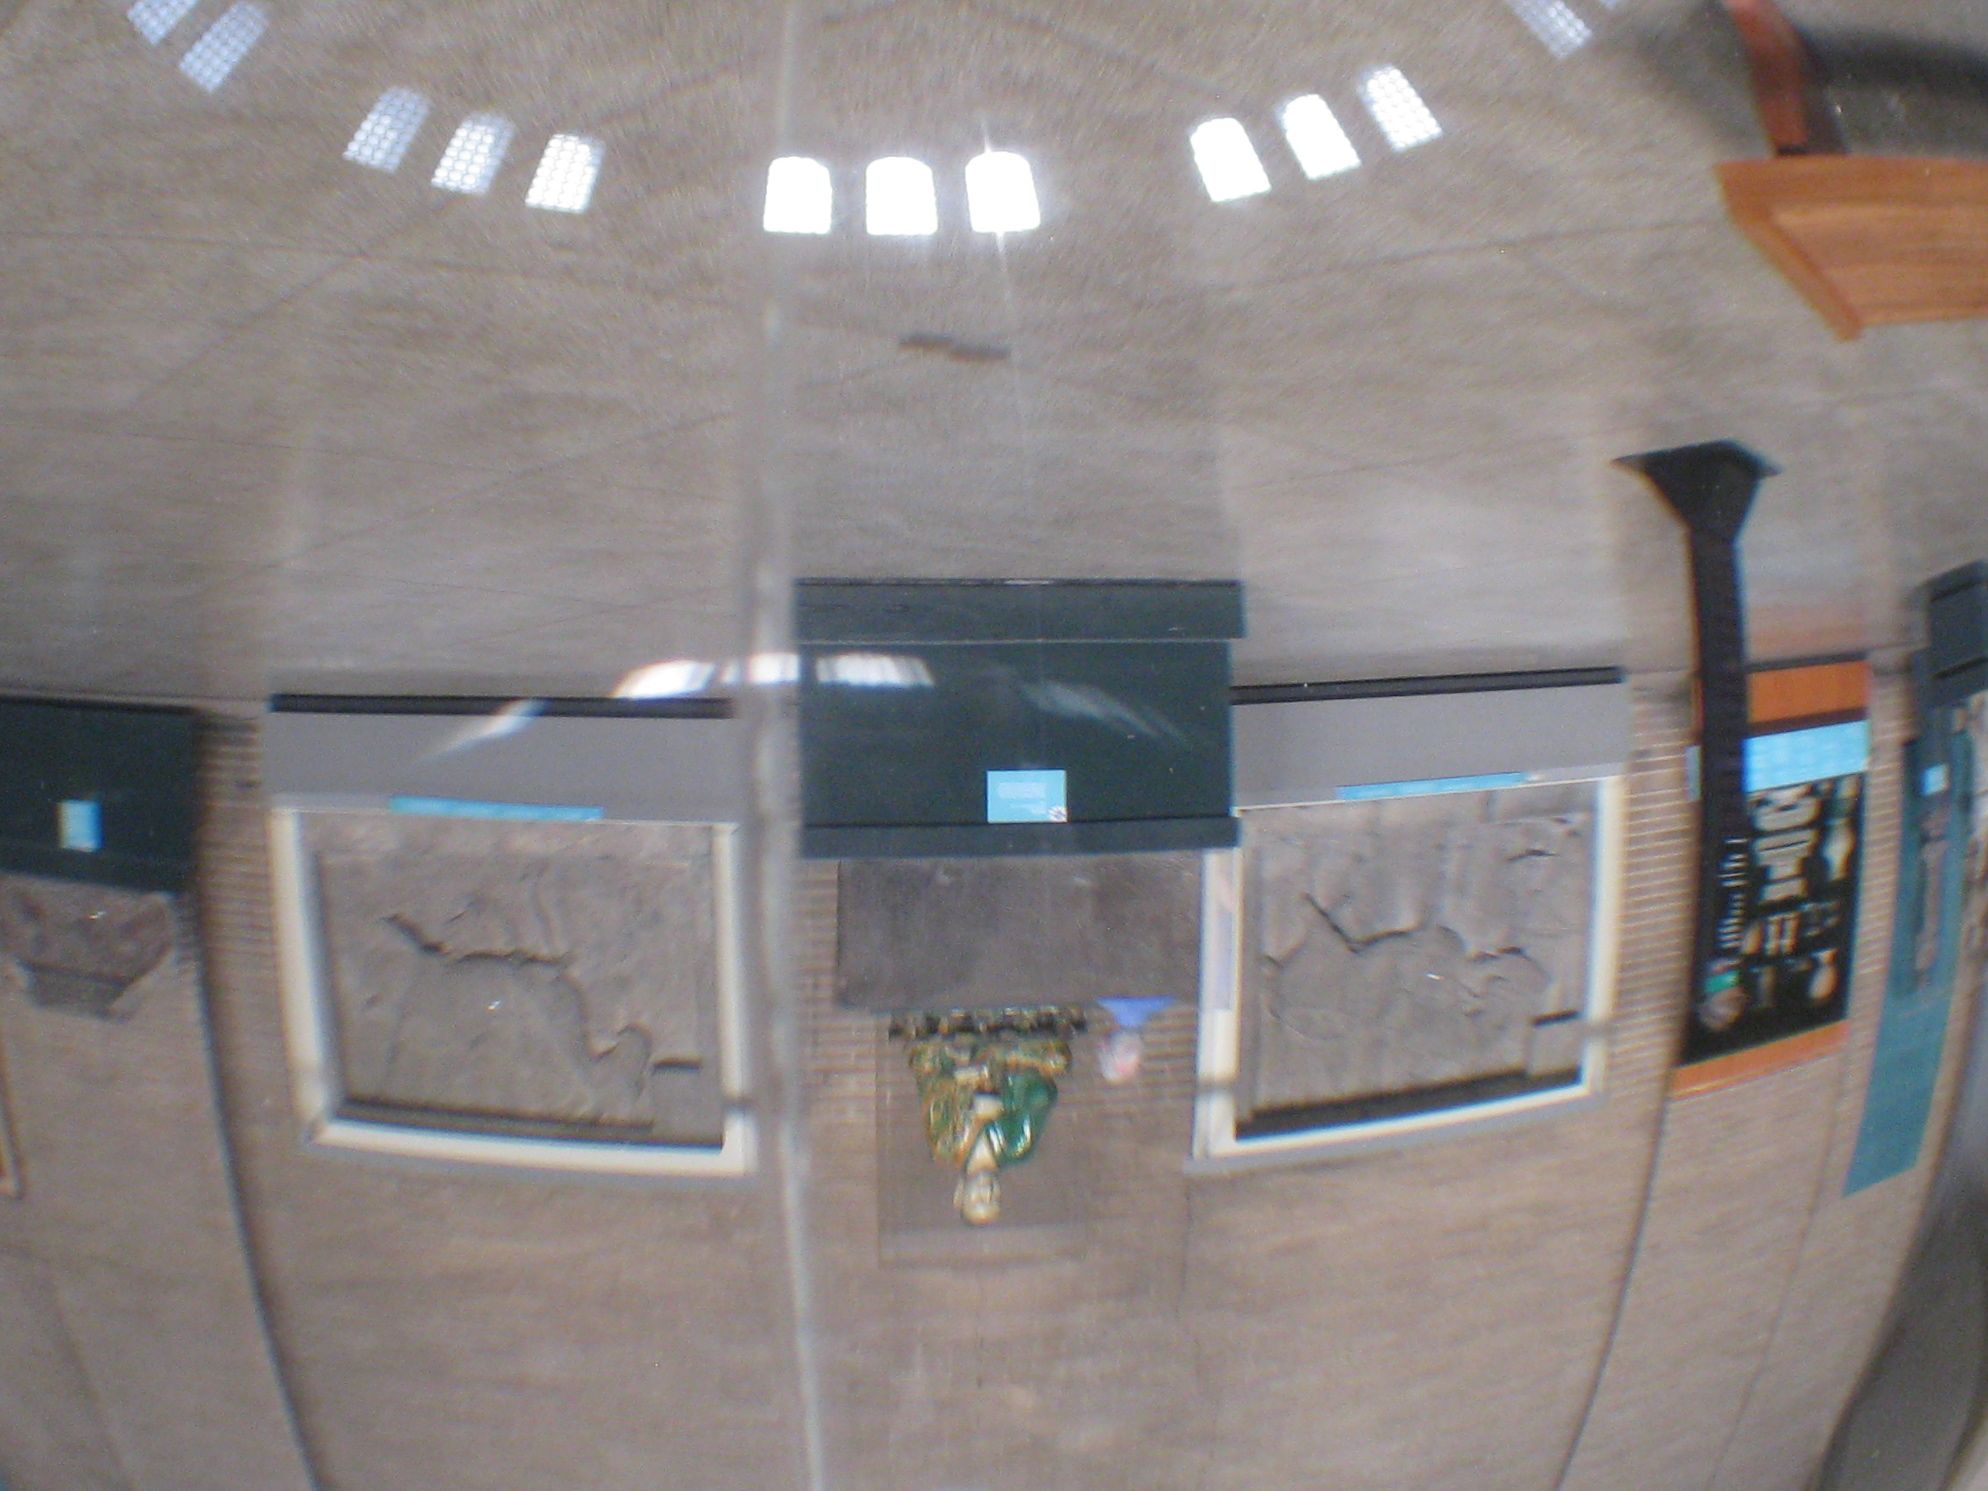 Finally, as we mentioned, the amount of birefringence depends on the orientation of light rays with respect to the crystal itself.
This means that if we walk one quarter circle around the sphere to a point where we’re closer to looking directly along (or perhaps, perpendicular to) the optical axis of the quartz sphere, the image suddenly becomes (if you’ll pardon the pun) crystal clear.


