All posts by Windell Oskay

About Windell Oskay

Co-founder of Evil Mad Scientist Laboratories.

Linkdump: May 2016

TABIYSL: Talk and demo at Maker Faire

The Annotated Build It Yourself Science Laboratory

I’ll be giving a talk and demo on Saturday at this year’s Maker Faire in San Mateo, CA. I’ll be demonstrating one of the many projects from my book, The Annotated Build-It-Yourself Science Laboratory (and signing books as well).

You can catch the talk and demo on Saturday, May 21, at 1:30 PM, on the Maker Show & Tell Stage.

The Annotated Build-It-Yourself Science Laboratory is available from Amazon.com, O’Reilly, and other sellers of books, as well as from our store.

Introducing the MOnSter 6502

MOnSter 6502 PCB

Our collaborator Eric Schlaepfer has been extremely hard at work this year, designing a truly monstrous follow up to our giant-scale dis-integrated 555 and 741 circuits. This is the MOnSter 6502: a transistor-scale replica of the famous MOS 6502 microprocessor, the processor found at the heart of influential early computer systems such as the Apple ][ and the Commodore PET.

It is huge, at 12 × 15 inches, with over 4000 surface mount components, and 167 indicator LEDs added throughout so that you can see the flow of data.

MOnSter 6502

This is a new project, still underway. We will be showing off the first prototype of the MOnSter 6502 at the Bay Area Maker Faire this coming weekend. We don’t promise that it will be completely working by then — this is a first stab at an extremely ambitious project — but we’re genuinely excited to show it off in this early stage.

Decode ROM

You can read more about the MOnSter 6502 on its main project page, monster6502.com, and at Eric’s blog, tubetime.us.

(Before you ask, the MOnSter 6502 is not yet a kit or product that we’re selling. Right now, it’s an amazing thing that we’re trying to build. If you would like to stay in the loop as this project evolves, we’ve set up a special mailing list for updates.)

Introducing the AxiDraw

AxiDraw drawing machine

We are very pleased to introduce our newest art robot: the AxiDraw.

The AxiDraw is a simple, modern, precise, and versatile pen plotter, capable of writing or drawing on almost any flat surface. It can write with your favorite fountain pens, permanent markers, and other writing implements to handle an endless variety of applications. Its unique design features a writing head that extends beyond the machine, making it possible to draw on objects bigger than the machine itself.

AxiDraw drawing machine

The AxiDraw is a fantastic machine for making art — along with all those other things that you might use a pen-wielding robot for: Making “hand written” invitations, signing forms, or making neater whiteboard art than one might otherwise be able to.

AxiDraw is available to order today, and begins shipping next week. See it in action and learn more on the product page.

Linkdump: February 2016

dictation machine

Evil Mad Scientist Valentines: 2016 Edition

2016 valentines

Today we are releasing our newest set of “Download and Print” cards for Valentine’s day. This is our fourth year, and fourth set of cards: The 2013 set had six equation-heavy cards, the 2014 set was a set of six symbol-heavy cards, and the 2015 set included love, hearts, and arrows.

This year’s set of six new cards features a note about warming Pluto’s cold heart, at least one embarrassingly bad pun, and the perfect card for your robotic expression of love.

Solve for x
“I was supposed to solve for x. So glad I found u instead.”

Pluto heart

And, from the distant reaches of our solar system:
“Just knowing you’re out there warms my heart.”


“ROSES ARE RED
VIOLETS ARE BLUE
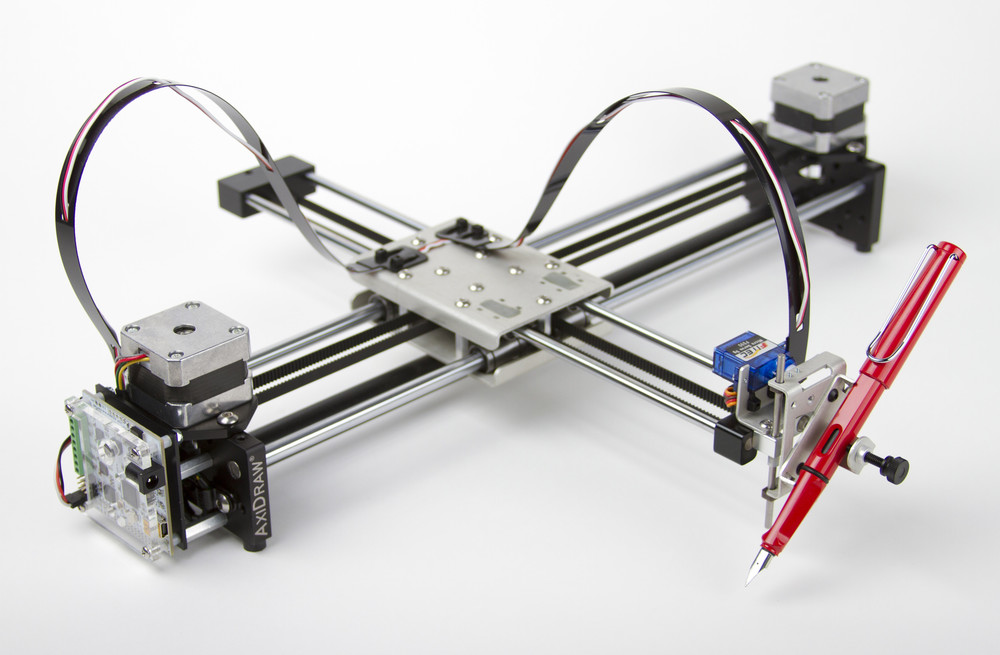
THIS VALENTINE AUTOMATICALLY
GENERATED FOR YOU”

2016 valentines

You can download the full set here, which includes all 24 designs from all four years (a 1 MB PDF document).

As usual, print them out on (or otherwise affix to) card stock, personalize, and [some steps omitted] enjoy the resulting lifelong romance.


Update: New cards have been released! Please check out the 2019 set, which contains all 42 cards from 2013 through 2019.

Linkdump: January 2016

Image: Chipworks, via iFixit

Linkdump: November 2015

The Boldport Buggy

Boldport Buggy

Introducing the Boldport Buggy kit.

This simple and playful soldering kit is based on the on the beautiful Buggy circuit board designed by Saar Drimer of Boldport.

Boldport Buggy

Boldport Buggy

The first version of this circuit board was created as a badge for the hardwear.io hardware security conference in The Hague. This new version of the Buggy is a complete kit, featuring an updated circuit board, with a power switch and six candle-flicker LEDs.

Boldport Buggy

A cool detail is that its six legs are actually the current-limiting resistors for those six LEDs. They are posable (giving it quite a bit of personality) and we have given it little red tubing socks to cover up the otherwise-conductive feet.

Boldport Buggy Boldport Buggy

The Boldport Buggy kit is available now at our store, and you can read more about its design at Boldport.

Micro Servo Earrings

servo-1
These earrings — Perfect for radio control and robotics enthusiasts — are made from little servo motors, partially hollowed out for lighter yet weight.

servo-2

We begin with a “9 gram” class micro servo motors. This is a standard type of servo motor; the same kind that we use to lift the pen or brush on the EggBot and WaterColorBot.

Inside of one of these you’ll find the actual DC motor itself, a set of plastic gears, a potentiometer (pot) connected to the output shaft, and a little circuit board that controls it all. The gear train is used to convert the high-speed low-torque output of the motor into its high-torque low-speed output, and the pot reads the orientation of the output shaft so that it can be controlled (servoed) to the correct position. However for today, we’re primarily interested in the case, and most of what’s inside doesn’t really matter.


servo-3 servo-4

The lower part of the case comes off with four very skinny, very long screws.

servo-5 servo-6

And then, you can pull out the tiny little circuit board.

servo-7
servo-8

The DC motor slips out easily, but the three wires to the pot are soldered in, and need to be clipped.

Incidentally, it’s straightforward to hack servo motors, repurposing the circuit board such that (1) the two outputs to the DC servo motor actually control something else and (2) that the input signal from the pot comes from something else. You can read our article about how to make a one-ton servo motor for a good example.


servo-9

And then there is the matter of the cable. We don’t actually need that much cord hanging out the end — and it weighs something — so we can clip it shorter.


servo-10 servo-11

A dab of hot glue secures the cut-off end of the cable to the bottom of the case.


servo-12

And the finishing touches: Reassemble the case, add the servo horns and finally the earwires. The final weight of each one is about 6.5 g, and the total weight of the components that we removed (motor, wires, circuit board, and cables) is about 5.6 g. As we have left it, the output shaft feels solidly held in place. Turning the output shaft still turns the gear train, and its motion is limited to the servo motor’s original range of travel; about 2/3 of a turn.

You can make it even lighter — all the way down to 5.4 g per piece — by opening it up further and removing the pot and all of the plastic gears except for the output shaft. It looks mostly the same from the outside (with the exception that the gears are no longer visible), but does not feel nearly as nice: The output shaft is only loosely held on its axis, and now able to turn freely through a full circle.

One might imagine taking it the opposite direction too: Building in a little battery and microcontroller, so that the servo motor would turn on its own while dangling from an ear. That version is left as an exercise for the reader, hopefully one with short hair that won’t get tangled.


If you liked this article, you might like some of our other related projects: Fimo fractal earrings, Chip earrings, Hard drive earrings, and Bobbin earrings.