All posts by Lenore Edman

About Lenore Edman

Co-founder of Evil Mad Scientist Laboratories.

Featured artist: Sam Norton

There is a lively community of plotter enthusiasts in the drawingbots discord channel. One of those is Sam Norton, who goes by hurtle there.

Sam has been using the AxiDraw to paint with acrylics using WaterColorBot software.

a useful, but fairly unsuccessful little sunday morning plot to see how much detail would come across on a small picture.

tried again but a bit bigger, and possibly chose a better range of paint colours.

The discord has channels for works in progress, process discussions, as well as a gallery. This encourages the community to share works at various stages as well as early drafts or versions. These two paintings of the same subject have different palettes and sizes and give insight into the process.

Sam’s website features many of his hand paintings, and it is fascinating to see that he has taken some of the same subject matter and revisited it with the AxiDraw.

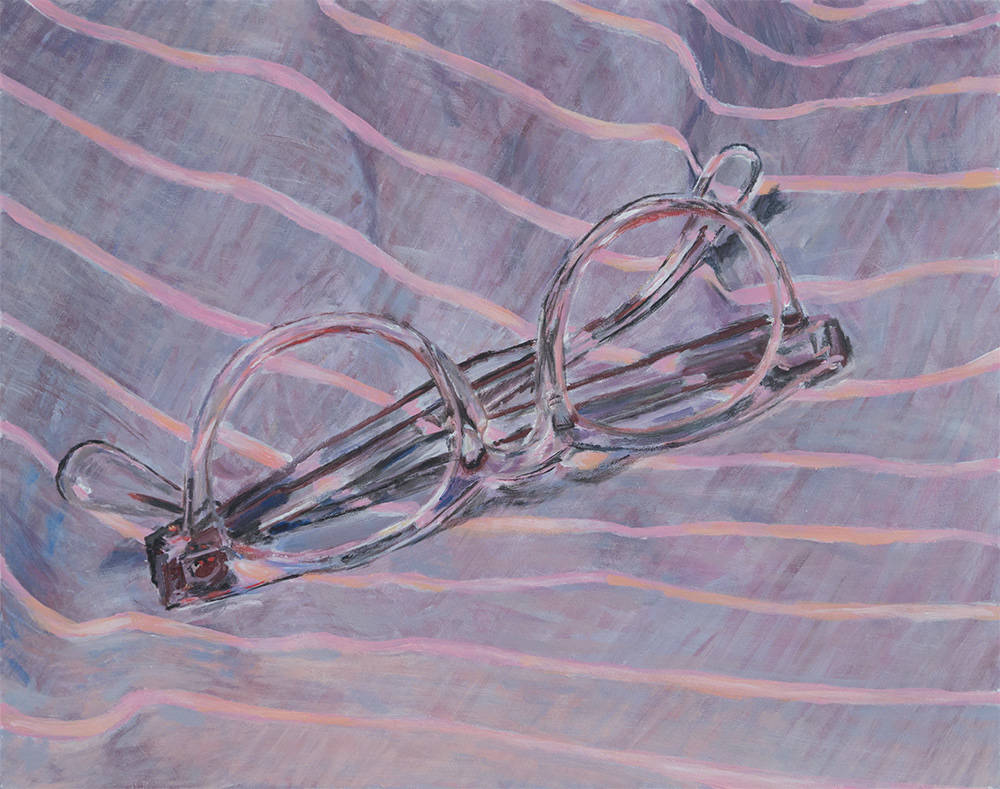
He has taken the same set of glasses and experimented both with paints and dipped india ink.

It’s fun to see how the same subject looks, not just with hand painted vs. AxiDraw, but also with different media. The ink behaves differently and the dipping process is so much fun to watch.

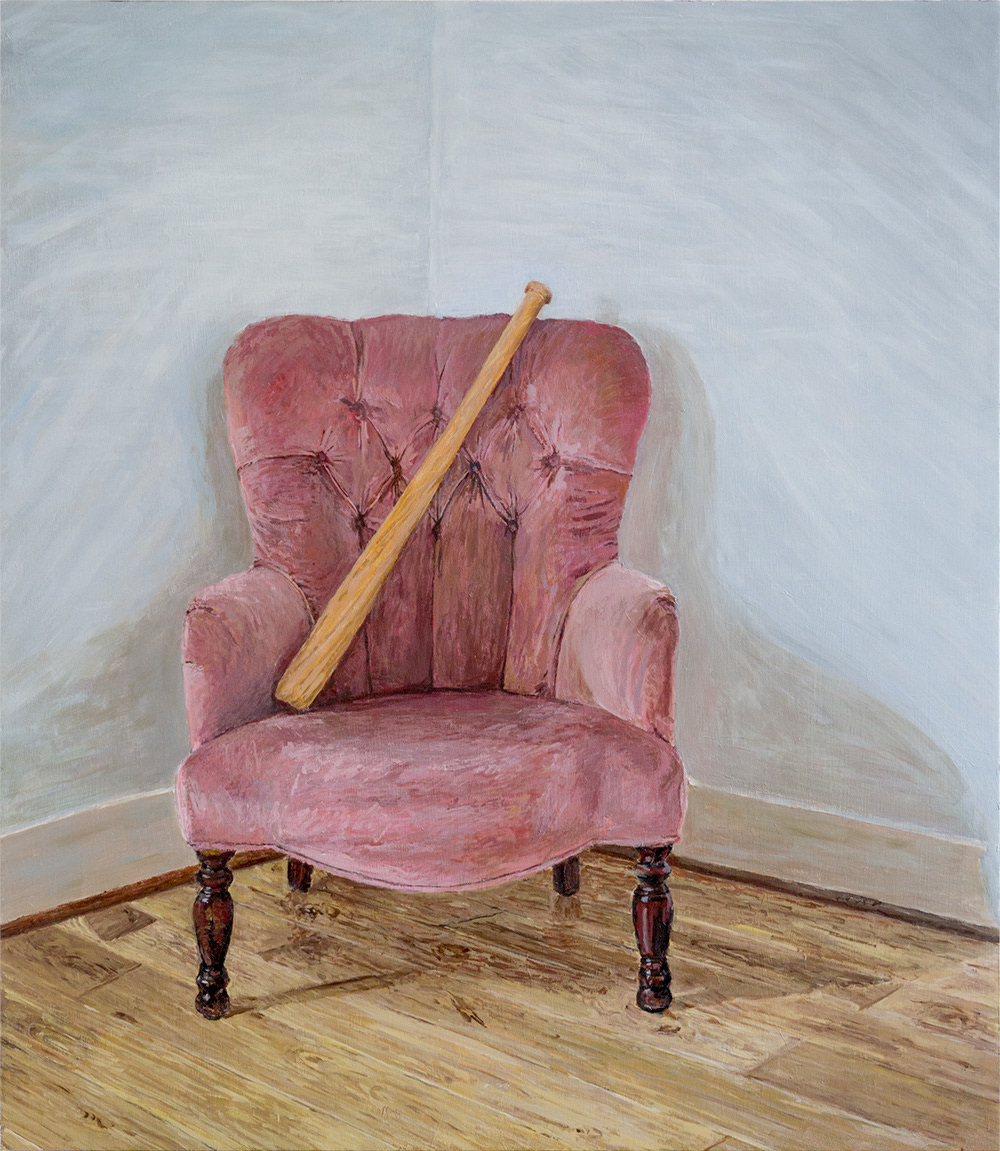
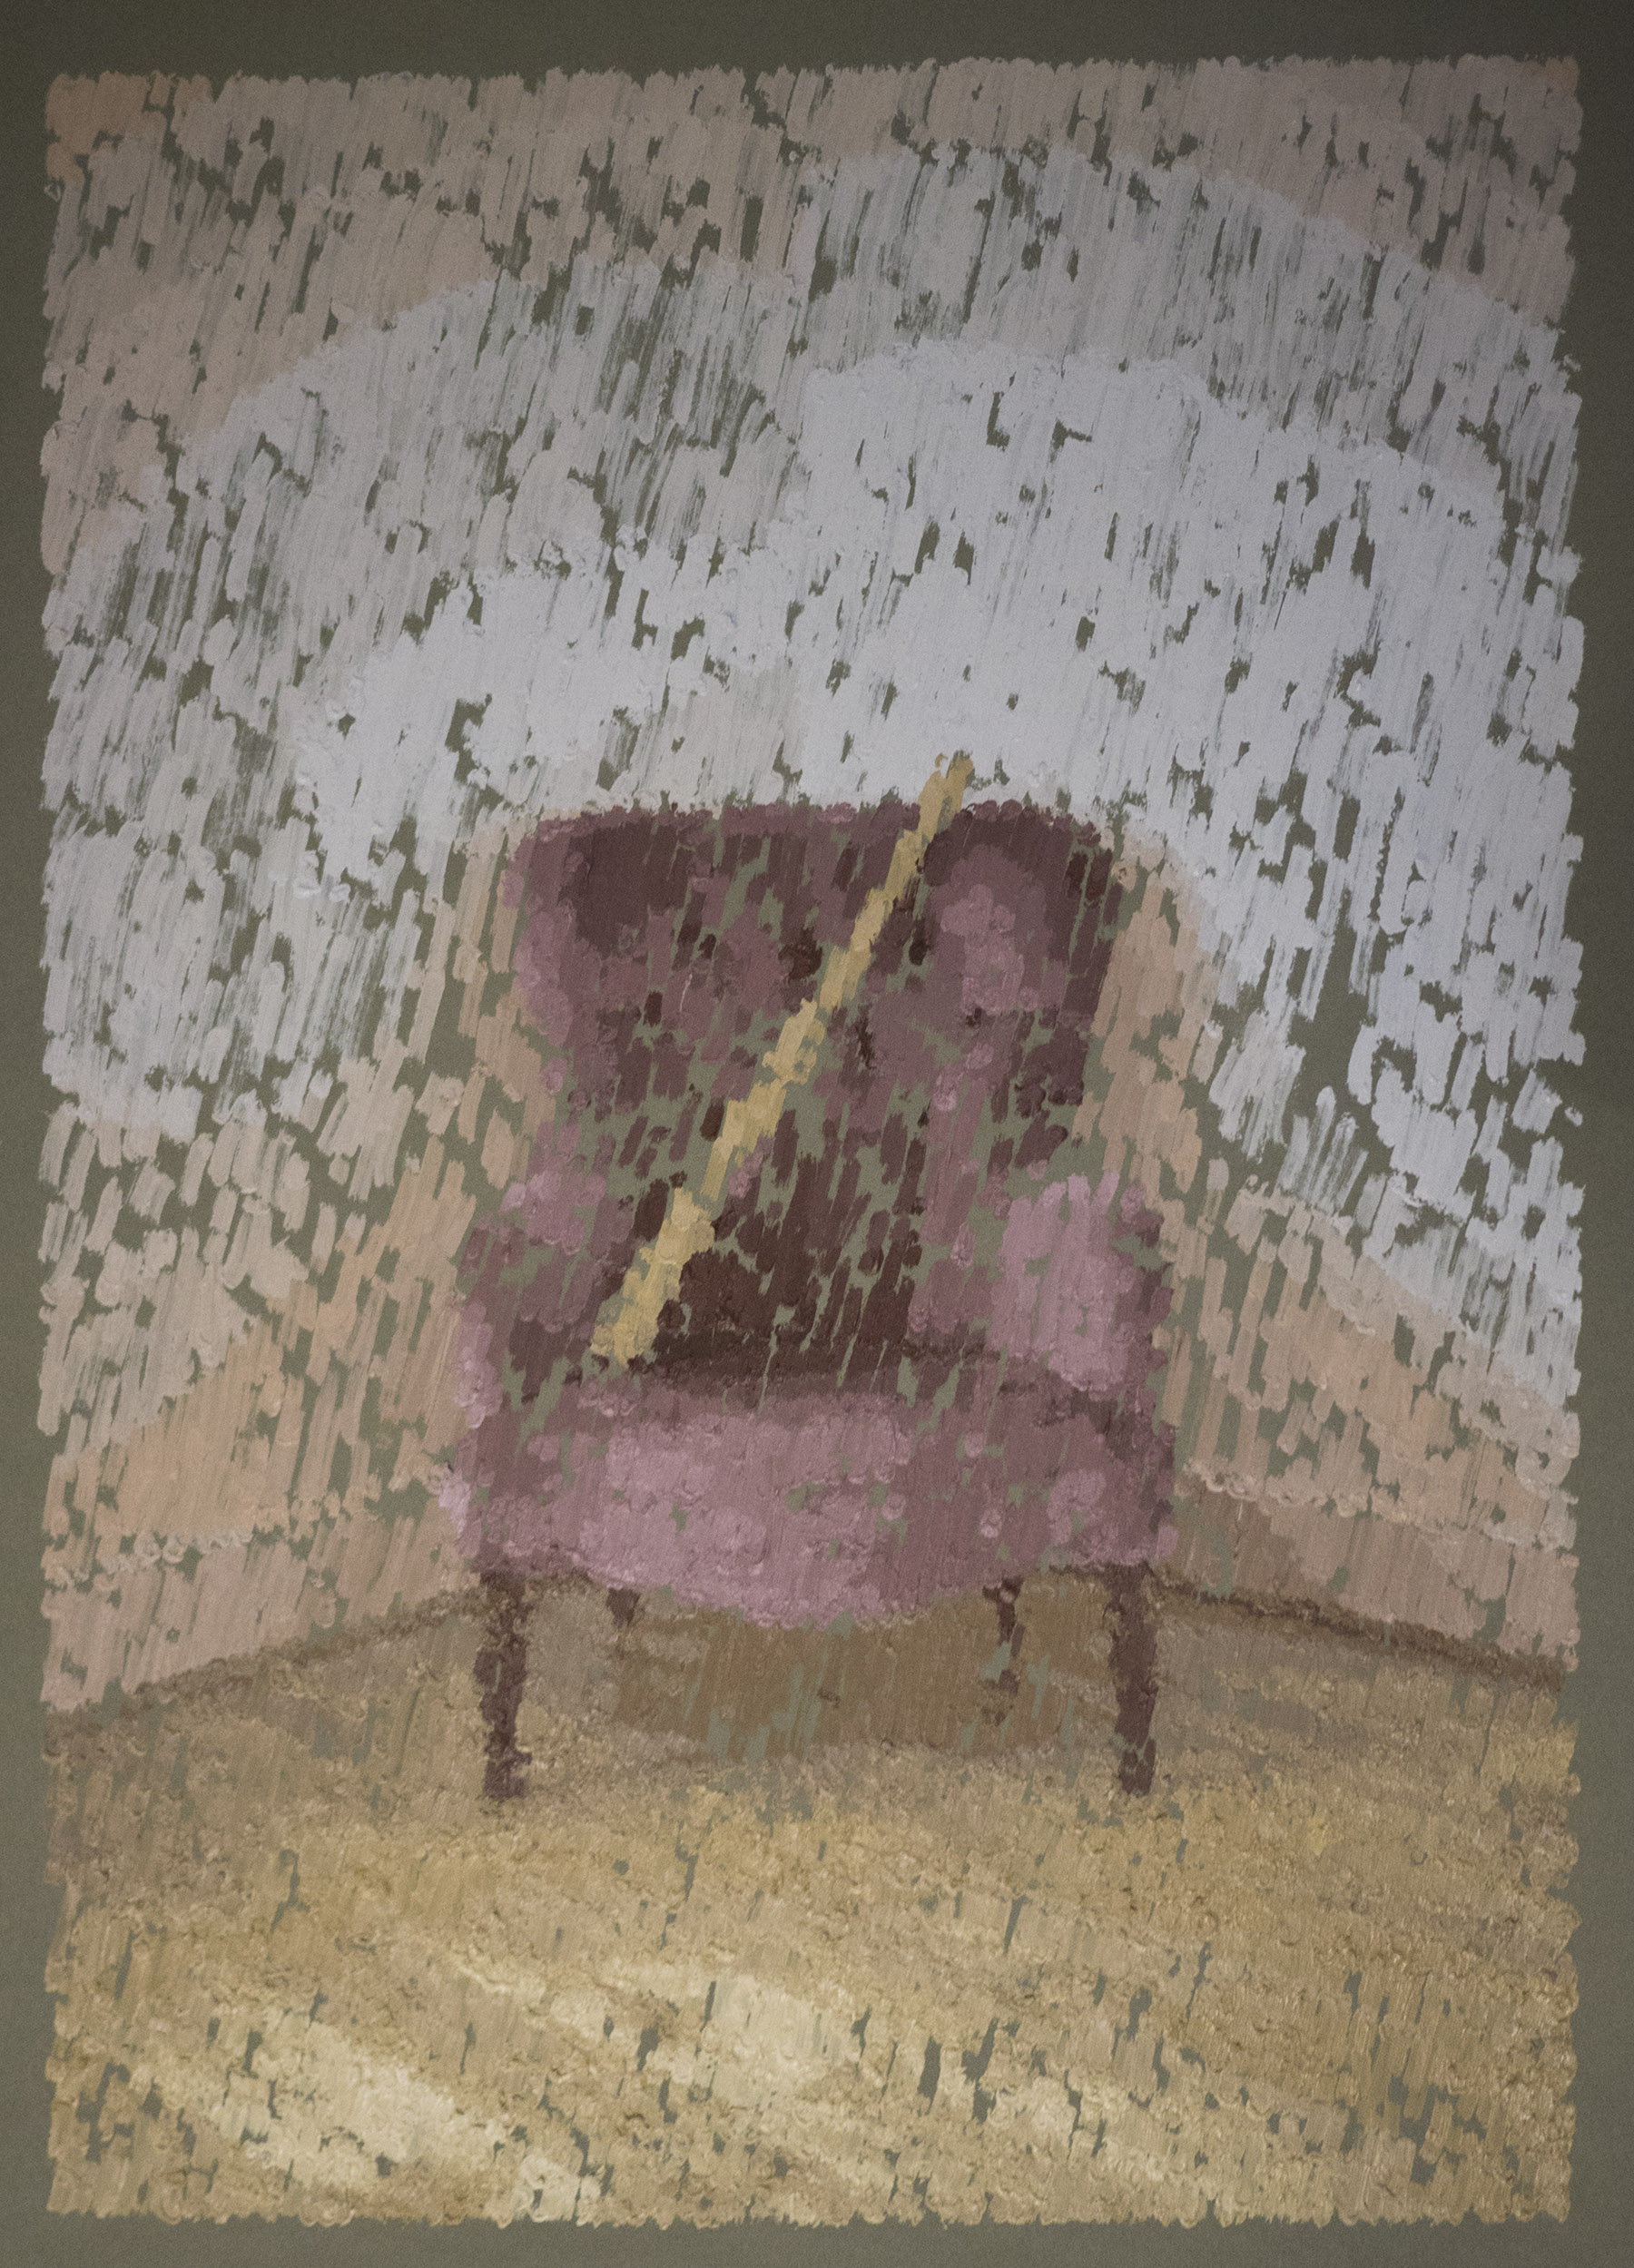
This chair is another example. The scale of these is quite different as well. The original is about 70 x 80 cm and the AxiDraw version is 25 x 35 cm. I enjoy the contrast in texture, precision and technique.

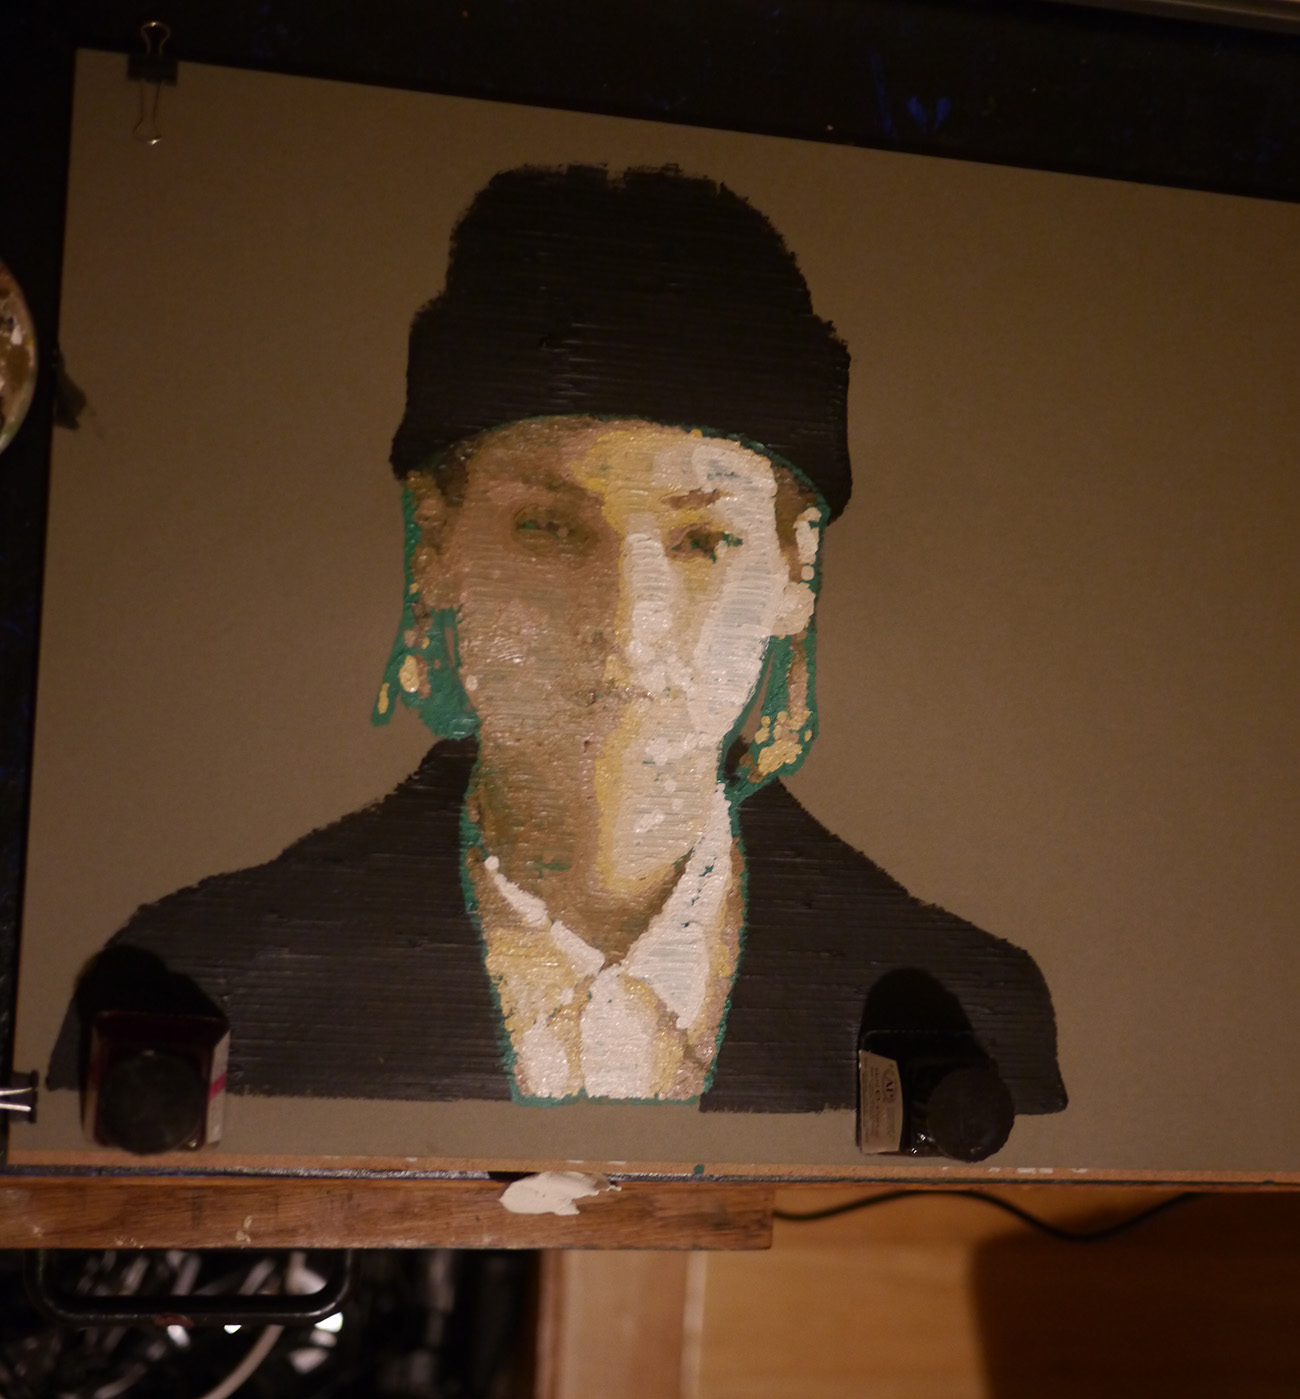
I will look forward to seeing more of Sam’s work, as the textures are fascinating, and the process of converting photographs to vector art is complicated by the added dimension of the paint palette. I’ll leave you with this closeup of the piece from the top of this article, which was taken by our previously featured artist, Bleeptrack, who received the piece through the drawingbots plotswap.

Thank you to Sam for generously sharing your photos and video clips!

Coffee Roasting for Fun

When we first started roasting coffee, we used the air popcorn popper method. We learned about it from Sweet Maria’s, which in addition to selling green coffee beans, has a wealth of resources for home coffee roasters. We gradually refined our method, even making a DIY coffee bean cooler. We also tried out a lot of different types of beans, buying samplers from Sweet Maria’s and making notes on which flavor profiles we enjoyed. Eventually we outgrew the batch size limitations of the popper method and we purchased what is the gold standard of home coffee roasting: a Behmor 1600.

The Behmor can roast up to a pound of coffee at a time, and does so reliably without fuss. Newer models are programmable, but this one has a few preset roasting profiles. I use the default one pound setting and normally roast about 0.9 pounds of coffee at a time. The canister I use for coffee weighs about 0.2 pounds, so when I put it on the scale (it’s handy having a shipping scale nearby) I aim for 1.1 pounds. This smaller quantity roasts a little faster than a full pound would, and I have a wider time window to stop the roast when it gets to the stage I like.

The green coffee beans (which smell grassy, a bit like fresh hay) go in the roasting cage which gets put into the motor socket so that it can be rotated to toss the beans around for even roasting. After putting in the chaff catching tray, I start the roasting process.

The chaff is the papery membrane around the bean that comes off during the roasting process. Roasting creates quite a bit of smoke, and even though the Behmor has a smoke-suppression afterburner to reduce the amount of smoke, I prefer to roast outside.
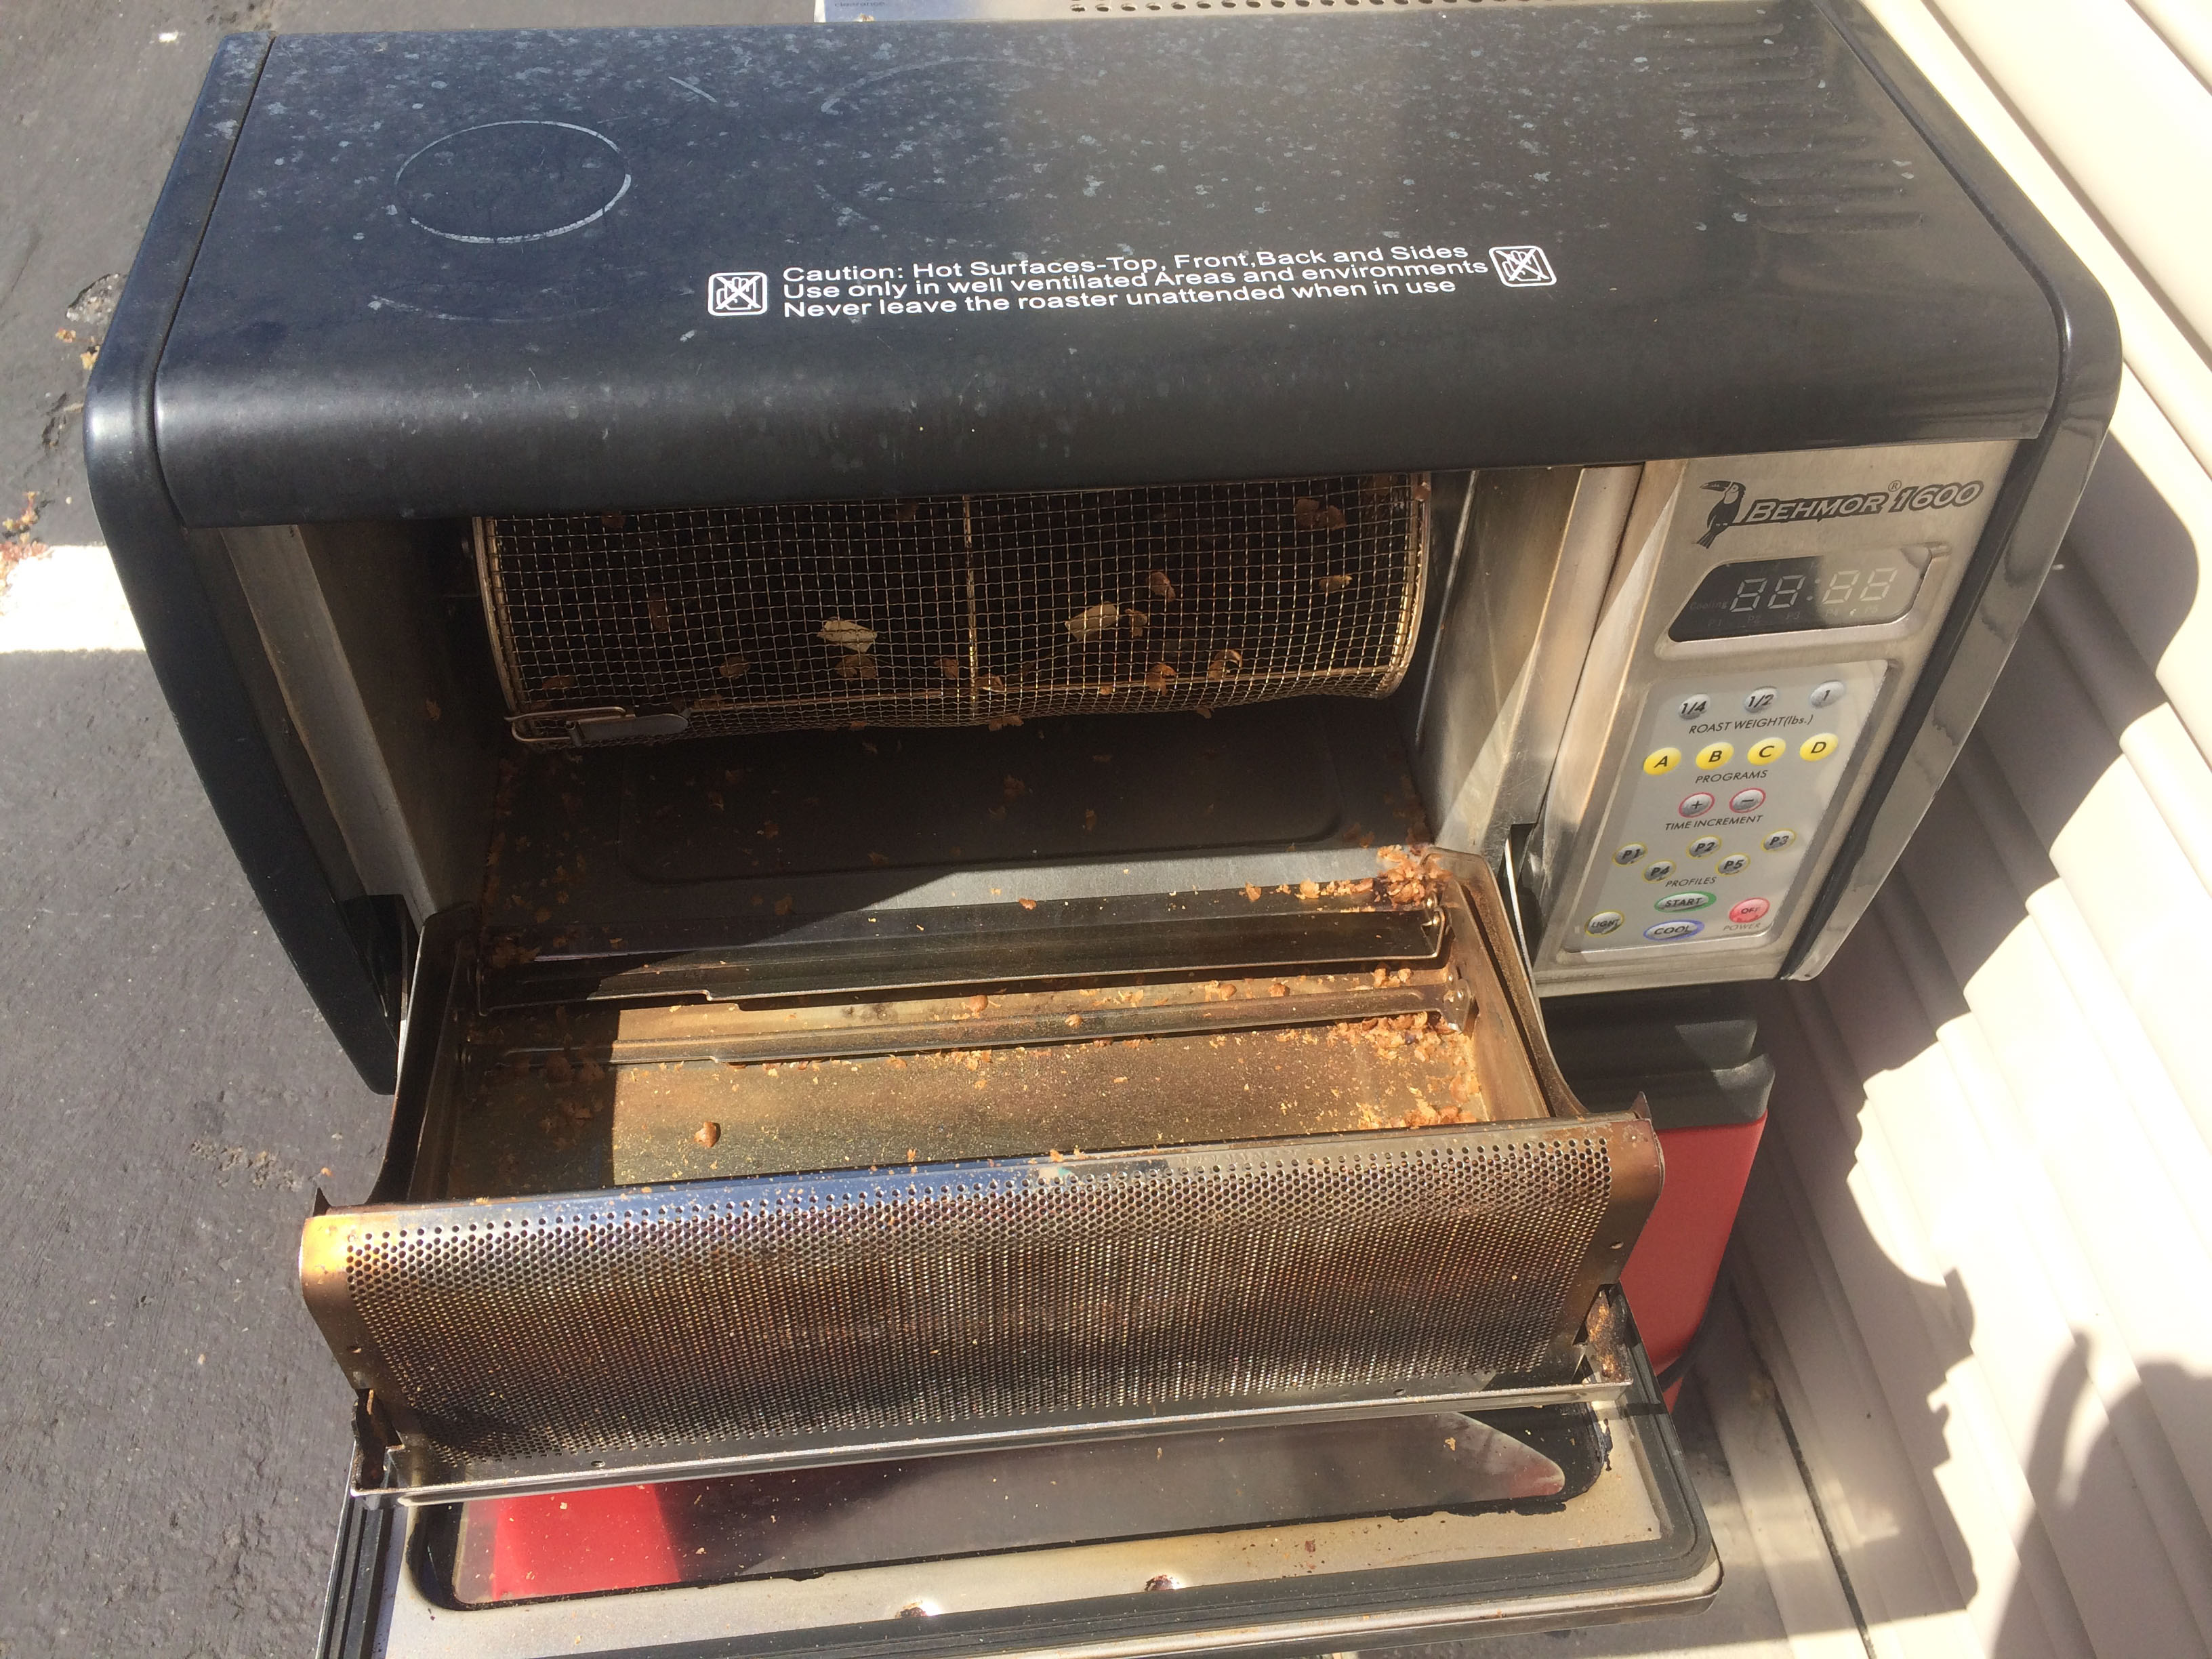
Roasting takes about 20 minutes and the cooling cycle takes another 12 minutes. Because this is basically a toaster oven and fire hazard, it should be monitored during the roast. I take advantage of this half an hour in the sun to call my dad or catch up with friends. It’s an enforced break in my usual routine when I get to listen to the local birds and enjoy the changes in the sky through the seasons. When the roaster is done, I pull out the chaff tray and it’s quite a mess.
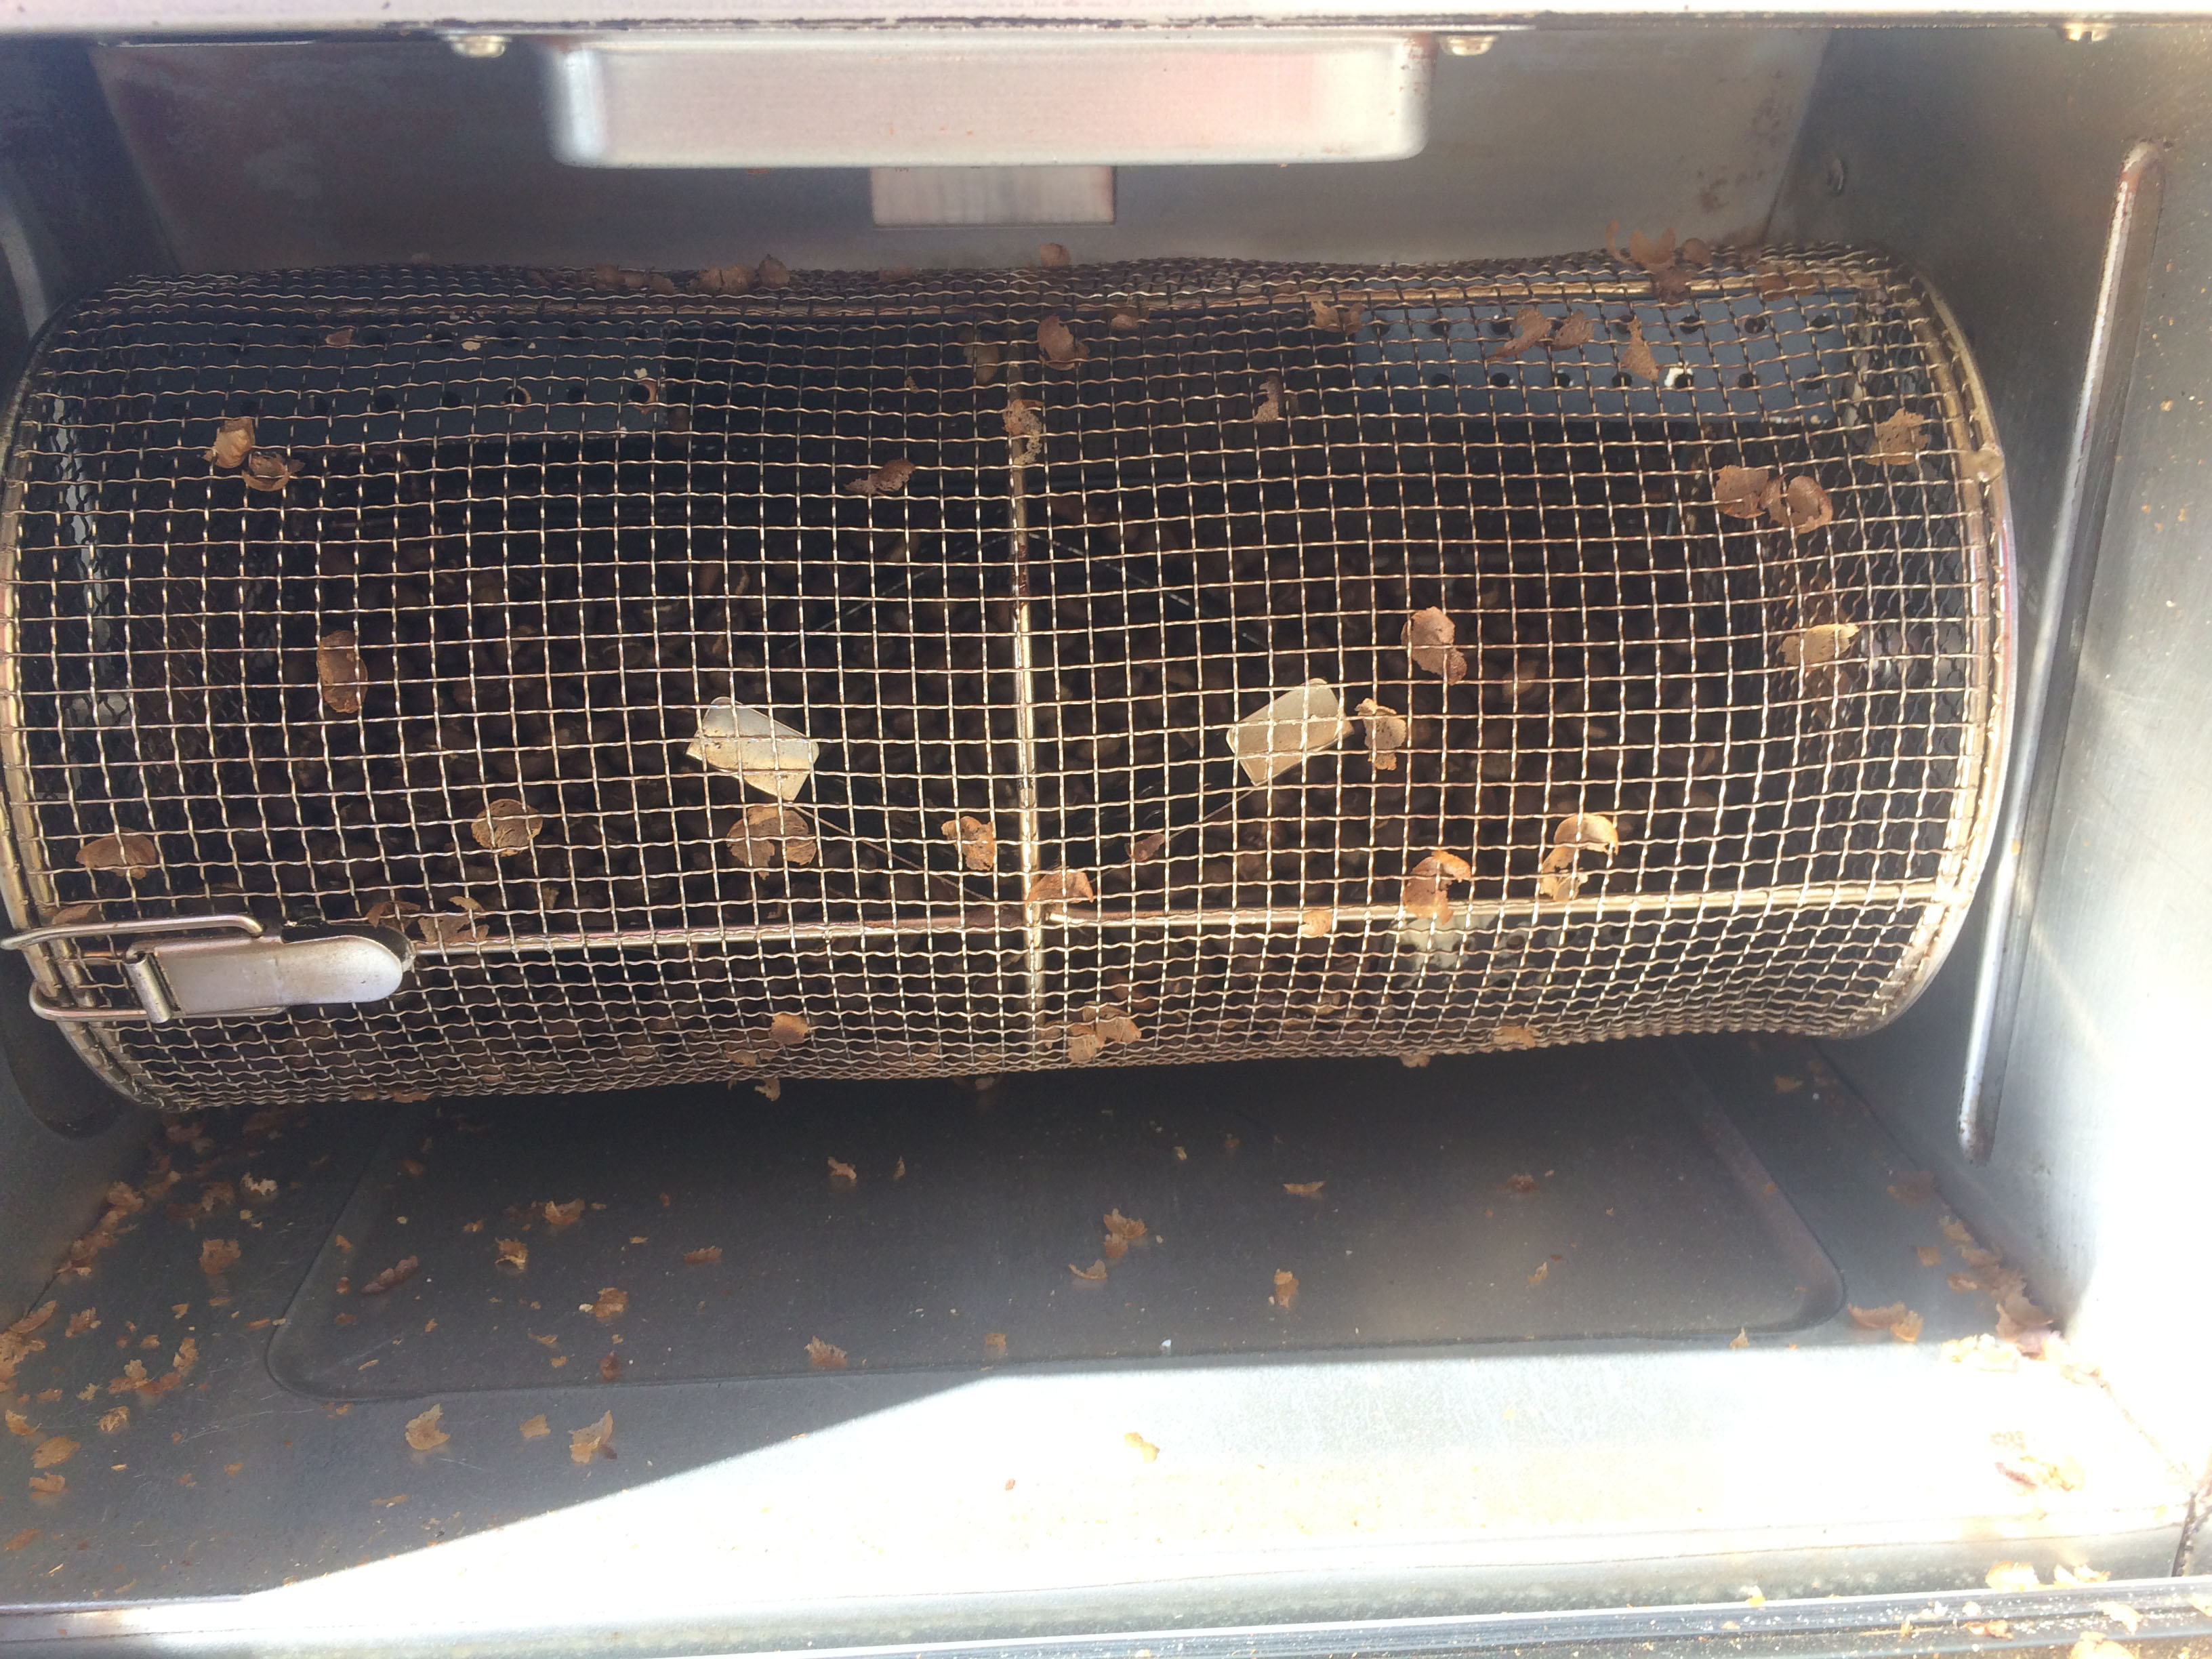
Most of the chaff is collected in the tray, but there’s some still mixed in with the beans, and it gets pretty much everywhere when you bring the roasting cage out. This is another good reason to roast outside. The chaff will just blow away in the breeze and joins the leaf litter below the shrubs that line our little parking lot.

I shake the roasting cage repeatedly until the amount of chaff dwindles, and then I can put the roasted beans into the canister for storage until I need need them.

There’s still chaff in the roaster in spite of the chaff catching tray. I blow it out of the roaster and sweep it out with a small clean basting brush.

Once the roaster is cleared of chaff I put it away for the next time.

The coffee loses a lot of its moisture during the roasting process, and reduces in weight by about 10% or so. It also increases in volume.

We have two to three people drinking coffee and use about two to three pounds of coffee a week. The flavor of roasted coffee starts to deteriorate about six or seven days after roasting. Since I’m roasting as needed two to three times a week, it never gets past about four days old.

As our coffee bean usage increased, we started buying our coffee 20 pounds at a time, but eventually realized that even that was seeming to be a little frequent. We had settled on the flavor profiles we enjoyed most, so we started purchasing 50 pound bags from Sweet Maria’s wholesale site, the Coffee Shrub. Green coffee has a long shelf life when stored well, so this means we don’t have to think about it very often. When you buy for several months at a time, you need to be confident that you will be happy with it. When we first got started, we didn’t know what we liked well enough to commit to purchasing at that scale, but we’re pretty set in our ways now.

Occasionally someone will really enjoy a cup of coffee I make for them and will say that I should start a coffee shop. It’s a well-intended sentiment, and I take it as a compliment. However, starting a coffee roasting business or coffee shop would take away many of the things that I love about coffee roasting. I only roast the kind of beans that we like, and I only roast as much as we need. And I get to use roasting as an excuse to take a break from my other responsibilities and enjoy being outside in our beautiful weather here.

I still enjoy trying other coffees. I love going to my favorite coffee shops and having someone else make me coffee. I love trying new coffee shops. And I get a lot of satisfaction from the coffee that I roast, grind, and brew myself.

If you’re interested in home roasting, I highly recommend Sweet Maria’s resources. In addition to working with farmers around the world to source beans equitably, they share their deep knowledge freely. They have articles, tutorials, and videos. They hold workshops at their warehouse in Oakland, and will be presenting at Maker Faire as they often have in the past.

Featured artist: Bleeptrack

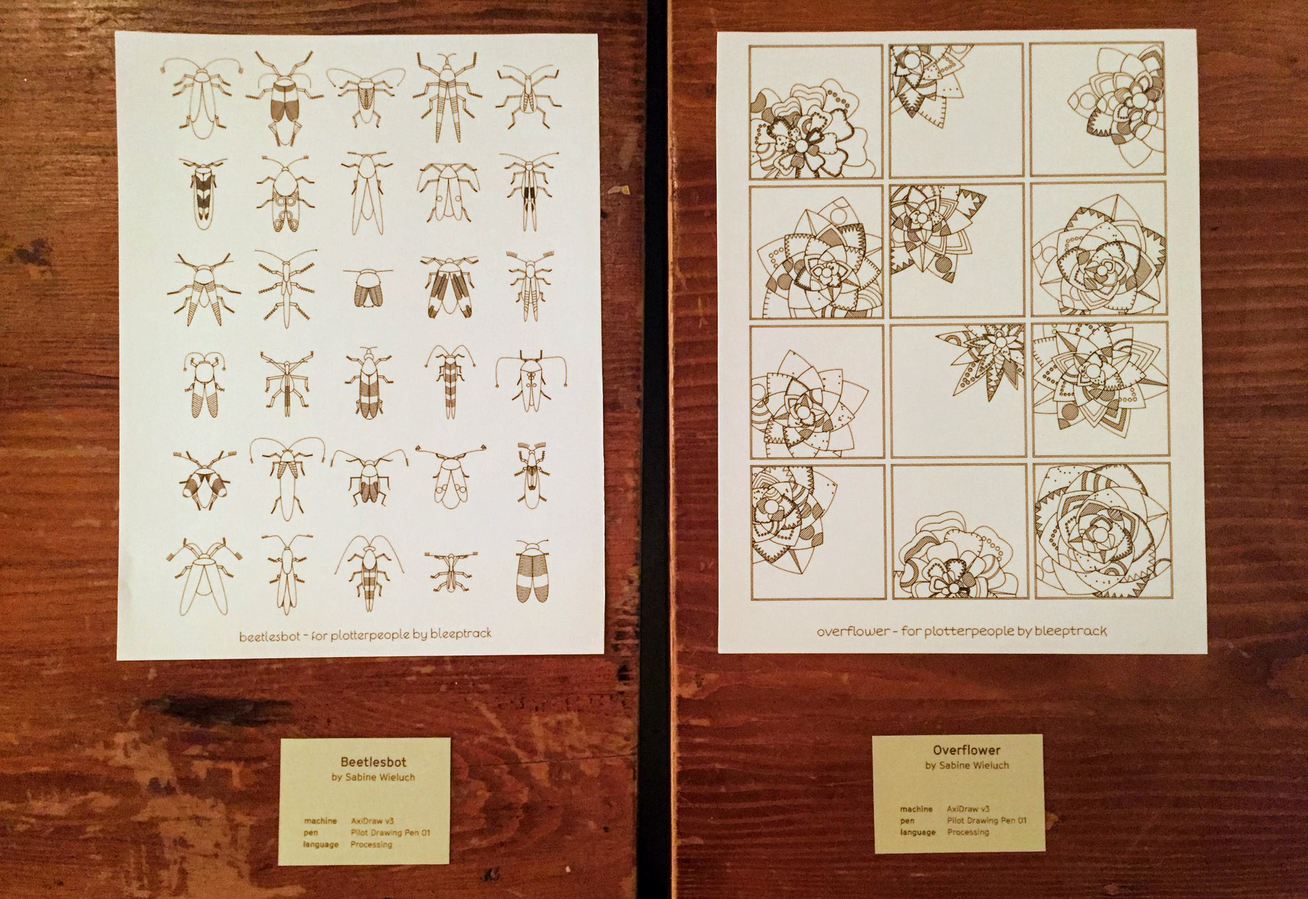
Bleeptrack is a generative artist who works in a variety of media, but we are of course particularly fond of her plotter work with AxiDraw. We were privileged to see her work displayed at the Plotter People meetup in San Francisco. One particularly cool and generous thing she has done a few times is to create and then share tools to generate artwork.

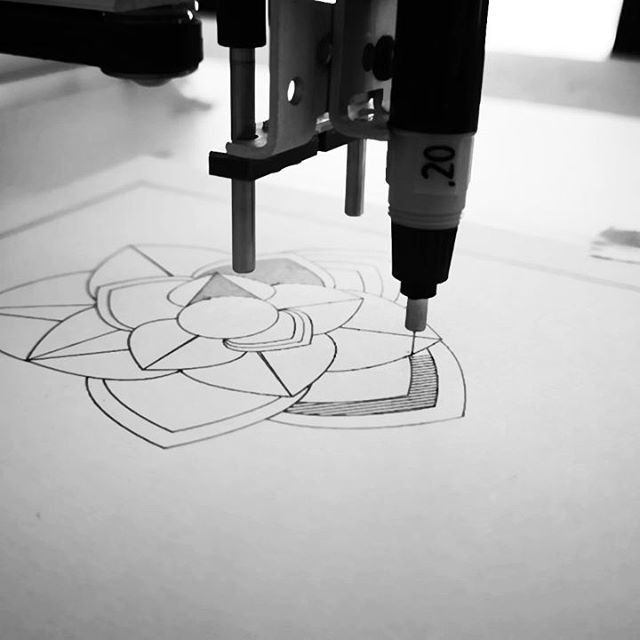
For her overflower project, you can use her generator which lets you set a few parameters and generate flowers which you can save as SVG files.

She has used overflower not just for plots but also for fabric printing and she has produced some beautiful bags for sale from the fabrics.

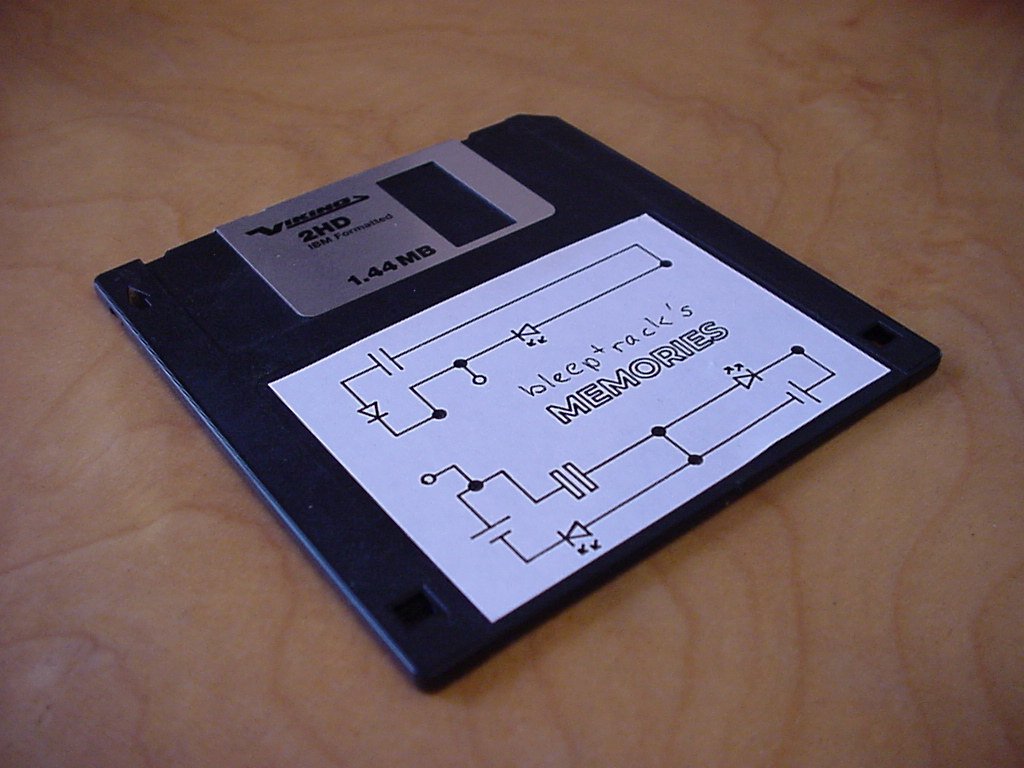
The label on this floppy disk (which was used with a vintage digital camera to store pictures) was made by plotting onto label stock with an AxiDraw, with a drawing from the 35c3 circuit generator, which

creates fictional electric circuits with a message inbetween the lines. The design is in the style of the event design of 35c3 (Chaos Communications Congress). The project was built to enable all participants to easily create their own decorative circuits and ended up ‘highjacking’ the original event iconography. During the 4 days of 35c3, the circuit generator was used hundrets of times and resulting images were displayed all round the event halls, stages, stickers, appearal and banners.

You can read more about the fictional circuit generator on its project page.

For her Bugs and beetles project the Beetle code is up on github and you can play with the generator.

She has used the generator to make stickers and connected the generator to a print-on-demand t-shirt shop (in Germany) so that you can have your own unique bugs on a shirt. Her beetlesbot twitter bot generates and posts a new beetle every 8 hours.

My favorite non-generative Bleeptrack plot uses the data from her vacuum as it mapped the space in her home. The robot motion is plotted within the floor plan of the house.

You can check out her other projects on her website and follow her latest on twitter and instagram. You can support her on patreon and check out her merch page.

AxiDraw in the Classroom

One of the places we love to see the AxiDraw is in educational settings. It can be used as an introductory tool for digital fabrication, it can be used for learning to code, and it can be used for exploring design or mathematics.

Saskia Freeke posted a beautiful series of 3D cube plots as well as link to her published processing sketches. She’ll be teaching with the School of Machines, Making and Make-Believe in Berlin this summer.

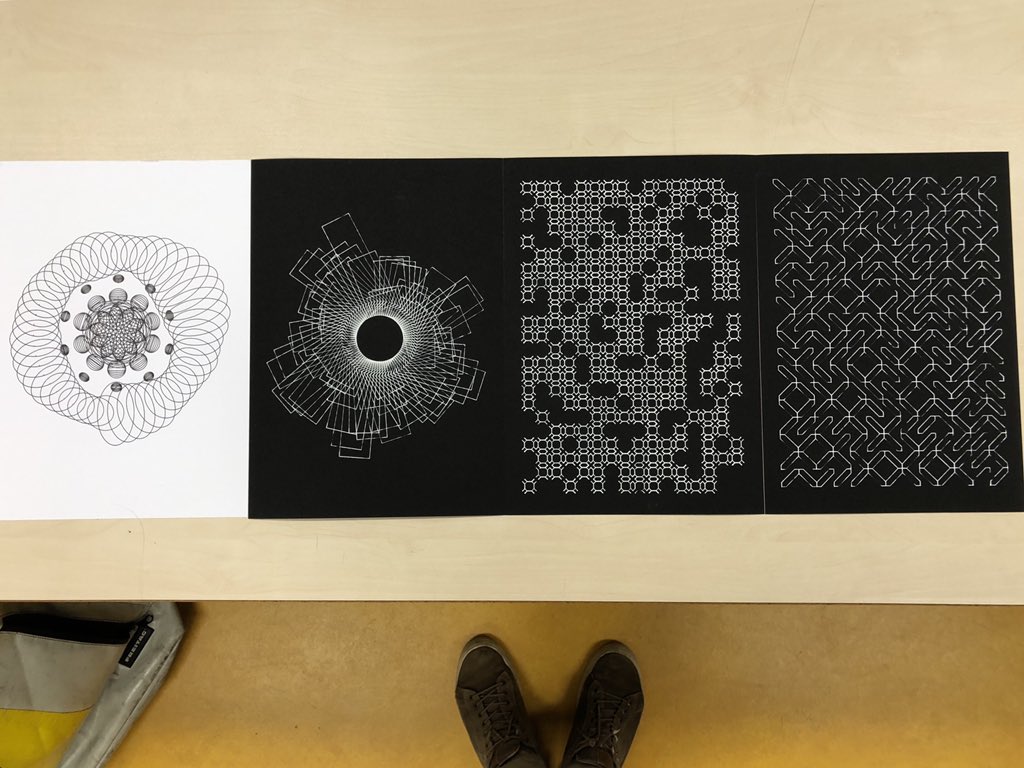
Julien Gachadoat also posted about using Processing. Shown above are
“Prints made by design students (L2) at Université Bordeaux Montaigne for the last course of the year on generative systems.”

Kris Swanson posted about using a Tinkercad to Inkscape workflow for AxiDraw for student projects.

Andrew Carle posted yet another workflow, using Beetle Blocks to AxiDraw. The plots above were made by his g10 math students.

If you’re using AxiDraw in the classroom or know of other resources for educators using AxiDraw, please post in the comments or send us a note! We’d love to hear how you’re using it and what tools you use.

Bike bells with AxiDraw

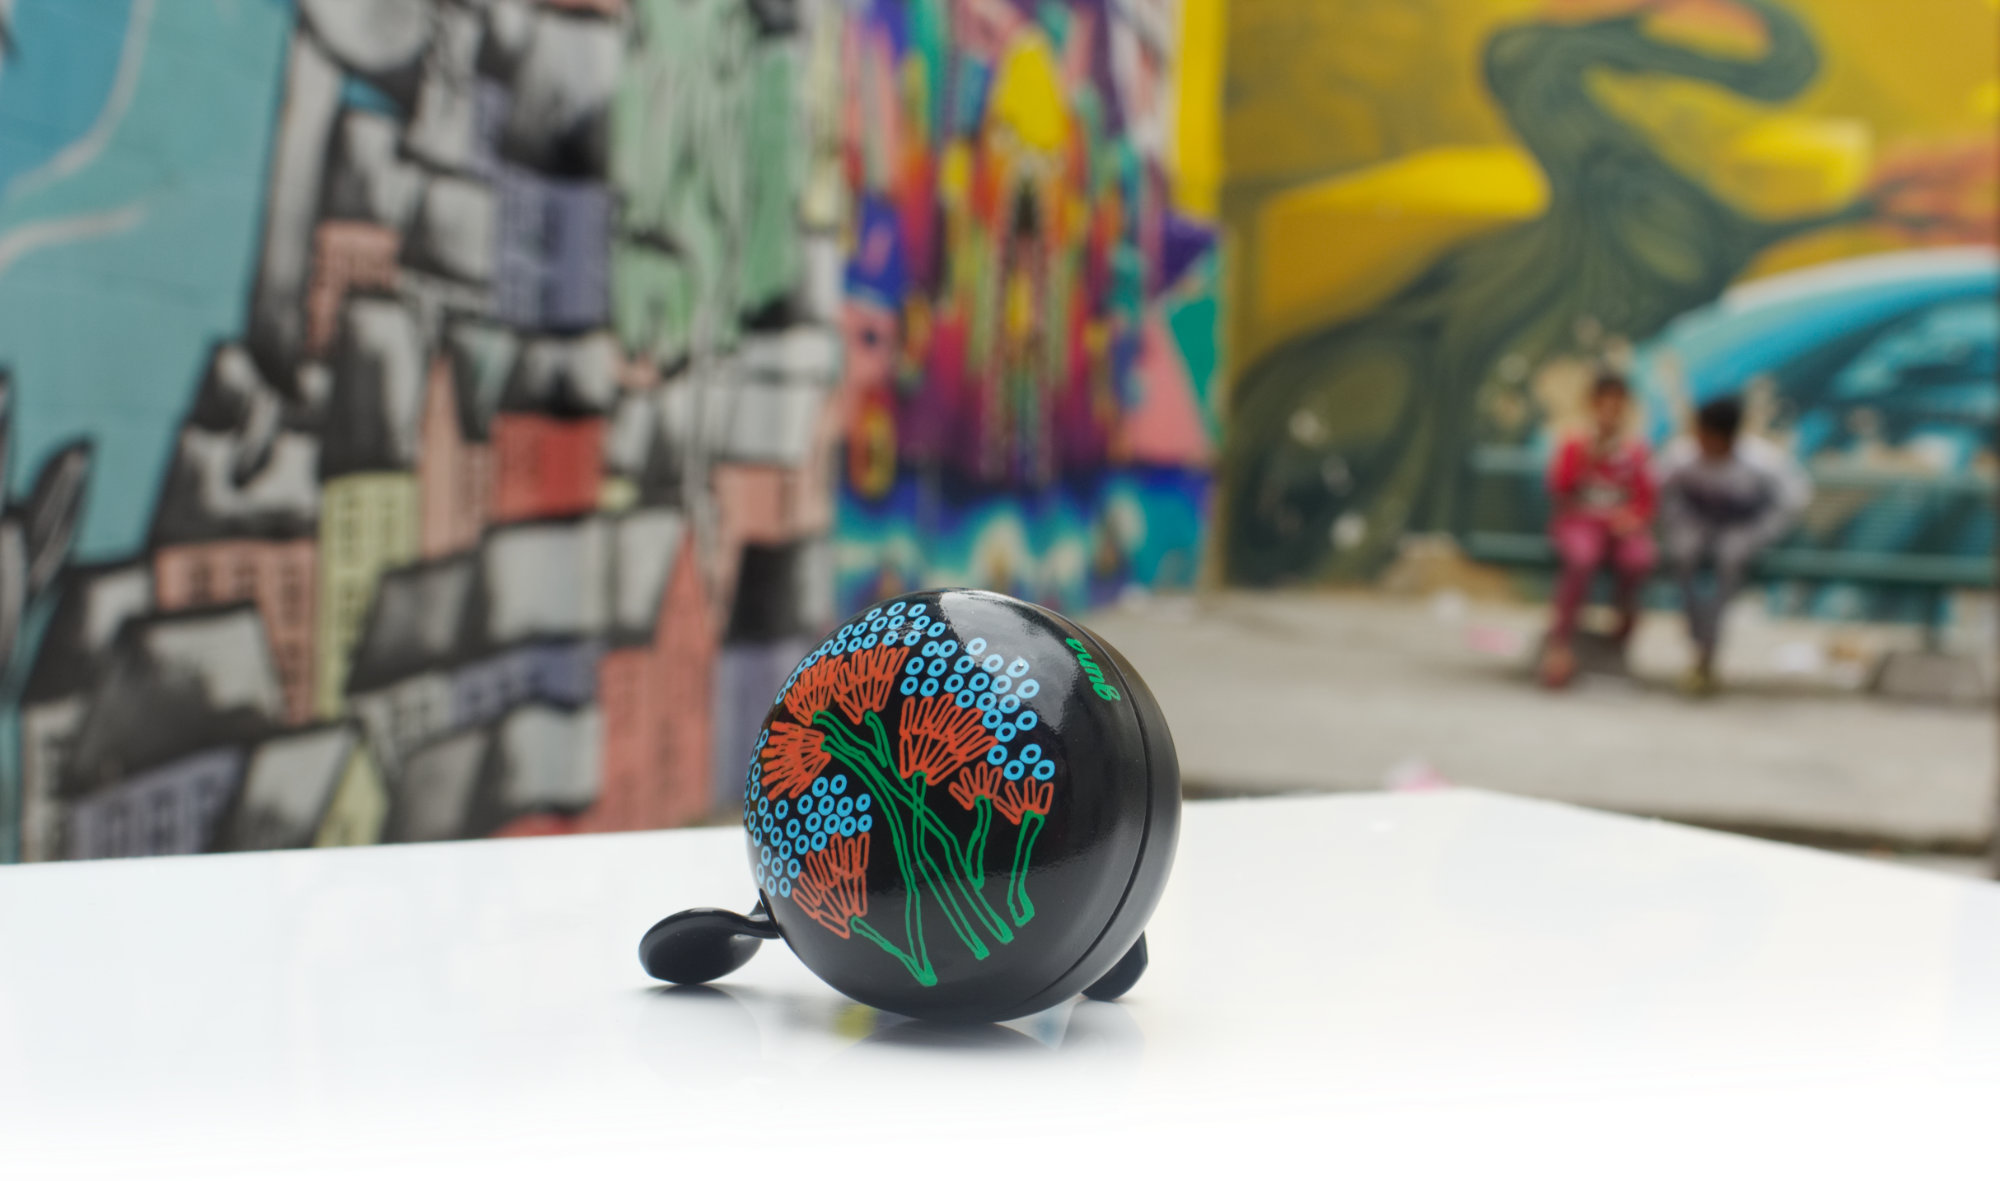
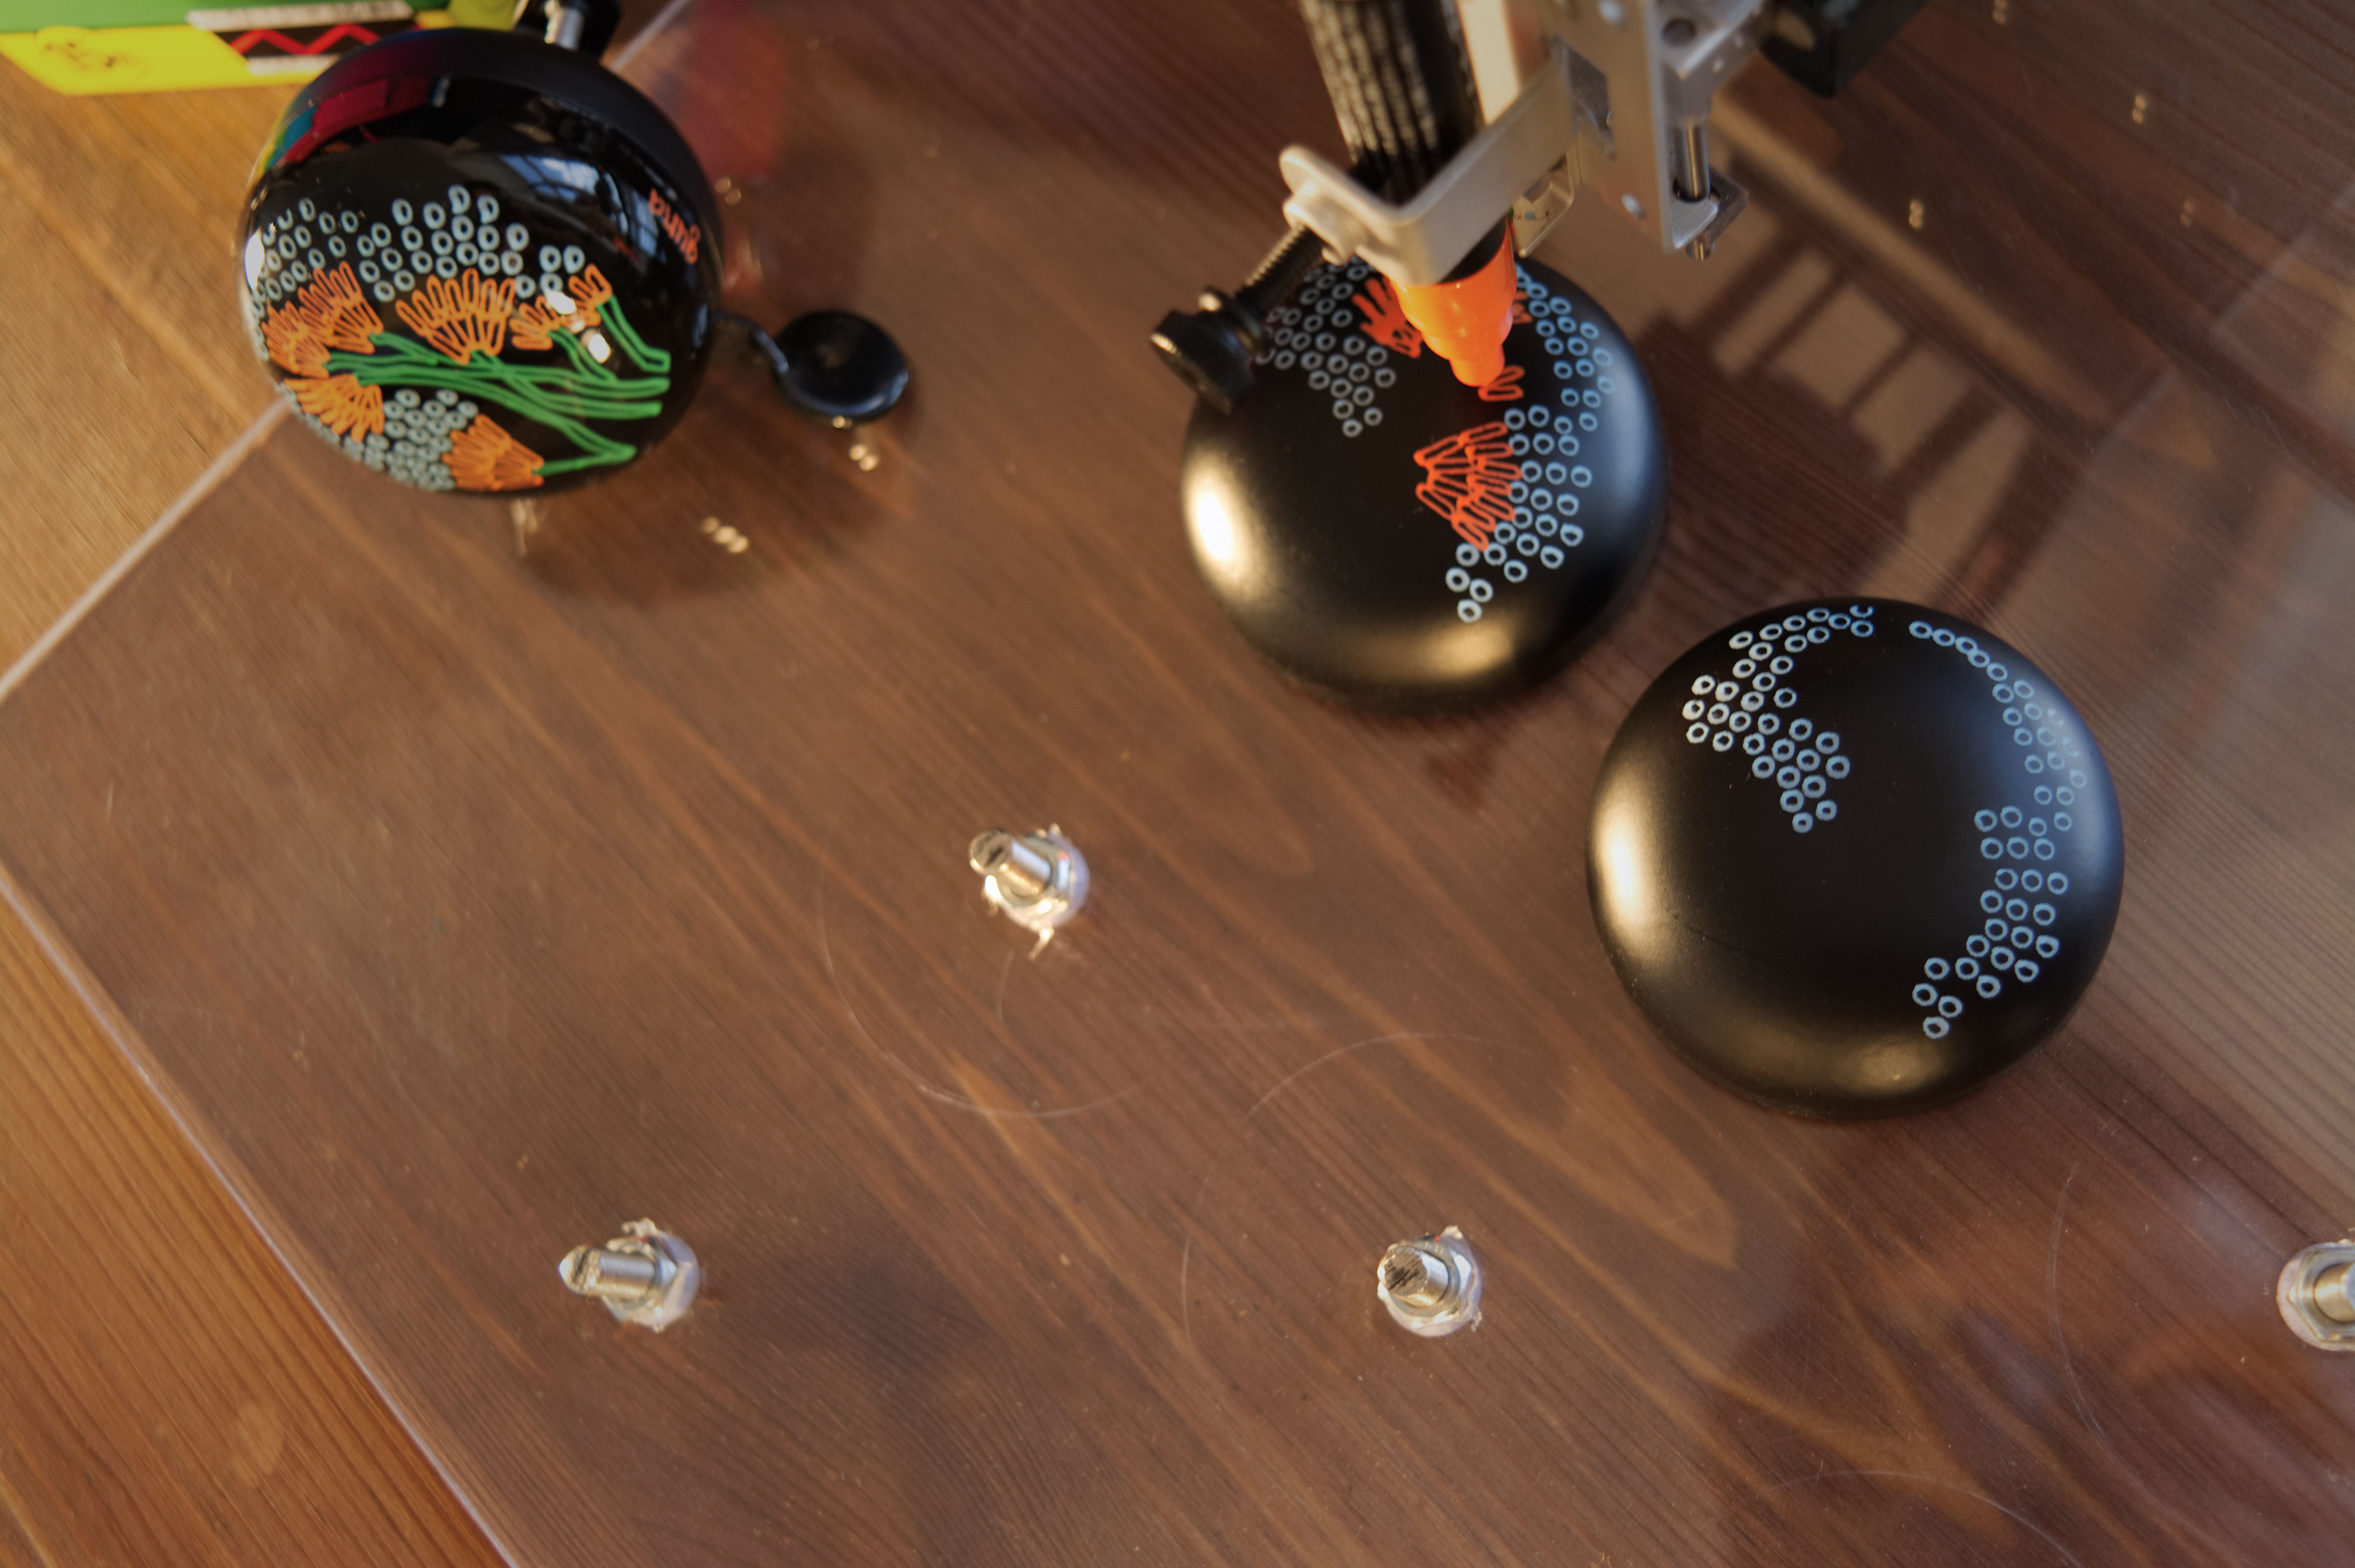
Alexandre wrote in to share how Guna is using the AxiDraw for making their collection of vibrantly decorated bicycle bells.

The top part of the bells is screwed on a purposely made acrylic fixture. I have some risers so that the AxiDraw sits just above the bells. They are painted with Posca pens and then receive two coats of clear varnish.

We love to see how AxiDraw gets used, especially when we get to see the fixtures people make for drawing on unusually shaped objects.

Thank you to Alexandre for sharing these process pictures with us! Their beautiful bells are available through Etsy as well as in select bike stores in Portugal.

Designing with EggBot

Our friend Fran posted this great example in the Eggers EggBot Facebook group of one of the things the EggBot excels at: placing a design evenly around any size of egg.

This time a medium sizes rhea egg with three six petal flowers. What I love about the EggBot is that I can get 3 equal flowers onto any sized egg.

After marking the egg with the EggBot, it gets painted and any decorations such as crystals, beading and figurines are added. She also incorporates 3D printed bases into her designs.

Number Systems Plotter Art

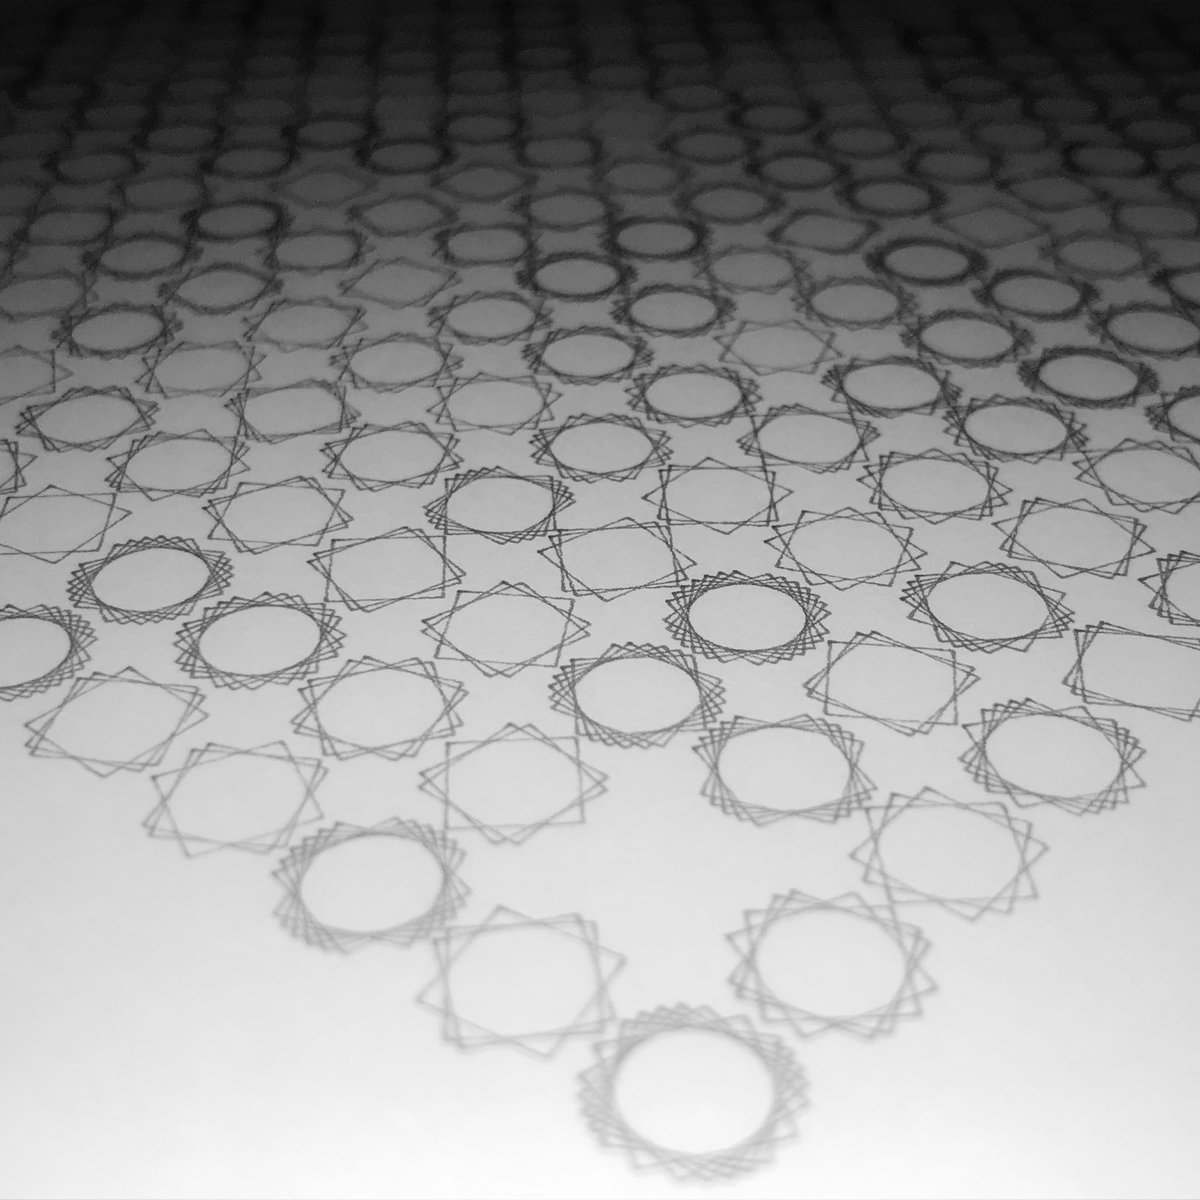
Arjan van der Meij recently got an AxiDraw and has been exploring binary and ternary numbers as a plotting subject. It has been fascinating to watch his iterations on twitter and instagram. One of his earliest posts represented eight bit binary numbers as rotated squares.

He started a plot of twelve bit binary circles, but didn’t complete it due to lack of clarity. It is not too often that you get to see this type of artistic decision making in progress– many artists only post the “keepers.”

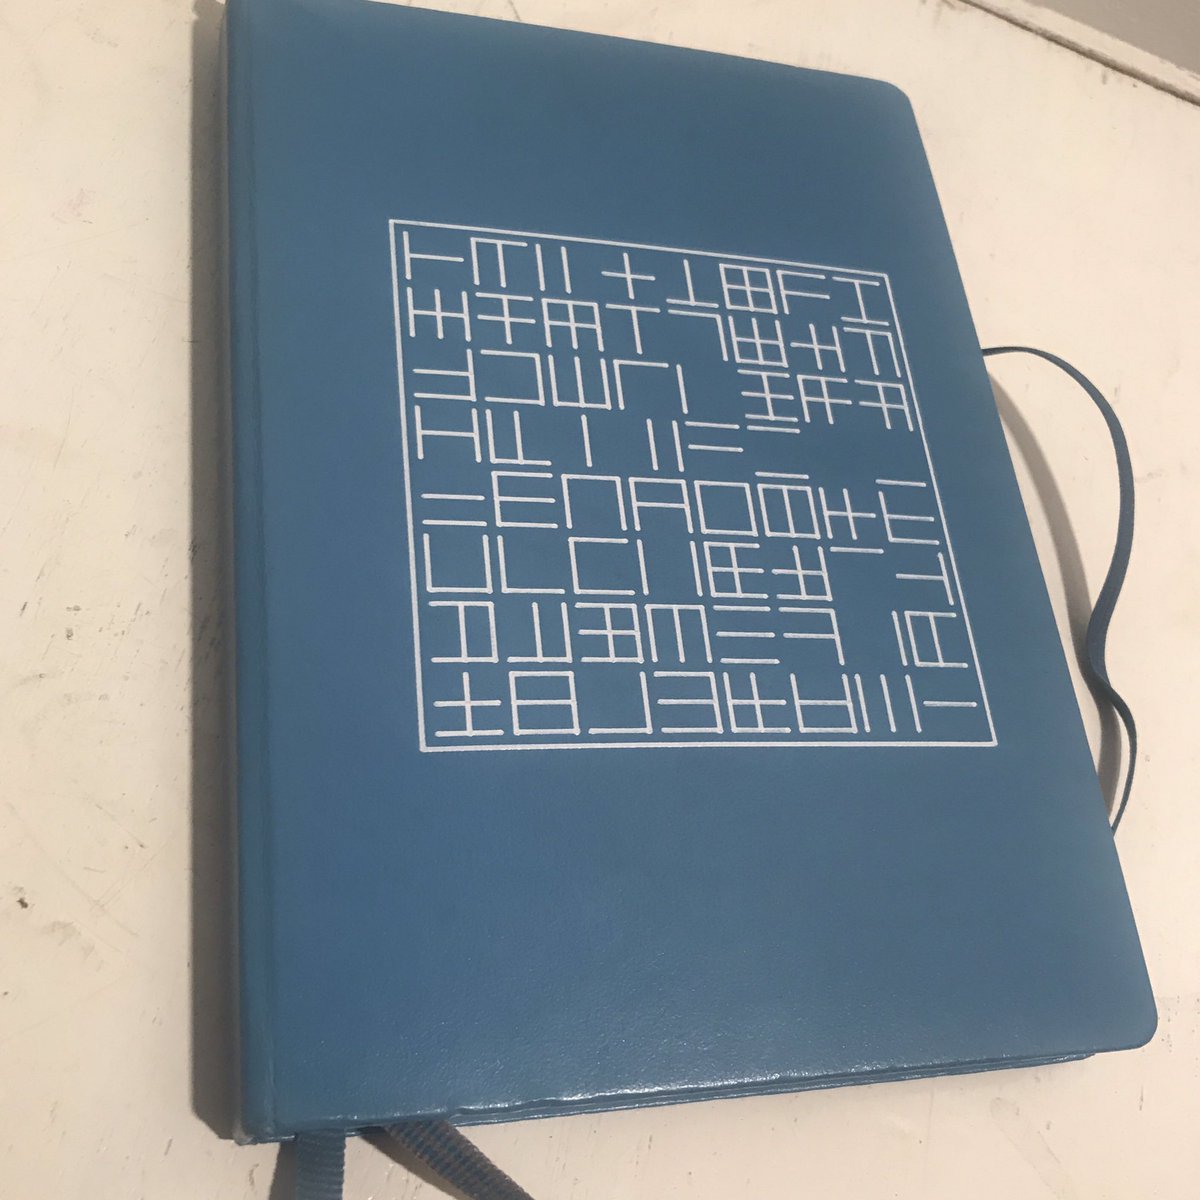
Speaking of keepers, this one involving six bit binary crossed lines was liked well enough to be replotted on notebook cover. In a further exploration of this style, he also made a 1024 grid of ten bit binary crossed lines.

This post of eight bit binary triangles explored order as well as form with a sequenced as well as a shuffled version. Nested binary shapes, like these triangles and six bit binary hexagons seem to have provoked a jump to a slightly different plotter format: laser cutter.

Some of the forms tried in wood were binary squares, eight bit binary triangles, and the seven bit binary hexagons shown above.

The jump to wood gives rise to a form that seems a bit like a jigsaw puzzle, especially when you see the individual pieces before they’ve been arranged for display.

He explores rounded shapes his series of binary flowers, including six bit binary flowers, ten bit binary flowers, and eight bit binary flowers made of ellipses.

Moving beyond binary, ternary digits have three possible values. I found the nested ternary rectangles/squares and ternary elipses (above) to be straightforward to decipher. Another method explored includes line segments, either straight or with indents or protrusions to express the values as in these ternary squares, ternary hexagon/star/circle, and ternary triangles. Other shapes are harder to describe, like folded ternary hexagons, or ternary squares with their segments folded inwards or outwards in triangles.

It is fun to compare how different number systems can be visualized using similar structures. The eight bit binary “stick figures” are not dissimilar from these six trit ternary arcs on a sticks: bits are displayed on both halves of the figure, whereas the trits are shown inline. Similarly, this set of ternary flowers bring to mind some of the the binary flowers mentioned before but have a different character for carrying more information.

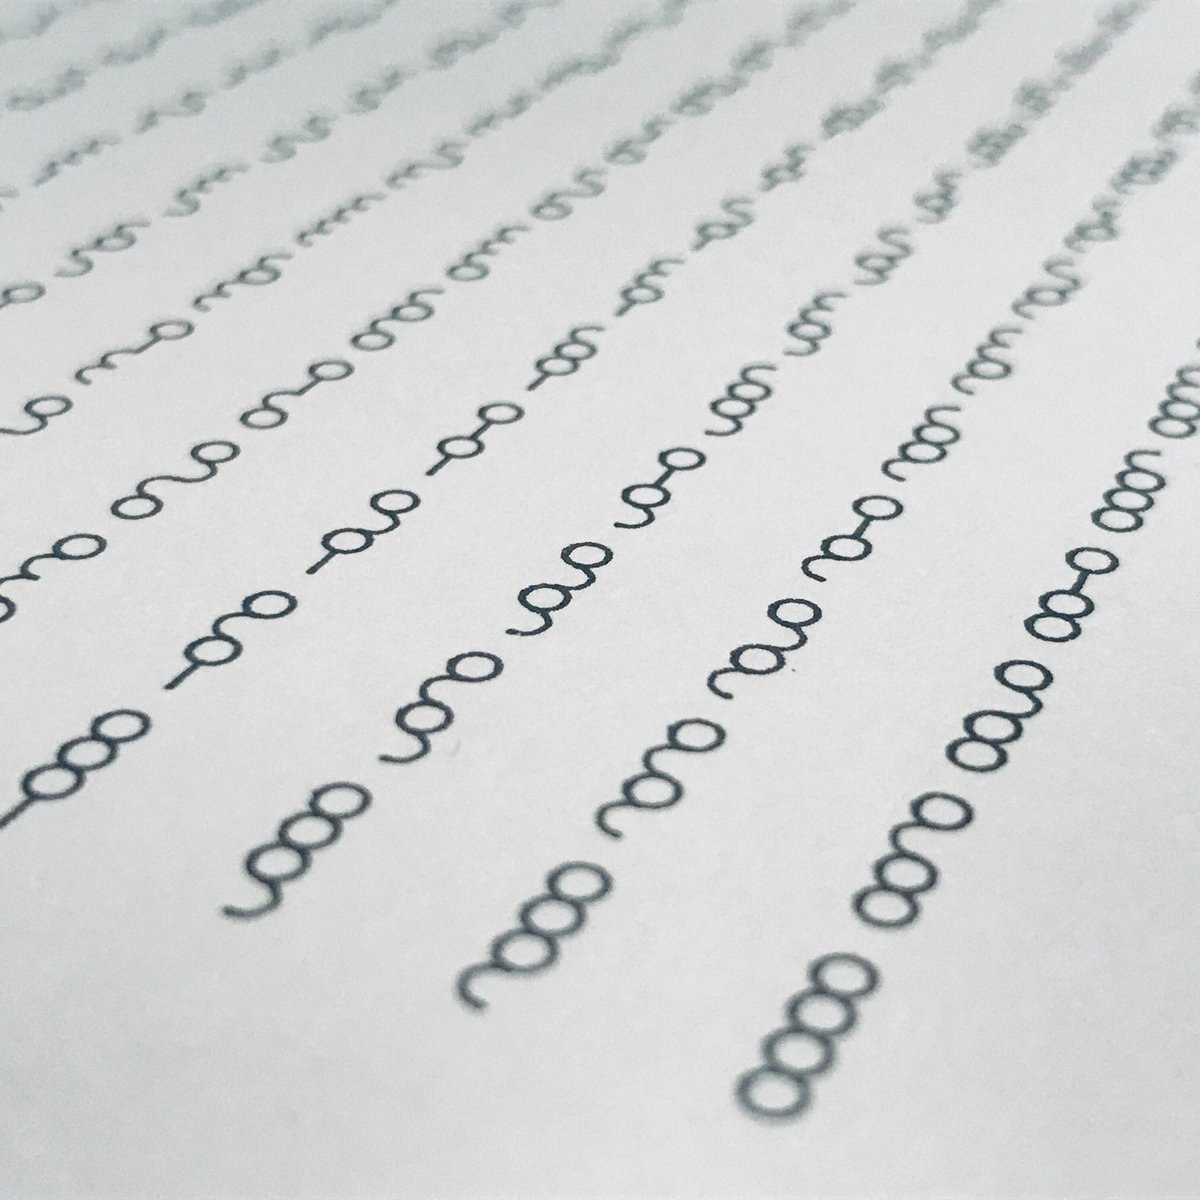
One interesting diversion from the geometric forms he pursued was the text of binary numbers plotted in sequence, creating geometric patterns in the repetition of the letters. He has continued exploring various ways of visualizing and arranging numeric representations, and I’ll look forward to his continued works. If you’ve enjoyed these tastes of what he’s doing, he also posts timelapses and short videos of the process, and is making his plots available for sale on his website.


If you liked this post and have other plotter artists you’d like us to feature, please comment below or drop us a line!

Linkdump: April 2019

WaterColorBot on Cool Tools

Donald Bell of Maker Update was recently on the Cool Tools podcasts, and gave the WaterColorBot a very nice shoutout. He also mentioned Turtle Toy, which is a tool for creating your own generative art using a minimalistic Turtle graphics API. We recently found Turtle Toy as well, and have been inspired by the art people are sharing there.


Previous Cool Tools posts: