All posts by Windell Oskay

About Windell Oskay

Co-founder of Evil Mad Scientist Laboratories.

Simple Relay Shield v 2.0

relay shield

A minor bump for one of our little open source Arduino add-ons. The Simple Relay Shield is an easy to use single-relay board that does one thing, and does it well: It adds a beefy little mechanical relay to an Arduino, which you control through pin Digital 4.

relay shield

Version 2.0 adds the ability — by popular request — to control it from a pin other than D4. Solder the jumper in the normal way (in location JP), and it works on pin D4. Hook it up to any other digital pin, say to D7, and now you have a relay on that pin. The Simple Relay Shield is available as a complete soldering kit or as a bare PCB, and you can find documentation on our wiki.

A Vintage Bliley Crystal

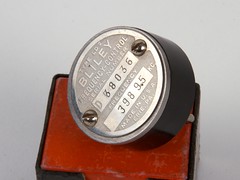
Bliley Crystal 1
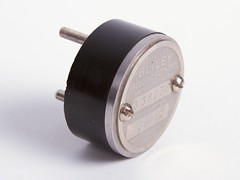
Bliley Crystal 2 Bliley Crystal 4
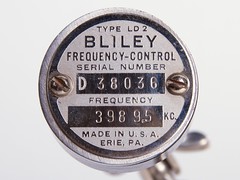
Bliley Crystal 7 Bliley Crystal 6

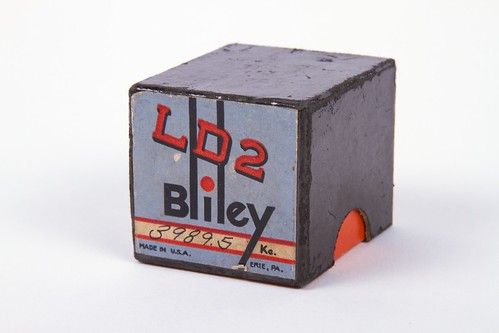
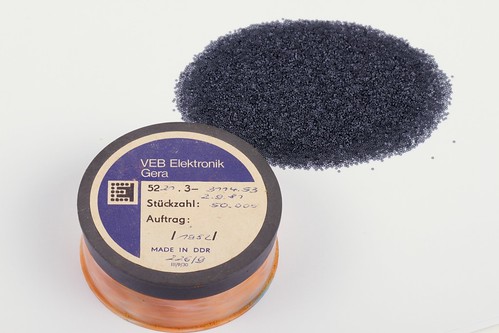
They don’t make — or package — them like they used to. This is a vintage radio crystal from the Bliley Electric Company.  Bliley is still around, making modern oscillators and even space flight hardware, but this vintage unit is a beauty.

Introduced in the 1930’s, the Bliley LD2 was a popular frequency standard for amateur radio operators. A 1935 advertisement in QST magazine claimed efficiency and extremely low drift (<8 ppm/°C), guaranteed operation, an improved holder, and a cost of only $4.80, or $82.79 in 2014 dollars.  This particular unit is calibrated at 3.9895 MHz (“3989.5 KC”), for a radio wavelength of about 75.2 m.
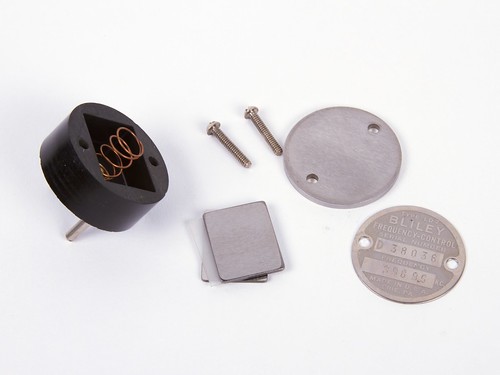
Bliley Crystal 9


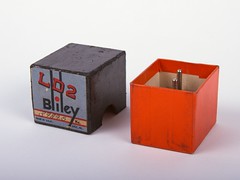
Unlike most modern crystals, this type comes apart easily. Inside, two rectangular steel plates sandwich a thin slice of quartz crystal, all held pressed together with a simple spring.

If you’re interested to learn more, there’s a wealth of additional information about vintage crystals and the Bliley company available online, here.

The Egg-Bot Electro-Kistka

Hardware 1
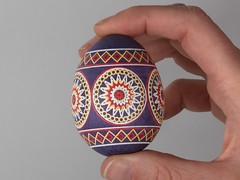
Pysanky eggs

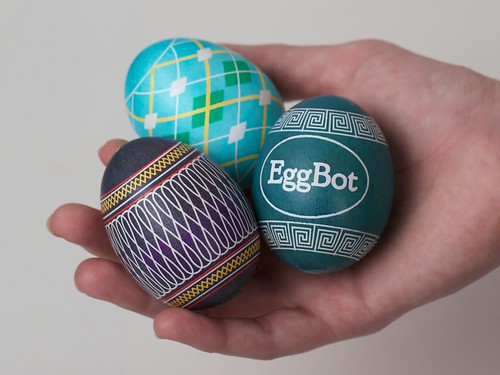
We’re pleased to announce the availability of the Egg-Bot Electro-Kistka: An electric hot wax pen designed to be used with the EggBot. A kistka is the wax tool used in the traditional wax-resist and dye (batik) method to produce colorful eggs in the same fashion as Ukranian pysanky.

We would like to acknowledge that this is not by any means the first time that anyone has strapped a kistka to an EggBot— We wrote about Ann’s DIY version a few months ago, and we’ve seen other versions (both manually heated and electric) in YouTube videos dating back several years.

Hardware
 Hardware 2 Hardware 4

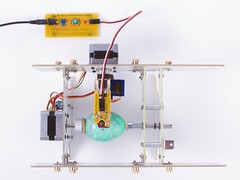
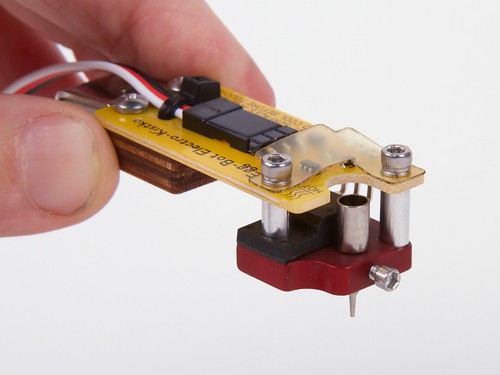
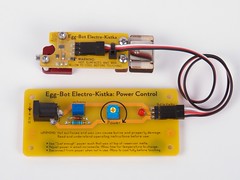
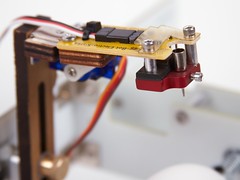
The Electro-Kistka consists of two main parts, connected by a cable: A heater assembly that gets mounted to the EggBot’s pen arm (in place of the usual pen holder), and a power control board that sits behind the EggBot.

The power control board is relatively simple: it accepts input from a plug-in power supply, and has an adjustment pot so that you can set the power level of the kistka.

The heater assembly has two parallel surfaces that you can see in the pictures.  The upper is a yellow circuit board with control electronics, and the lower red part is a machined aluminum heater block that holds the actual kistka tip.
Hardware 3 Hardware 6

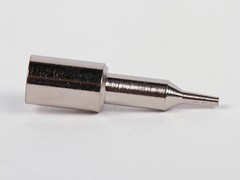
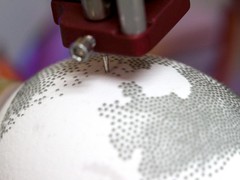
The kistka tip (right) has a small wax reservoir at the top and a smaller-yet point on the bottom that feeds molten wax onto the egg surface through gravity and capillary action.

Designing a good kistka tip is an art unto itself, and we are using field-proven kistka tips, wax, and other accessories from Folk Impressions, manufacturers of the excellent “white handle” electric kistka.  The tips are interchangeable and a number of sizes are available. For all of the examples shown here, we’re using only the #2 (medium) tip that comes with the kit.

Process: two-tone

The basic wax resist process is as follows: Apply wax to the parts of the egg that should remain the present color, and then dye the entire egg a different color.
Twain 1 Twain 2
Twain 4 Twain 5

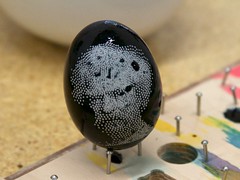
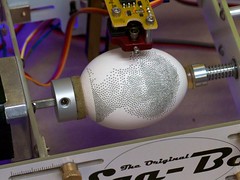
For a simple two-tone image — white on black — we started with Mark Twain, one of our example images from the StippleGen project.  From a user standpoint, drawing wax onto the egg works exactly the same way as using a felt tip marker in the EggBot — it’s just a different tool that does the drawing.  The wax itself is black-colored beeswax, which is nice because you can see it against the egg.

After the EggBot finishes, we dip the egg in dye for a couple of minutes, and leave it to dry on a grid of little nails.
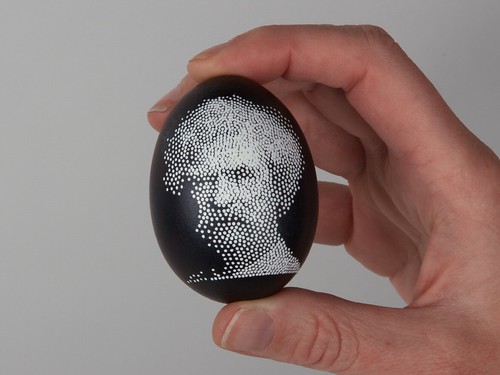
Twain 7

Once the egg is dry, we remove the wax with a heat gun on the low setting (a glorified hair dryer…) and a tissue. With the black wax gone, the contrast is stunning. (If you are interested, here is how it looks before the wax is removed.)
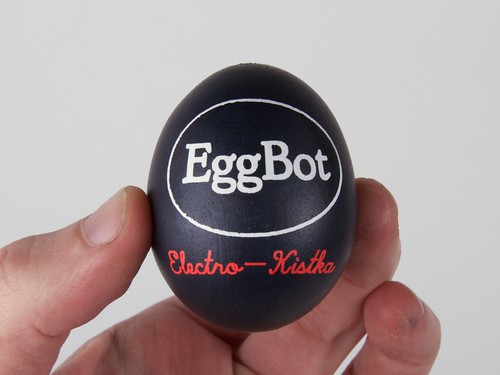
Eggbot Logo 1 Eggbot Logo 2

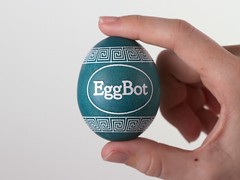
Another example of a two-tone egg.  Alternately, you could dye the egg before the wax resist first goes on (say, yellow), and then dye it blue afterwards. The end result would be yellow lettering on a blue background.
Process: Multicolor
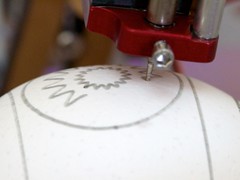
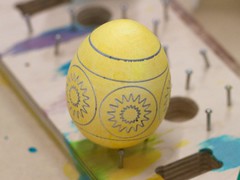
overkill 1 overkill 2
overkill 3 overkill 4

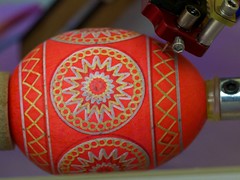
Making multicolor eggs uses the same process, but with added complexity.  For this example, we applied wax resist on a bare (white) background, and then dyed the egg yellow and allowed it to dry (upper right).  We then applied a second layer of wax, dyed the egg red and allowed it to dry.  Finally, we applied a third layer of wax (lower left), dyed the egg blue, and allowed it to dry.  The results after removing the wax (lower right) show the white, yellow, red, and blue areas — not bad!

A caveat: It is harder than it looks.  While two-tone eggs are straightforward, we have found it to be challenging to precisely reposition an egg after removing it for dyeing. Thus, it takes considerable patience and experience to produce multicolor eggs with good registration between subsequent color layers.  We’d be interested in exploring better ways to do this.
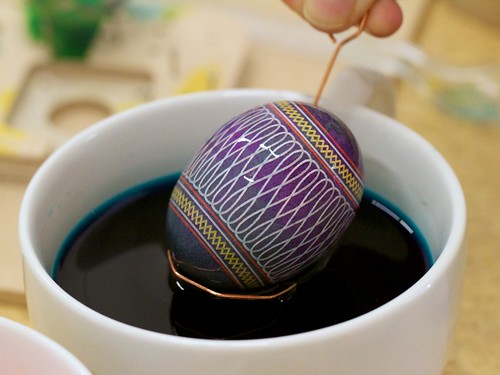
traditional 2
Still, maybe it’s worth the effort.

MoreEggs 4

The Egg-Bot Electro-Kistka begins shipping this week.

Heavy Duty Marshmallow Roasting

Building our April Fool’s Day project, the MarshMallowMatic, was a fun project but not without its fair share of trial and error.  When heating flammable materials with an oxy-fuel torch, the biggest challenge is simply not setting them on fire.

In the video above — one of our first trials, before we had figured out how far away to position the flame — we wondered what would happen if we tried to “evenly” roast a marshmallow… with predictable results.  Let’s just consider this an outtake.

The MarshMallowMatic

Marshmallowmatic

Introducing the MarshMallowMatic: the world’s first dedicated CNC marshmallow toasting machine— capable of custom marking and toasting of marshmallows under robotic control.

The MarshMallowMatic is built from a special, modified version of our Ostrich Eggbot kit, fitted with a compact oxy-fuel torch:

Marshmallowmatic

The oxy-fuel torch can produce a 1″ (2.5 cm) long flame, with temperature in excess of 5000 °F (2760 °C).  “And wow, can it toast marshmallows!”

MarshmallowmaticMarshmallowmatic

Help wanted: RoboPaint

James “techninja” Todd writes that a few more hands might be helpful on the RoboPaint project:

RoboPaint is an open source app for controlling painting/drawing robots, made for my daughter’s award winning Open Source WaterColorBot! The project is taking off with lots of users and lots of great features, and is all written in web standards node-webkit to run on all operating systems.

Interested? Sign up to help out at http://www.doerhub.com/for/robopaint


Pi Day is Here

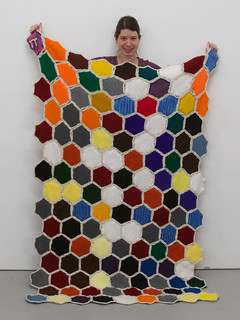
Or, if you prefer, we’re halfway (well, 44% of the way) to Tau day, 6/28.  A fine day to watch the Vi Hart‘s Anti-Pi Rant. And, a fine day to round up some of our finest Pi, Pie, and mathematics projects:

Pi Blanket   Apple Pie

Pi blanket for Pi Day, and the Apple Apple Pie!


Earrings 2   Sierpinski Cookies-11

Sierpinski triangles out of polymer clay, and fractal cookies.

Fractal Snowflake Cupcakes - 24 fabric klein bottle

Fractal snowflake cupcakes, Fabric Klein bottle

Snowflake generator SymmetriSketch 2
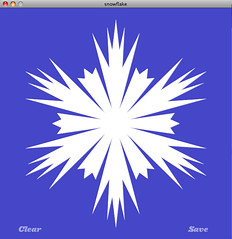
Vector Snowflake generator application, and Symmetrisketch— for exploring other symmetries.

Christmas fractalSconic Sections
Christmas Chaos and Sconic Sections

Basics: AVR Target Boards and Arduino Compatibility

Diavolino
Gary writes:

I have fallen in love with your Diavolinos – thank you!
My question: does the “Simple target board” allow for the 6-pin FTDI Friend hookup to upload sketches? This is quick and easy with the Diavolino. I’m new to reading circuits and stuff, and I cannot tell looking at the target board. It says to use in-system programmer, but I prefer to not buy another interface. Thanks!

Excellent question! It is certainly possible, but not as quick and easy.  Both the Diavolino and our ATmegaXX8 target boards boards use the same chip, usually the ATmega328P.  But, one might say that our ATmegaXX8 board is a simple AVR target board optimized for use with an AVR ISP programmer (like the USBtinyISP), whereas the Diavolino is a simple target board optimized for use with the FTDI interface.

XX8 Target Board

Versus a “bare” target board (with just the chip and power), there are four things that you would normally add, in order to use the FTDI interface to upload a sketch from within the Arduino environment:

Continue reading Basics: AVR Target Boards and Arduino Compatibility