All posts by Windell Oskay

About Windell Oskay

Co-founder of Evil Mad Scientist Laboratories.

Micro Servo Earrings

servo-1
These earrings — Perfect for radio control and robotics enthusiasts — are made from little servo motors, partially hollowed out for lighter yet weight.
servo-2

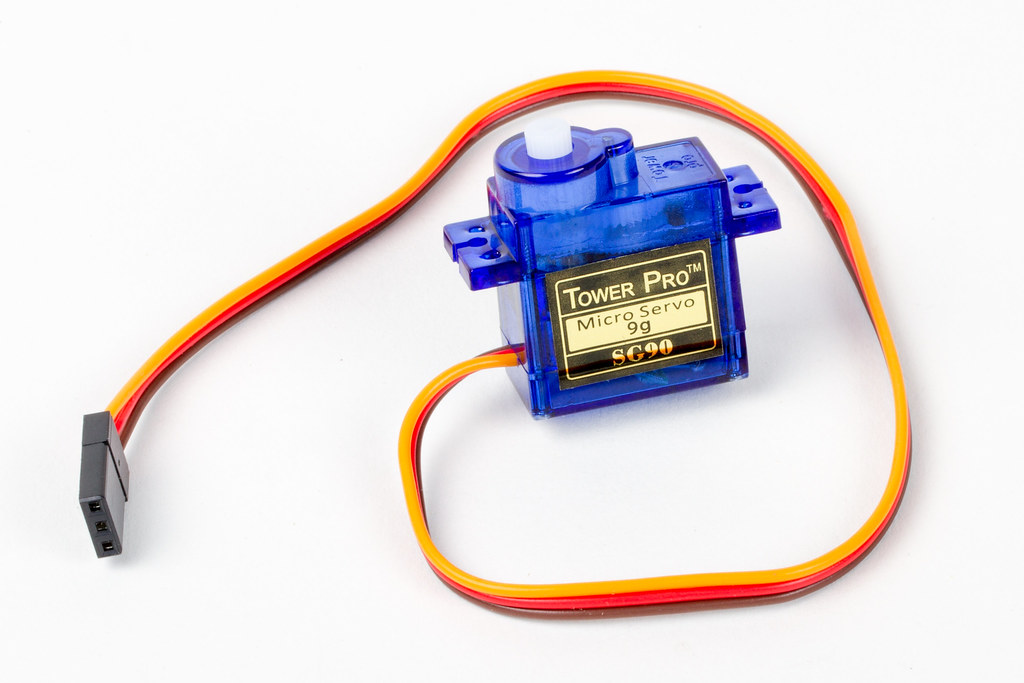
We begin with a “9 gram” class micro servo motors. This is a standard type of servo motor; the same kind that we use to lift the pen or brush on the EggBot and WaterColorBot.

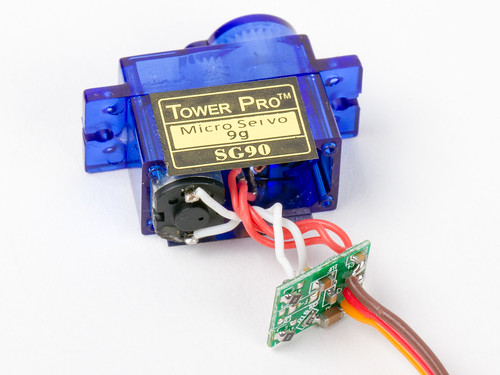
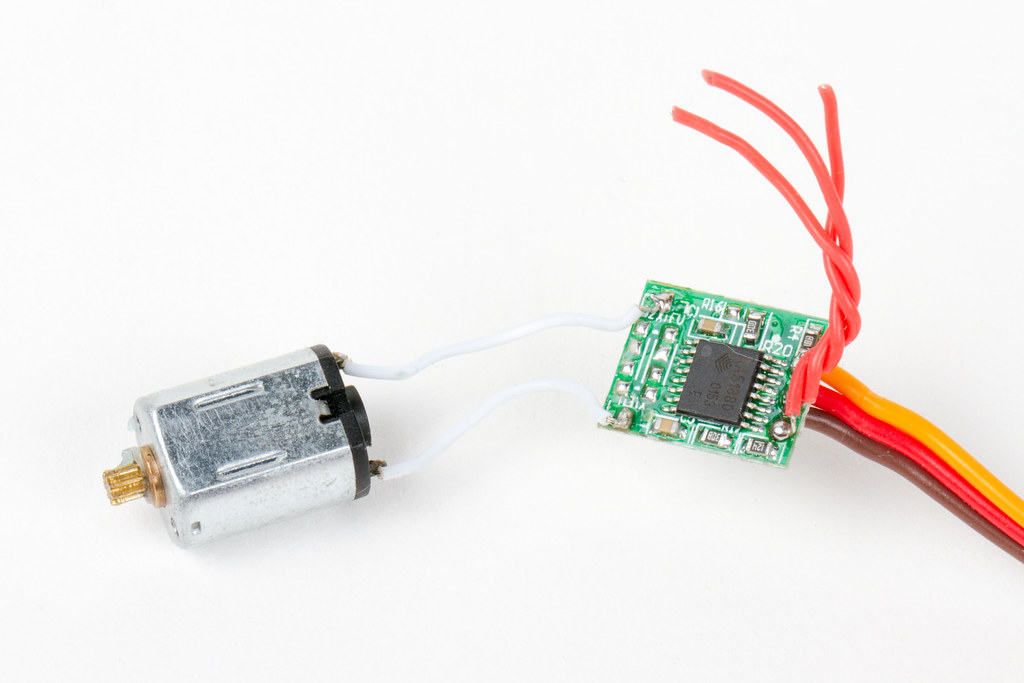
Inside of one of these you’ll find the actual DC motor itself, a set of plastic gears, a potentiometer (pot) connected to the output shaft, and a little circuit board that controls it all. The gear train is used to convert the high-speed low-torque output of the motor into its high-torque low-speed output, and the pot reads the orientation of the output shaft so that it can be controlled (servoed) to the correct position. However for today, we’re primarily interested in the case, and most of what’s inside doesn’t really matter.


servo-3 servo-4

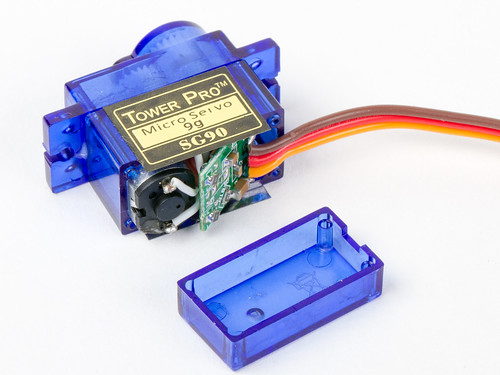
The lower part of the case comes off with four very skinny, very long screws.
servo-5 servo-6

And then, you can pull out the tiny little circuit board.

servo-7
servo-8

The DC motor slips out easily, but the three wires to the pot are soldered in, and need to be clipped.

Incidentally, it’s straightforward to hack servo motors, repurposing the circuit board such that (1) the two outputs to the DC servo motor actually control something else and (2) that the input signal from the pot comes from something else. You can read our article about how to make a one-ton servo motor for a good example.
 

servo-9

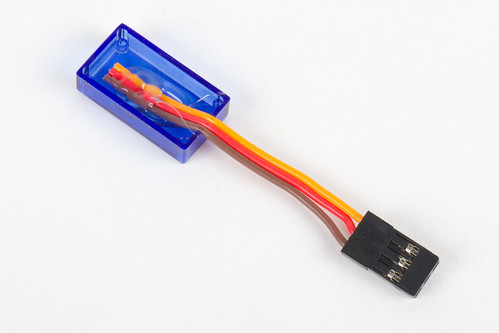
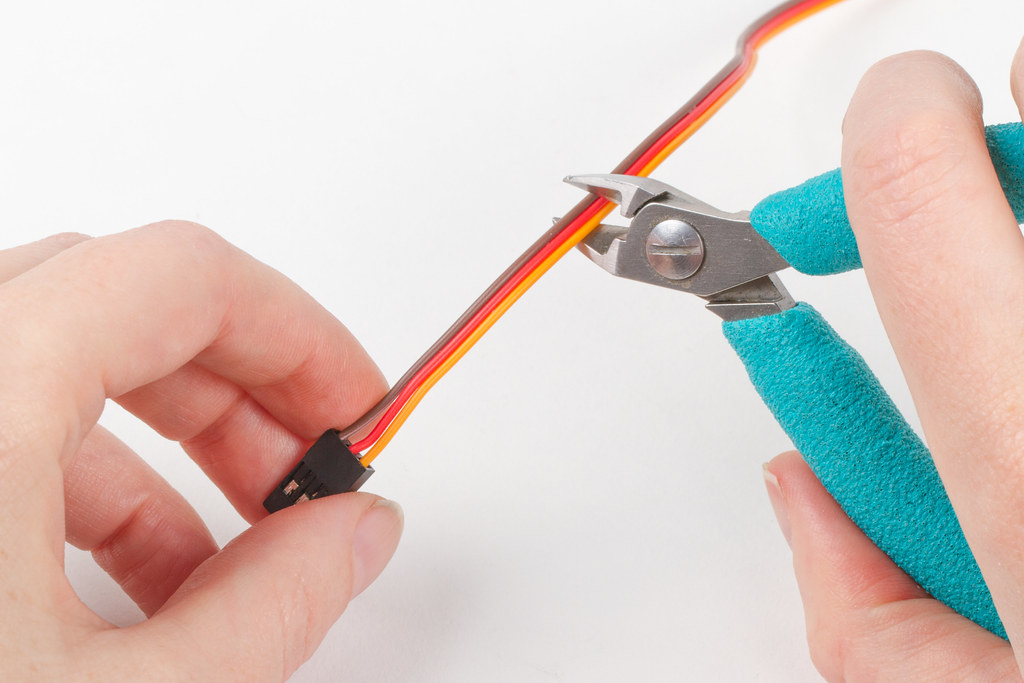
And then there is the matter of the cable. We don’t actually need that much cord hanging out the end — and it weighs something — so we can clip it shorter.
 

servo-10 servo-11

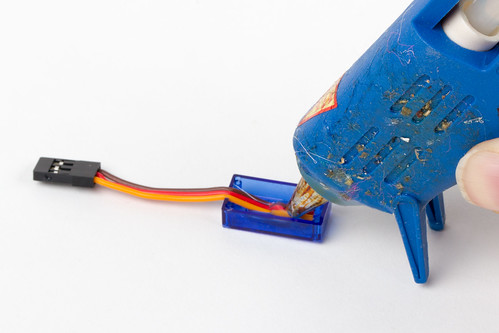
A dab of hot glue secures the cut-off end of the cable to the bottom of the case.
 

servo-12

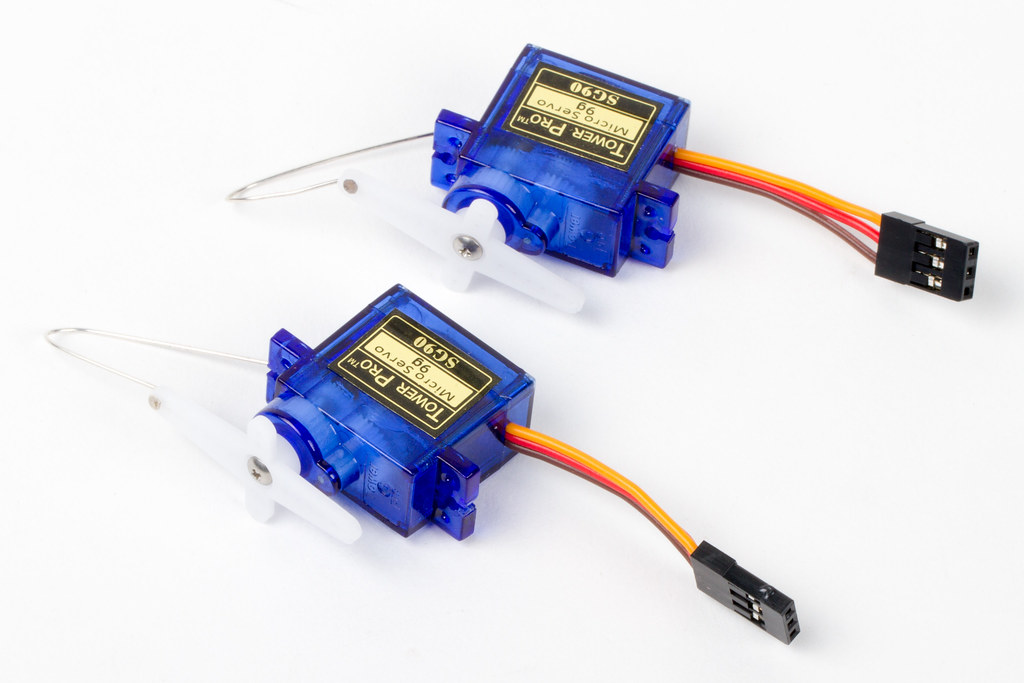
And the finishing touches: Reassemble the case, add the servo horns and finally the earwires. The final weight of each one is about 6.5 g, and the total weight of the components that we removed (motor, wires, circuit board, and cables) is about 5.6 g. As we have left it, the output shaft feels solidly held in place. Turning the output shaft still turns the gear train, and its motion is limited to the servo motor’s original range of travel; about 2/3 of a turn.

You can make it even lighter — all the way down to 5.4 g per piece — by opening it up further and removing the pot and all of the plastic gears except for the output shaft. It looks mostly the same from the outside (with the exception that the gears are no longer visible), but does not feel nearly as nice: The output shaft is only loosely held on its axis, and now able to turn freely through a full circle.

One might imagine taking it the opposite direction too: Building in a little battery and microcontroller, so that the servo motor would turn on its own while dangling from an ear. That version is left as an exercise for the reader, hopefully one with short hair that won’t get tangled.


If you liked this article, you might like some of our other related projects: Fimo fractal earrings, Chip earrings, Hard drive earrings, and Bobbin earrings.


Linkdump: October 2015

Linkdump: September 2015

Thoughts on OSHW and OSHW certification

OSHWA, the Open Source Hardware Association, recently released a proposal for what they are calling Open Source Hardware Certification.  With some paraphrasing and handwaving, their proposal boils down to this:

  1. OSHWA will create a new logo and trademark it.
  2. To license this new trademark, you would need to agree to a contract that says:
    1. We will only put this trademark on open source hardware (as defined in the open hardware definition).
    2. If we use the logo otherwise (and do not stop when OSHWA repeatedly asks to stop), we agree to pay a hefty fine.

OSHWA has not yet fleshed out the details — neither the new logo nor the exact contents of that license contract. It’s easy to be cynical about stuff like this. But instead, let’s please give them the benefit of the doubt and suppose that when those details arrive, it turns out that they’ve done a superb job: the contract ends up to be simple, well thought-out, straightforward and does just what it says.

Maybe the new trademarked logo would look something like this mock-up:

placeholder oshwa certified logo

Given all of that, would there be a good case for some people to use this certification process? I have mixed thoughts on it. But on the whole, I’m tending towards a “probably.”

Continue reading Thoughts on OSHW and OSHW certification

Maker Faires and the BIYSL

The Annotated Build It Yourself Science Laboratory

This month I’ll be traveling to Maker Faires in Portland, Oregon, and New York City to sign and talk about my book, The Annotated Build It Yourself Science Laboratory. That, of course, is the new, updated version of Build-It-Yourself Science Laboratory, the classic 1960’s hands-on science book by Raymond E. Barrett.

The Portland Mini Maker Faire is being held September 12-13 at OMSI, the Oregon Museum of Science and Industry. I’ll be speaking on the Innovation stage at 11 AM on September 12. This is a bit of a homecoming for the book: Raymond Barrett was the Education Director at OMSI when he originally wrote the book.

The World Maker Faire is September 26 and 27 at the New York Hall of Science in Queens, New York. I’ll be speaking on the DIY stage on both days.

Bonus: During O’Reilly’s Back to School sale (through September 17), you can get the E-book version of The Annotated Build It Yourself Science Laboratory for 50% off using discount code B2S5.

Evil Mad Engineers

Every month or two since 2009, someone has sent me a copy of a particular comic from the webcomic Cowbirds in Love.  Here is today’s example, from @benk_at_work on twitter:

@benk_at_work tweets...

evil mad engineers @ cowbirds in love


Sigh.

There is, of course, only one appropriate way to respond in a situation like this: with another comic.

Back in 2011, I wrote an era-appropriate semi-autobiographical rage comic, that I could use as a standard response when people sent me that comic.

f7u12

Joking aside, we really do spend a lot of our time engineering— and many of our friends and colleagues are bona fide engineers. On the other hand, I love to cook, but that doesn’t make me a chef either.

Linkdump: July 2015

XL741: Principles of Operation

XL741

Our two “dis-integrated circuit” kits are the Three Fives Discrete 555 Timer, and the XL741 Discrete Op-Amp. These two kits are functional, transistor-level replicas of the original NE555 and ?A741 (respectively), which are two of the most popular integrated circuits of all time.

Last year, we wrote up a detailed educational supplement for the Three Fives kit, that works through its circuit diagram and discusses its principles of operation down to the transistor level. Today, we are doing the same for the XL741 kit, and releasing an educational supplement that explains how a ‘741 op-amp IC works internally, down to its bare transistors and resistors:

XL741 Documentation (PDF)

This ability to peek inside the circuit makes the XL741 a unique educational tool. In what follows, we’ll work through the circuit diagram, discuss the theory of operation of the ‘741 op-amp, and present some opportunities for experiments and further exploration.

You can download the supplement here: XL741 Principles of Operation (1.1 MB PDF)

Additional Resources:


Linkdump: June 2015

A Lego Mosaic Printer

JK Brickworks made this amazing “pick and place” style Lego Mosaic Printer:

It is built entirely using LEGO parts. It first uses the EV3 colour sensor to scan the source image and save the data on the Mindstorms unit. It can then print multiple copies from the saved image data. The 1×1 plates used for ‘printing’ the mosaic are supplied using a gravity feed system and the printing head is simply a 1×1 round plate that can pick up and place the 1×1 plates.

More information about this project can be found at JK Brickworks.