Category Archives: Art

DIY Snowflake Chocolate Molds with the Othermill

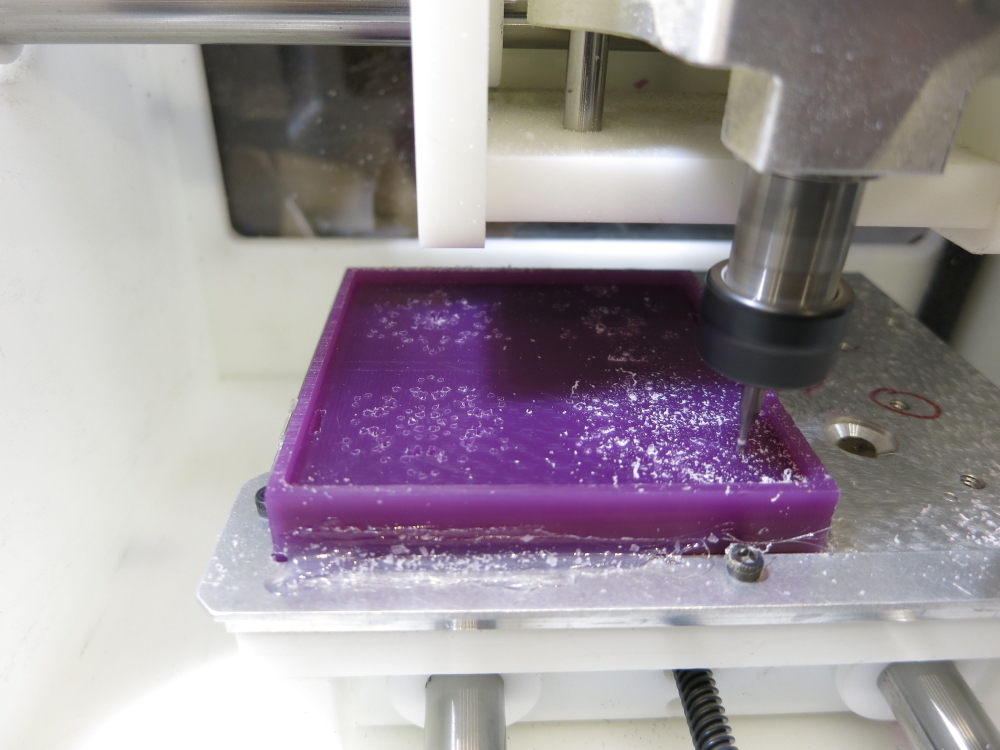
Our friends at Other Machine Co. have put out a mold making kit for the Othermill and posted an instructable for making snowflake chocolates using the online Snowflake Generator that Paul Kaplan of Inventables ported from our Vector Snowflake Application.

The process involves milling a wax positive for making a silicone mold. The beautiful two-tone chocolates are made by putting white couverture chocolate into the details of the mold, and then filling the rest of the mold with dark.

One more technique we could have used for Operation: CNC Snowflake!

Mega Menorah 9000!

MM9k

MM9k  MM9k

Introducing our newest Hanukkah menorah kit: Mega Menorah 9000!

This is a great new easy soldering kit to make a handsome and decently-sized menorah. Once built, it stands just over 6 inches (15 cm) tall, and is 7.5 inches (19 cm) wide.

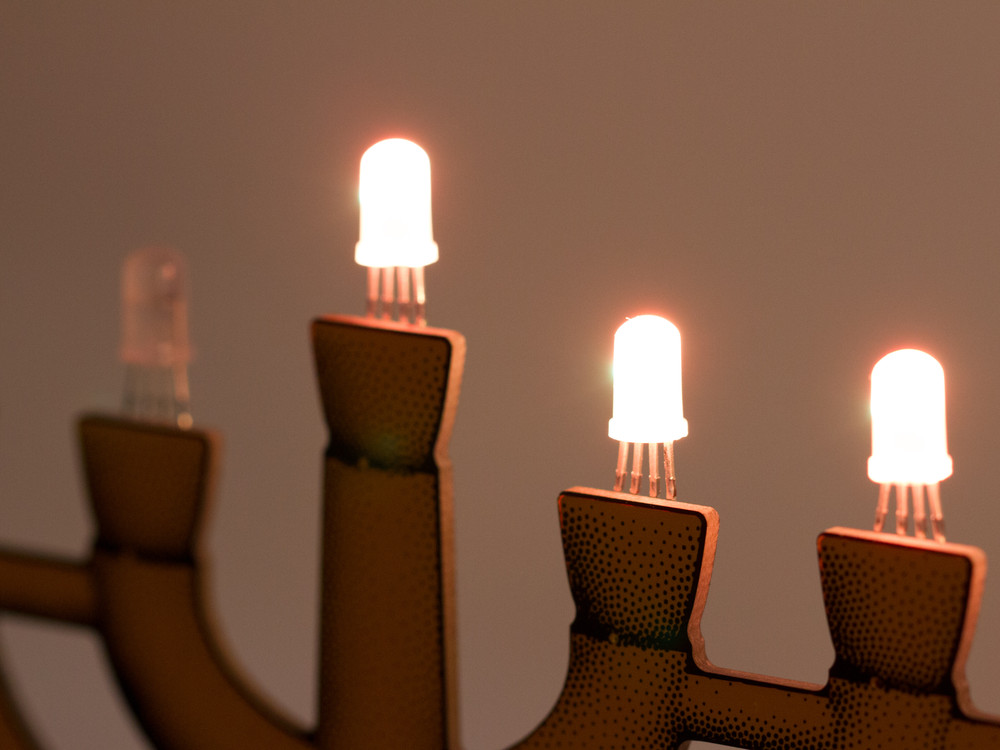
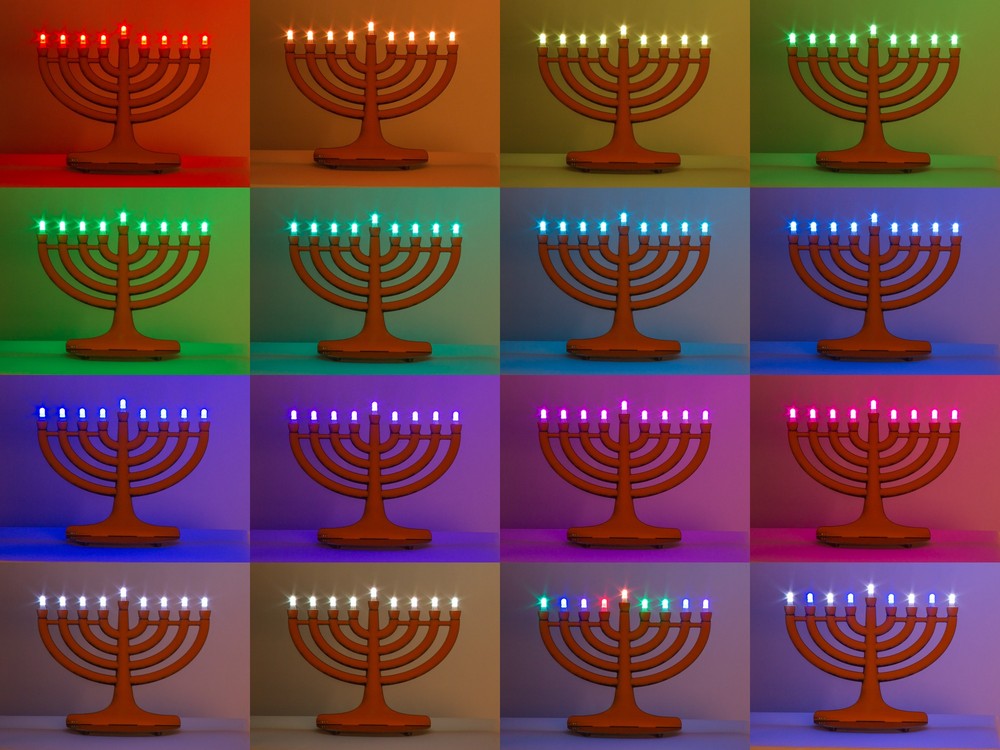
It’s USB powered, USB programmable with a built-in interface based on the Adafruit Trinket, and features 9 discrete RGB LED “pixels” that can produce all kinds of bright colors. Flickery flame effects built in too, of course.
MM9k

One of the cool things about this kit is that it has a unique “Trompe-l’œil” circuit board design that gives some illusion of a rounded 3D surface. As you can see above, it’s actually flat as a board.

To make it, we started with a 3D CAD model of what we wanted the circuit board to look like. The outer contours of the model became the outline of the circuit board. We then rendered the CAD model, and used our StippleGen 2 software to convert the resulting image into a vector stipple drawing— one that could eventually be converted into the artwork for the circuit board. All together it’s over 9000 stippled dots of black silkscreen! (To be more specific, there are roughly 17,000 dots on each side.)

MM9k FAQ: OK, but isn’t the name “Mega Menorah 9000” perhaps just slightly on the excessive side?
Yes, we must (grudgingly) admit that it is. It just slipped out when we were trying to come up with a working title for the project — a name that meant “better than deluxe” so as to distinguish this model from our old favorite Deluxe LED Menorah Kits.
Alas, it was funny. And so it stuck. And now, it’s too late.

MM9k  MM9k

There are two circuit boards in the kit. The “top” PCB is shaped like a menorah and the components (mainly just the nine WS2812-style LEDs) are for the most part hidden on the back side.

The base circuit board has rubber feet, the control buttons (color, night, reset), an ATtiny85 AVR microcontroller, USB power/programming jack, and a programming indicator LED. The circuit is actually an implementation of the Adafruit Trinket, which allows for reprogramming the microcontroller without requiring any hardware other than a regular USB cable.

MM9k FAQ: Why is there a binder clip there?
It’s an assembly jig that helps to align the parts in place so that it’s easy to build and looks neat. We’ll write more about it later.
MM9k

And, wow does this thing do colors! The nine WS2812-style individually addressable RGB LEDs in 5 mm packages, look reminiscent of candle flames, but can be tuned to just about any color in the rainbow. From a control standpoint, it’s awfully nice that they’re managed by just a single pin of the microcontroller, and have the built-in ICs to handle colors and dimming.

Mega Menorah 9000 begins shipping this week.

CNC Dragonfly Barrette

Dragonfly Barrette

When I saw Simone from Othermill running her machine this weekend, I told her about an idea I had for a metal dragonfly hair clip. She quickly grabbed the file from Sam DeRose’s Light-up PCB Pins tutorial. After carving the texture and doing the cutout, the only other tools needed to complete the project were a pair of pliers to bend the wings and some glue to affix it to a clip. It turned out great!

Ostrich EggBot 2.0

Ostrich EggBot
Ostrich EggBot

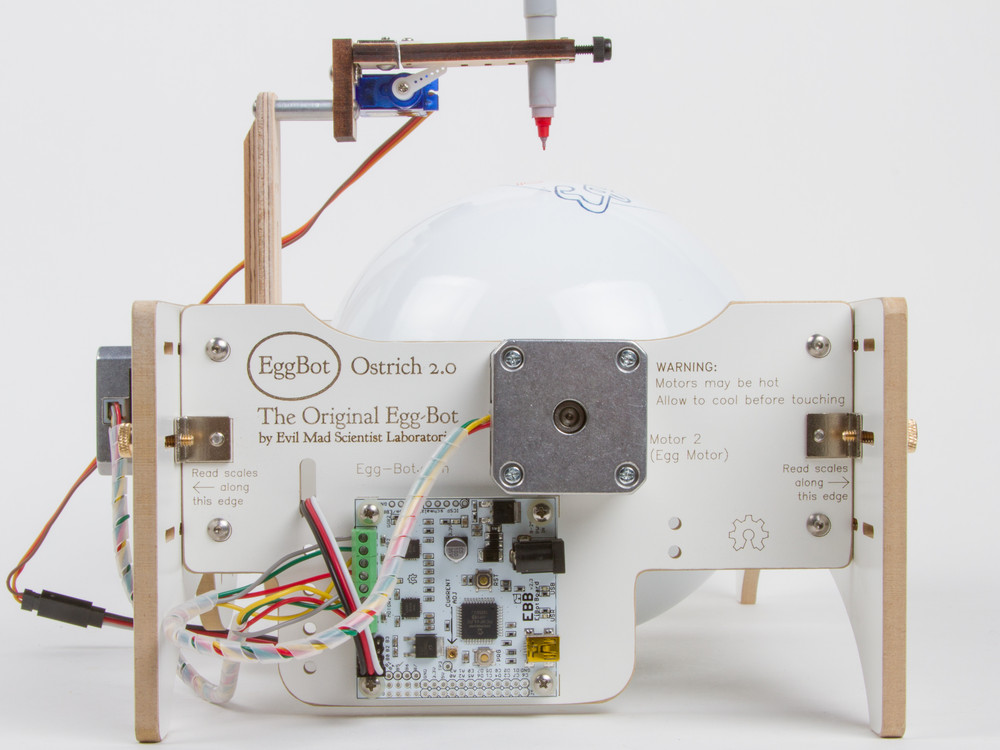
We’ve just released version 2.0 of our Ostrich EggBot kit!  This is the giant size EggBot. Like the smaller models, it’s a machine capable of drawing on the surface of all kinds of spherical and egg-shaped objects up to 6.25 inches (15 cm) in diameter, including large ostrich eggs.

This chassis of the new version is CNC machined from melamine-faced MDF, and laser engraved with markings and calibration scales. (The previous version was made of plywood; you can read about it here.) We’ve also updated the graphics, and rolled in a number of subtle improvements based on user suggestions and our own extensive experience with the machine and other members of the EggBot family.

Ostrich EggBot Ostrich EggBot

With a relatively large chicken egg chucked into the holders, you can get a better sense of scale. (An ostrich egg is a terrible object to suggest a sense of size!)

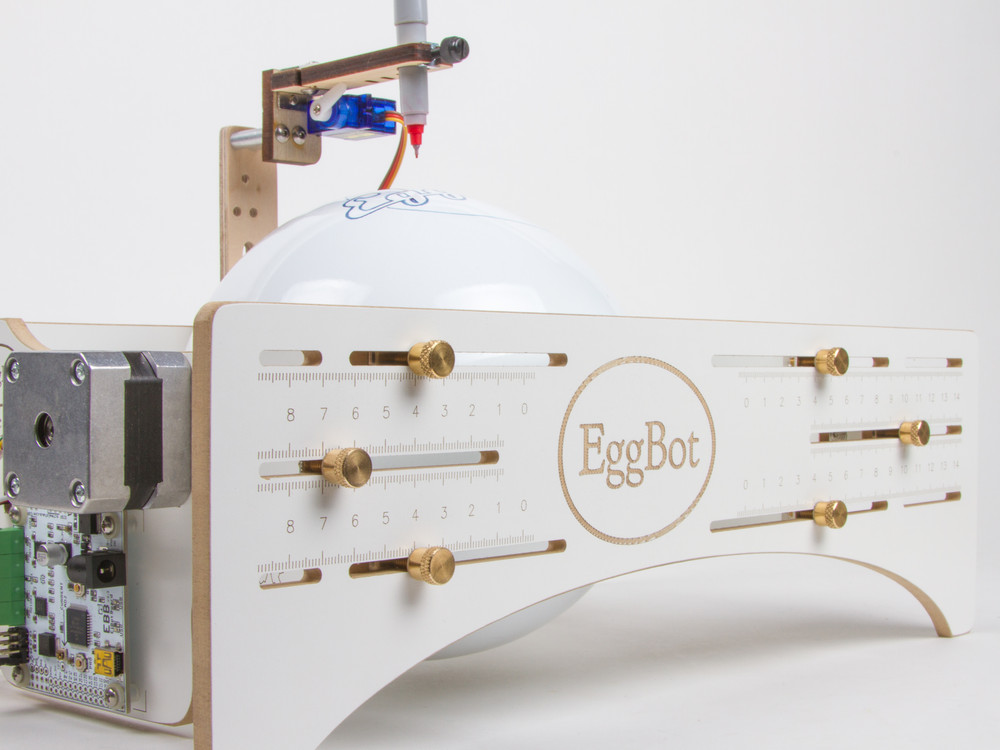
The tailstock (the sliding portion of the right hand side) has been slightly redesigned for higher stiffness and better ease of use. The bulk of the stiffness in the directions that we care about (that is, in the directions where the chassis material is not strong) derives from the steel angle brackets, and the new tailstock helps to reinforce that for better overall rigidity.

Ostrich EggBot

One of the best things about the new chassis material is that it laser engraves particularly well, giving high-contrast, highly readable adjustment scales on the sides. And that makes it all easier to use in practice. All considered, this has turned out to be quite a nice little upgrade.

Robot heart

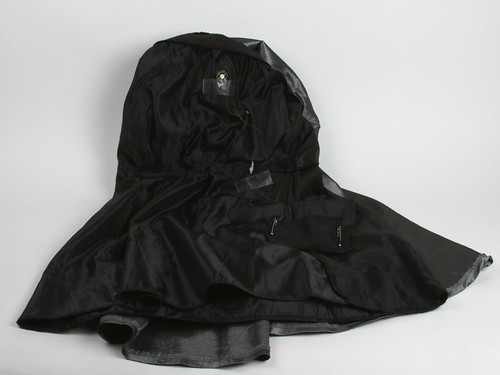
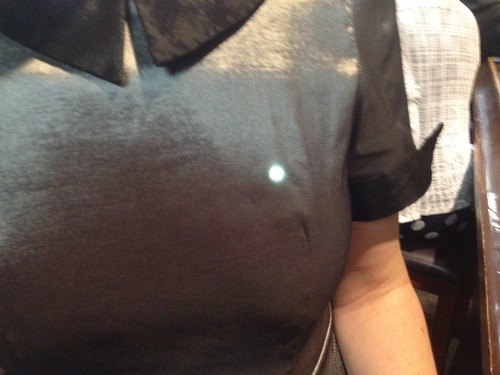
For Halloween this year, I went as a robot, wearing a silver dress with a slowly pulsing LED heart glowing visibly under the fabric.

Untitled

The LED is a one watt white LED, which we’re running at about 50 mA. It has a wide viewing angle, and the star-shaped mount lies conveniently flat. The LED is wired up to the PCB with a pair of twisted magnet wires. Magnet wire is flexible and thin, which makes it hardly noticeable under clothing. It is controlled by ATtiny2313 (running the code from our Mac sleep light pumpkin project) and powered by three AAA batteries. The PCB corners were rounded off so it wouldn’t be stabby.

Untitled

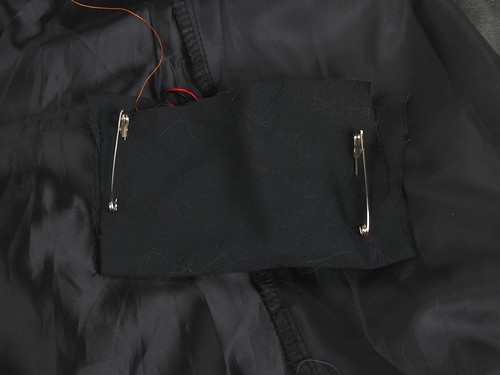
The dress was fully lined, which made it very convenient for mounting electronics. I pinned a makeshift pocket onto the liner, and tucked the battery holder and PCB in the pocket. I could feel the battery holder switch and turn it on and off through the fabric.

Untitled

The LED was taped to the dress liner with medical tape to hold it in place. An extra piece or two of tape held the wires to make sure there was appropriate slack for movement. (A note on tape: use the good stuff. The cheap paper tape in the off-brand first aid kit only stuck to itself and the magnet wire. 3M plastic medical tape worked great and came off easily.) This makes it easy to disassemble after Halloween.

LED heart


You can find more costume projects in our Halloween Project Archive.

Pumpkin Faces for EggBot

Pumpkin Face

renegade_geek posted a set of Pumpkin Faces on thingiverse for the EggBot. They’re cleverly arranged in layers so that you can hide and show the different eye, nose and mouth options.

A collection of separate eyes, noses and mouths, each set on its own layer, for a customized jack-o-lantern/ghost face to be printed with the Eggbot. These were made to print on ping pong balls. You may need to adjust for eggs and other less regularly shaped items. I have included a “faces menu” PDF so that you can clearly review your choices. This was really helpful in a classroom situation.

Soldering Tip Tinning with Sal Ammoniac


If you solder, you’ve likely come across an “untinned” tip at some point— that’s when the tip of your soldering iron loses its shine, and doesn’t easily wet to solder any more.

Once your tip gets this way, it doesn’t make nearly as good of a thermal contact to whatever you are trying to solder, and it simply doesn’t work well. Soldering can take 2-10 times as long, and that isn’t good for your circuit board, components, or mental health.

You can sometimes re-tin the tip by melting fresh solder onto it, but that can be challenging, because the whole problem is that the tip isn’t melting solder. It’s particularly hard to keep tips tinned with modern lead-free solder, because it needs to get even hotter to begin melting.  If you get to this point, you might think about even replacing the tip.

But before you throw that tip away, instead consider using one of the “old standard” solutions, which is to refurbish the tip with a tip-tinning compound. And we came across the most classic of them in one of the most unexpected locations.  Continue reading Soldering Tip Tinning with Sal Ammoniac

From the archives: Pumpkin Spice Truffles

Truffles

With all the pumpkin spice jokes flowing around the internet recently, it’s time to remind everyone how easy it is to make your own pumpkin spice flavored things. Way back in 2007, we published a recipe for making your own pumpkin spice chocolate truffles (hint: no pumpkin involved) and you can use the spice blend on anything at all. (Pumpkin spice Raspberry Pi, anyone?)