Category Archives: Art

3D LED POV Mirror

“We Are with You, Mirror” is a piece by Brady Marks from VIVO Media Arts Centre that was shown at the Vancouver Mini Maker Faire. It is a 3D persistence of vision volumetric display that acts as a mirror, using four spinning Peggy 2 boards to reflect visitors movements in low resolution 3D LED glory.

Thank you to Brady for sending in the video!

WaterColorBot-style pen holder for DIY Laser

Jens added a new tool option to his DIY Laser: a pen holder.

Due to safety concerns I couldn’t run the laser out in public, but to be able to show of the CNC capabilities I built a penholder.

The pen holder design was inspired by the WaterColorBot’s brush holder, with its parallel flexure hinges.

Highlights of the 2014 Bay Area Maker Faire

BAMF 2014 77

The 2014 Bay Area Maker Faire was an amazing, amazing event. We took hundreds of photos, which we have posted in a flickr set here. Here are just a few of the highlights— both technological and artistic, and we’ll be featuring several more over the course of the next week or so.

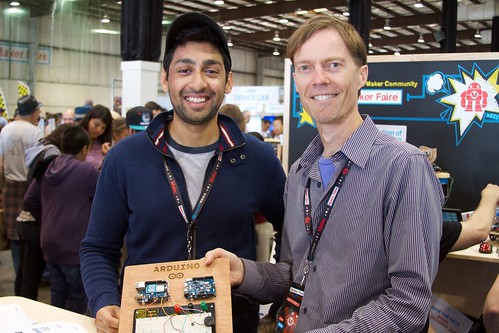
(Above: Rolf and Abhishek show off the new Arduino Zero in the Arduino booth.) Continue reading Highlights of the 2014 Bay Area Maker Faire

A WaterColorBot Water Clock

watercolorclock_1

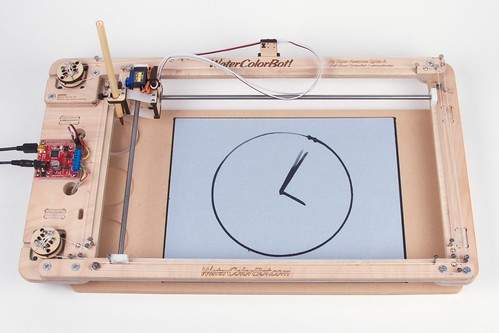
We built a evaporating-hand water clock using a WaterColorBot fitted with a Buddha Board. The Buddha Board is a black board with a gray ceramic coating that becomes transparent when wet, so you can paint on it with plain water to make black marks that disappear as the water evaporates.  (And, it fits nicely in a WaterColorBot with the appropriate jig.)

watercolorclock_2watercolorclock_3

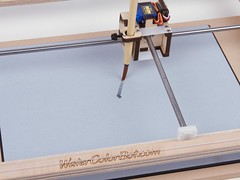
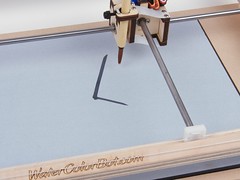
As a clock, once a minute it draws the minute hand, then the hour hand, and finally the outline of the clock face.

watercolorclock_4

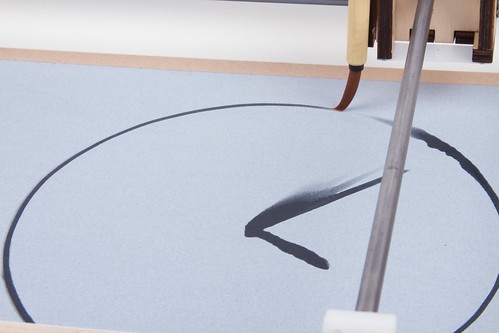
As the water evaporates over the course of a few minutes, the old minute hands fade away. It’s a neat effect.

And of course, video:

Continue reading A WaterColorBot Water Clock

Maker Faire Bingo

With Maker Faire coming up next week, @techninja42 suggested that Maker Faire Bingo would be a great way to get ready! With the help of some friends, he put together a site where you can grab a bingo card to play during your visit to Maker Faire. We tried it out with the WaterColorBot, but you can use your preferred automated printing method to make your own, or maybe even find a robot at Maker Faire to draw it for the ultimate Maker Faire Bingo!

Send your maker bingo suggestions to @mfbingo for inclusion in the bingo card generator.

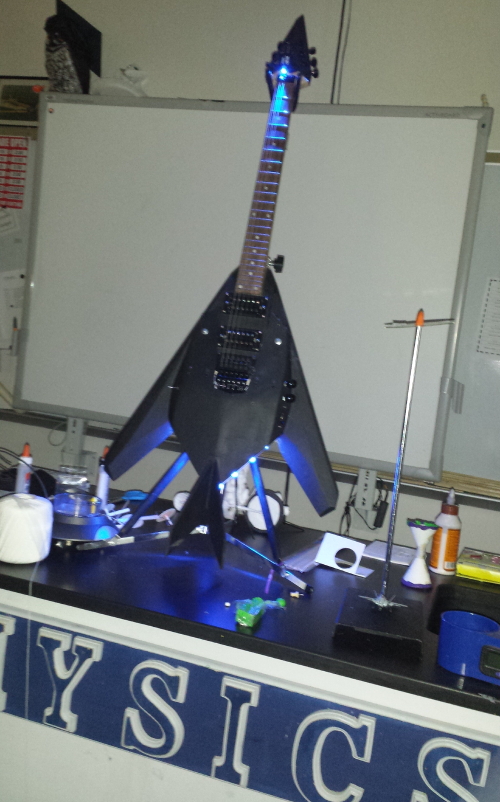
Stealth Fighter Guitar with Octolively Lighting Effects

Stealth plane guitar with octolively lighting

Herb wrote in to say:

When I saw your Octolively LED circuit, the first thing I wanted to do was incorporate it into our electric guitar project.

I teach a basic senior physics class for non-science majors and wanted to try something different; a year-long design project.

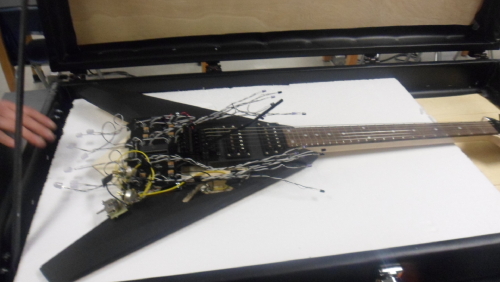
We made a guitar from scratch that resembles a stealth fighter. We even wound the humbucker coils in the guitar… Your circuit is used to drive the exhaust lights in response to playing motion…It works well and offers a unique visual effect based on the selected setting…you can even hear the circuit through the amplifier when it drives the blue LEDs…

The Octolively is wired up with the LEDs pointing down from the bottom of the guitar (back of the plane) and the sensors pointing toward the neck to respond the motion of the guitar player.

Stealth Octolively guitar in progress

His student, David, added:

Thank you for making such a great educational product to learn about LED’s and simple circuits. Our class worked together to put all of the parts in the correct place and it was a wonderful collaborative learning project.

Octolively assembly for incorporation into guitar

StippleGen and a low-power DIY laser cutter

Jens demonstrates using StippleGen2 with his low-power (300 mW!) DIY laser cutter and a classic image of Louis Armstrong.

After letting StippleGen2 crunch the numbers for a while I imported the resulting vector graphic file into inkscape and generated the G-code so that I could use my laser cutter to cut the image into a black paper. 2 hours and 23 minutes later I had a 20×20 cm piece of paper with about a 1000 holes in it and it looks awesome! Would be perfect for a lamp shade or just nice to put up in a window and let the sun shine through. I can highly recommend StippleGen2 it’s super easy and a lot of fun.

The Egg-Bot Electro-Kistka

Hardware 1
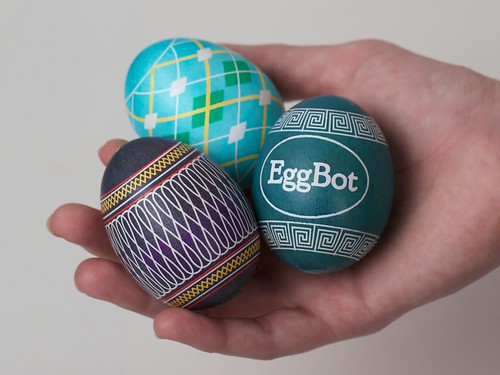
Pysanky eggs

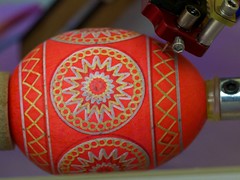
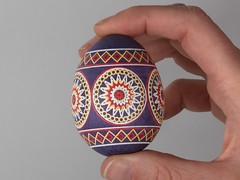
We’re pleased to announce the availability of the Egg-Bot Electro-Kistka: An electric hot wax pen designed to be used with the EggBot. A kistka is the wax tool used in the traditional wax-resist and dye (batik) method to produce colorful eggs in the same fashion as Ukranian pysanky.

We would like to acknowledge that this is not by any means the first time that anyone has strapped a kistka to an EggBot— We wrote about Ann’s DIY version a few months ago, and we’ve seen other versions (both manually heated and electric) in YouTube videos dating back several years.

Hardware
 Hardware 2 Hardware 4

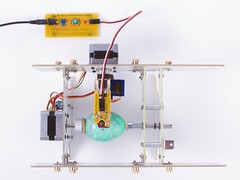
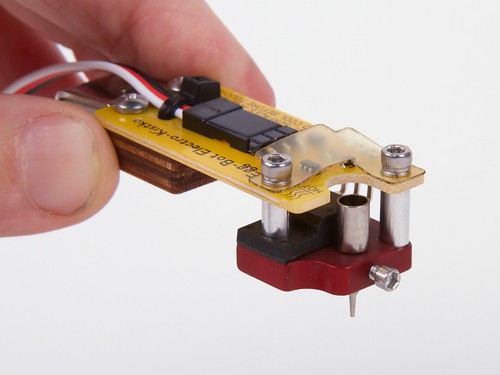
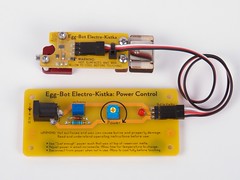
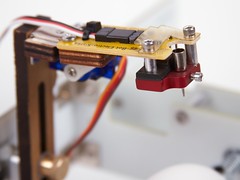
The Electro-Kistka consists of two main parts, connected by a cable: A heater assembly that gets mounted to the EggBot’s pen arm (in place of the usual pen holder), and a power control board that sits behind the EggBot.

The power control board is relatively simple: it accepts input from a plug-in power supply, and has an adjustment pot so that you can set the power level of the kistka.

The heater assembly has two parallel surfaces that you can see in the pictures.  The upper is a yellow circuit board with control electronics, and the lower red part is a machined aluminum heater block that holds the actual kistka tip.
Hardware 3 Hardware 6

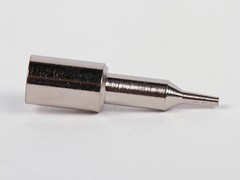
The kistka tip (right) has a small wax reservoir at the top and a smaller-yet point on the bottom that feeds molten wax onto the egg surface through gravity and capillary action.

Designing a good kistka tip is an art unto itself, and we are using field-proven kistka tips, wax, and other accessories from Folk Impressions, manufacturers of the excellent “white handle” electric kistka.  The tips are interchangeable and a number of sizes are available. For all of the examples shown here, we’re using only the #2 (medium) tip that comes with the kit.

Process: two-tone

The basic wax resist process is as follows: Apply wax to the parts of the egg that should remain the present color, and then dye the entire egg a different color.
Twain 1 Twain 2
Twain 4 Twain 5

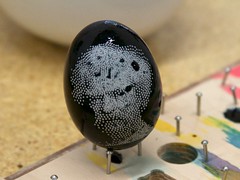
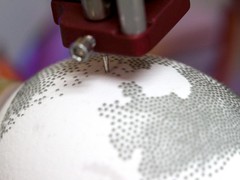
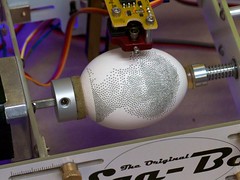
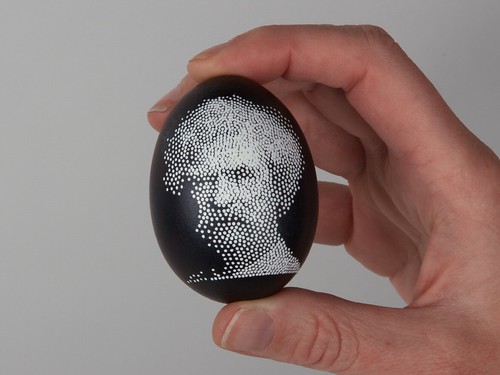
For a simple two-tone image — white on black — we started with Mark Twain, one of our example images from the StippleGen project.  From a user standpoint, drawing wax onto the egg works exactly the same way as using a felt tip marker in the EggBot — it’s just a different tool that does the drawing.  The wax itself is black-colored beeswax, which is nice because you can see it against the egg.

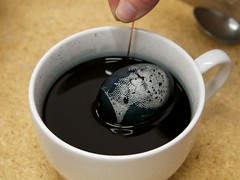
After the EggBot finishes, we dip the egg in dye for a couple of minutes, and leave it to dry on a grid of little nails.
Twain 7

Once the egg is dry, we remove the wax with a heat gun on the low setting (a glorified hair dryer…) and a tissue. With the black wax gone, the contrast is stunning. (If you are interested, here is how it looks before the wax is removed.)
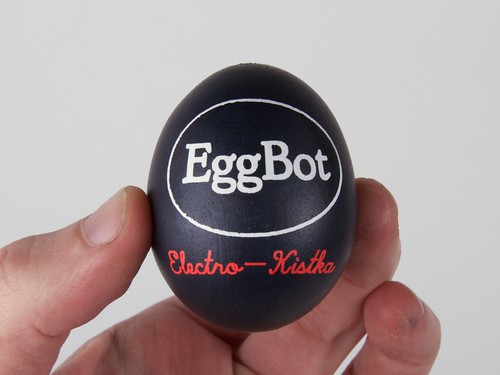
Eggbot Logo 1 Eggbot Logo 2

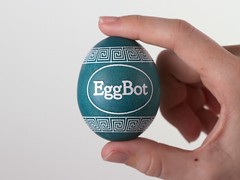
Another example of a two-tone egg.  Alternately, you could dye the egg before the wax resist first goes on (say, yellow), and then dye it blue afterwards. The end result would be yellow lettering on a blue background.
Process: Multicolor
overkill 1 overkill 2
overkill 3 overkill 4

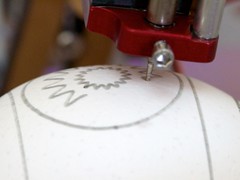
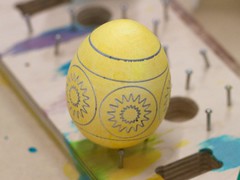
Making multicolor eggs uses the same process, but with added complexity.  For this example, we applied wax resist on a bare (white) background, and then dyed the egg yellow and allowed it to dry (upper right).  We then applied a second layer of wax, dyed the egg red and allowed it to dry.  Finally, we applied a third layer of wax (lower left), dyed the egg blue, and allowed it to dry.  The results after removing the wax (lower right) show the white, yellow, red, and blue areas — not bad!

A caveat: It is harder than it looks.  While two-tone eggs are straightforward, we have found it to be challenging to precisely reposition an egg after removing it for dyeing. Thus, it takes considerable patience and experience to produce multicolor eggs with good registration between subsequent color layers.  We’d be interested in exploring better ways to do this.
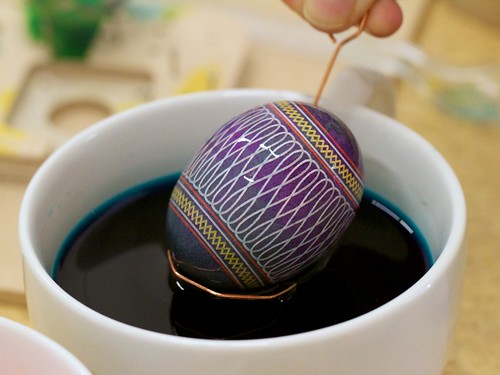
traditional 2
Still, maybe it’s worth the effort.

MoreEggs 4

The Egg-Bot Electro-Kistka begins shipping this week.

Heavy Duty Marshmallow Roasting

Building our April Fool’s Day project, the MarshMallowMatic, was a fun project but not without its fair share of trial and error.  When heating flammable materials with an oxy-fuel torch, the biggest challenge is simply not setting them on fire.

In the video above — one of our first trials, before we had figured out how far away to position the flame — we wondered what would happen if we tried to “evenly” roast a marshmallow… with predictable results.  Let’s just consider this an outtake.