Category Archives: Art
Eggbot Egg Roundup!
Happy Easter! Here’s a round up of some of the amazing things that people have been making with their Egg-Bot Kits.
Reddit Logo Egg by our friend bbum, who also posted about his fun with the Eggbot.
The CO2inator
A guest project by Rich Faulhaber, contributing Evil Mad Scientist.
“Infusing unsuspecting whole fruit with gaseous CO2 in the entire Tri-State Area!”
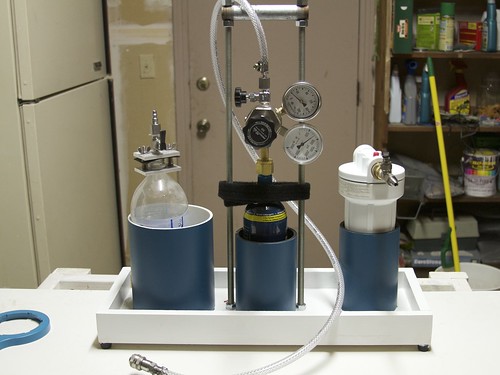
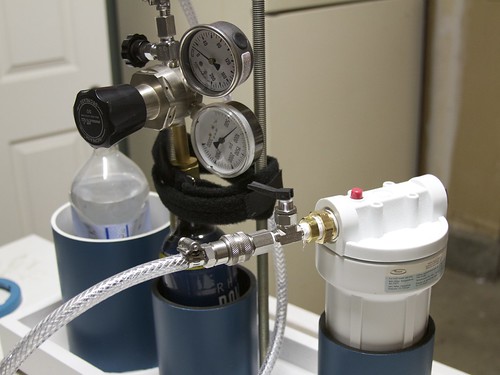
In an effort to make fruit fun for the kids, I built a carbon dioxide injector from parts in my garage with the purpose of carbonating whole fruit! With a common house water filter housing, a 16 Oz paintball CO2 canister, an old gas regulator, and some miscellaneous valves and fittings, I was able to bring this fizz fruit apparatus to life, and the kids love the results.
The principle
Carbon dioxide dissolves well in water, hence the reason you find it as the source of fizz in all your favorite soda drinks. When you open your soda and let it sit out on the counter you will find that after some period of time the soda loses its fizz and becomes “flat.” The rate at which the drink loses its fizz depends on pressure, temperature and the surface area of the liquid and the environment. Skipping the thermodynamics lecture, let me just tell you that the process works in reverse as well. To reverse this process, one needs only to have a high pressure CO2 environment, a medium to infuse (i.e., the fruit) and enough time to let the gas diffuse across the fruit skin and dissolve into the water inside. Refrigerating the fruit helps tremendously in the process as well.
Parts list
- 16 Oz paintball cylinder (or a more proper CO2 tank if you happen to have one)
- Gas Regulator
- Household water filter housing
- Some hose
- Toggle or ball valve
- Miscellaneous fittings to hook it all up
- Fruit
This type of water filter housing is designed to withstand water pressures in excess of 100 psi, and it comes with two ports and an o-ring seal. These can be bought for about ten dollars at Lowes or Home Depot. Its ports are standard 3/4-inch type. Use Teflon tape (plumbers tape) on all the threads. Thread in a plug on one side and a valve on the other. I used a toggle valve with a quick disconnect to make everything easier. The hose can by any standard type rated for at least 100 psi. Small bundles are available in the plumbing section of your hardware store.
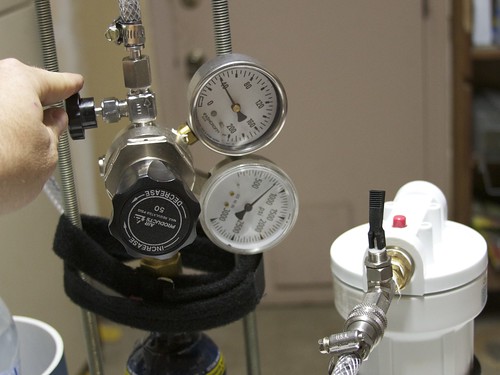
For gas handling I used an old single stage regulator. These can be quite expensive new but often times you can find deals at garage sales or in surplus stores. You don’t need anything fancy, just something to step down the pressure to something manageable– well below 100 psi. My CO2 source is a standard-issue paintball cylinder.
Procedure:
- Pre-chill the fruit in the refrigerator. Get it nice and cold. My favorites are grapes, oranges and blueberries. However, just about any fruit with a large water content will work.
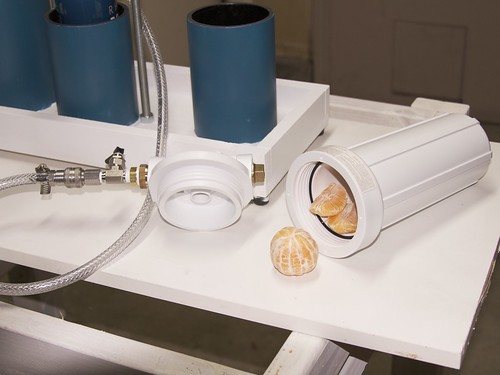
- Open the house water filter by unscrewing the lid. Place your cold fruit inside.
- Connect the CO2 tank to your water filter housing. This is where the quick disconnects come in handy.
- Adjust the regulator output to about 40-60 psi, the higher the better but make sure all your connections are extra tight and sealed or “it might get dangerous.” If you think you have a leak somewhere, you can apply some soapy water where you think the leak is and look for bubbles. If you see bubble just tighten until they stop forming.
- Start pressurizing the house filter by opening the toggle valve. On top of the water filter housing there is a pressure relief button. Depress this while you fill to get some of the residual air out.
- Once pressurized, shut the toggle valve and disconnect the CO2 line. You can store the unit in the fridge or somewhere out of sight.
- Then, you wait. Depending on the fruit, temperature, and pressure, carbonation should occur between 20-60 minutes. If you go too long at too high a pressure the skin of the fruit can burst and it will be a big mess, if you go too short and at too low of a pressure, the results will be unimpressive. Experiment with your fruit, pressure, and duration until it suits your tastes.
- Open the toggle valve to release the pressurized gas then unscrew the lid to the housing and enjoy your newly carbonated fruit.
And of course, the kids love the “poppy fizz” inside the fizzy fruit.
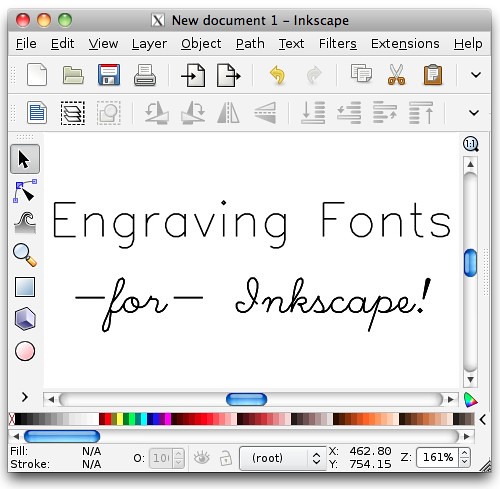
Hershey Text: An Inkscape extension for engraving fonts
Hershey Text is an Inkscape extension that can render a line of text in one of several stroke-based “engraving” fonts. This extension solves a persistent problem, and one which we have come across in many different contexts: How to easily create simple and readable vector representations of text.
Quick start: Download and install the EggBot extensions for Inkscape, which now include Hershey Text. Much more information follows.
Continue reading Hershey Text: An Inkscape extension for engraving fonts
Marmalade Redux
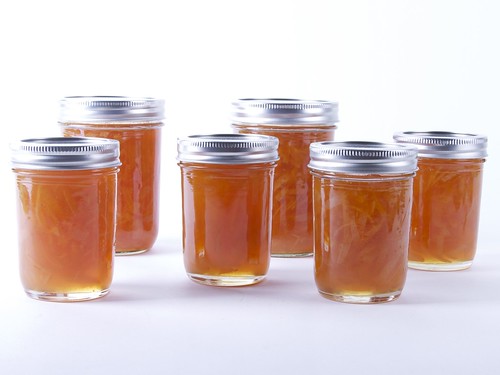
It’s lemon season again, and that means more marmalade!
Last year we showed how incredibly easy it is to make a simple marmalade. That kind was more of the bitter, opaque variety–which might be your favorite–but here’s how to take that to the next step and make a light and sweet marmalade.
The beach glass machine
A guest project by Rich Faulhaber, contributing Evil Mad Scientist.
“Walking the beach with the kids, one of our favorite pastimes is collecting shells, bits of sea glass and other rocks. We typically put them in buckets, sort them when we get home, and then put them in the garden– except for the few special ones that the kids keep on their dresser.
In the process of making a garden path which stretches 50 feet long and is 2.5 feet wide, I thought, how cool would that look if it were some sort of mosaic of sea glass! Snapping back to reality I realized how much time would be required to collect that much sea glass and got discouraged. But (eureka!) you can make your own. All you need is some glass, some sand, sea water and some way of mimicking the ocean and (bam!) you get sea glass.
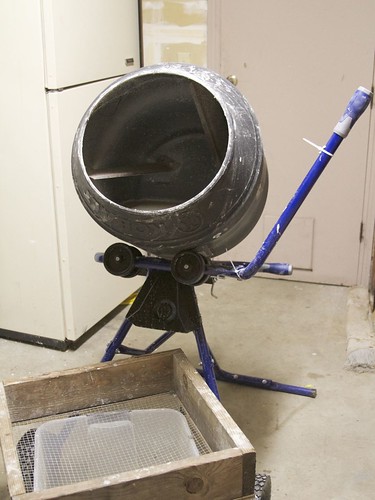
I wanted to do large volumes, so I borrowed my uncle’s cement mixer to mimic the ocean. The steel fins inside mimic large rocks. I started breaking wine bottles into small pieces and stole some sand from the kids play box, adding it all to the mixer. Since I didn’t have any sea water handy I just filled it with tap water and turned it on. After an hour I checked and the sharp edges were all broken off, after two hours there was some frosting and smoothing and after 4 hours et voilà— I had sea glass! With the capacity of the mixer I will have my garden path in no time. I plan on experimenting with other media and time duration and will report on my progress in the future.”
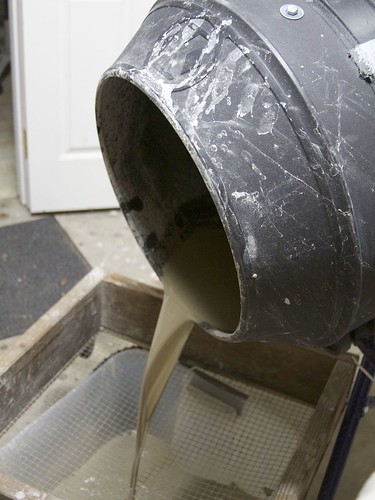
An ordinary hardware store cement mixer, tap water, and play sand. Simpler and more environmentally friendly than using many other common abrasives that are used with rock tumblers.
Add glass and allow to run for several hours. After running, drain the excess the sand-water slurry through a coarse screen.
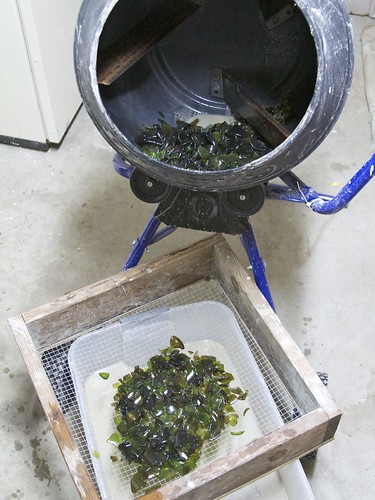
After dumping out the excess and some of the glass.
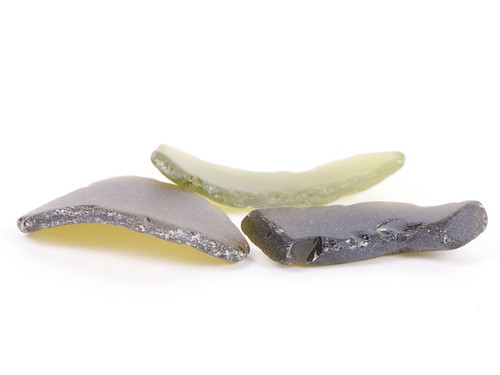
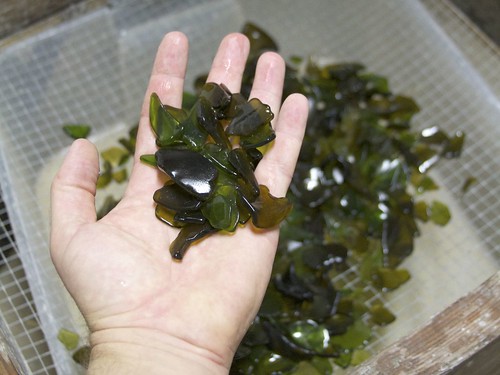
This batch was made with a mixture of broken green and brown glass, mostly from wine jugs, and allowed to run for four hours. Below are some pictures of glass allowed to run for different lengths of time.
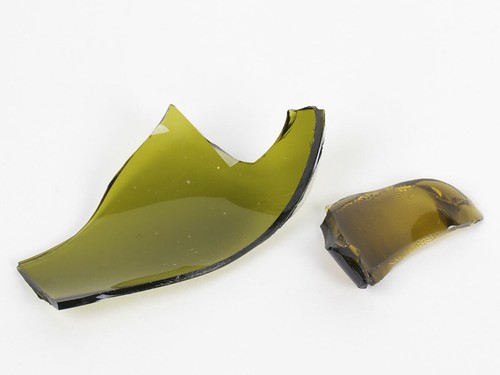
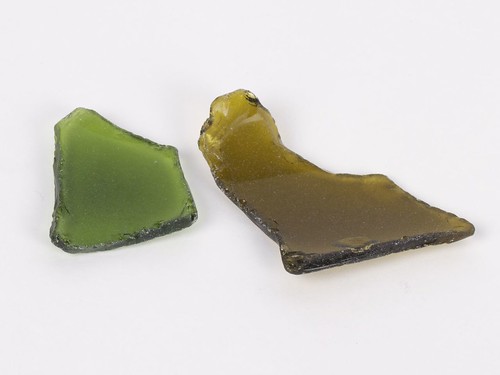
Here’s what the raw glass looks like, zero hours in the mixer.
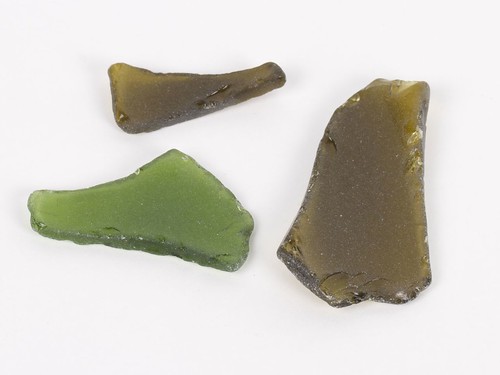
These pieces were pulled out after one hour in the mixer. Their sharp edges are broken, and there’s light etching of the surfaces.
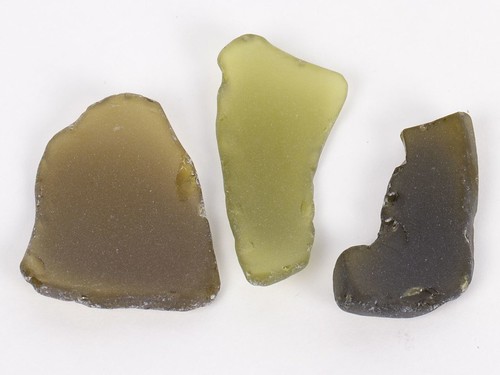
These pieces were pulled out after two hours in the mixer. The shapes are slightly more rounded, and the surfaces are beginning to frost heavily.
And after four hours, the pieces begin to look a lot like what you might find washed up on a sandy beach. While it will be interesting to see how the pieces change over longer pieces of time, you probably don’t want to go too much longer (and wear them too much thinner) if you’re making mosaic pieces for people to walk on.
Making omelettes inside of eggshells
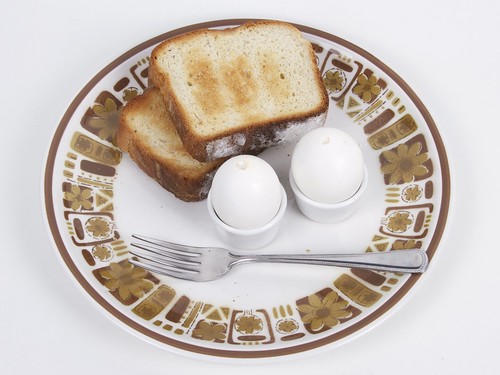
While it may not be possible to make omelettes without breaking eggs, it turns out that you actually can get pretty close.
In what follows, we demonstrate some methods of making omelettes inside of eggshells. Perhaps a culinary equivalent of the ship in a bottle. Continue reading Making omelettes inside of eggshells
Minor Ikea hack: rollup curtains with custom printed fabric
As part of our continuing quest to experiment with every possible fabrication technology, we recently came across an opportunity to try fabric printing services while outfitting our new office with curtains.
Continue reading Minor Ikea hack: rollup curtains with custom printed fabric
Maker Faire and Eggbot on Martha Stewart Show
If you happen to be into TV and/or Eggbot, you might want to tune into the Martha Stewart Show on Wednesday, Oct. 20. Our collaborator, Bruce Shapiro, inventor of the Eggbot, will be on as a part of a special episode about Maker Faire which will show off some of the cool things that Martha and her colleagues discovered at Maker Faire New York. After the show is broadcast, you should be able to find photos and video from the episode here.
Photo by Scott Beale / Laughing Squid under cc-by-nc-nd license.
Printing on a strangely shaped egg
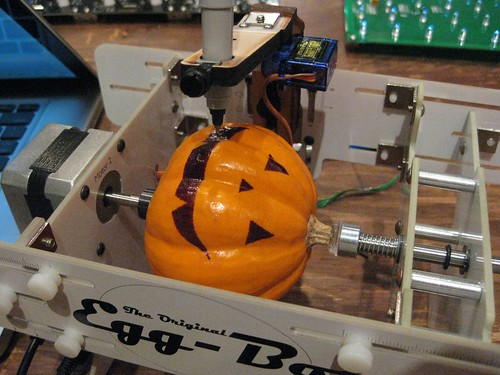
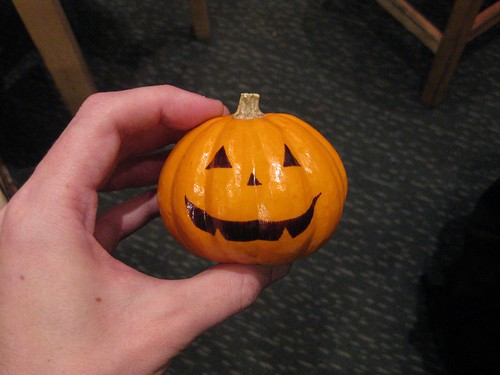 One of those questions that keeps coming up about the Egg-Bot is, “Does the surface have to be perfectly smooth?” Or sometimes just, “Can you print on a golf ball?”
While we wouldn’t go so far as to say that you’ll have good luck printing on a tennis ball, it turns out that the surface doesn’t exactly have to be flat either. Golf balls certainly aren’t a challenge. And, as you can see above, you can even plot on strangely shaped “eggs,” so long as the surface is smooth enough that you can drag a marker along. Neat.
Update: We’ve posted some tips on using the Eggbot with pumpkins here.
You can find more pumpkin projects in our Halloween Project Archive.


