Category Archives: Evil Mad Scientist Shop

A Simple Relay Shield for Arduino

Relay Shield

Introducing our newest kit: the Evil Mad Scientist Simple Relay Shield for Arduino.

It’s a dead-simple single-purpose low-cost mechanical relay board, with a single low-power SPDT relay that can switch moderate loads of up to 5 A, AC or DC.

Relay Shield

The relay is controlled by digital line 4— and that’s well labeled, too.

No library is needed. For a demo, just open the Arduino “Blink” example sketch and change the LED pin to 4.   When output Digital 4 on your Arduino is low, the relay is in the “normal” state: the “Common” pin of the screw terminal is connected to the N.C. (“Normally Closed”) pin of the screw terminal.

When output Digital 4 goes high, the “Coil On?” LED will light up and the relay enters (for lack of a better term— suggestions welcome!) the “abnormal” state, and the Common pin is instead connected to the N.O. (“Normally Open”) pin of the screw terminal.

Relay Shield

One of the main concerns about using higher voltages and/or currents on an Arduino shield is that you potentially have these things wired awfully close to things sticking up from your Arduino board, like the microcontroller itself or the USB connector.  If you sometimes would like a little more breathing room, a good solution is to add the insulator shield Googly Eye Shield between the two.

Relay Shield

The Simple Relay Shield circuit board is a standard 2-layer, 1/16″ thick FR-4 PCB, but with highly-visible yellow soldermask.  While it is (yes) very simple, the Simple Relay Shield is an open source hardware project. The circuit board is designed in gEDA, and the design files are available for download at the Evil Mad Science Wiki.

The Simple Relay Shield is available now at Evil Mad Science.

Behind the Scenes with our Artist-in-Residence

RobotGrrl @ Evil Mad Scientist 2


Thanks to Erin “RobotGrrl” Kennedy for being our Artist in Residence this spring! She has headed back to Canada after Maker Faire.

Erin has just written what is perhaps the only “behind the scenes” blog post about life here at Evil Mad Scientist Laboratories, which you can read over on her RobotGrrl blog.


RobotGrrl @ Evil Mad Scientist 1


Erin has also written blog posts here on getting started with AVR microcontrollers, and about unboxing an old Heathkit. She’ll be posting part two of the Heathkit build here in the near future.

New Bumper stickers!

Just in time for Maker Faire, we’ve got brand new vinyl stickers, reflecting the new design of our site.

Specifications: 10.5″ x 2.0″ (266 x 51 mm), UV coated and weather resistant on tough vinyl, with an easy-peel backing. Shown above with Diavolino for scale.

(Sorry, no datasheet yet.)


If you’d like to show your support for our little project blog, let us humbly suggest that these new stickers just might considerably enhance the appearance of your car, laptop, lab notebook, bike, sumo robot, name tag, home-brew 3D printer, tesla coil, K’nex gun, interositor, oscilloscope, fission reactor, hovercraft, or electronic art projects.


Come find us at Maker Faire— we’ll have a stack of these to give away —or pick them up at our store, where they’re part of our site-wide pre-Maker Faire “DIY Fever” sale this week.

Ostrich Eggbot

ostrich eggbot, Closeup

What’s just like an Eggbot but quite a bit larger? The all-new
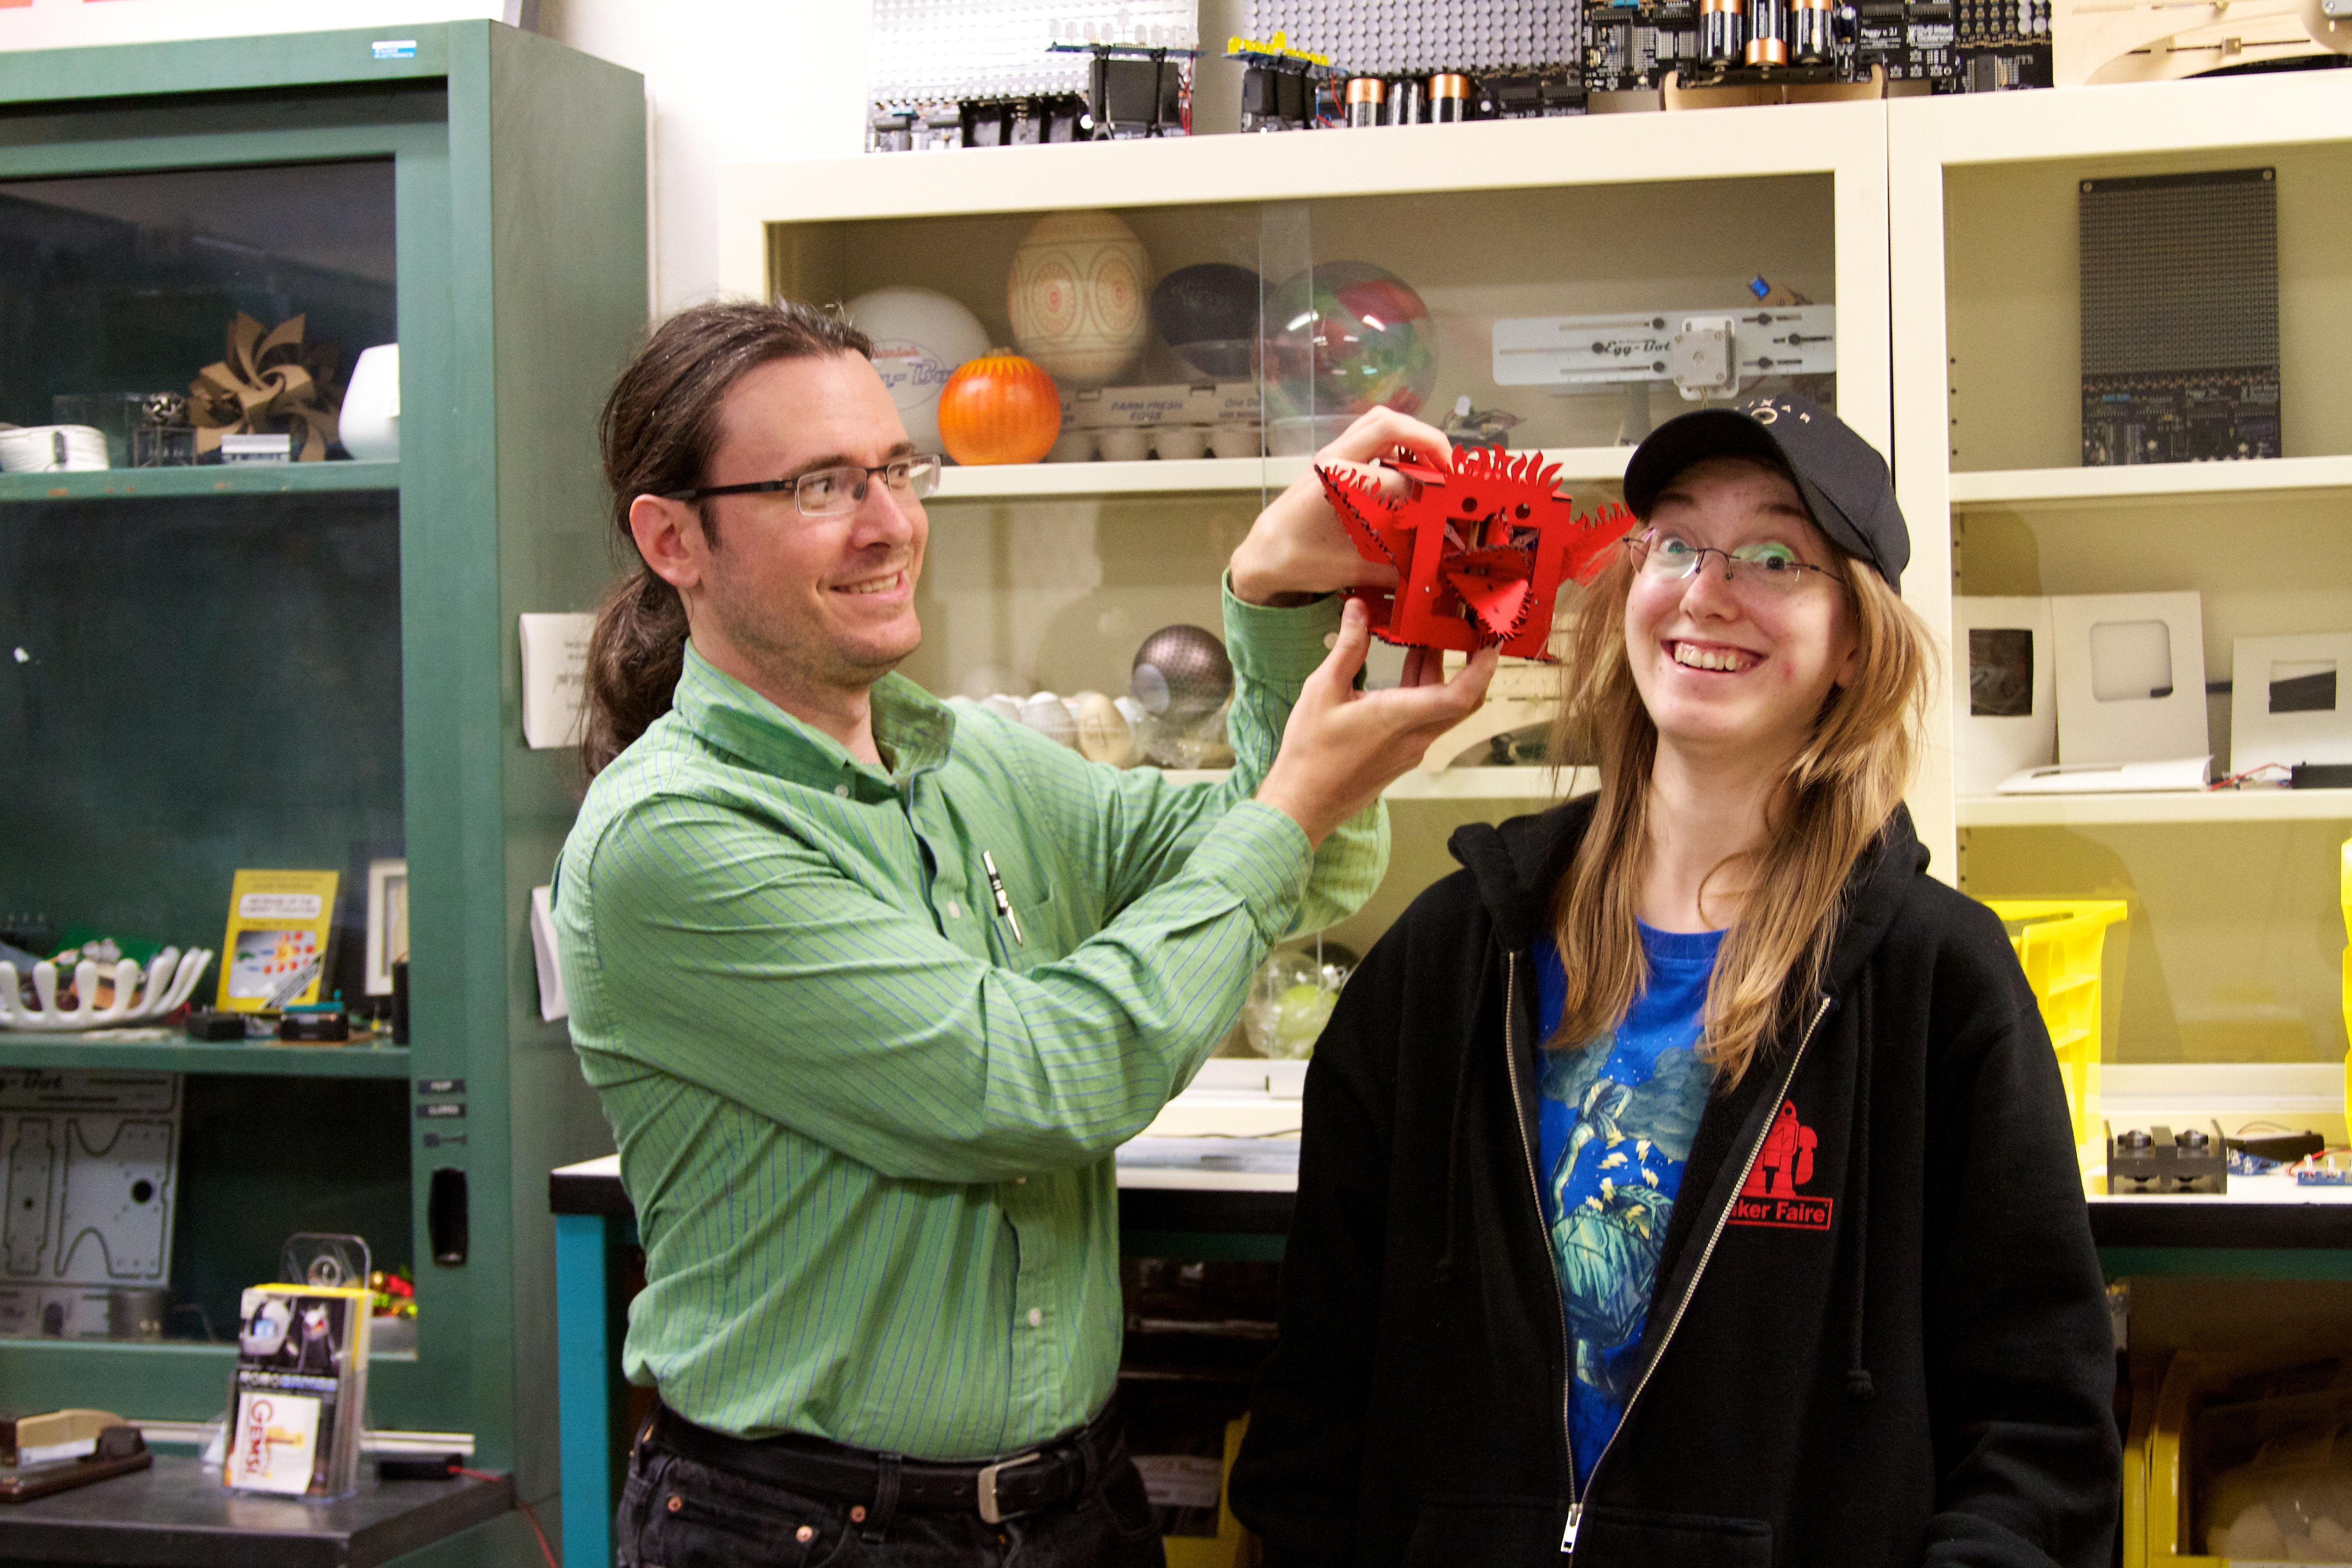
 Ostrich Eggbot!

ostrich egg in eggbot with chicken egg for comparison

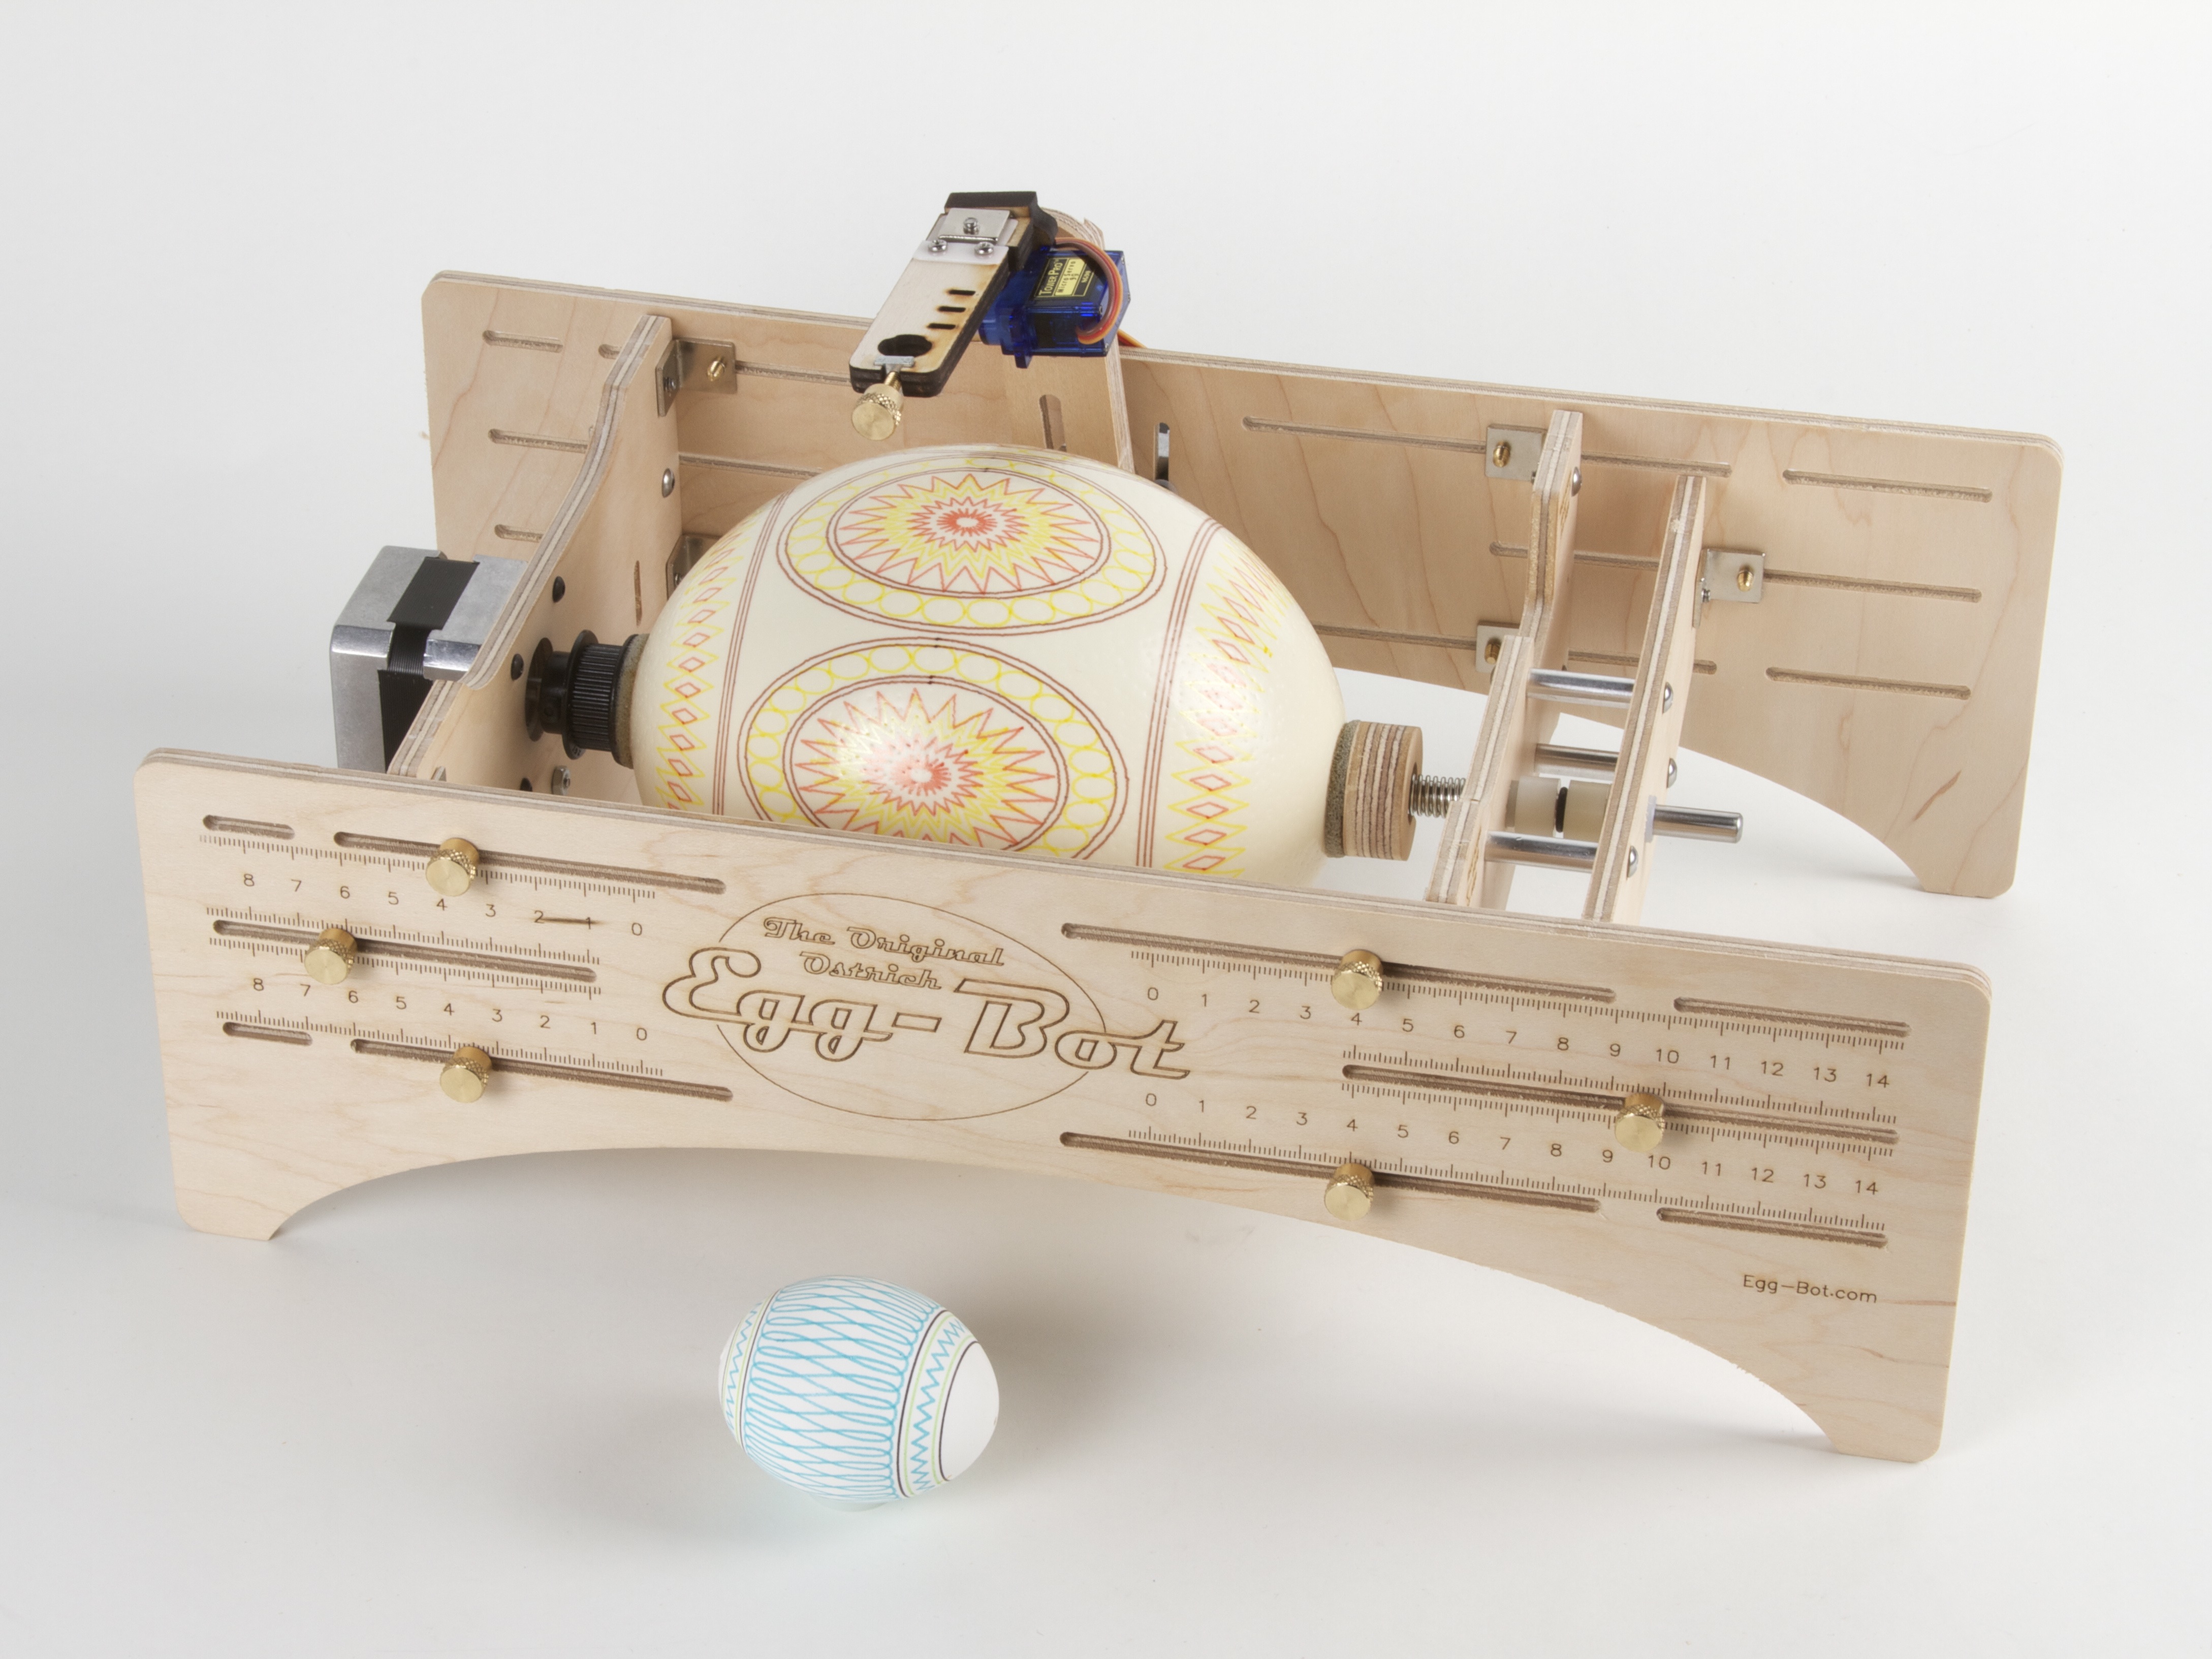
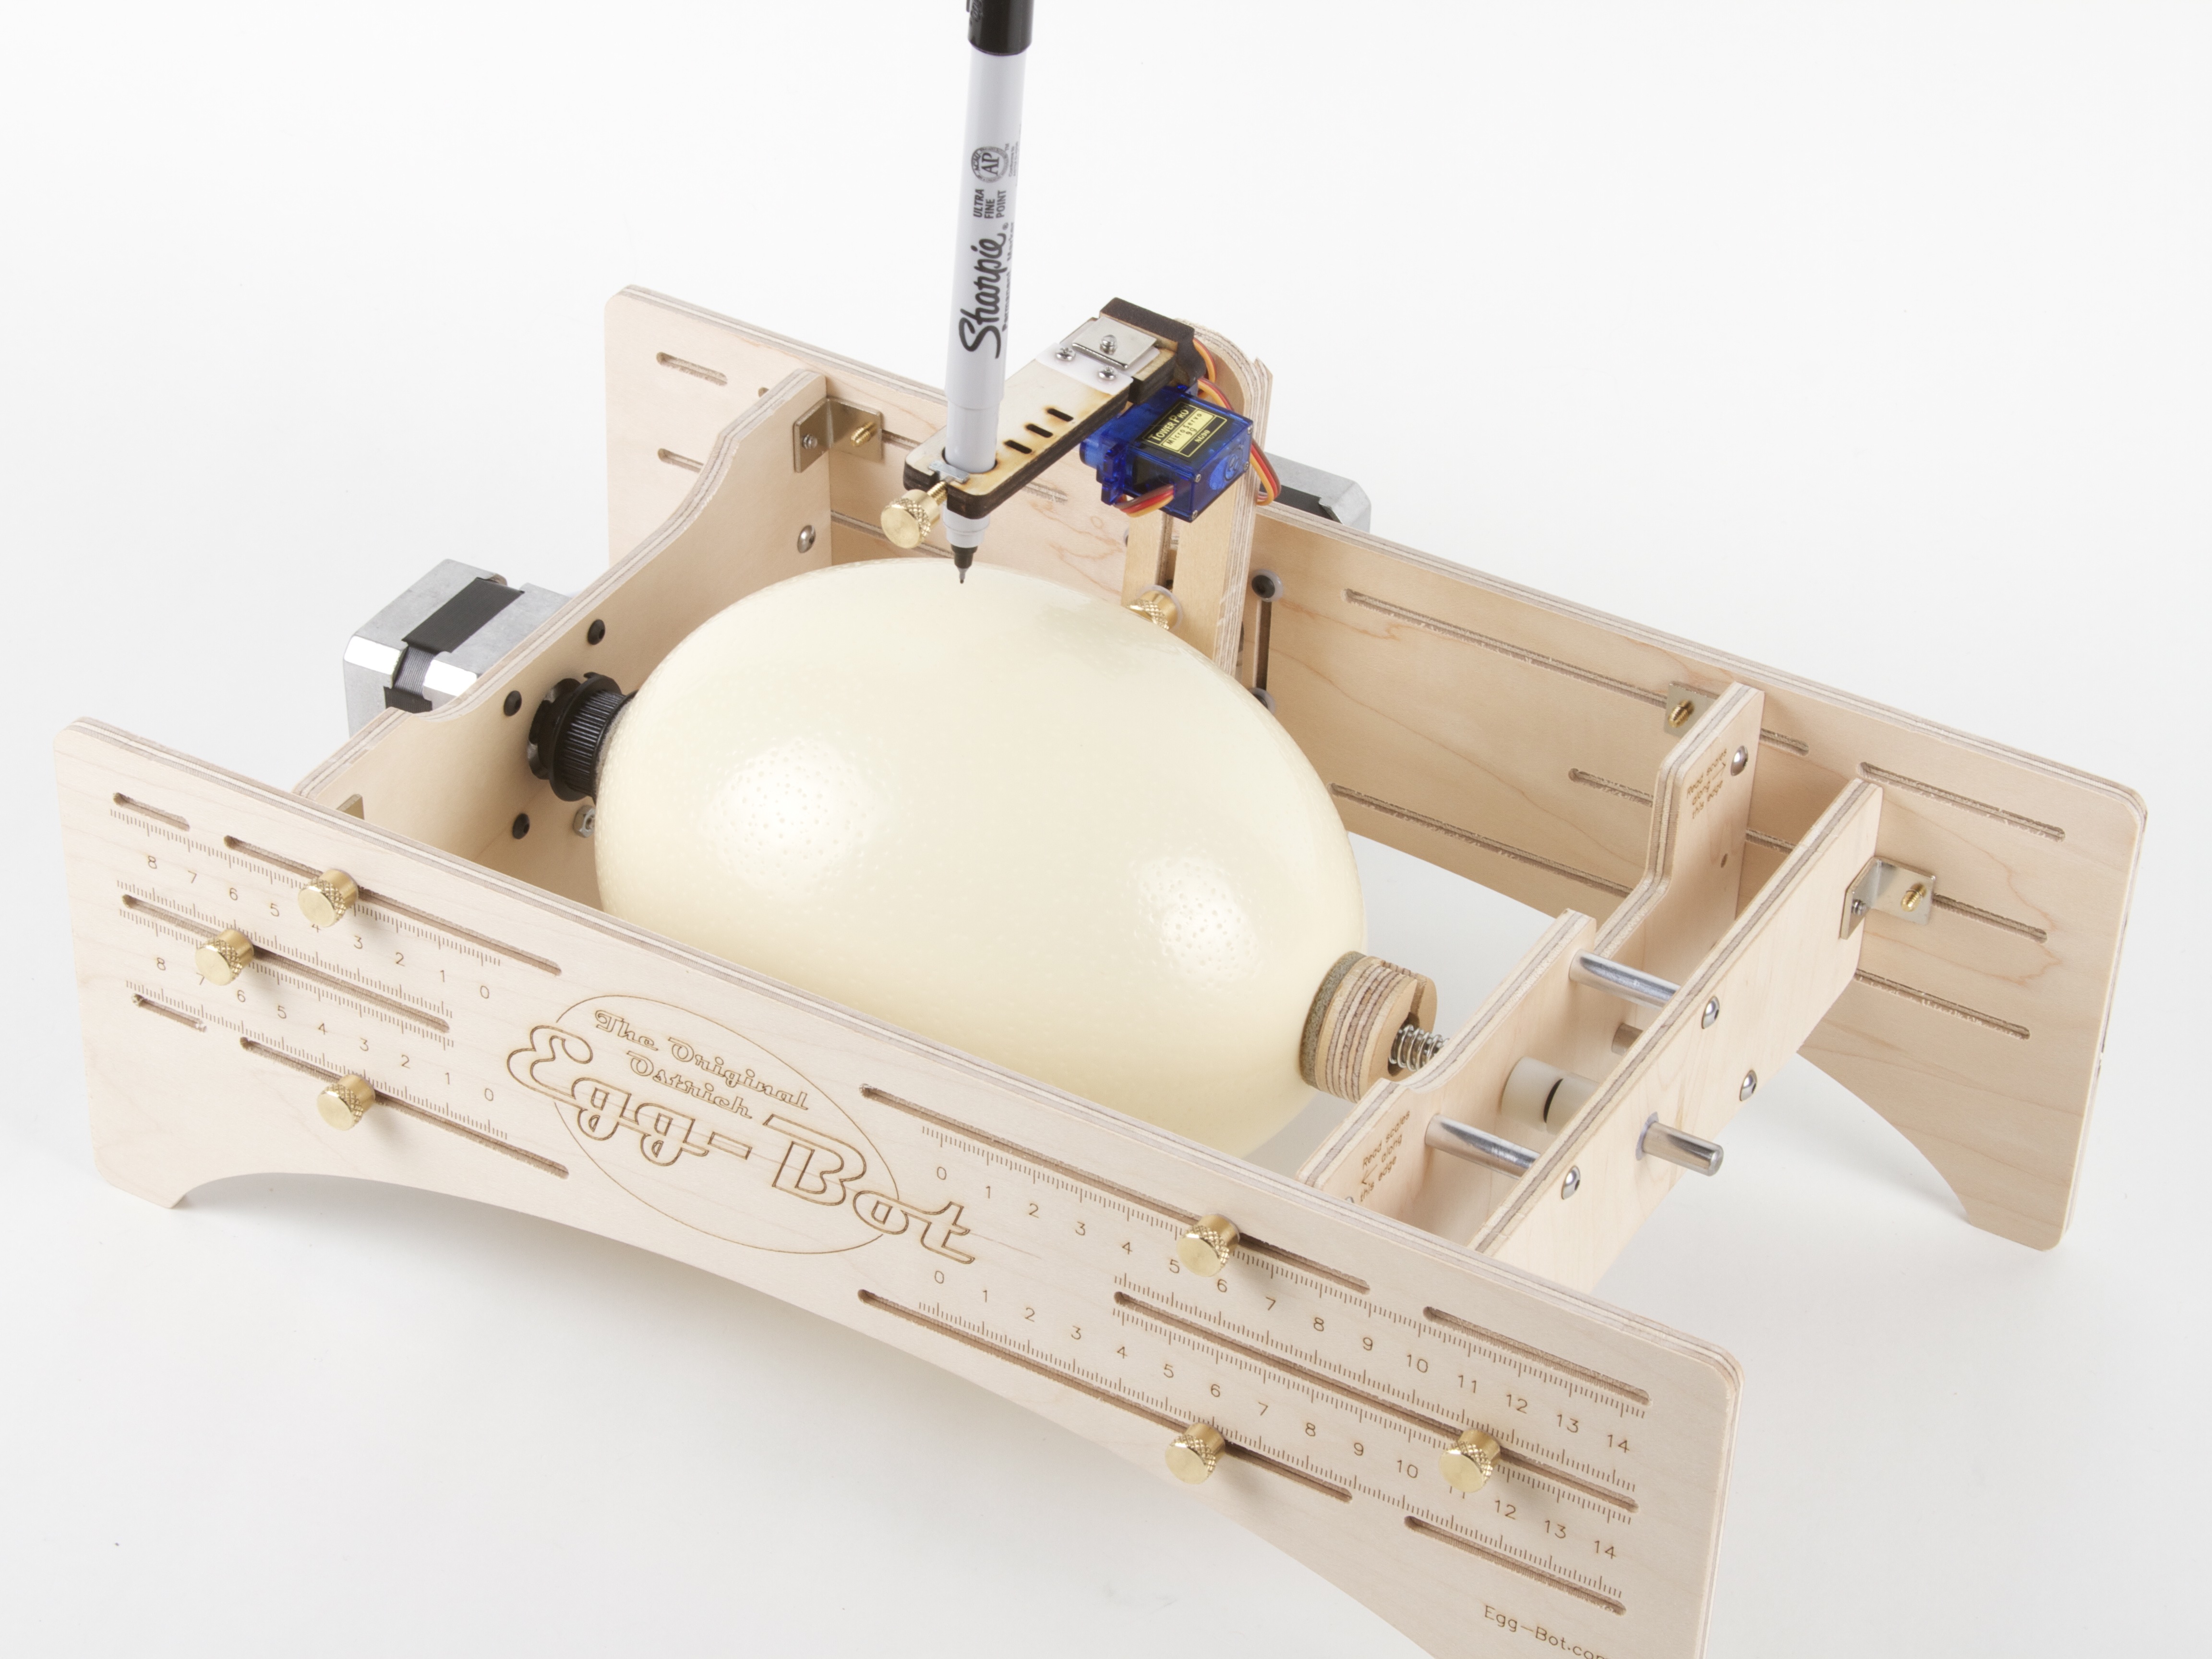
So yes, just like the Eggbot, it’s a machine capable of drawing on the surface of all kinds of spherical and egg-shaped objects. As the name implies, the Ostrich Eggbot is big enough to (very easily) fit ostrich eggs– one is shown above with a (rather large) chicken egg for scale. And, like the Eggbot, we’re releasing it as an open source kit.

Given all that, we feel confident to suggest that the Ostrich Eggbot may already be quite possibly the worlds finest open-source CNC ostrich-egg decorating machine.

ostrich eggbot

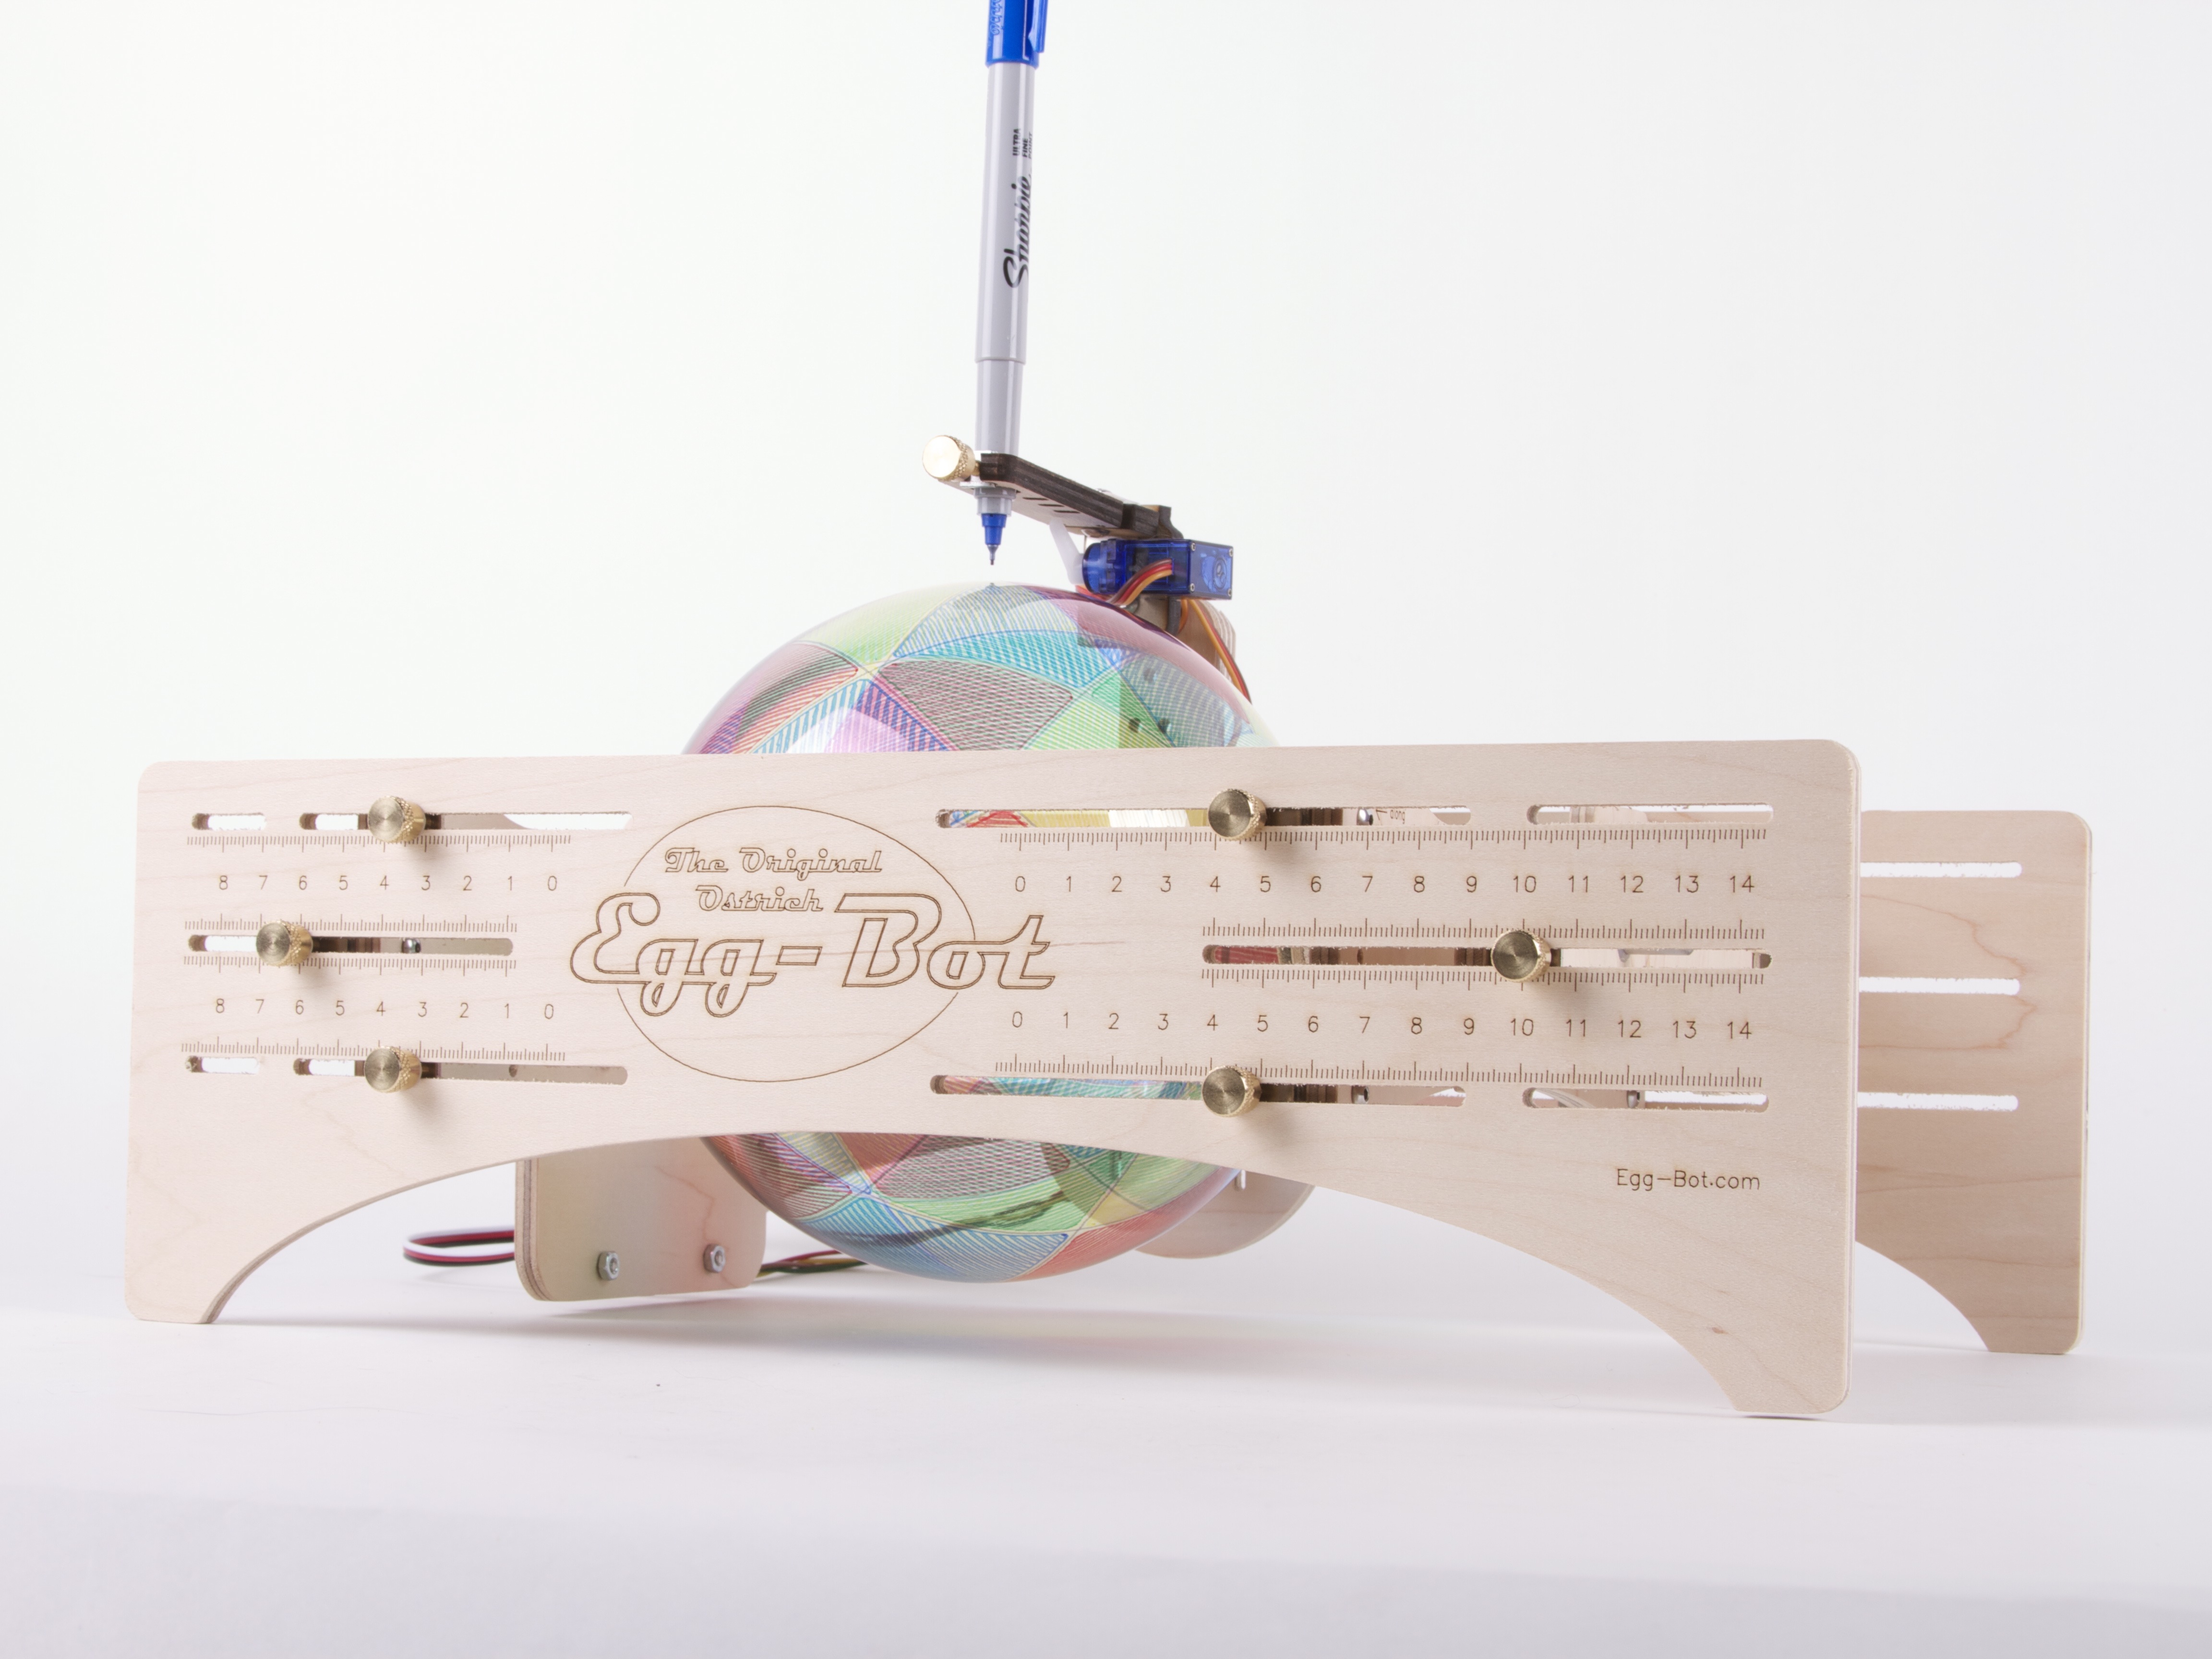
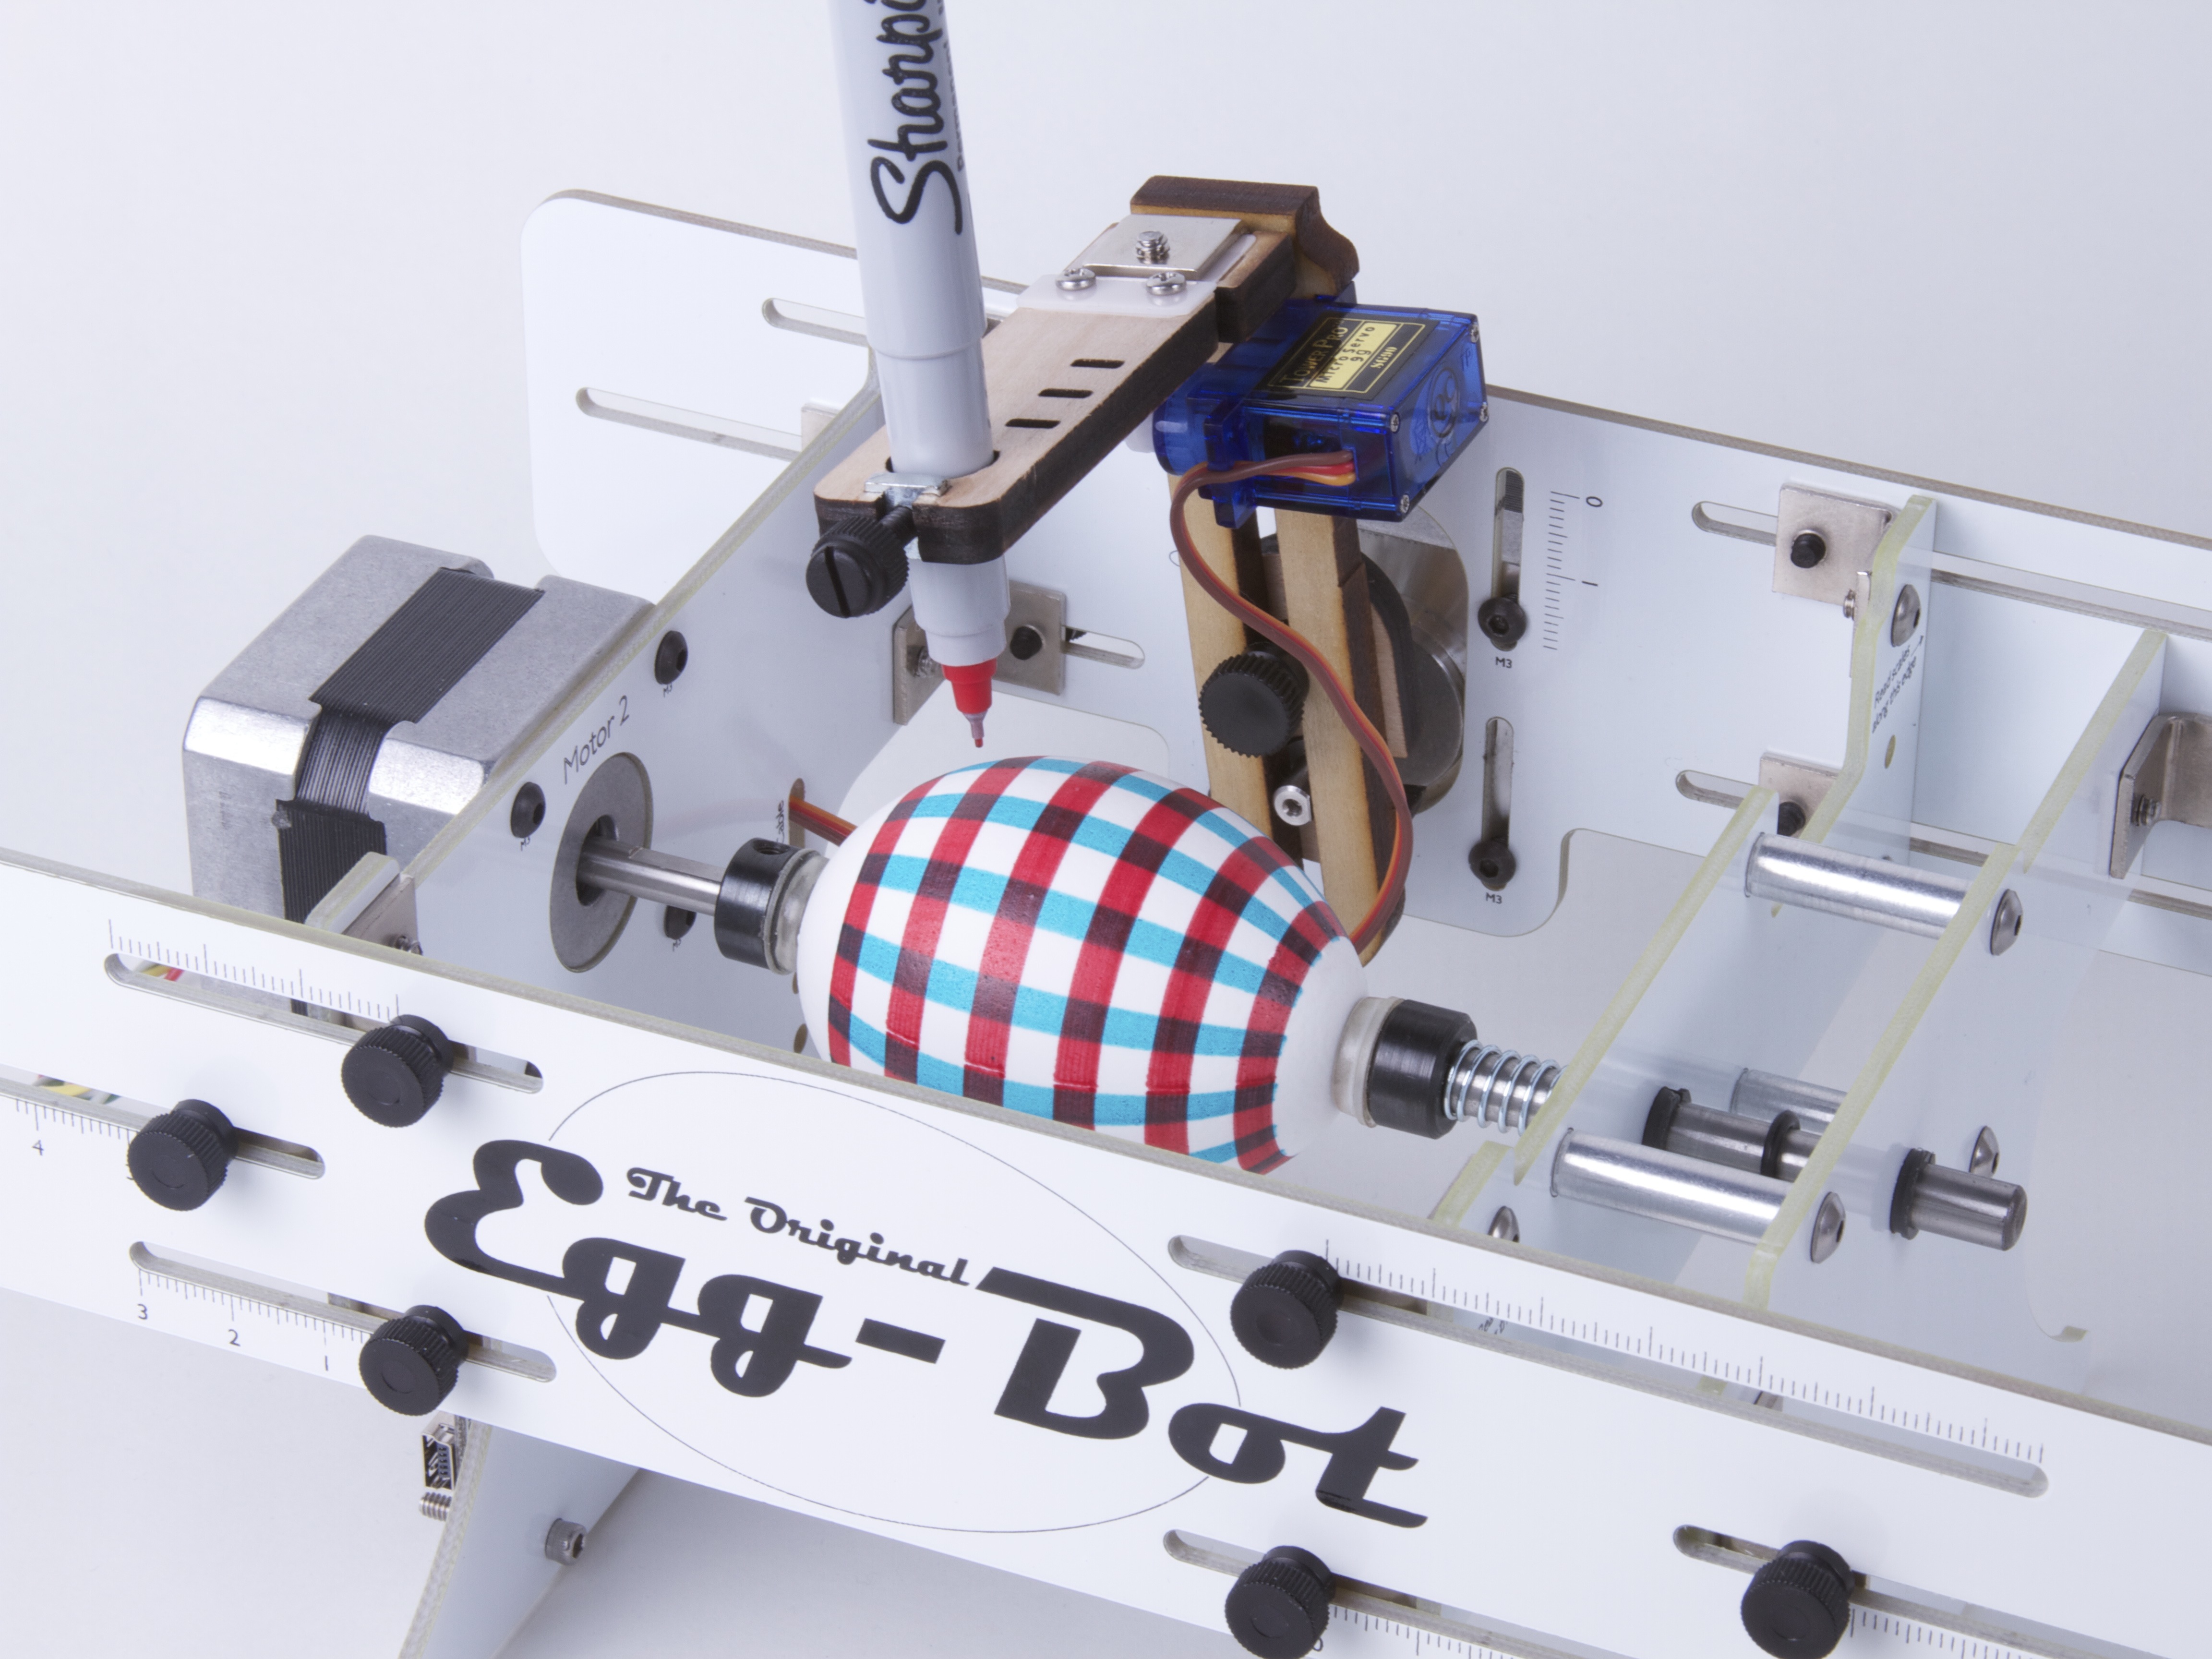
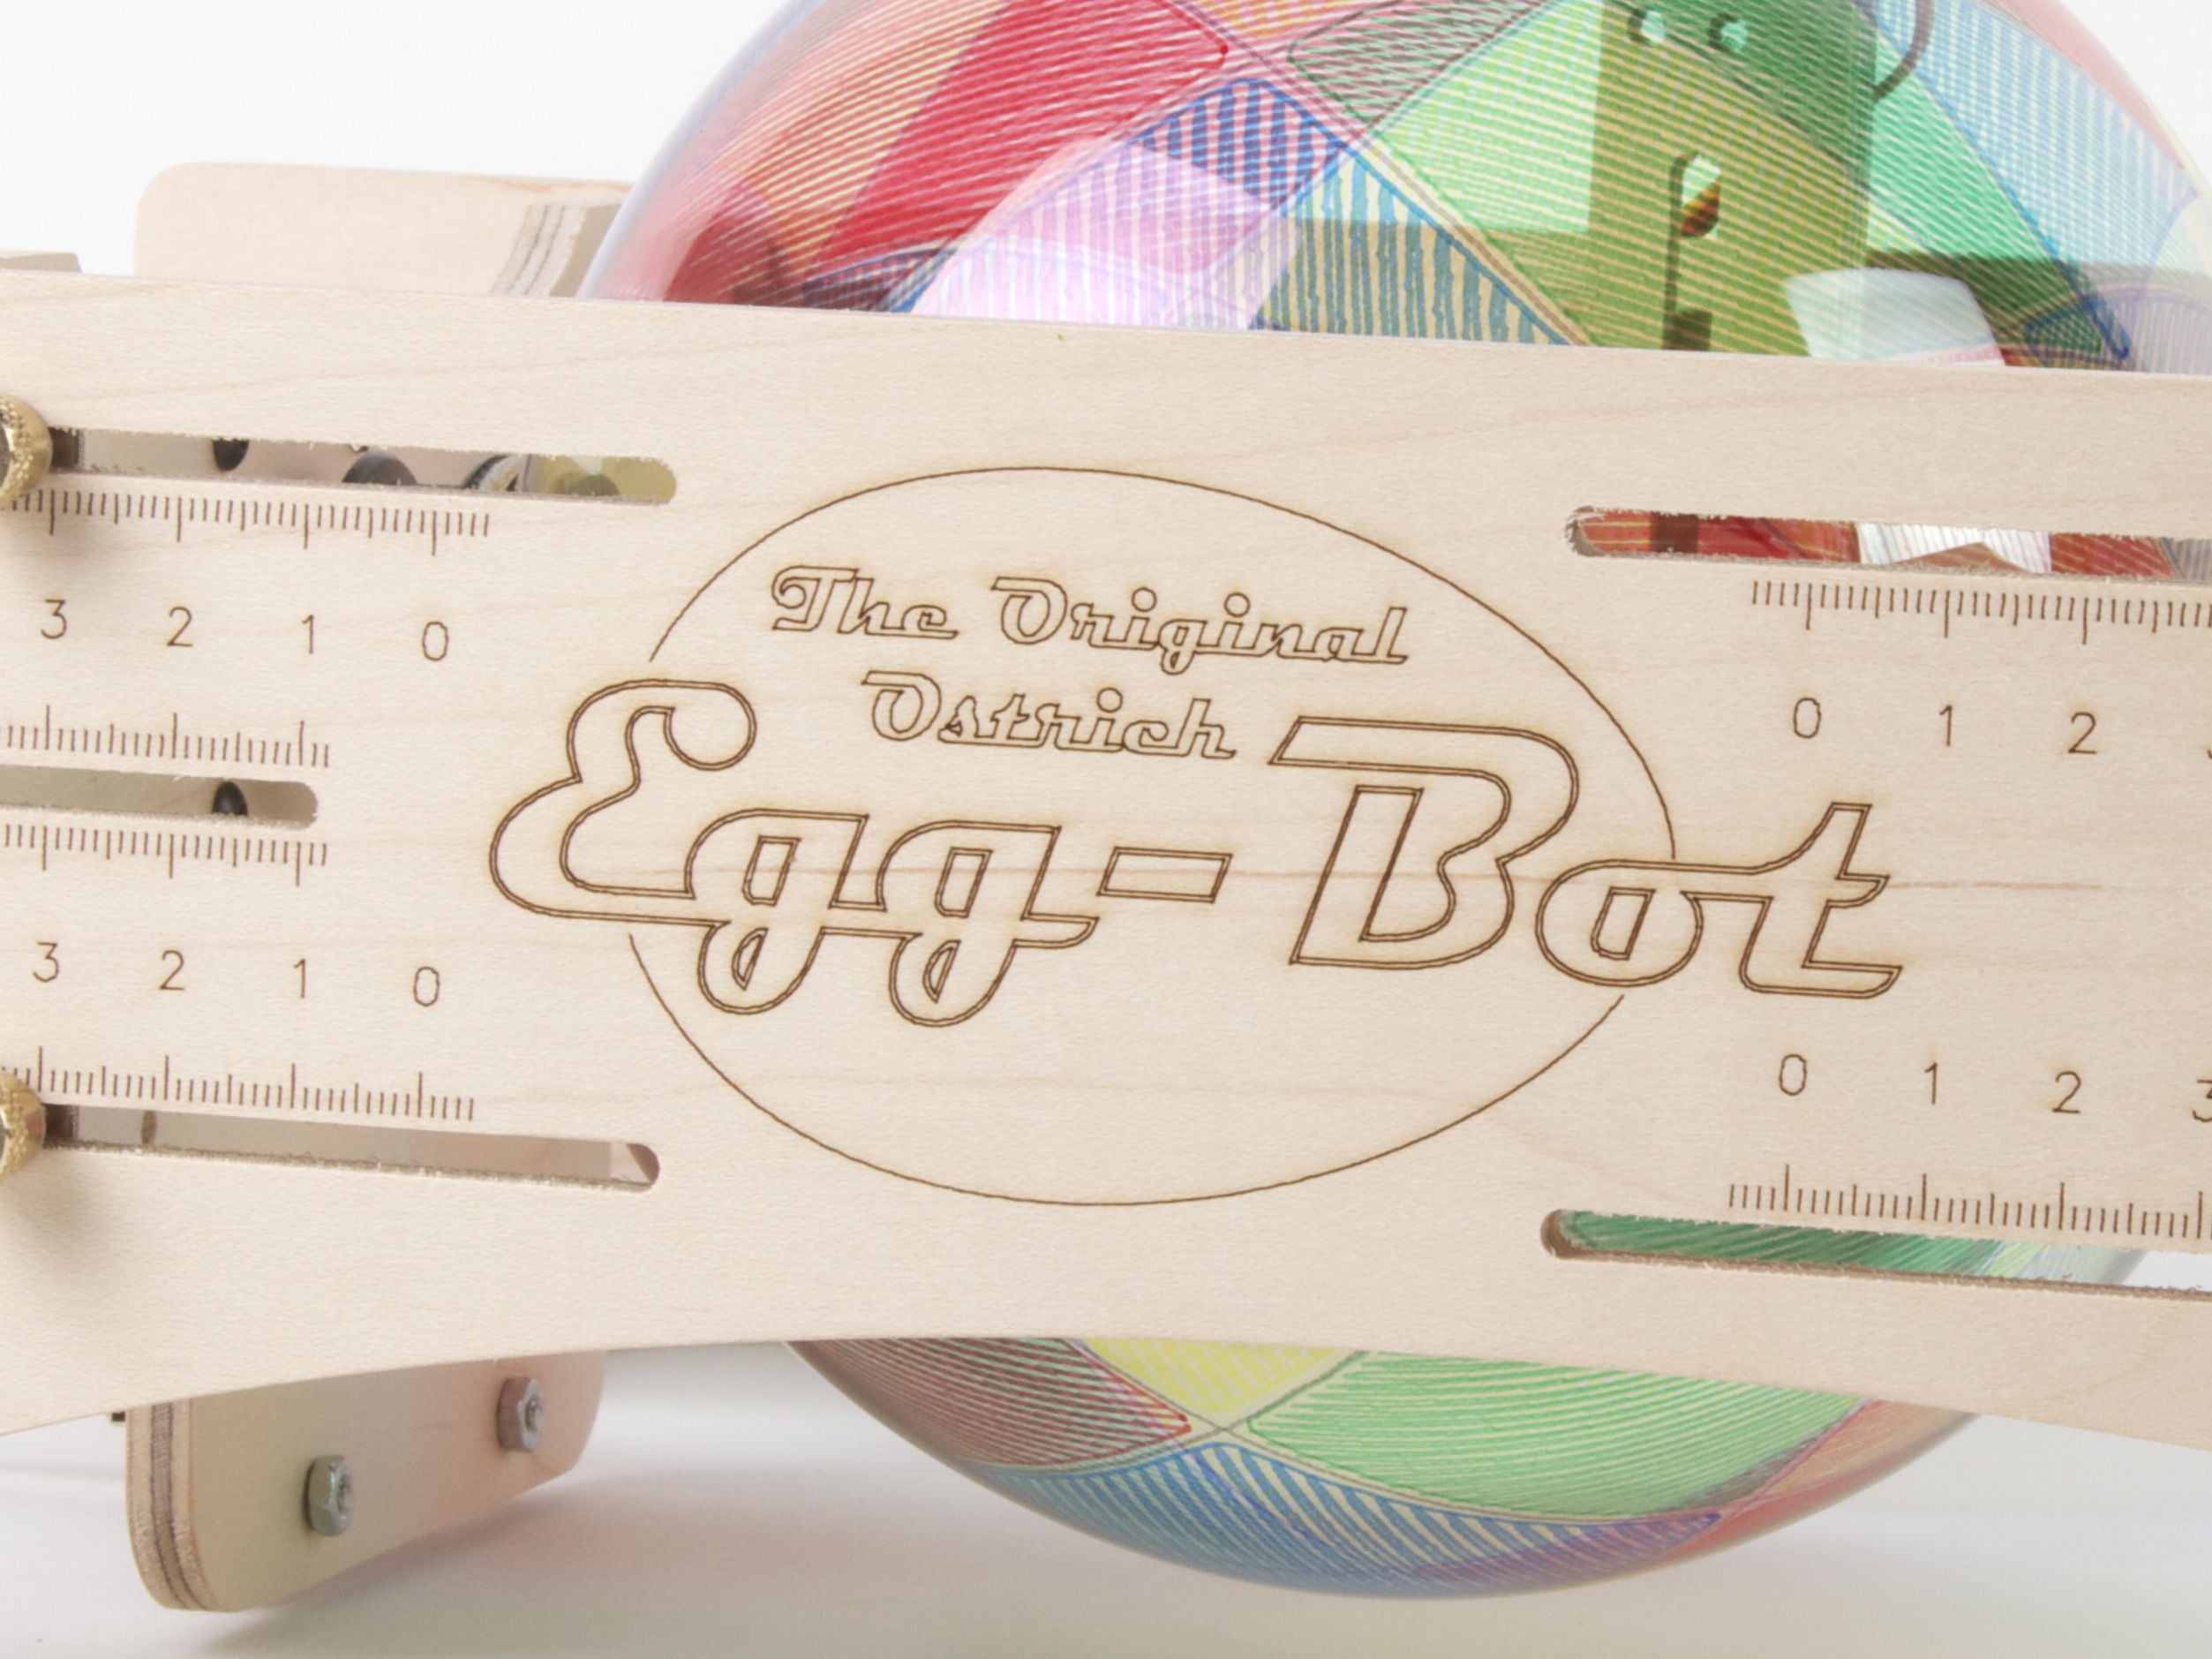
The Ostrich Eggbot chassis is CNC cut from hardwood plywood which is then laser engraved with calibration and assembly marks. Versus the original (standard-size) Eggbot, the feet have been moved to the sides for a wider base to give better stability with differently sized objects.

glass ball

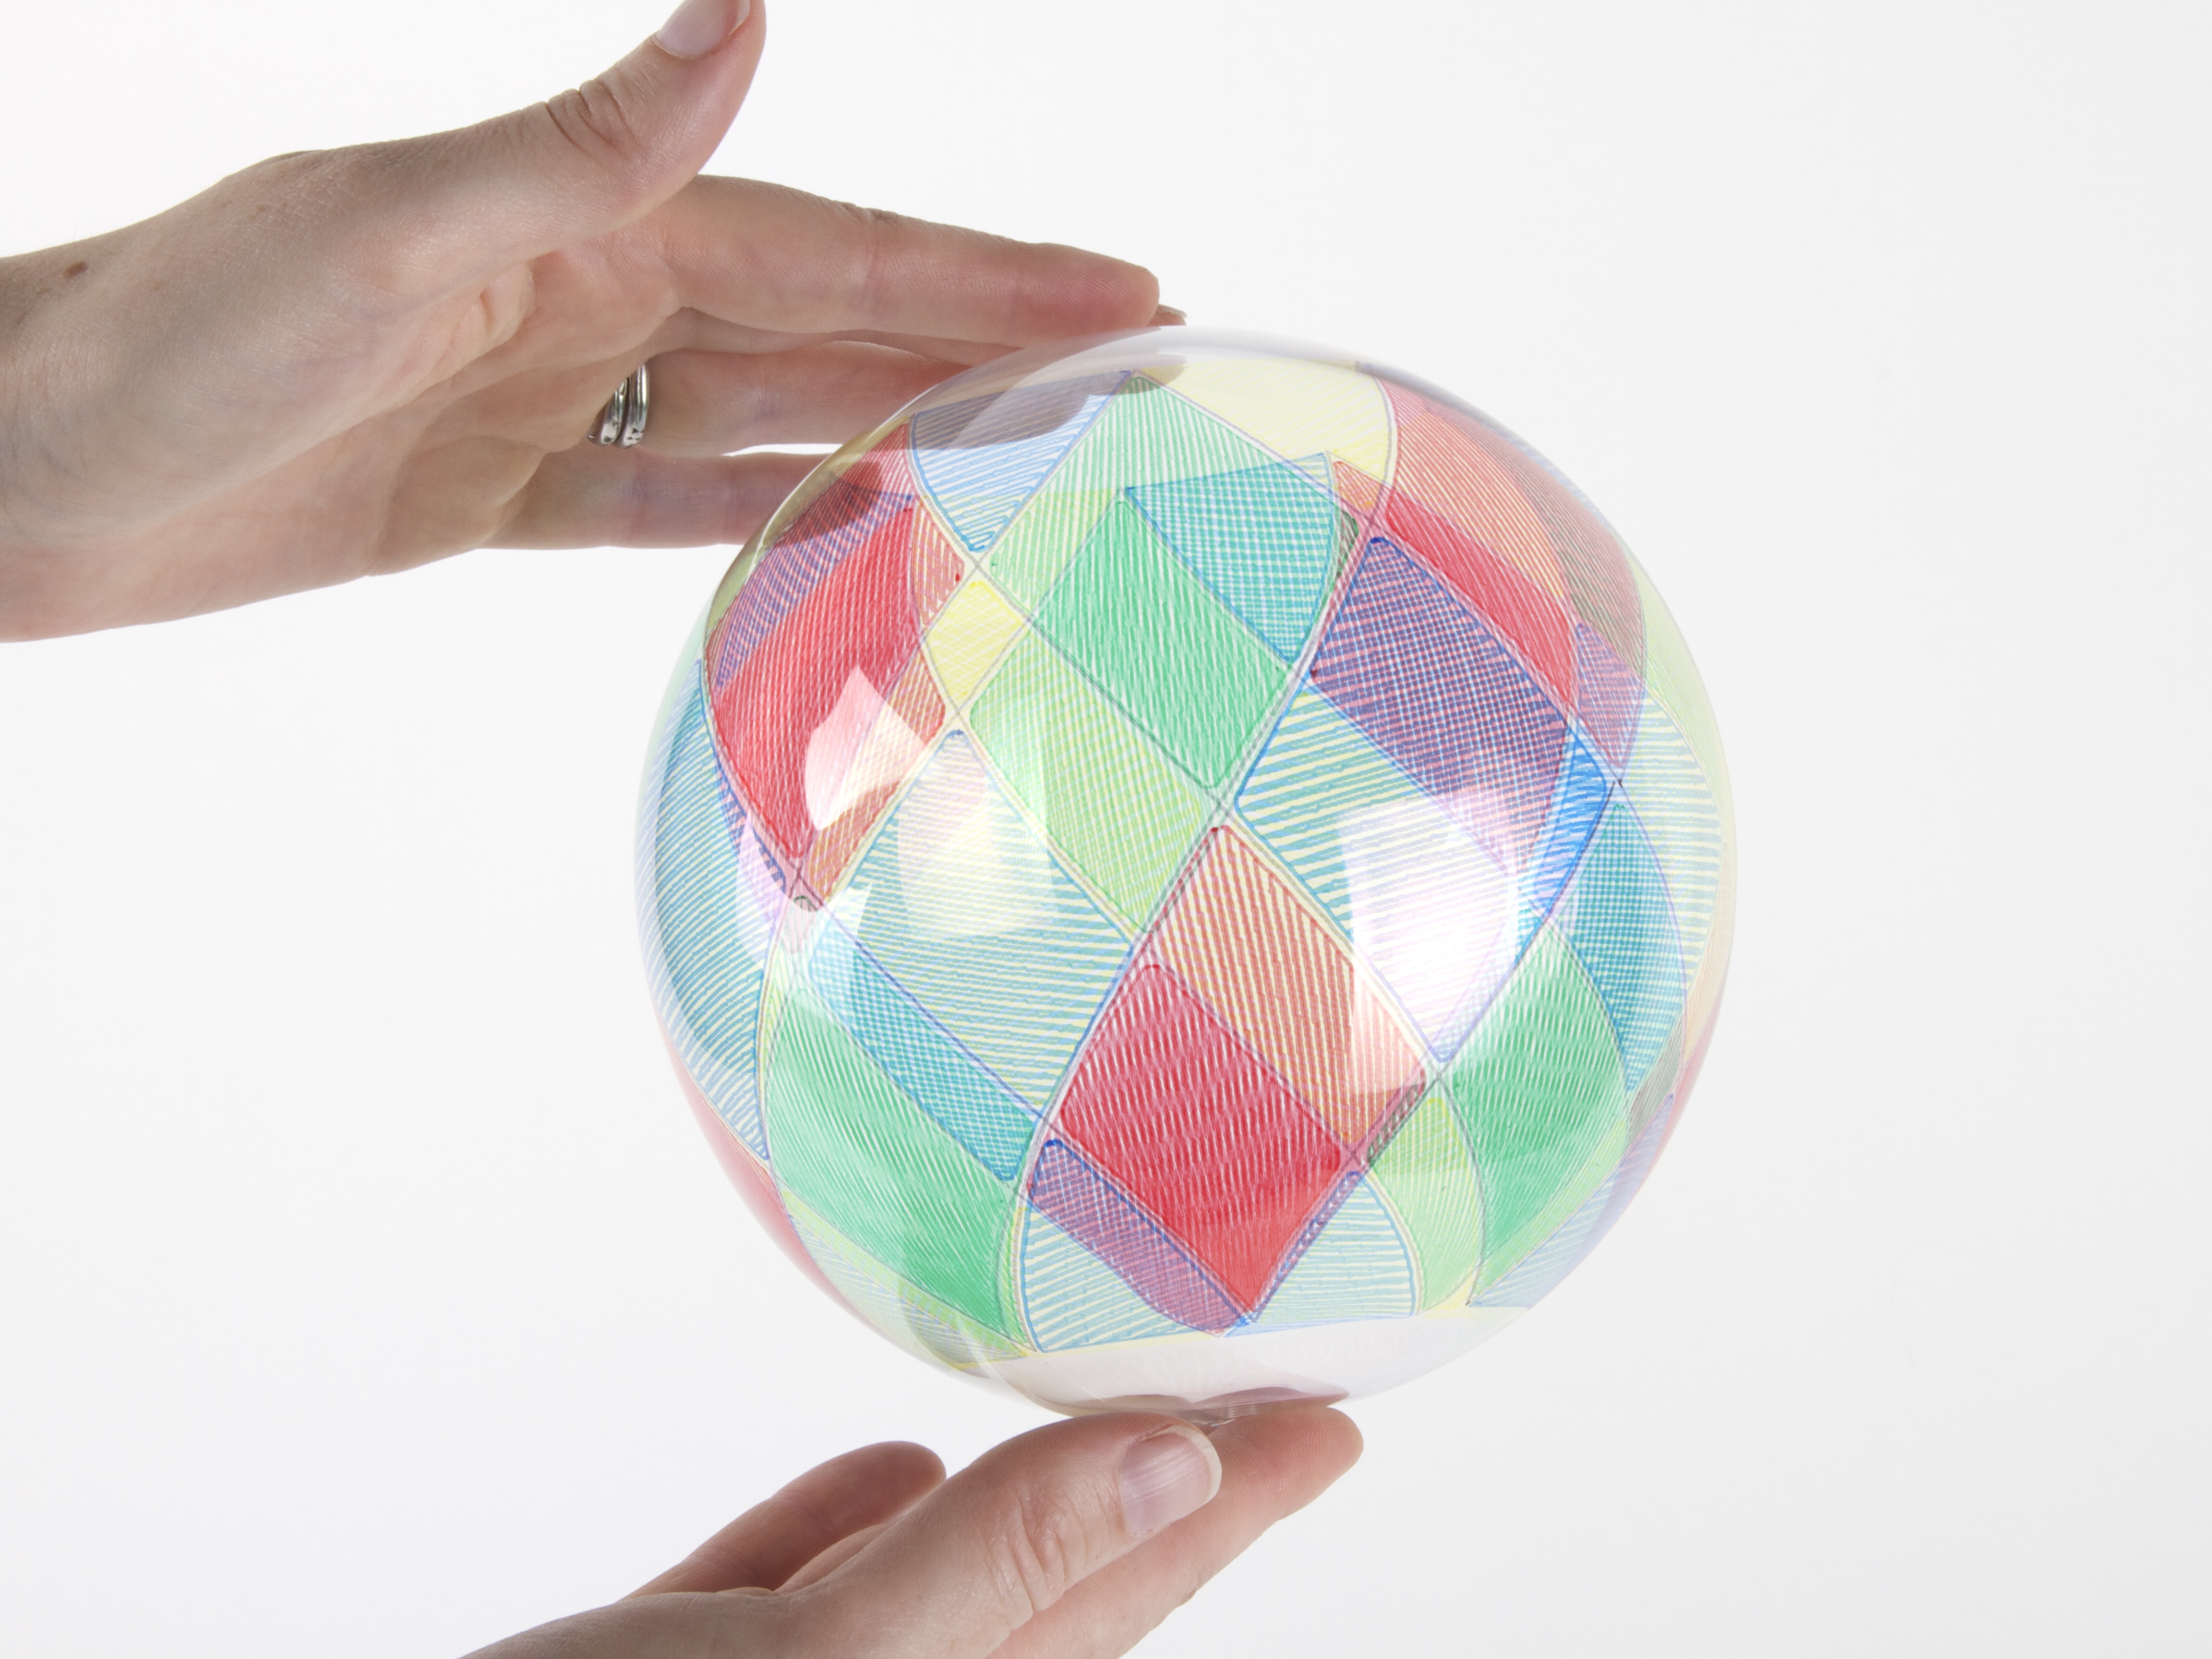
This is a glass ball, 6 inches in diameter, which has been decorated in a motley pattern, with some colored Sharpie markers– it almost looks like stained glass.

Large objects

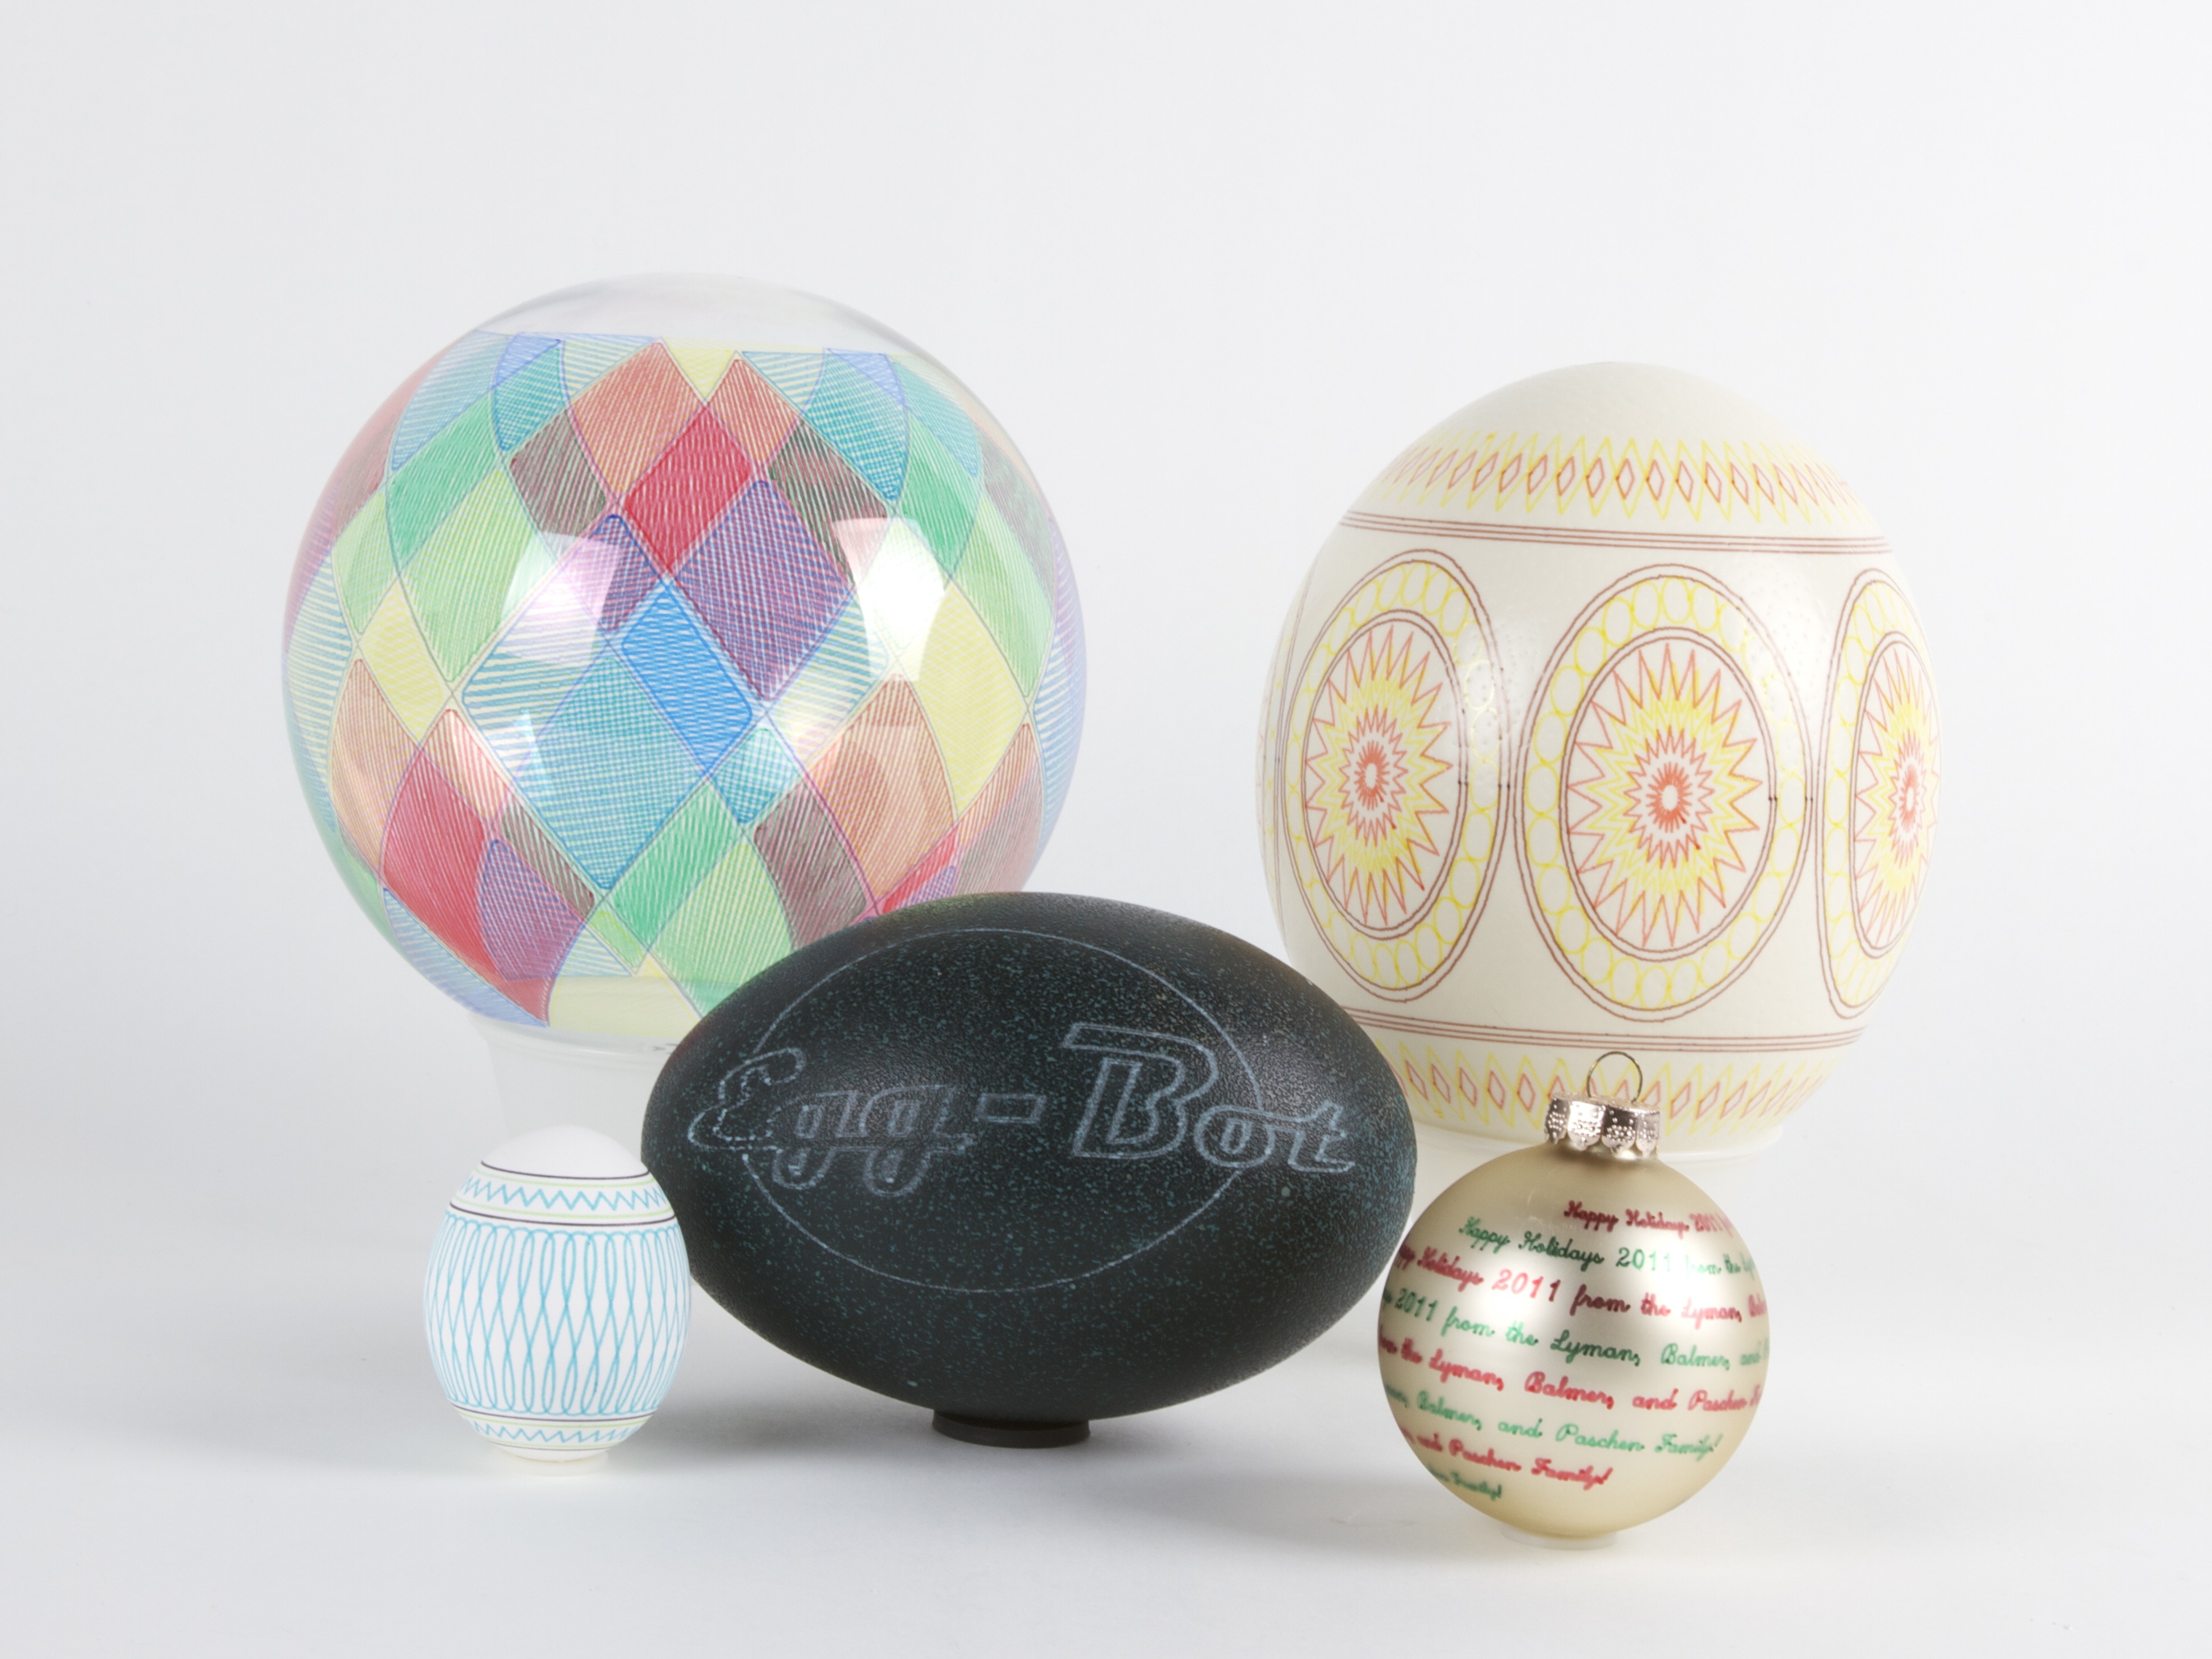
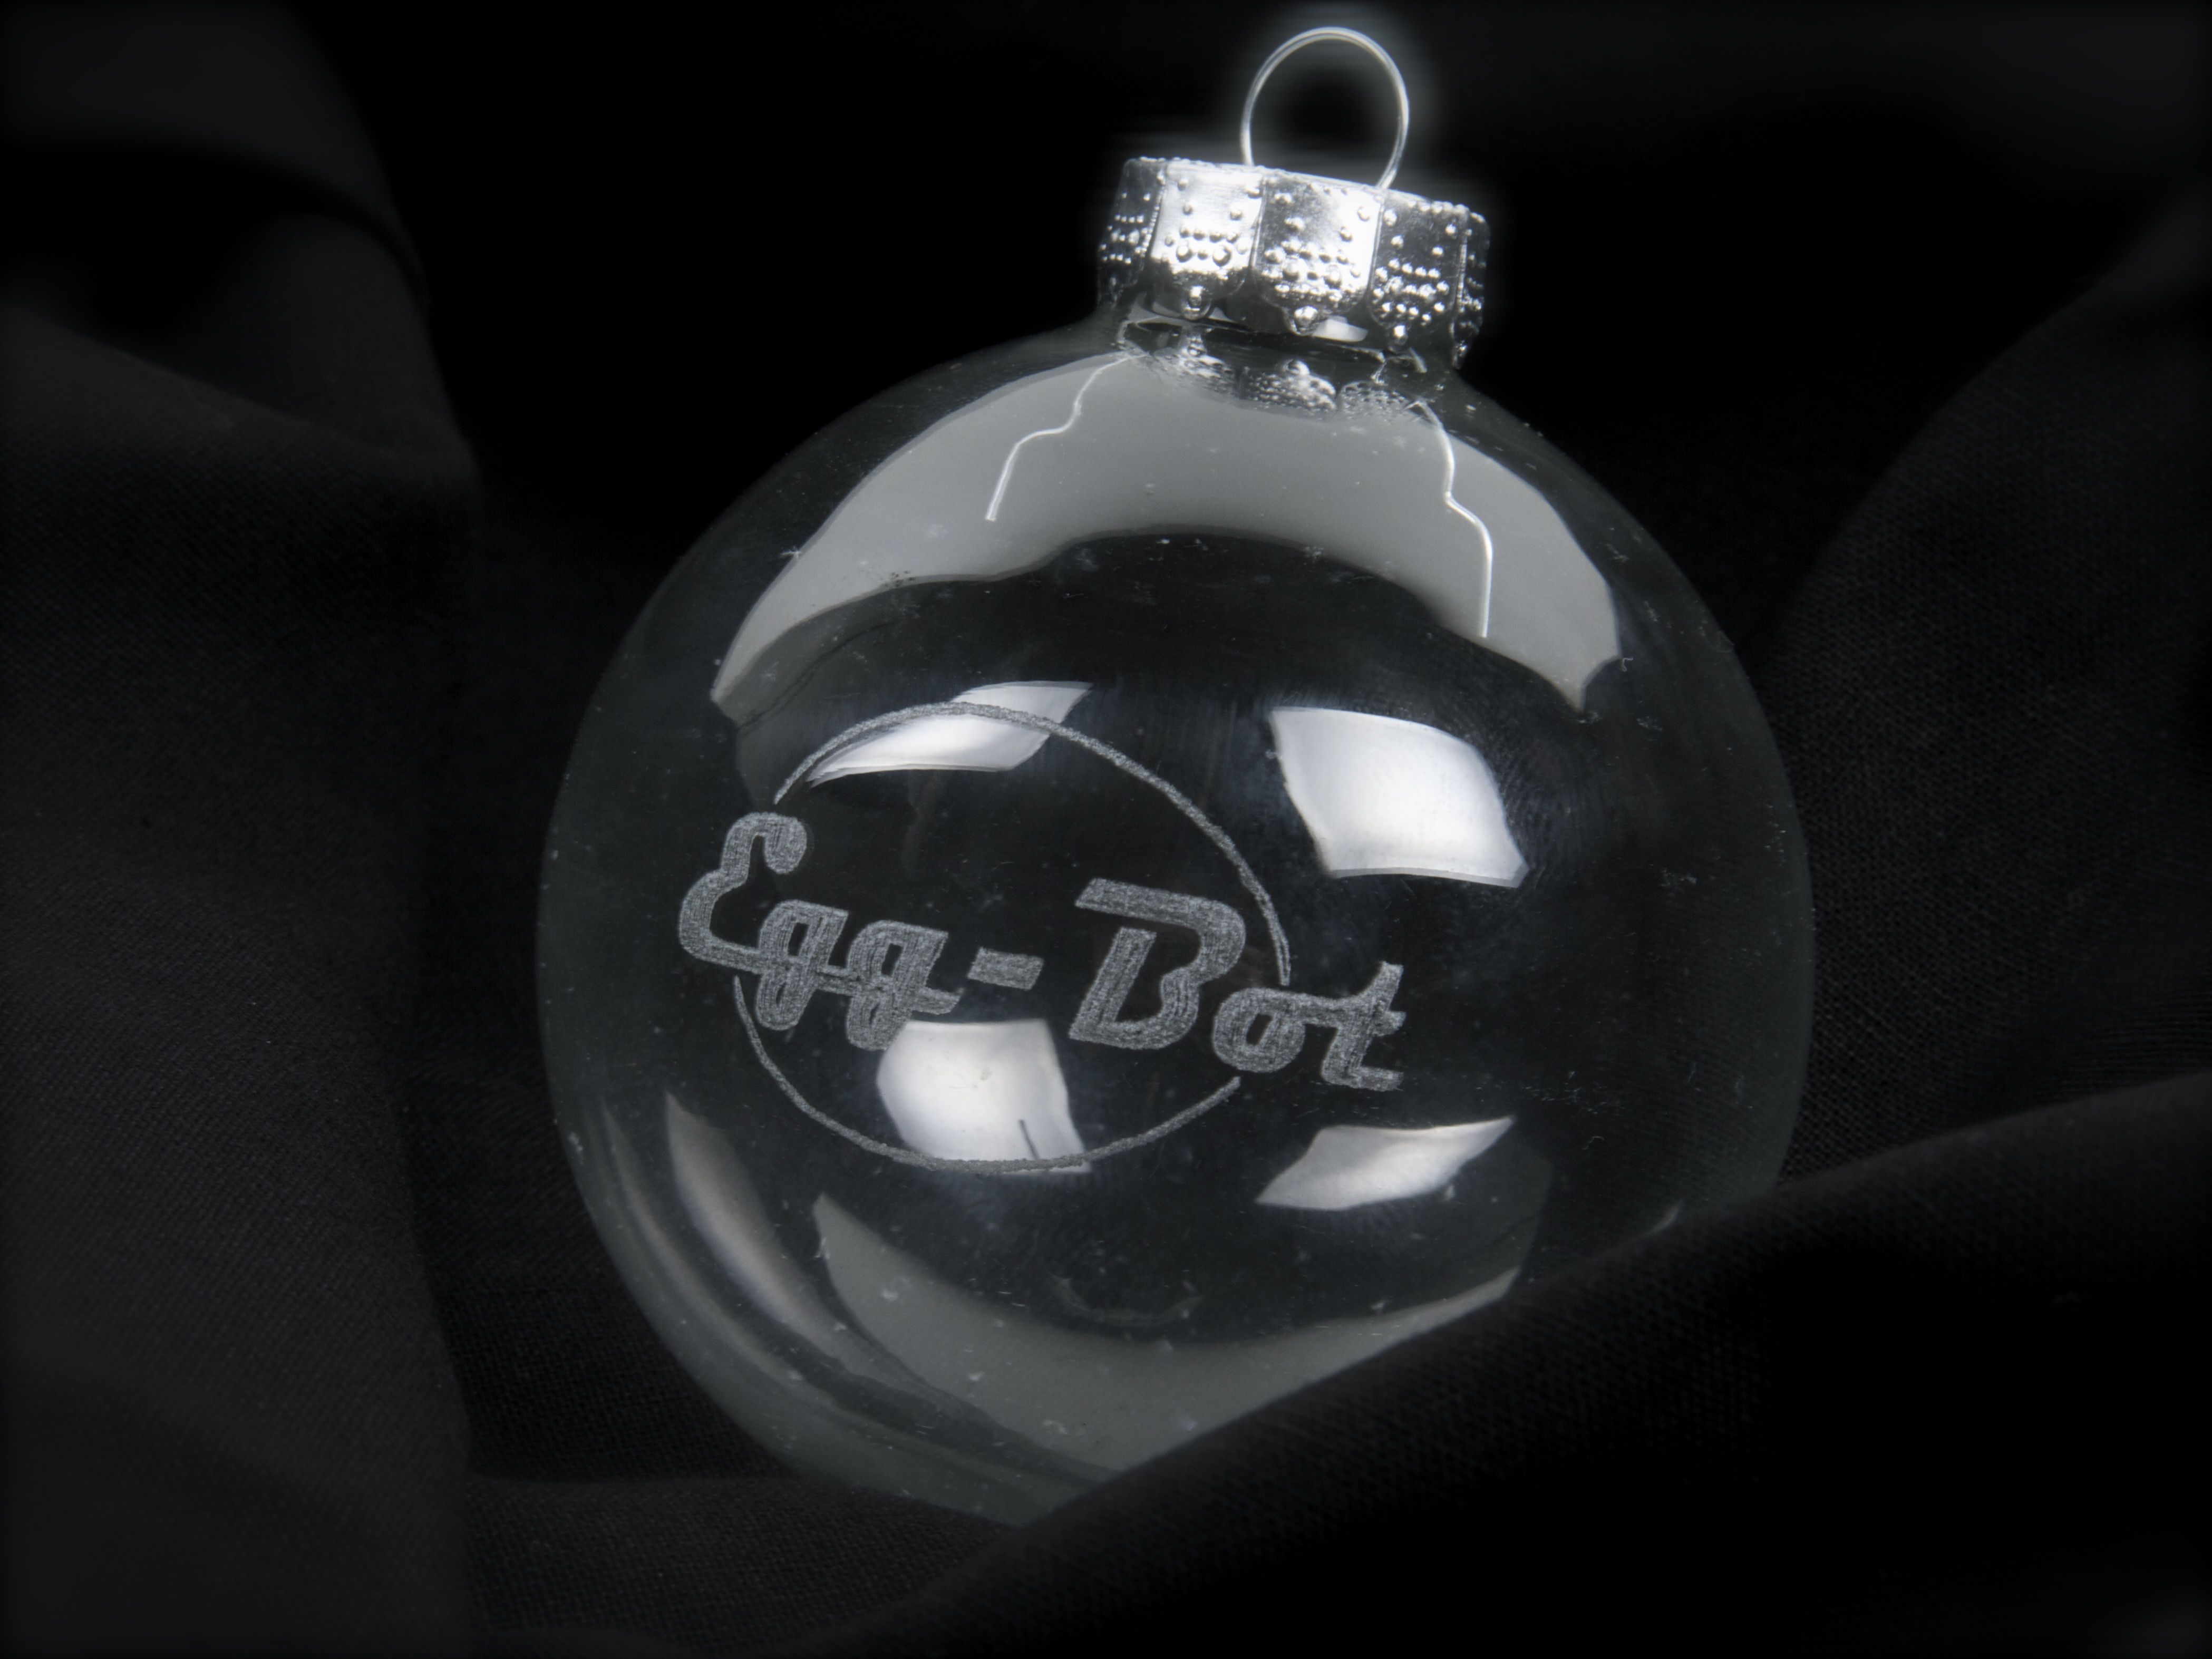
The range of printable objects extends from chicken eggs all the way up past ostrich eggs, and includes things like christmas ornaments, pool (billiards) balls, and all kinds of egg-shaped and spherical objects from 2.25 to 6.25 inches in diameter. (The blue-green alien-egg looking thing is an emu egg. It fits, too.)

XL pen arm

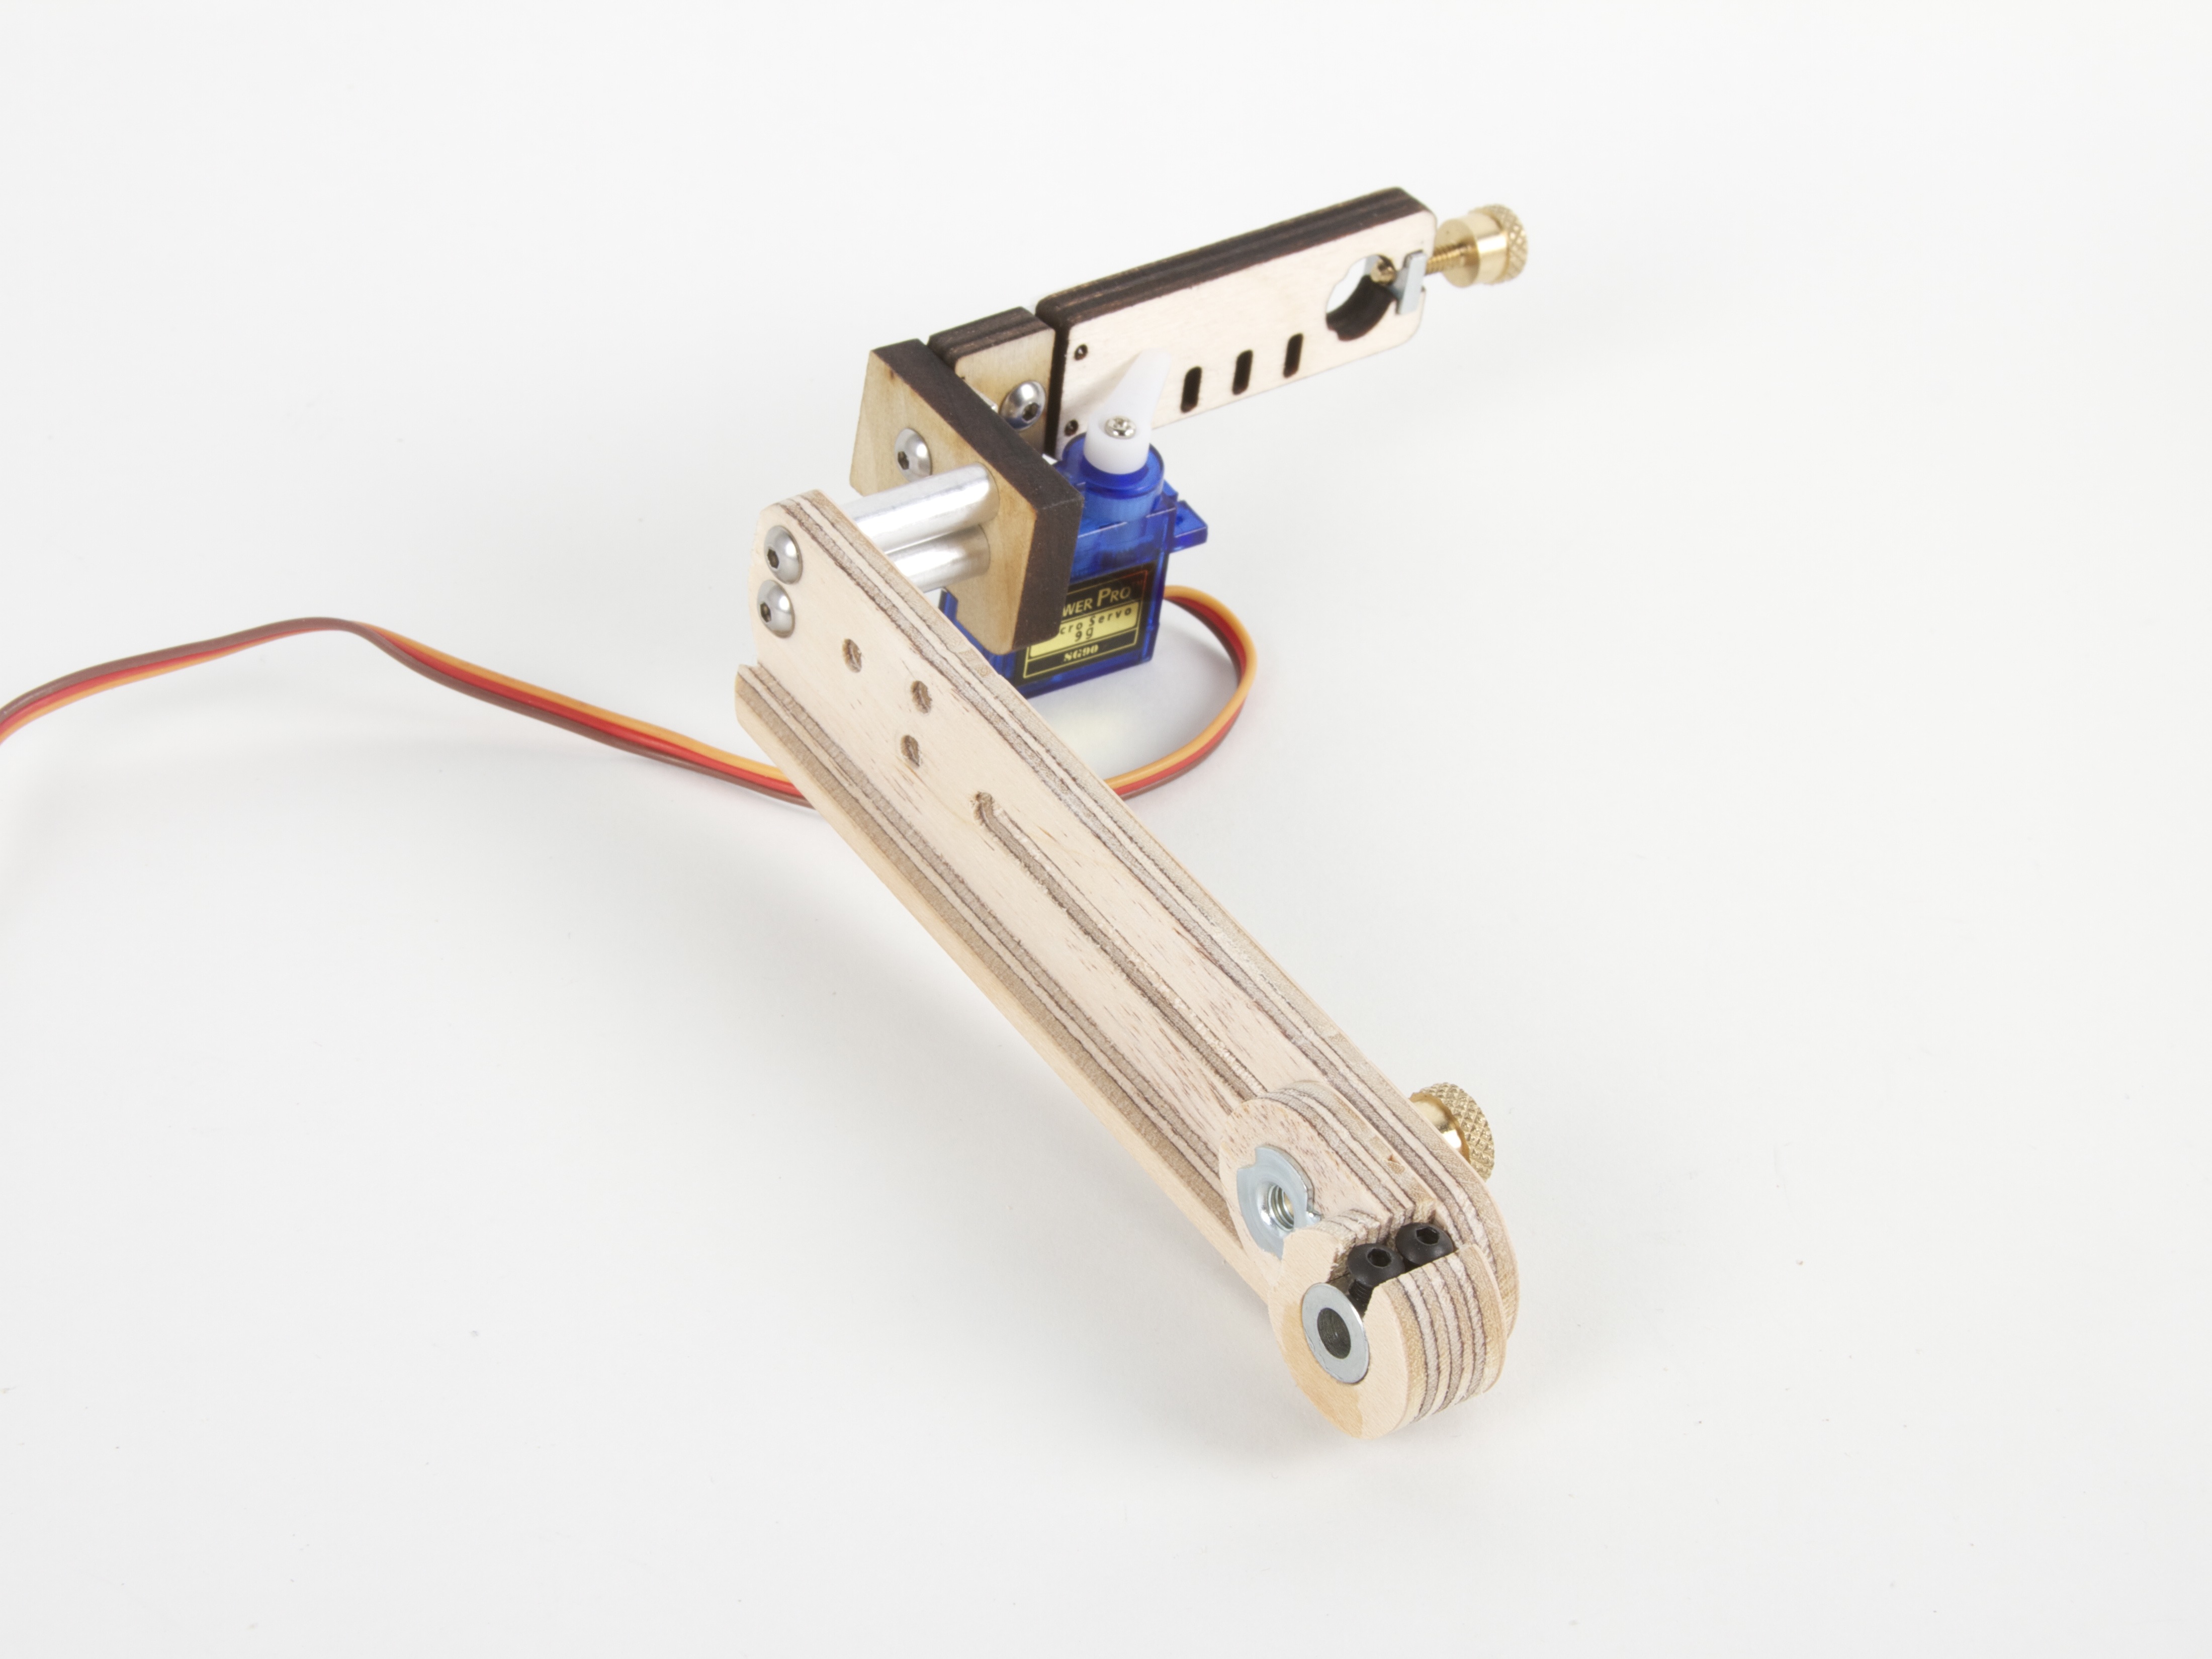
One of the big challenges in the design was that the new “pen arm” had to be much longer, and consequently to be much, much stiffer so that it doesn’t flex and flop around as the pen is moved.

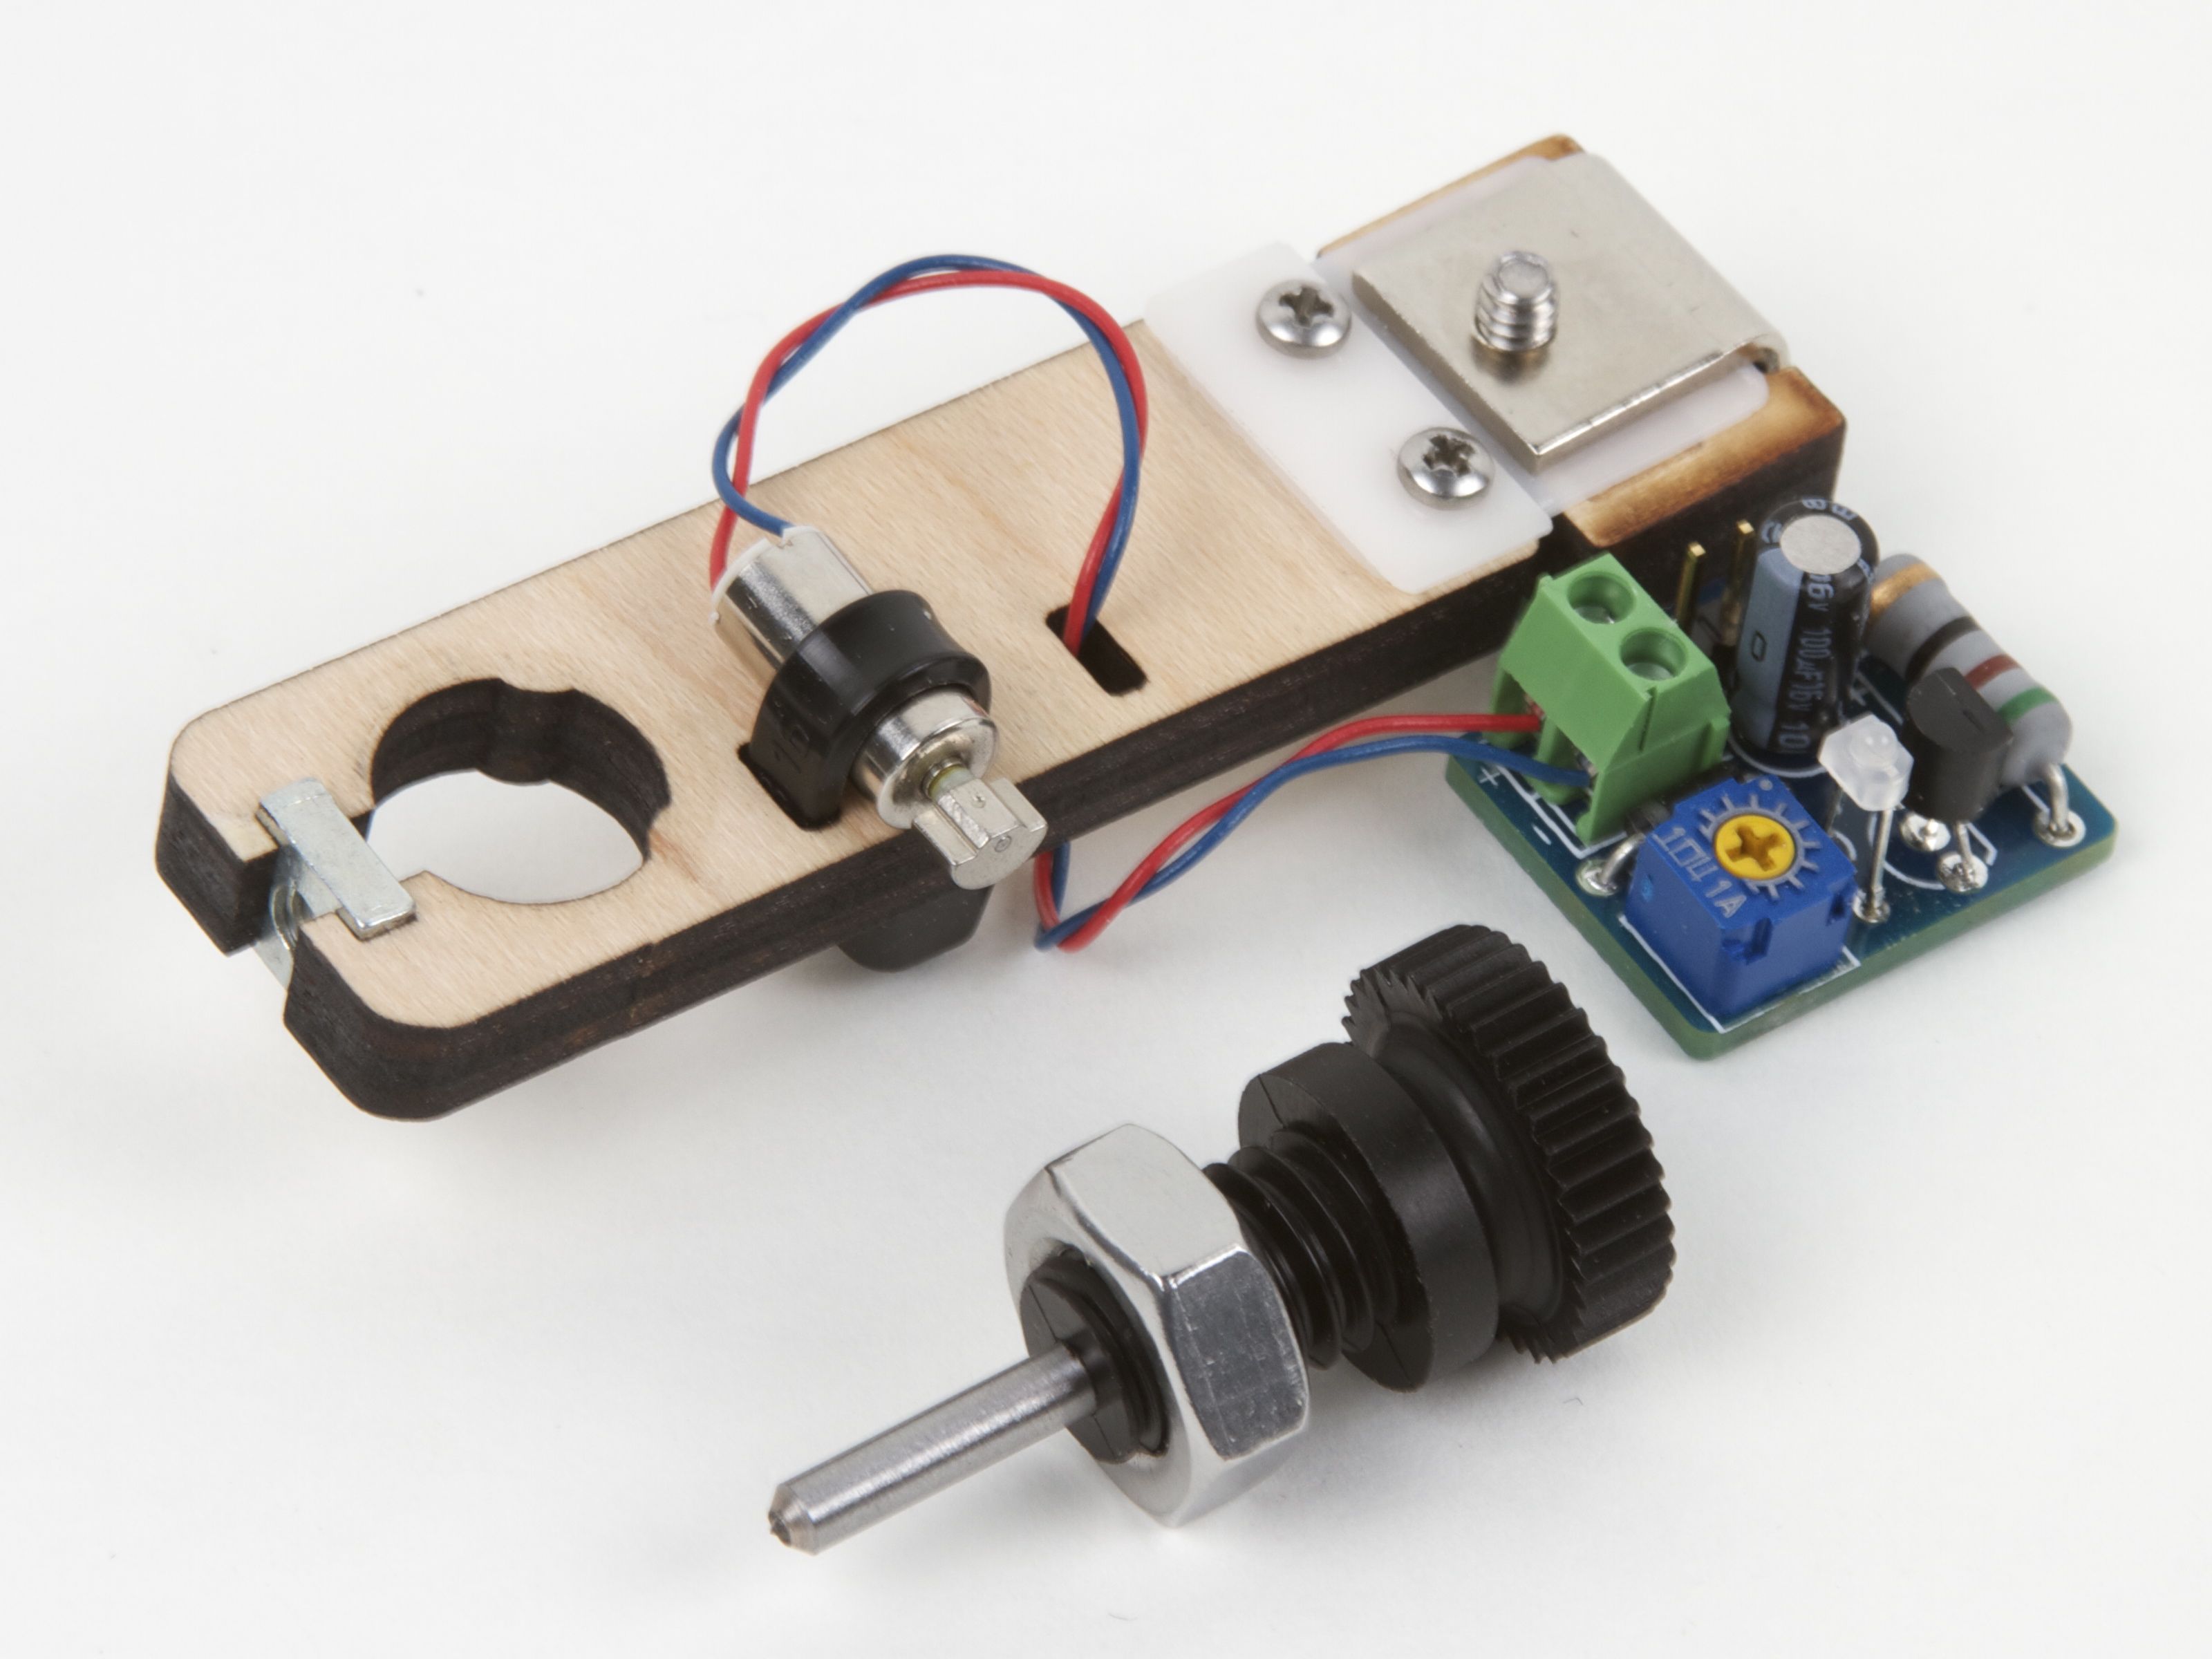
The new pen arm and its mount have been fully redesigned and are now CNC carved from 1/2″ hardwood plywood, which provides a stiffening member along the side. The top section of the pen arm– where the servo motor and hinged pen holder mount –can also now be mounted at two different heights. The lower register allows plotting on small-diameter objects (like chicken eggs) that would otherwise cause the bottom end of the pen arm to hit the tabletop where the robot is sitting.

Emu Egg in Ostrich Eggbot

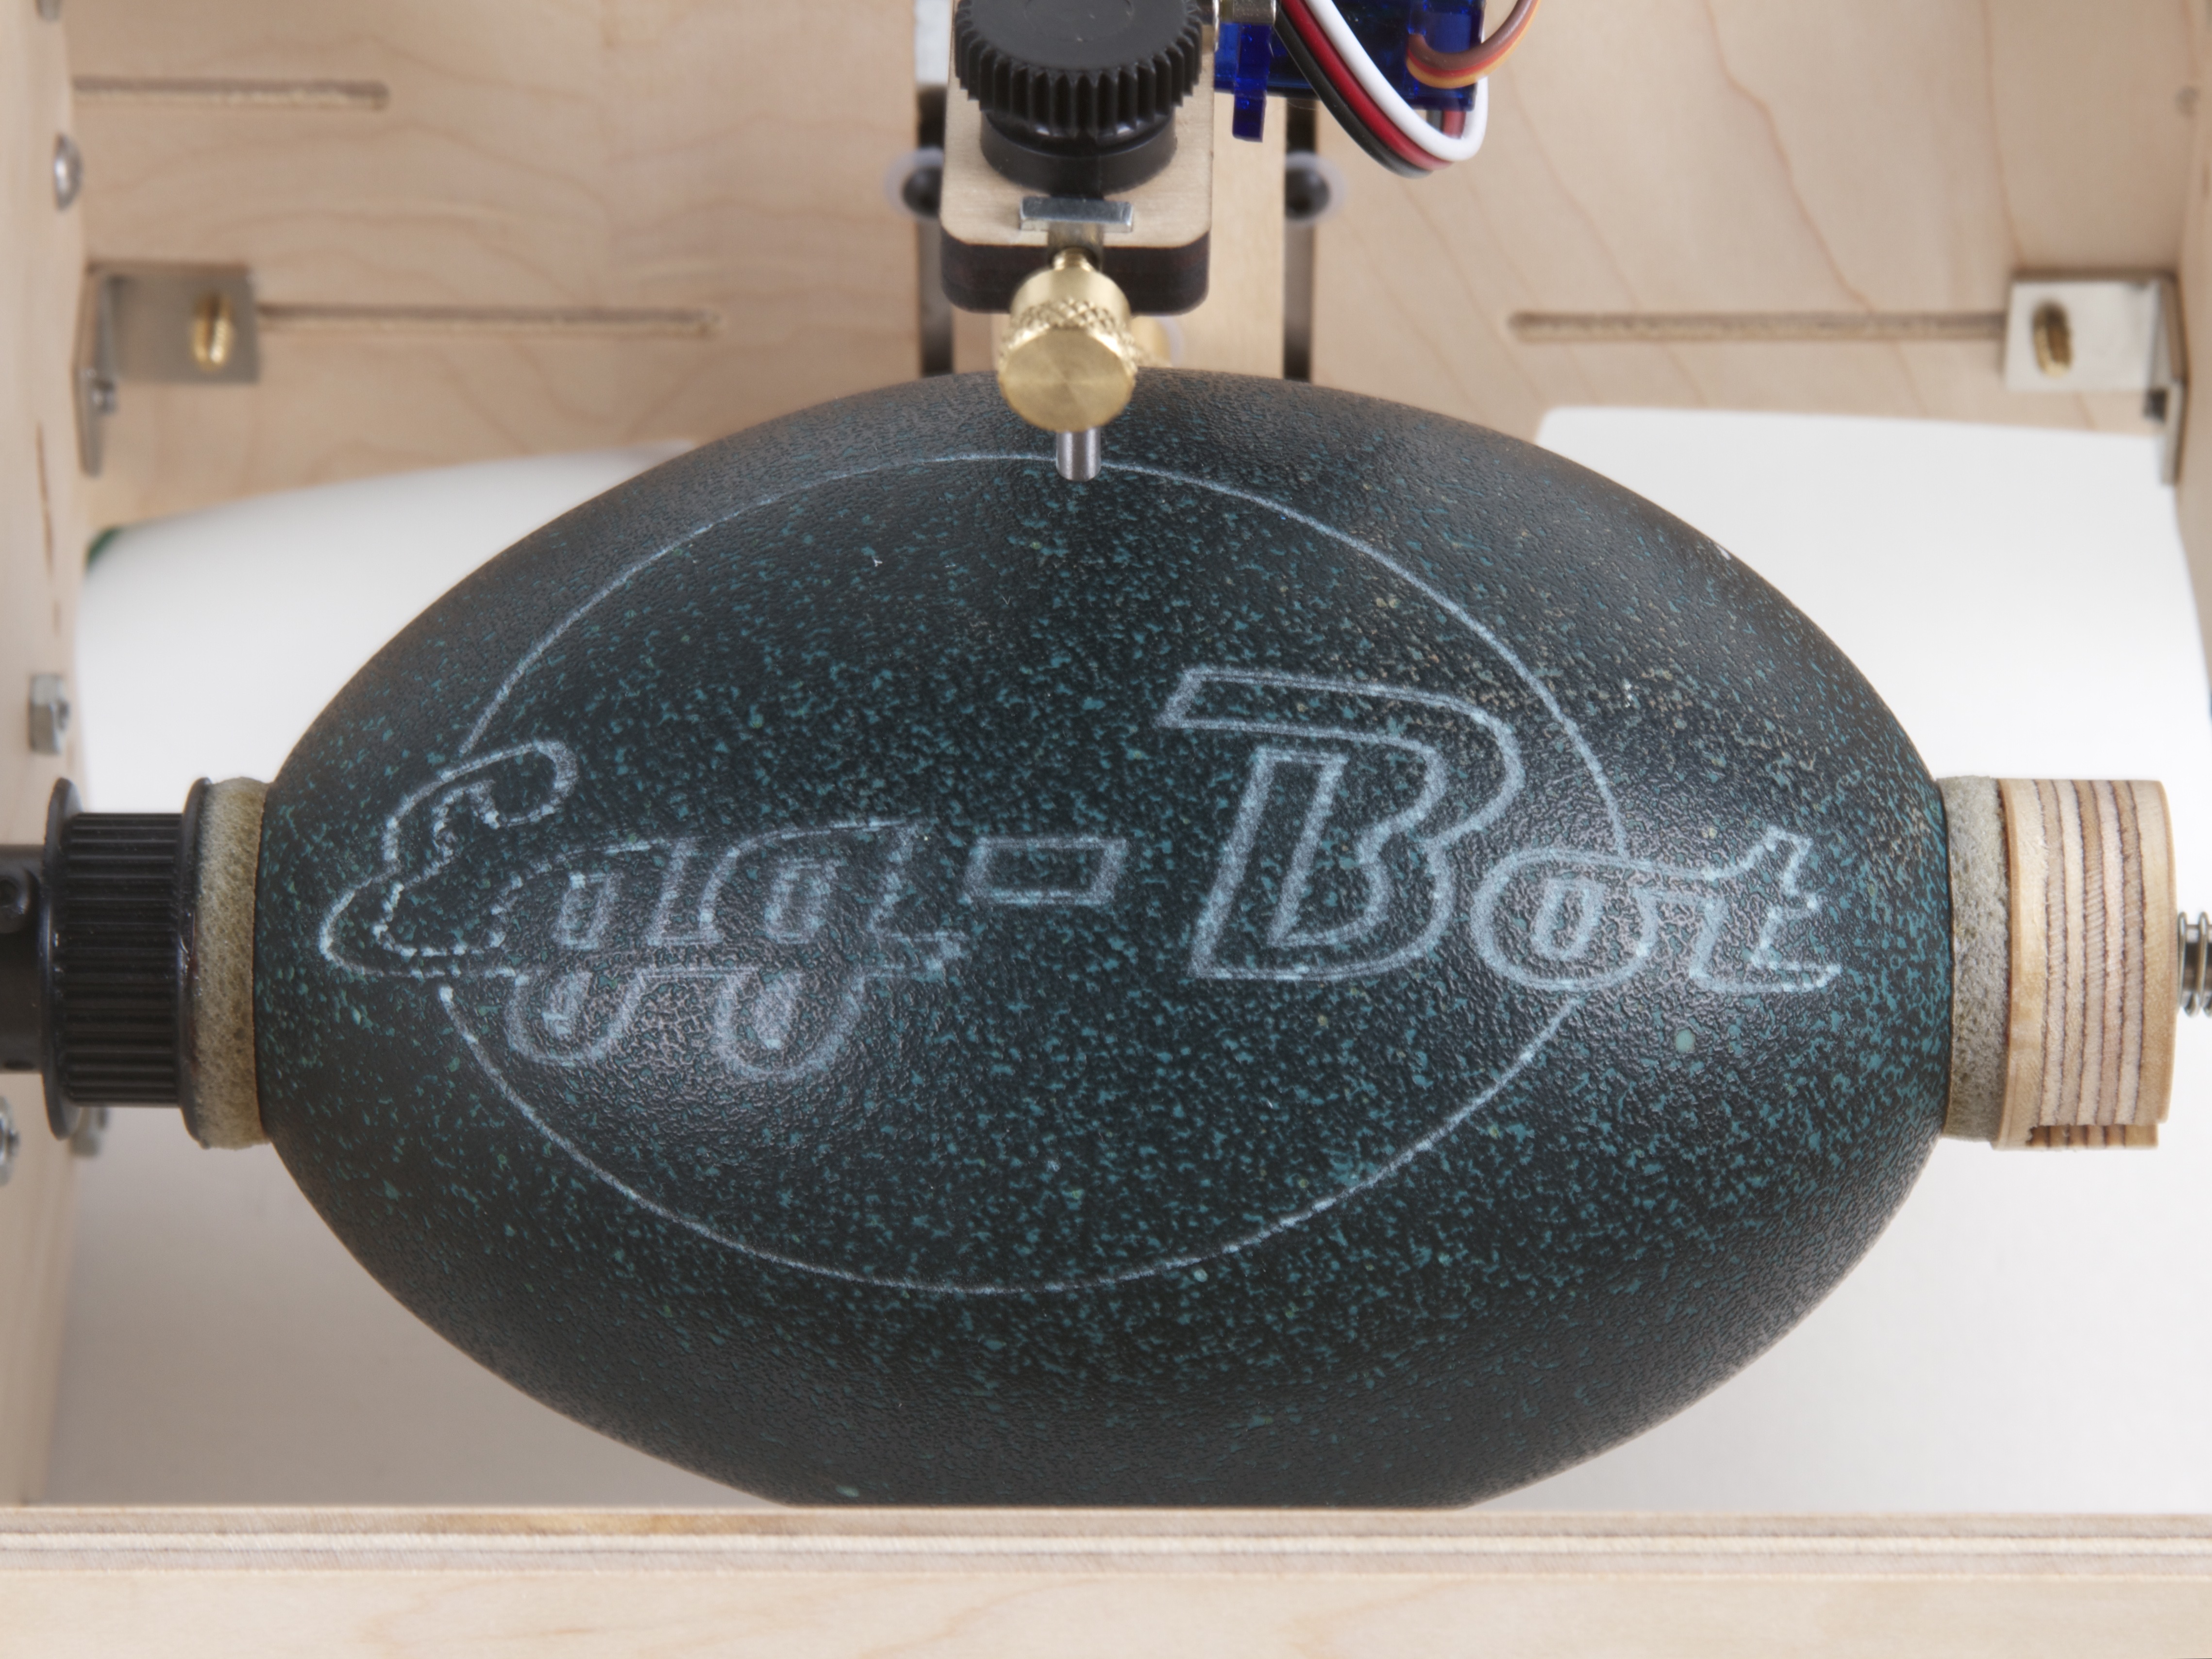
The Ostrich Eggbot uses the same pen holders (“distal pen arms” in the jargon) as the original Eggbot, so all the same range of pens, pencils, markers, chalk, and crayons can fit in the Ostrich version too. Especially cool is that the engraver kit still fits, now making it possible to do things like engrave on emu egg shells.

Original Egg-Bot with Ostrich Egg-Bot

Here’s how the Ostrich Eggbot looks next to the original. The original Eggbot just about fits inside the Ostrich Eggbot. The original size is still much better for working with smaller objects like ping pong balls and chicken eggs– but it only can draw on objects up to about 4.25 inches (10 cm) in diameter. The Ostrich chassis doesn’t go as small, but it does go up to 6.25 inches (16 cm) in diameter, and works with much longer objects as well.

The Ostrich Eggbot kit has the exact same “active” components– the same motors and EiBotBoard driver board –as the Original Eggbot kit, so we’re making an upgrade kit available (in addition to the standalone version), for those who already have an Eggbot or want to be able to print on everything from very small to very large objects.

ostrich Eggbot

The Ostrich Eggbot is available now at our webstore.

Documentation for the Ostrich Eggbot is hosted at the Evil Mad Scientist Wiki, as a supplement to the more complete Eggbot documentation, which is also hosted there.

A Diamond Engraving Tool for Eggbot

Driver board with pen arm


What is it? It’s a most useful little thing: a low-cost diamond engraving attachment for the Eggbot.


This turns a humble pen-plotting Eggbot into a full-on CNC-driven vibrated-tip diamond-point engraving tool, capable of light-duty marking and engraving on hard materials like glass, stone, and ceramic. Wooo!

Clear glass engraving Continue reading A Diamond Engraving Tool for Eggbot

ISP Shield Kit

ISP Shield

The Evil Mad Science ISP Shield is a new open source hardware kit that we’re releasing today.

It lets you use your Arduino (or shield-compatible clone, such as the Diavolino) as an AVR ISP programmer, for example to burn bootloaders onto “raw” AVR chips, directly within the Arduino programming environment, either in the provided ZIF socket or on an external target board.

You can read more about this process here.

The circuit is designed to be compatible with the “Arduino as ISP” option in recent versions of the Arduino IDE. It is based on a number of prior hardware implementations, most closely the version by Andre Knoerig at Fritzing.

Complete documentation, including assembly instructions, design files, and basic usage information is available on the Evil Mad Science Wiki.