Category Archives: Evil Mad Scientist Shop

Business card AVR breakout boards: Version 1.1

Card version 1.1

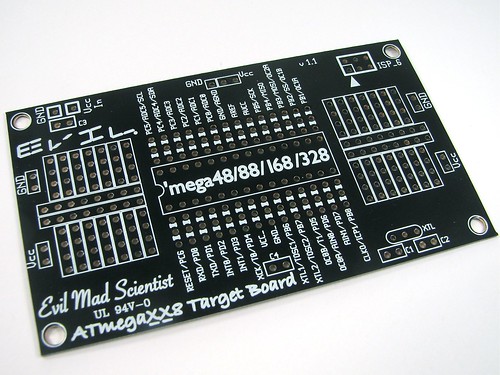
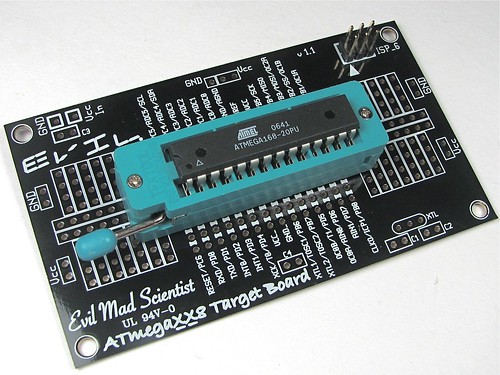
We’ve just released a new version of our super-handy business card sized target board for programming 28-pin AVR microcontrollers like the ATmega168 and ATmega328. These are just the thing for programming these chips through an ISP programmer like the USBtinyISP.

We use these for a lot of our simple microcontroller projects; Tennis For Two and the Lissajous POV come to mind. The new version has basically the same design but adds some extra prototyping area and makes the holes big enough to accept a ZIF socket:

ZIF Kit
Like the original version of this target board, this circuit board is a fully open source hardware design. For much more information– including the detailed design files– please see the update that we’ve added to the end of our original article about this project.

20 millicenturies of Evil Mad Scientist Laboratories

Evil

Happy birthday to us! Evil Mad Scientist Laboratories is now two years of age. Collected below is a “Best of Evil Mad Scientist” for the past year: Some of our favorite projects that we’ve published over the last twelve months. Here’s to the next year!

Quick projects:

Set of bands
Rubberbands made from old bicycle innertubes.

vertical light tent setup
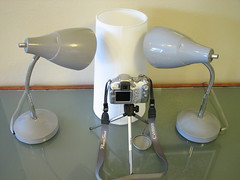
Light tent made from a lampshade.

Still life with yellow paper (group shot 2)
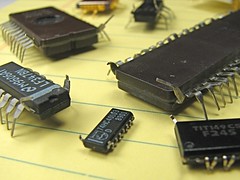
Chip bugs

Enterprise
Bristlebots

Sizing
Spool spinner from an old fan.

Quick C to D adapter
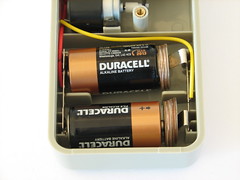
The $1.00 C to D adapter

Electronics projects

Weekend Projects Podcast!
How to make a Joule Thief from Make: Weekend Projects.

lights off?
How to make a dark-detecting LED night light.

The Great Internet Migratory Box Of Electronics Junk
The Great Internet Migratory Box of Electronic Junk

Finished 1
How to make a Sawed-off USB Key

AVR microcontroller projects

ADXL3XX
Using an ADXL330 accelerometer with an AVR microcontroller

Snapper - 09
Snap-o-lantern

Kit Projects

XX8_complete
AVR Target Boards

Four Panels 2
Interactive Table Kits

Resist1- Wall hanging
Peggy

grayscale
Peggy v 2.0

Crafty Projects

Q*bert close-up
QuiltBert

vintage software book handbag
Software Handbag

iPod inside
iPod cozy

Earrings 2
Fimo Fractals

Miniature Art Car
Mini Art Cars

New wing
Umbrella Bat Costume v 2.0

Food Hacking

cooking
Cooking hotdogs

555 LED flasher 1
Circuitry Snacks

Googly FSM
Edible Googly Eyes

Sierpinski Cookies-11
Fractal Cookies

CandyFab

Sugar Chain
Printing complex shapes: Sugar Chain

Before and after 2
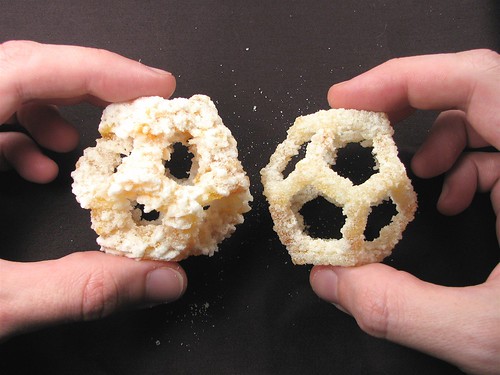
Candyfab improvements: higher resolution and edible output

Papercraft:

Usage 3: First operand
Rotary Fraction Adding Machine

toner - 15
Electric Origami

Observations & silly projects:

Cat volume computation
Volume of a cat

Gourds
Pacman Halloween

Lego Projects:

Lego Shooter
Forbidden Lego review & build

Technic Bits
Efficient Lego Storage

Reviews:

suction tool
Obscure electronics tools

Lee Valley & Veritas catalog
Lee Valley & Veritas Catalog Review

Teardowns:

Twisted leads (close-up)
LED Stoplight

All the parts
pedometer
hp2600n - 178
HP Color LaserJet 2600n

“Peggy,” A Light Emitting Pegboard Display

Resist1- Wall hanging

With all the cool things that you can do with LEDs today, there is still one thing that’s lacking: simplicity. If you want to run a bunch of LEDs at a time, you usually end up spending a fair bit of time worrying about series and parallel combinations, matching brightness, and picking load resistors. Or, if you’re a beginner, maybe you only get one third of the way through the previous sentence– wondering if you’re already in over your head.

Suppose that you want to make a big LED display for your window or wall: maybe it’s your logo, a symbol, your favorite 8-bit character, or maybe even a sign that spells out words like “OPEN” or “ON AIR.” How do you go about it? The usual DIY solution involves drilling holes in a panel to fit your LEDs, then spending a heck of a lot of time wiring everything up– ending up with one resistor per LED (and a three-dimensional mess if you happen to look at the back side of the panel). And, if you do everything in the most obvious ways, it can even end up consuming a surprising amount of power.

While I have certainly spent my share of time constructing things with the aforementioned technique, at some point it becomes clear that there has to be a better way. In this day and age, shouldn’t LEDs be about as difficult to play with as, say, a Lite Bright? Today we are releasing a new open-source hardware and software design that takes some of the sting, complexity, and mess out of playing with LEDs. It’s a versatile and powerful light-emitting pegboard that lets you efficiently drive hundreds of LEDs in whatever configuration you like, without so much as calculating a single load resistor.
Continue reading “Peggy,” A Light Emitting Pegboard Display

New goodies at the Evil Mad Science Shop

10 mm LEDs   10 mm pink LEDs
10 mm pink LEDs   10 mm pink LEDs

Big, bad, beautiful and bright 10 mm diffused PINK LEDs, just the thing to help you make that ultra-geeky Valentine’s day gift! Seriously hard to find. Cheaper than diamonds.
[Product page]

(Remember: What better way to say “I love you,” than with the gift of doped semiconductors exhibiting radiative recombination properties?)


22-pin dip socket
DON’T FEAR ART.

High-quality black and white vinyl stickers, 8.5″ x 1.5″, $1.00 each. [Product page]

Lots of people are apparently afraid of LEDs and wires. Show them that you aren’t.


And some less flashy goodies:
using lead forming tool

Resistor lead forming tools, as seen in this article.
[Product page]


ZIF Socket

20-pin DIP ZIF sockets. Cheap.
Perfect for programing ATtiny2313’s or other small DIP microcontrollers.

[Product page]


Also recently added, for those of you that find this sort of thing exciting: surplus 22-pin sockets and 10-pin headers. (Yow!)

LED Mini Menorahs:: Open source kits

Holiday motivation

All cynicism aside, one of the cool things about the holiday season is that it often provides a good excuse to play with lights.

Hanukkah in particular has been a festival of lights for more than a dozen centuries longer than there have been lights on Christmas trees. History notwithstanding, Hanukkah still lags behind Christmas in the transition from traditional light sources like candles towards microcontroller driven arrays of LEDs. While that may be simply due to the relative flammability of dry pine trees versus that of metal menorahs, the irony is that Hanukkah– unlike Christmas– actually requires observers to light up specific lights in a specific order, which is exactly the sort of thing that you want a microcontroller for.

Can’t find an open-source LED menorah at your local big box store? Not to worry!
Make one yourself from our instructions, which include source code for the AVR microcontroller (we use an ATtiny2313). Complete soldering kits to make your own– no programming needed– are also now available in quantity at our new web store.
(Note: While I cringe every time that I see Christmas displays up before Halloween, we aren’t actually too early in this case. Hanukkah starts on the evening of December 4th this year.)

MiniPOV Cylon firmware

MiniPOV3 Cylon   MiniPOV3 Cylon head-on

The MiniPOVs were created by AdaFruit Industries. They Rebelled. They Evolved.
And now, they may be invading your front porch.

It’s an open secret that here at evilmadscientist we go both ways: analog and digital.

So, here is yet another way to get a Cylon pumpkin circuit– a useful component for halloween. (Yes, you can do KITT too, we won’t stop you.) We’ll spare you the carved pumpkins and dive right into the details.

There seem to be a lot of MiniPOV kits out there. If you’ve got one, this is a fast way to make a passable slowly-scanning eye.

Note that we are not using the “POV” part of the MiniPOV– you don’t need to wave your pumpkin back and forth; it really is just a slowly-moving image.

(You can get a MiniPOV direct from Adafruit or from the Make store, probably in time for the big day.)

This is a one minute project for some of you (you know who you are), but if you are really starting from scratch there isn’t any giant time advantage to going doing it this way instead of analog.

Once you have a working minipov, the first step is to download the firmware (4 kB .ZIP file) and unzip it. If you are programming the MiniPOV3 directly through its serial port,
pop open a terminal and move to the directory. Type (with a return after each line):

make all

make program

And… that’s it.

(If you have a GUI for programming AVRs and know how to use it, you can of course use that instead of programming through the terminal.)

If you are using some other AVR programmer or are programming a bare ATtiny2313 without a MiniPOV at all, you will need to edit the header of the included makefile to reflect the type of AVR programmer and the port where it is located. (And then, proceed with the instructions above.)

While this makes a pretty good looking pumpkin, there is still room for improvement in the firmware– the motion is reasonably smooth but doesn’t yet capture the incandescent fade that the analog versions do. I’ll leave it to the community to improve this firmware; if you have some better code, let me know and I’ll help roll it in.

Update:
Tim Charron sent in a greatly improved version of this program– please give it a try.


You can find more pumpkin related projects in our Halloween Project Archive.
Holiday electronics kits: Great boxes of kits!

The kits go marching...

If you’re planning to get some of our holiday electronics kits in time for Christmas, please note that the remaining amount of time is decreasing at a rate of one second per second. Orders placed today (Tues. 12/19 until midnight) will ship via priority mail on Wednesday, and will (probably!) arrive by Saturday. Express mail shipping is also available; have your order in by Thursday (through midnight) for Saturday delivery.

Above, a box full of kits sits in the hallway just before a trip to the post office.

LED Holiday Project Kits

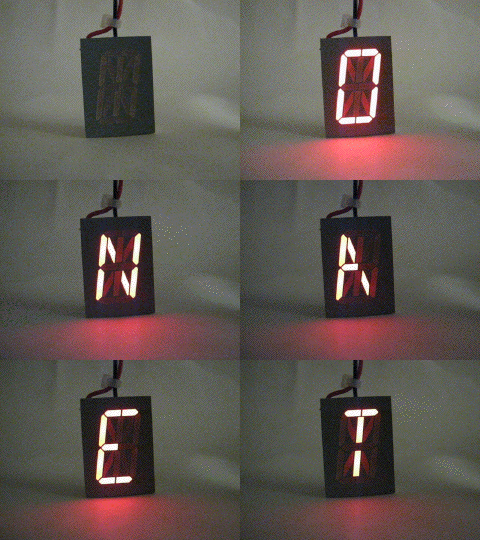
Animated GIF of ornament

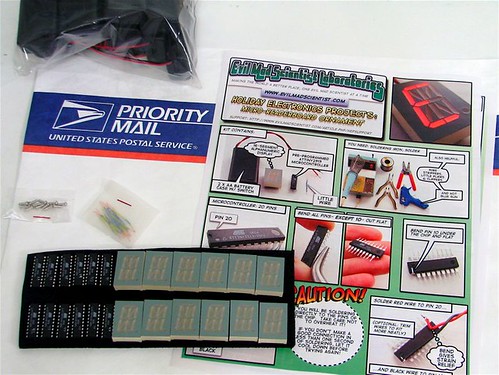
We have written instructions for building two sweet microcontroller-based electronics projects for the holidays: an alphanumeric LED christmas tree ornament and an LED mini-menorah (hanukkiah).

These are open-source projects; You can download and modify the source code, use it to program your own microcontroller, and solder the microcontroller to some LEDs to help make your own holiday decorations.

If programming microcontrollers is not your idea of a good time, we understand. Not everyone has (1) access to a microcontroller programmer, (2) the time and (3) the desire to modify the firmware of their christmas tree ornaments.

Low-cost open-source holiday project kits brought to you by Evil Mad Scientist Laboratories.

In order to help our fellow citizens Evil Mad Scientists with their holiday projects, we have put together electronic soldering kits for these projects. (Updated: November 2007)

CompletedWhite


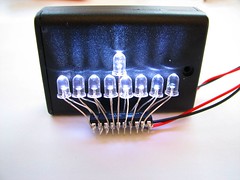
LED mini-menorah kits are now available at our new web store.


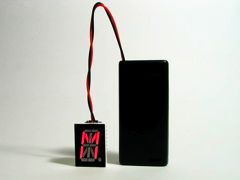
Lit up segments spell out the letter M


Kits for version 2.0 of the open-source LED Micro-Readerboard project are now available at the Make Store.