Category Archives: Eggbot

Pen tests for drawing machines

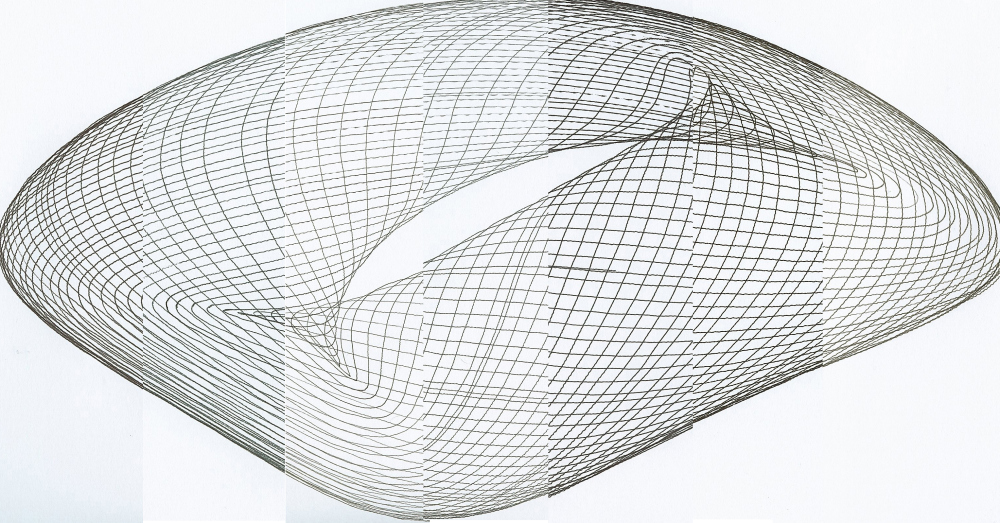
Jenslabs has published a thoughtful and thorough evaluation of a number of currently available rollerball and gel pens. He tested them using his Circlon machine.

One thing that anyone who as ever built a drawing machine realizes, is that to get quality results you need a quality pen. There are millions of pens out there, but after a little trial and error I realized that rollerball pens or pens with gel ink are the best pen types for my machine. Both rollerball and gel ink pens use a water based ink that is less viscous then the oil based ink used in ballpoint pens. The Circlon machine sometimes move very fast, so the pen has to be able to release enough ink to make solid lines even at high speed.

This is an excellent resource for folks with other drawing machines, such as Egg-Bots and WaterColorBots. We’ve linked to it from our page about choosing pens for the Egg-Bot as well.

Electro-Kistka: Alternate In-Place Egg Dyeing Technique

After seeing our recent post on dyeing in eggs in place with the Eggbot, Ragnar posted instructions in the forums for an alternative egg dyeing technique.

It involves pre-installing a plastic dyeing bag at the time of positioning the egg in the Eggbot. Full instructions (with more photos) are in the forum post. Thank you for demonstrating this technique, Ragnar!

Electro-Kistka: Dyeing an Egg in Place?

Kistka-brush 11

In our annoucement article about the EggBot Electro-Kistka — the hot wax dispenser for the EggBot — we noted that it can be challenging to reposition an egg after taking it out to dye the egg between wax layers.

As an alternative suggestion, reader Dan commented:

Could you leave the egg in the EggBot and paint on the first layer(s) of dye with a brush? Then dip the egg for the last layer to get the ends covered.

Well, let’s try and see how it turns out!

Continue reading Electro-Kistka: Dyeing an Egg in Place?

Kids Hack Day

Inspired by the global hackerspace movement and (software) hack days, Kids Hack Day is a 1-day event held in various locations around the world, where children and adults come together to “hack” and make new uses of every day items.

This incredibly charming video from the Kids Hack Day kickoff event in Moscow on May 25 shows you what it’s all about. (And, we are tickled to see our own WaterColorBot and EggBot making little appearances as well.)

The Decoregger

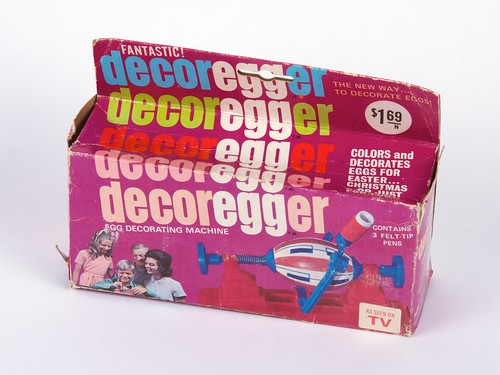
Decoregger 1

Hey look! It’s the fossilized remains of a possible evolutionary ancestor of the EggBot!

Decoregger 2

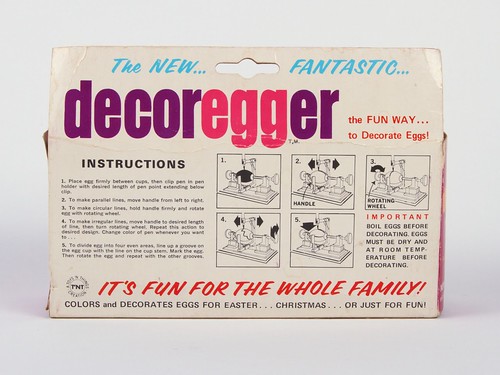
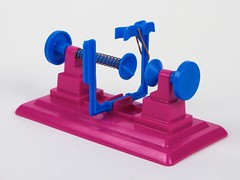
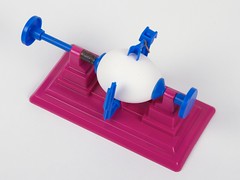
Okay, it’s pre-USB but technically it’s not a fossil. Like many of us, the decoregger dates from the mid-1970’s. It’s a simple function gadget that mounts an egg so that you can spin it, with arm second arm that holds tiny felt-tip pens.  Curiously, there are also some contemporary machines bearing the same name that lack the separate arm.


Decoregger 3 Decoregger 4
Decoregger 5 Decoregger 6

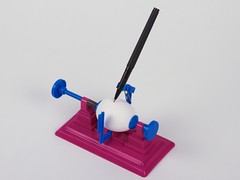
In the upper-left photo, you can see that the pen holder has a separate “paddle” that you hold, to manually move the pen in the arc across the egg surface.  Lacking the proper felt-tip pens, we found that a uni-ball micro pen was about the right diameter to fit in the holder.

One surprising thing: To model this thing, we used regular “large AA” (not extra large, and not jumbo) size eggs from the grocery store. And it was only barely possible to squeeze the egg into the holders. From the picture on the box, it looks like there’s plenty of room for even the largest egg.  Possible explanation #1: Plastic shrinks over time. Possible explanation #2: The egg pictured on the box is from the advertising land of freaky micro-children.

But in any case, the decoregger is a cute little machine, and it looks like it might be fun to play with.  The actual play is a matter of turning knob 1 and knob 2, so it feels a lot like an Etch-a-Sketch in spherical coordinates. Now if only there were some way to strap a couple of motors to it and perform a CNC conversion….

Decoregger 8

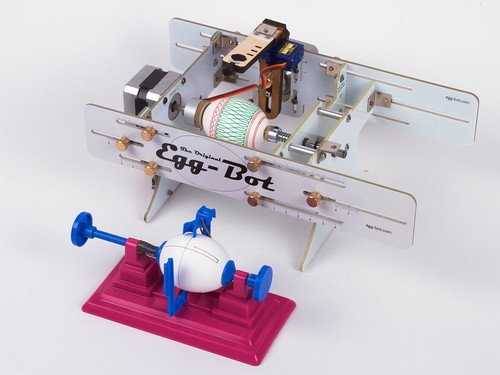
Speaking of which, it really is a lot smaller than the EggBot.  Heck, you could probably fit the whole thing inside the EggBot.

Decoregger 7

Wait — am I doing this right?

Special thanks to Michelle Hlubinka for finding this artifact and sending it to us!

The Egg-Bot Electro-Kistka

Hardware 1
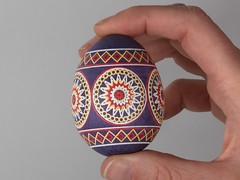
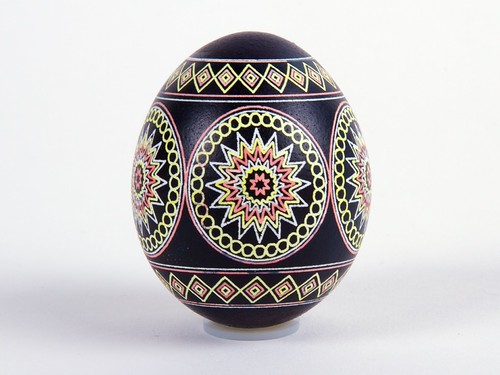
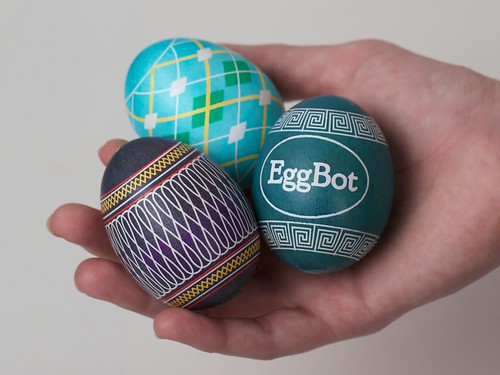
Pysanky eggs

We’re pleased to announce the availability of the Egg-Bot Electro-Kistka: An electric hot wax pen designed to be used with the EggBot. A kistka is the wax tool used in the traditional wax-resist and dye (batik) method to produce colorful eggs in the same fashion as Ukranian pysanky.

We would like to acknowledge that this is not by any means the first time that anyone has strapped a kistka to an EggBot— We wrote about Ann’s DIY version a few months ago, and we’ve seen other versions (both manually heated and electric) in YouTube videos dating back several years.

Hardware
 Hardware 2 Hardware 4

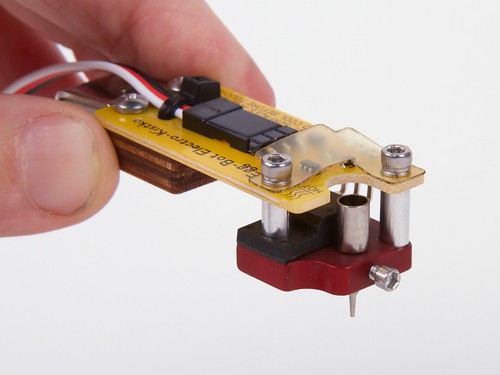
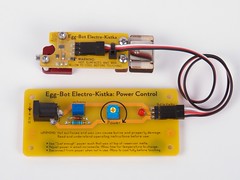
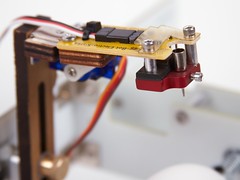
The Electro-Kistka consists of two main parts, connected by a cable: A heater assembly that gets mounted to the EggBot’s pen arm (in place of the usual pen holder), and a power control board that sits behind the EggBot.

The power control board is relatively simple: it accepts input from a plug-in power supply, and has an adjustment pot so that you can set the power level of the kistka.

The heater assembly has two parallel surfaces that you can see in the pictures.  The upper is a yellow circuit board with control electronics, and the lower red part is a machined aluminum heater block that holds the actual kistka tip.
Hardware 3 Hardware 6

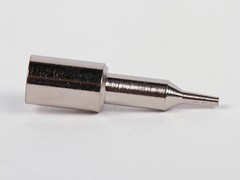
The kistka tip (right) has a small wax reservoir at the top and a smaller-yet point on the bottom that feeds molten wax onto the egg surface through gravity and capillary action.

Designing a good kistka tip is an art unto itself, and we are using field-proven kistka tips, wax, and other accessories from Folk Impressions, manufacturers of the excellent “white handle” electric kistka.  The tips are interchangeable and a number of sizes are available. For all of the examples shown here, we’re using only the #2 (medium) tip that comes with the kit.

Process: two-tone

The basic wax resist process is as follows: Apply wax to the parts of the egg that should remain the present color, and then dye the entire egg a different color.
Twain 1 Twain 2
Twain 4 Twain 5

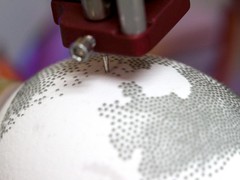
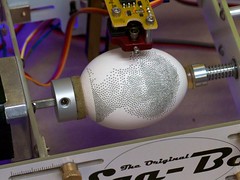
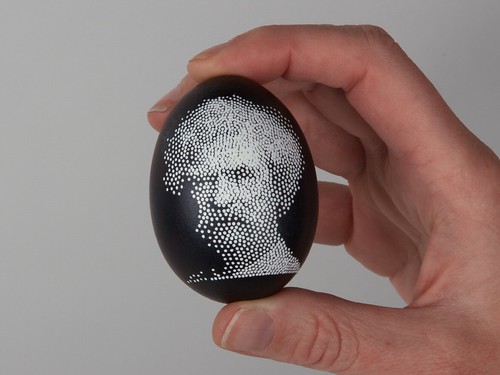
For a simple two-tone image — white on black — we started with Mark Twain, one of our example images from the StippleGen project.  From a user standpoint, drawing wax onto the egg works exactly the same way as using a felt tip marker in the EggBot — it’s just a different tool that does the drawing.  The wax itself is black-colored beeswax, which is nice because you can see it against the egg.

After the EggBot finishes, we dip the egg in dye for a couple of minutes, and leave it to dry on a grid of little nails.
Twain 7

Once the egg is dry, we remove the wax with a heat gun on the low setting (a glorified hair dryer…) and a tissue. With the black wax gone, the contrast is stunning. (If you are interested, here is how it looks before the wax is removed.)
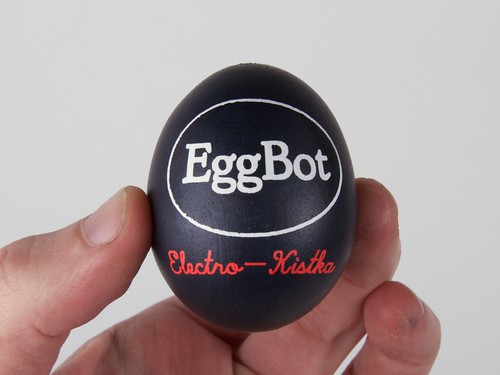
Eggbot Logo 1 Eggbot Logo 2

Another example of a two-tone egg.  Alternately, you could dye the egg before the wax resist first goes on (say, yellow), and then dye it blue afterwards. The end result would be yellow lettering on a blue background.
Process: Multicolor
overkill 1 overkill 2
overkill 3 overkill 4

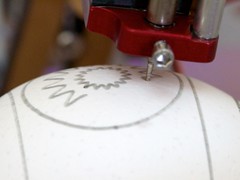
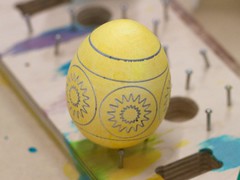
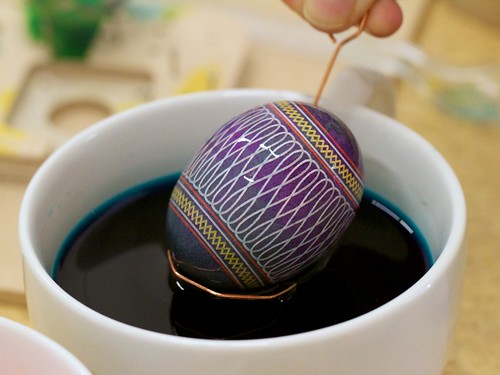
Making multicolor eggs uses the same process, but with added complexity.  For this example, we applied wax resist on a bare (white) background, and then dyed the egg yellow and allowed it to dry (upper right).  We then applied a second layer of wax, dyed the egg red and allowed it to dry.  Finally, we applied a third layer of wax (lower left), dyed the egg blue, and allowed it to dry.  The results after removing the wax (lower right) show the white, yellow, red, and blue areas — not bad!

A caveat: It is harder than it looks.  While two-tone eggs are straightforward, we have found it to be challenging to precisely reposition an egg after removing it for dyeing. Thus, it takes considerable patience and experience to produce multicolor eggs with good registration between subsequent color layers.  We’d be interested in exploring better ways to do this.
traditional 2
Still, maybe it’s worth the effort.

MoreEggs 4

The Egg-Bot Electro-Kistka begins shipping this week.

Heavy Duty Marshmallow Roasting

Building our April Fool’s Day project, the MarshMallowMatic, was a fun project but not without its fair share of trial and error.  When heating flammable materials with an oxy-fuel torch, the biggest challenge is simply not setting them on fire.
In the video above — one of our first trials, before we had figured out how far away to position the flame — we wondered what would happen if we tried to “evenly” roast a marshmallow… with predictable results.  Let’s just consider this an outtake.