Category Archives: EMSL Projects

EggBots in Library Makerspaces

The New Sarepta Library in Alberta, Canada posted this video on twitter saying:

Our new EggBot is up and running! Come check it out!

We’re super happy to see libraries including our tools in their makerspaces.

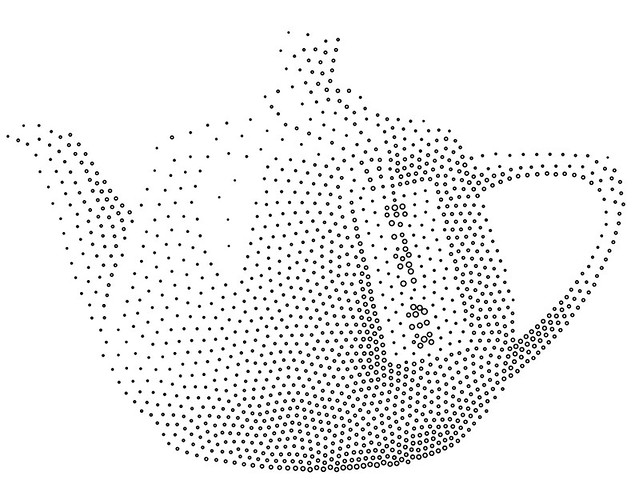
Stippled Utah Teapot

Untitled

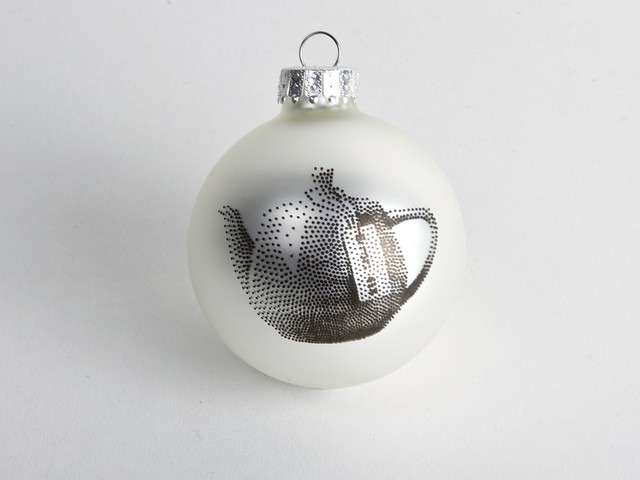
A Utah Teapot is an ideal design for a geeky ornament. For this one, I generated a vector stipple drawing from a photograph of the source object for this digital design icon. There are certainly many other ways to create a Utah Teapot ornament, including, of course, 3D printing.

utah contrasty

In this case, I took our photo of our teapot, adjusted it to give it slightly higher contrast, and loaded it into StippleGen 2.

utahstipple

I removed any background stipples and plotted it on an ornament. The ornament is 2.6 inches in diameter and I used a 0.2 tip Copic Multiliner SP. I have posted the design on thingiverse.

Star Wars Holiday Ornaments

Imperial crest & Rebel Alliance Ornaments

We’re getting into the spirit with a couple of seasonally appropriate decorations. The Rebel Alliance Ornament and the Imperial Crest Ornament for EggBot are both available on thingiverse. Our guide to printing ornaments with the EggBot may be helpful, too.

Both designs are derived from a set of silhouettes from vecteezy.com.

EggBotting with Metallic Pens

Our friend Fran has been making holiday ornaments with the EggBot and writes:

I just wanted to let everyone know that I have finally gotten to be able to use the Pilot Gold/Silver Markers.

She suggests dividing the drawing into layers so that after each layer you can take the pen out to shake it to keep the ink flowing. We’ve added her tips to the wiki page about choosing pens for the EggBot.

If you have other tips for which pens you like to use or for working with ornaments, we’d love to hear about them!

The Boldport Buggy

Boldport Buggy

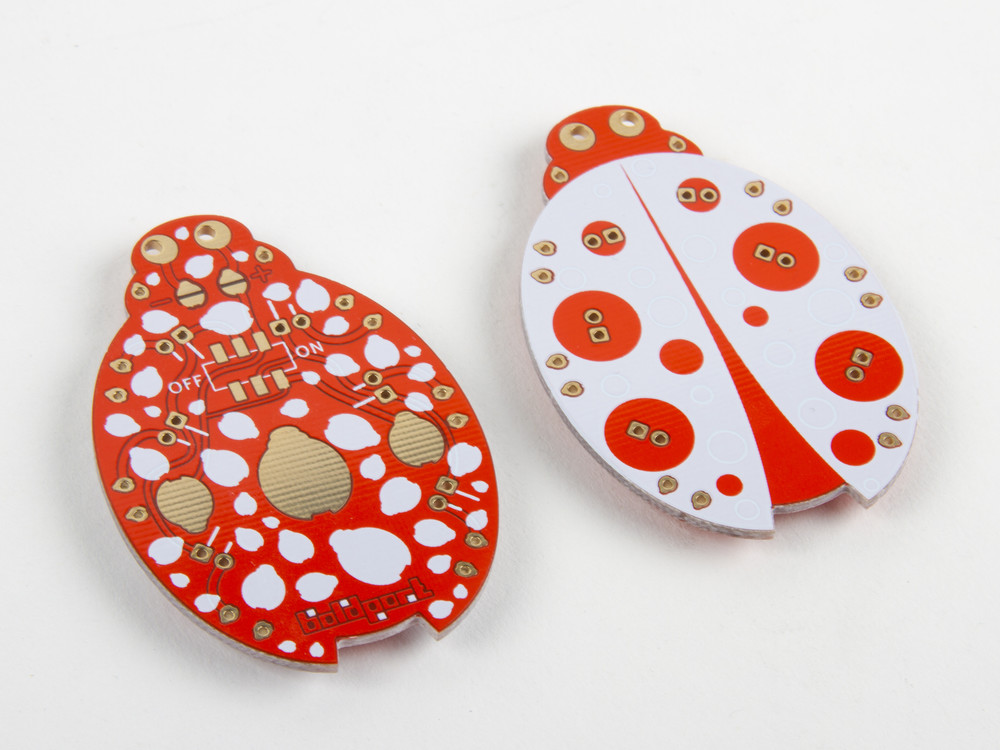
Introducing the Boldport Buggy kit.

This simple and playful soldering kit is based on the on the beautiful Buggy circuit board designed by Saar Drimer of Boldport.

Boldport Buggy

Boldport Buggy

The first version of this circuit board was created as a badge for the hardwear.io hardware security conference in The Hague. This new version of the Buggy is a complete kit, featuring an updated circuit board, with a power switch and six candle-flicker LEDs.

Boldport Buggy

A cool detail is that its six legs are actually the current-limiting resistors for those six LEDs. They are posable (giving it quite a bit of personality) and we have given it little red tubing socks to cover up the otherwise-conductive feet.

Boldport Buggy Boldport Buggy

The Boldport Buggy kit is available now at our store, and you can read more about its design at Boldport.

Micro Servo Earrings

servo-1
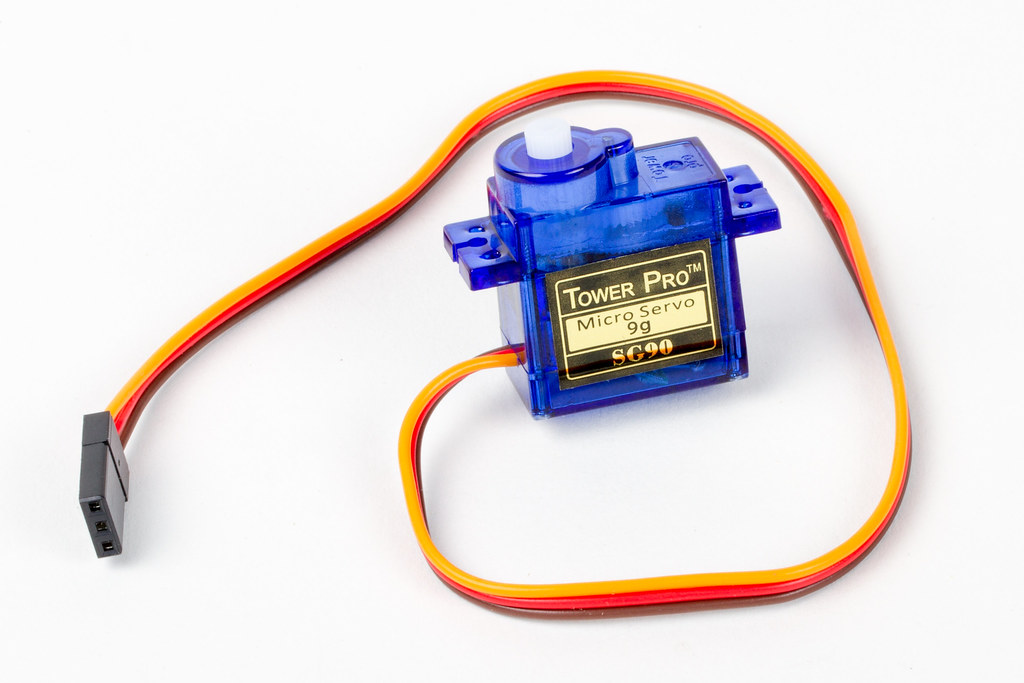
These earrings — Perfect for radio control and robotics enthusiasts — are made from little servo motors, partially hollowed out for lighter yet weight.
servo-2

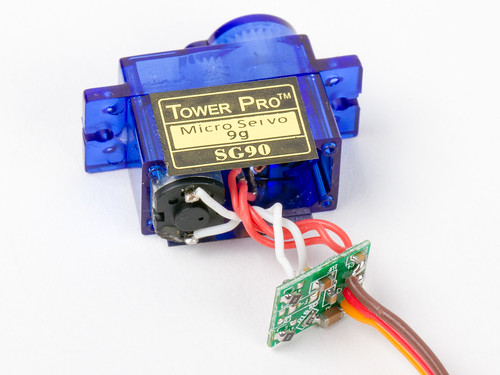
We begin with a “9 gram” class micro servo motors. This is a standard type of servo motor; the same kind that we use to lift the pen or brush on the EggBot and WaterColorBot.

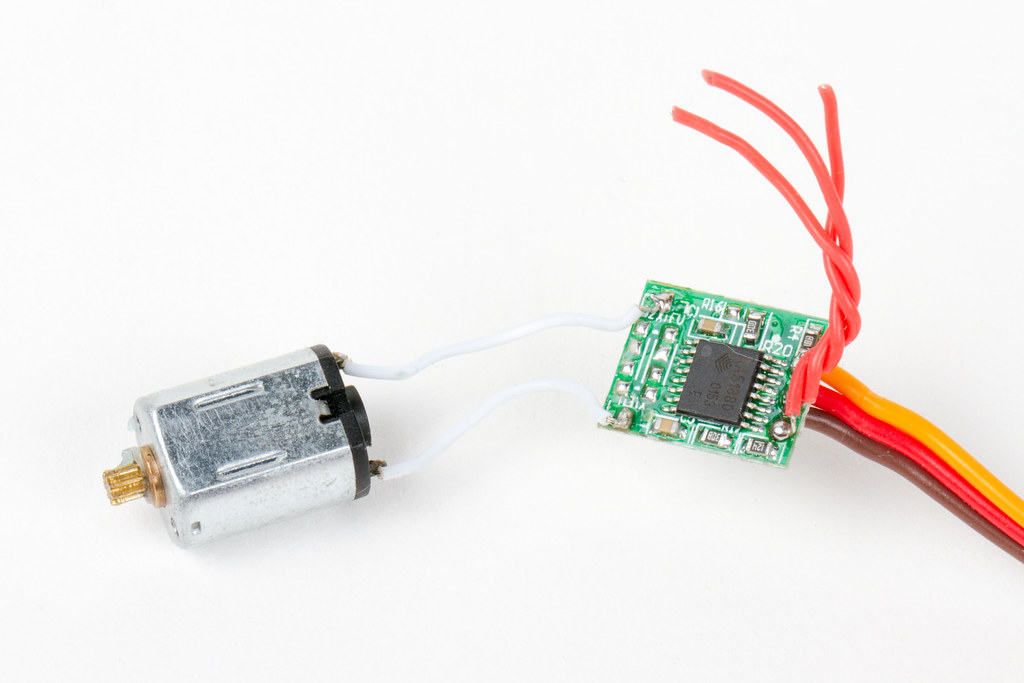
Inside of one of these you’ll find the actual DC motor itself, a set of plastic gears, a potentiometer (pot) connected to the output shaft, and a little circuit board that controls it all. The gear train is used to convert the high-speed low-torque output of the motor into its high-torque low-speed output, and the pot reads the orientation of the output shaft so that it can be controlled (servoed) to the correct position. However for today, we’re primarily interested in the case, and most of what’s inside doesn’t really matter.


servo-3 servo-4

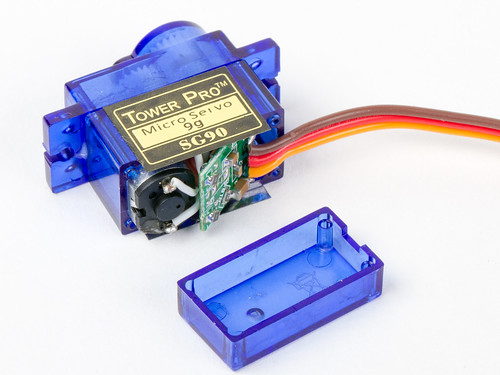
The lower part of the case comes off with four very skinny, very long screws.
servo-5 servo-6

And then, you can pull out the tiny little circuit board.

servo-7
servo-8

The DC motor slips out easily, but the three wires to the pot are soldered in, and need to be clipped.

Incidentally, it’s straightforward to hack servo motors, repurposing the circuit board such that (1) the two outputs to the DC servo motor actually control something else and (2) that the input signal from the pot comes from something else. You can read our article about how to make a one-ton servo motor for a good example.
 

servo-9

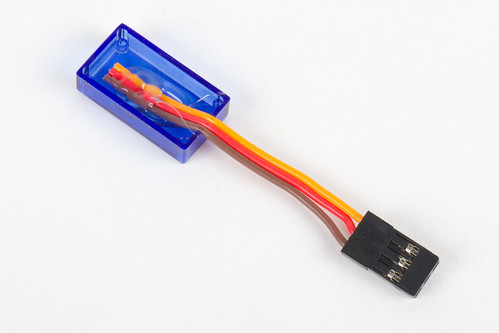
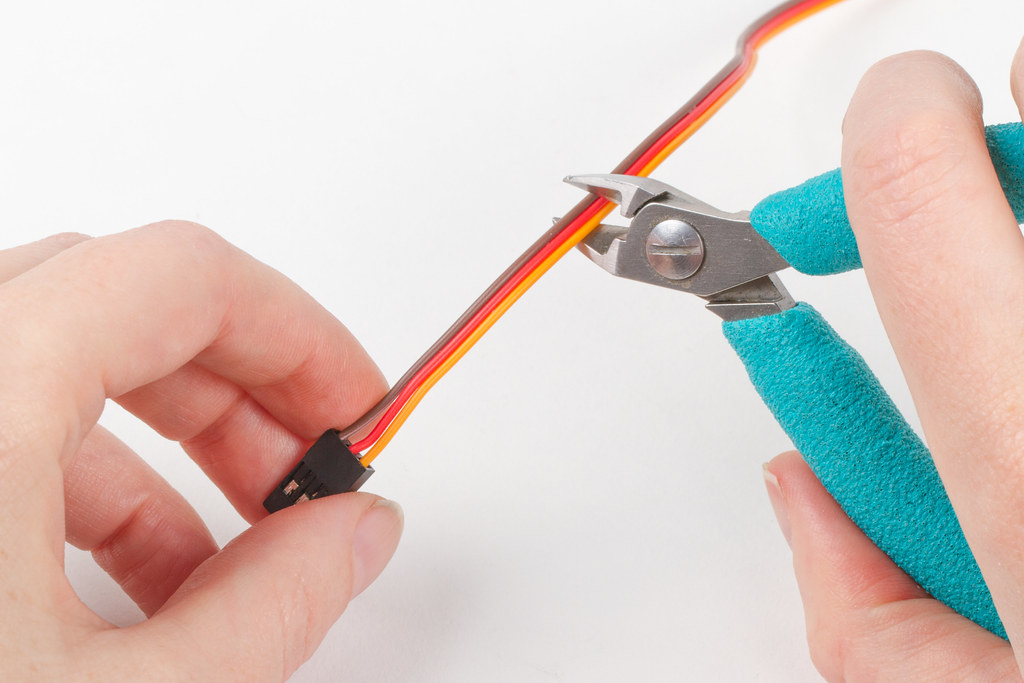
And then there is the matter of the cable. We don’t actually need that much cord hanging out the end — and it weighs something — so we can clip it shorter.
 

servo-10 servo-11

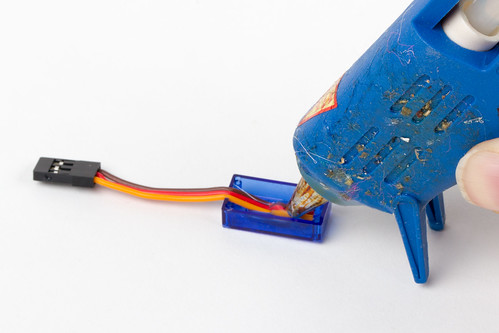
A dab of hot glue secures the cut-off end of the cable to the bottom of the case.
 

servo-12

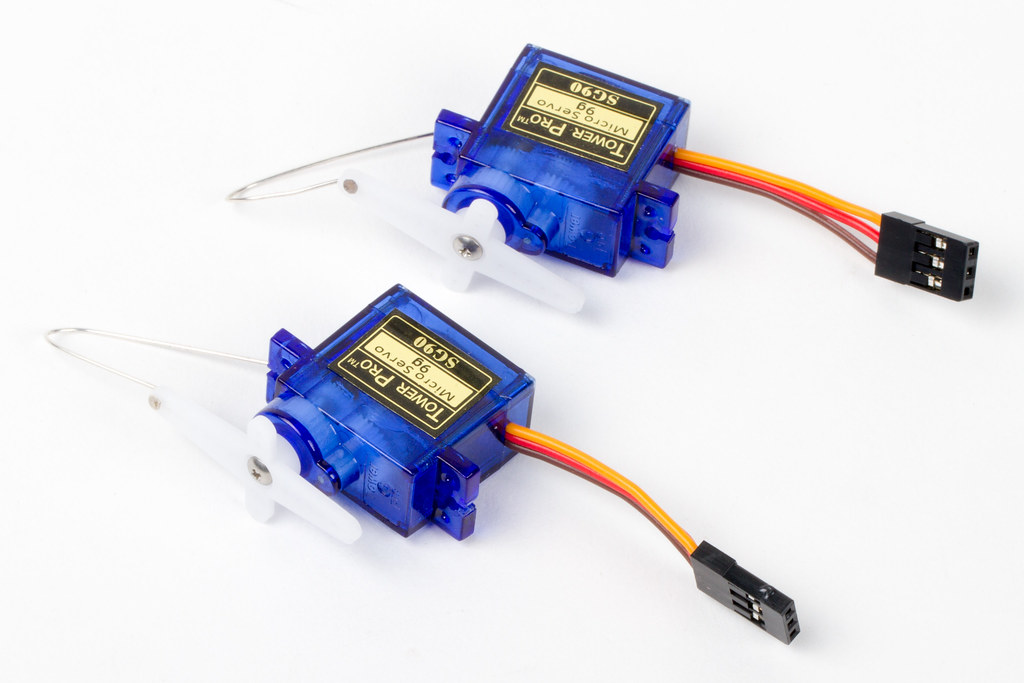
And the finishing touches: Reassemble the case, add the servo horns and finally the earwires. The final weight of each one is about 6.5 g, and the total weight of the components that we removed (motor, wires, circuit board, and cables) is about 5.6 g. As we have left it, the output shaft feels solidly held in place. Turning the output shaft still turns the gear train, and its motion is limited to the servo motor’s original range of travel; about 2/3 of a turn.

You can make it even lighter — all the way down to 5.4 g per piece — by opening it up further and removing the pot and all of the plastic gears except for the output shaft. It looks mostly the same from the outside (with the exception that the gears are no longer visible), but does not feel nearly as nice: The output shaft is only loosely held on its axis, and now able to turn freely through a full circle.

One might imagine taking it the opposite direction too: Building in a little battery and microcontroller, so that the servo motor would turn on its own while dangling from an ear. That version is left as an exercise for the reader, hopefully one with short hair that won’t get tangled.


If you liked this article, you might like some of our other related projects: Fimo fractal earrings, Chip earrings, Hard drive earrings, and Bobbin earrings.


From the archives: Sweet or Savory Specimen Jars

thinginajar - 44


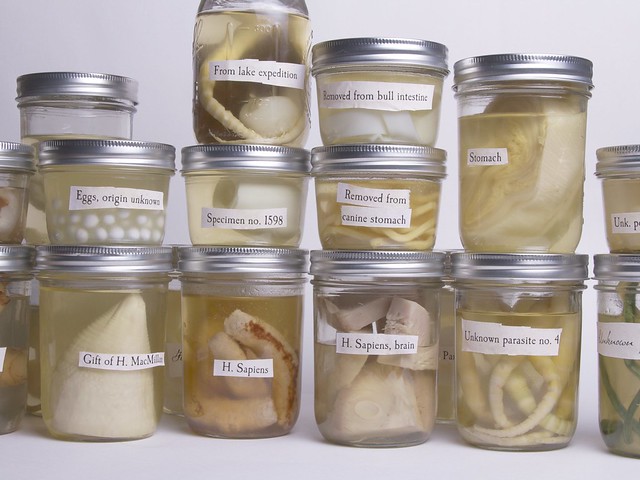
From the archives comes one of our favorite food projects: Halloween Cuisine: Sweet or Savory Specimen Jars.

 What good is a specimen jar if you can’t serve it at dinner? The contents of the jars should be genuinely edible, made out of real food. Plastic snakes and spiders are right out.

More Halloween edibles can be found  in the food category of our Halloween Project Archive.

Halloween Project Archives

Array of Halloween Projects

Halloween is one of our favorite holidays, and our collection of Halloween projects continues to grow. Every fall we update it to include our latest projects for the season. In the list … we’ve organized dozens of our Halloween projects into categories: costumespumpkinsdecor and food.

Head over to the Halloween Project Archives for the full list of projects.