Category Archives: EMSL Projects

Robot heart

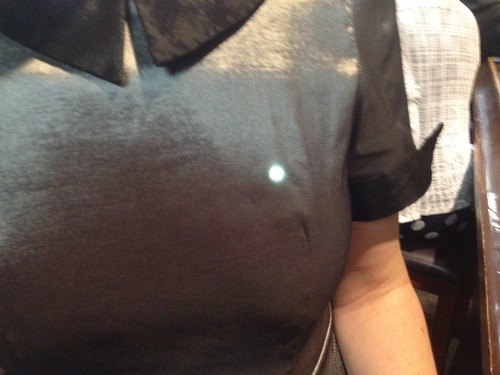
For Halloween this year, I went as a robot, wearing a silver dress with a slowly pulsing LED heart glowing visibly under the fabric.

Untitled

The LED is a one watt white LED, which we’re running at about 50 mA. It has a wide viewing angle, and the star-shaped mount lies conveniently flat. The LED is wired up to the PCB with a pair of twisted magnet wires. Magnet wire is flexible and thin, which makes it hardly noticeable under clothing. It is controlled by ATtiny2313 (running the code from our Mac sleep light pumpkin project) and powered by three AAA batteries. The PCB corners were rounded off so it wouldn’t be stabby.

Untitled

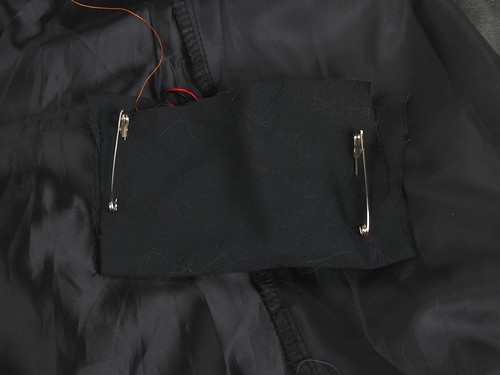
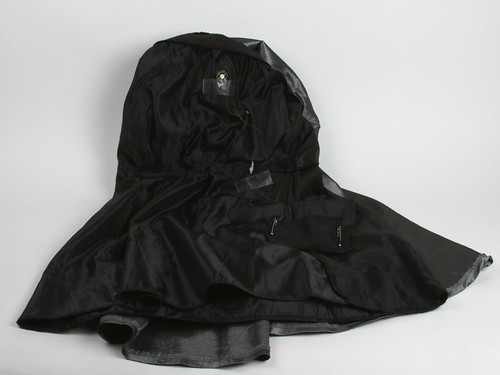
The dress was fully lined, which made it very convenient for mounting electronics. I pinned a makeshift pocket onto the liner, and tucked the battery holder and PCB in the pocket. I could feel the battery holder switch and turn it on and off through the fabric.

Untitled

The LED was taped to the dress liner with medical tape to hold it in place. An extra piece or two of tape held the wires to make sure there was appropriate slack for movement. (A note on tape: use the good stuff. The cheap paper tape in the off-brand first aid kit only stuck to itself and the magnet wire. 3M plastic medical tape worked great and came off easily.) This makes it easy to disassemble after Halloween.

LED heart


You can find more costume projects in our Halloween Project Archive.

Pumpkin Faces for EggBot

Pumpkin Face

renegade_geek posted a set of Pumpkin Faces on thingiverse for the EggBot. They’re cleverly arranged in layers so that you can hide and show the different eye, nose and mouth options.

A collection of separate eyes, noses and mouths, each set on its own layer, for a customized jack-o-lantern/ghost face to be printed with the Eggbot. These were made to print on ping pong balls. You may need to adjust for eggs and other less regularly shaped items. I have included a “faces menu” PDF so that you can clearly review your choices. This was really helpful in a classroom situation.

Solderless Flickery Flame

We’ve talked previously about making simple LED pumpkins with candle flicker LEDs. Lately we’ve been playing with making better looking flames by using multiple independent flickering LEDs with different colors and lens styles. It makes a spectacular difference: it goes from something that looks like, well, a flickering LED to something that really looks like there might be a flame in there.

The end result is pretty neat: A compact battery powered “flameless flame” that looks great in a pumpkin, luminaria, or as a stage prop. The interplay of the different LED types and colors gives an ever-changing and shifting flame display.

Other than the candle flickering LEDs, the parts are commonly available. We’ve also bundled them together in the Solderless Flickery Flame Kit.

Components:

  • Battery Holder (2×AA with switch)
  • Mini-breadboard
  • 6 × candle flicker LEDs (2 red diffused, 2 yellow diffused, and 2 yellow clear lens)
  • 6 × 68 ohm resistor
  • 2 × wire jumper
  • White paper bag (optional)

Also needed:

  • 2 × AA Batteries (not optional)
  • Wire clippers, cutting pliers, or “beater” scissors (optional)

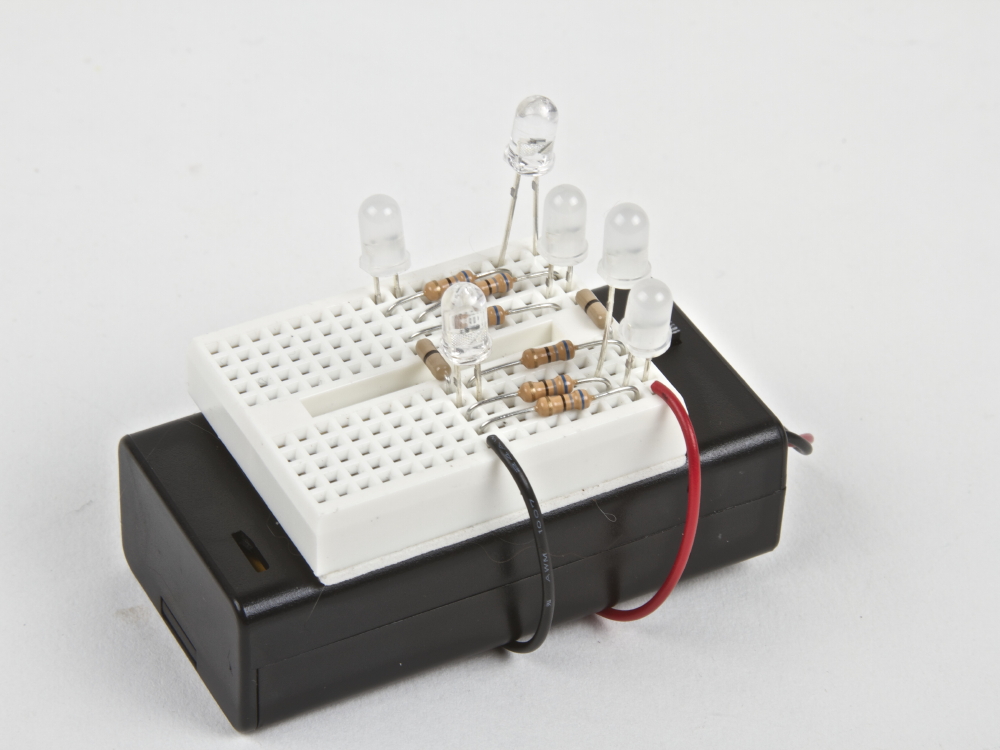
Hook up the battery holder to the breadboard several rows apart to give enough room to install the resistors and LEDs. Optional: peel off the backing on breadboard and adhere it to the battery holder. Connect each LED with its own 68 ohm resistor. (Use the “in parallel” method from this article.) The extra jumpers are included to help bridge across the center gap in the breadboard.

Trimming the resistor leads will keep the breadboard tidy, and help prevent short circuits. Trimming the LED leads to varying heights will help distribute the light in different ways.

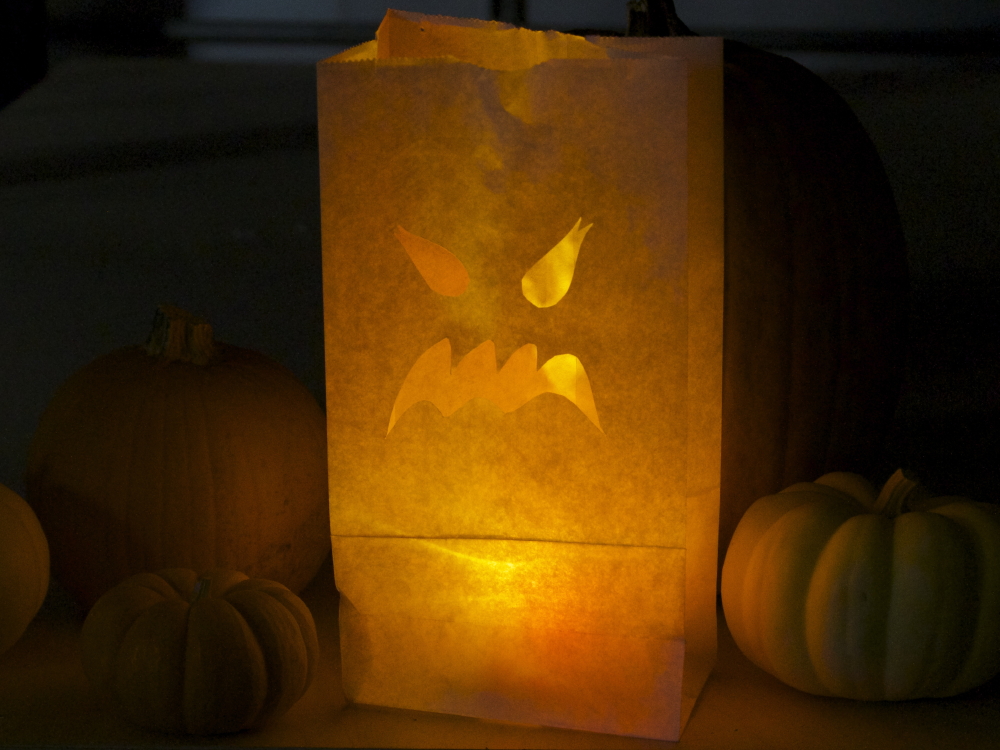
The white paper bag included with the kit can be used for creating a traditional luminaria or for making a ghostly halloween decoration.


You can find more Halloween decor projects in our Halloween Project Archive.

Evil Mad Scientist Halloween Projects

EMSL Halloween Roundup

Halloween, always one of our favorite holidays, is fast approaching again. We’ve updated our Halloween Projects Archive as we do every year to ensure that all of our Halloween projects are gathered together in one convenient location. We’ll continue to add projects as we post them. If one of our projects inspires you to make something, we’d love to hear about it!

East Bay Mini Maker Faire 2014

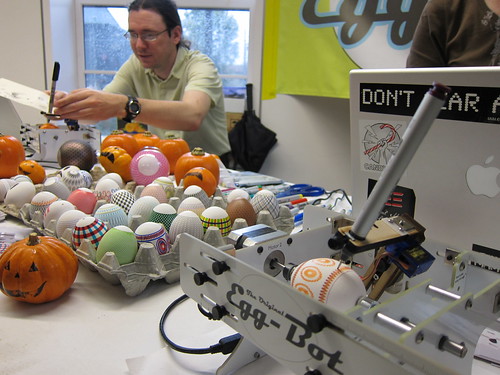
Egg-Bot at East Bay Mini Maker Faire in 2010
Photo by Sabrina Merlo

We’re excited to be bringing the EggBot back to the East Bay Mini Maker Faire on Sunday, October 19. The schedule of presentations and performances covers everything from “The Importance of Junk” to minestrone making. The list of makers attending covers the gamut as well. Evil Mad Scientist readers get a 15% discount on advance tickets using the code MAKERFRIEND.

A Requiem for CandyFab

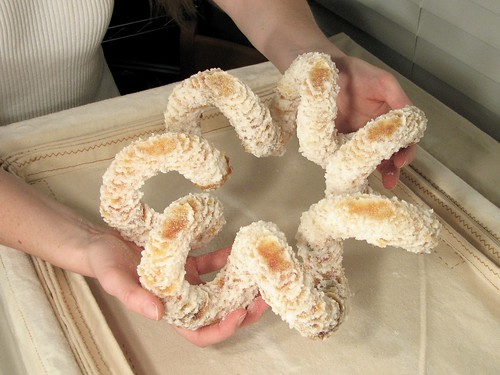
Coil

The CandyFab 4000, 5000, and 6000 were three early DIY 3D printers that we built in the years 2006 through 2009. They worked by using hot air to selectively melt and fuse granulated media, and were capable of producing large, complex objects out of pure sugar, amongst other things.

CandyFab is no longer an active project — it hasn’t been for a few years. But the time has come to retire it officially and document its history. We have taken some time to write an in-depth article about the history of the CandyFab project, the different CandyFab machines, why and how they were built, what they were capable of, and the lessons that we learned in the process. Have a seat; we have a story to tell.

The CandyFab Project: 3D Printing in Sugar. Big, DIY, and on the cheap. 2006 — 2009.
Link: candyfab.org

Soldering Tip Tinning with Sal Ammoniac


If you solder, you’ve likely come across an “untinned” tip at some point— that’s when the tip of your soldering iron loses its shine, and doesn’t easily wet to solder any more.

Once your tip gets this way, it doesn’t make nearly as good of a thermal contact to whatever you are trying to solder, and it simply doesn’t work well. Soldering can take 2-10 times as long, and that isn’t good for your circuit board, components, or mental health.

You can sometimes re-tin the tip by melting fresh solder onto it, but that can be challenging, because the whole problem is that the tip isn’t melting solder. It’s particularly hard to keep tips tinned with modern lead-free solder, because it needs to get even hotter to begin melting.  If you get to this point, you might think about even replacing the tip.

But before you throw that tip away, instead consider using one of the “old standard” solutions, which is to refurbish the tip with a tip-tinning compound. And we came across the most classic of them in one of the most unexpected locations.  Continue reading Soldering Tip Tinning with Sal Ammoniac

From the archives: Pumpkin Spice Truffles

Truffles

With all the pumpkin spice jokes flowing around the internet recently, it’s time to remind everyone how easy it is to make your own pumpkin spice flavored things. Way back in 2007, we published a recipe for making your own pumpkin spice chocolate truffles (hint: no pumpkin involved) and you can use the spice blend on anything at all. (Pumpkin spice Raspberry Pi, anyone?)

From the mailbag: Bulbdial Clock Kit

Bruce B. wrote in to say:

I recently bought one of your Bulbdial clock kits. I just wanted to send a quick note to say that your step-by-step guide was the BEST guide I have ever seen, for anything. I have assembled many an item in my years and instruction sets vary from useless to marginally worthwhile. The Bulbdial guide was amazing! You should publish a step-by-step guide on how to write step-by-step guides :)
Oh, and the clock is amazing as well!