Category Archives: Electronics

Highlights of the 2014 Bay Area Maker Faire

BAMF 2014 77

The 2014 Bay Area Maker Faire was an amazing, amazing event. We took hundreds of photos, which we have posted in a flickr set here. Here are just a few of the highlights— both technological and artistic, and we’ll be featuring several more over the course of the next week or so.

(Above: Rolf and Abhishek show off the new Arduino Zero in the Arduino booth.) Continue reading Highlights of the 2014 Bay Area Maker Faire

555 kit, version 2.0

555 Kit v 2.0

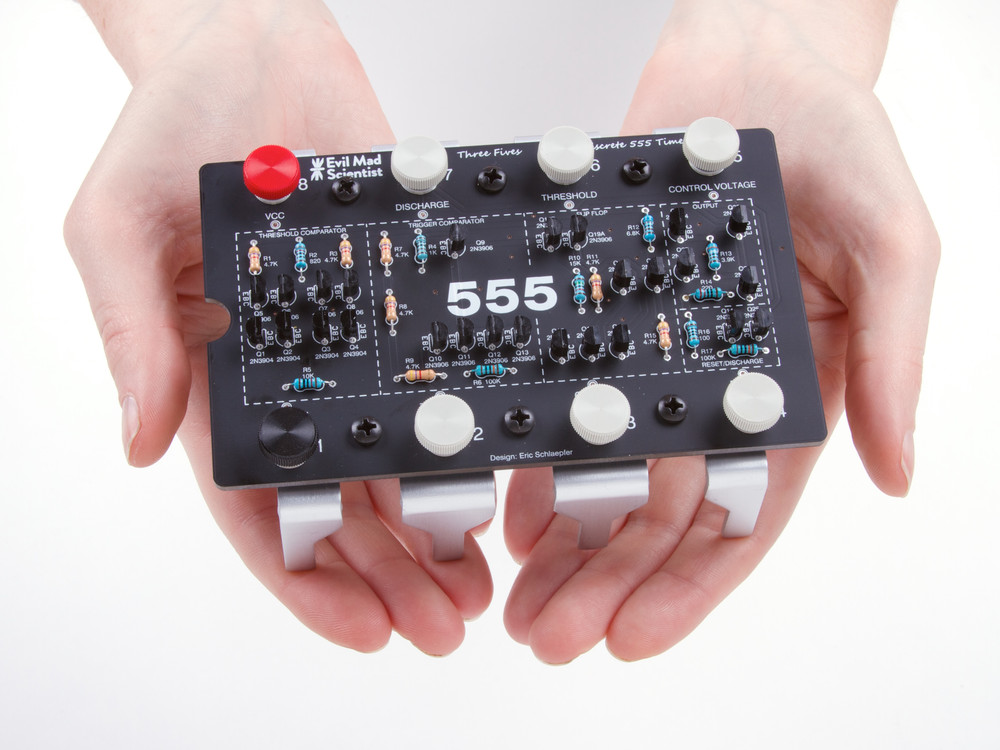
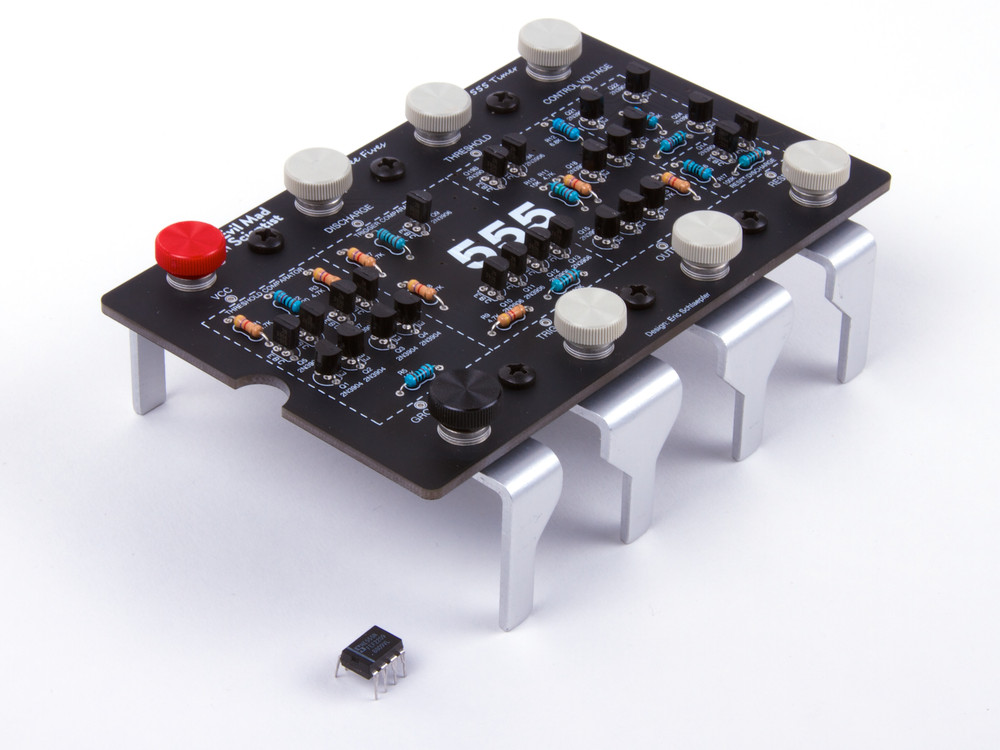
Today we’re introducing version 2.0 of our “Three Fives” Discrete 555 timer kit.  Version 2.0 has a number of little tweaks and improvements, with a cleaner design and — coolest of all — an all-new set of smooth anodized aluminum legs.

555 Kit v 2.0

The Three Fives kit is a faithful and functional transistor-scale replica of the famous 555 timer integrated circuit — one of the most popular and well-loved chips of all time. (An original NE555 IC is shown above for scale.)

We are also releasing the first version of our educational supplement for the Three Fives kit: A detailed description of how the 555 circuit actually works, with plenty of opportunities for further exploration.  You can find it on the downloads section of the product page or on our documentation wiki.


Stealth Fighter Guitar with Octolively Lighting Effects

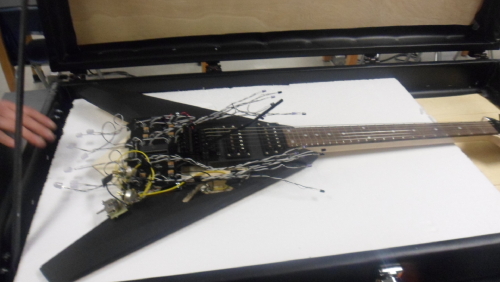
Stealth plane guitar with octolively lighting

Herb wrote in to say:

When I saw your Octolively LED circuit, the first thing I wanted to do was incorporate it into our electric guitar project.

I teach a basic senior physics class for non-science majors and wanted to try something different; a year-long design project.

We made a guitar from scratch that resembles a stealth fighter. We even wound the humbucker coils in the guitar… Your circuit is used to drive the exhaust lights in response to playing motion…It works well and offers a unique visual effect based on the selected setting…you can even hear the circuit through the amplifier when it drives the blue LEDs…

The Octolively is wired up with the LEDs pointing down from the bottom of the guitar (back of the plane) and the sensors pointing toward the neck to respond the motion of the guitar player.

Stealth Octolively guitar in progress

His student, David, added:

Thank you for making such a great educational product to learn about LED’s and simple circuits. Our class worked together to put all of the parts in the correct place and it was a wonderful collaborative learning project.

Octolively assembly for incorporation into guitar

The Printr Egg Boogie Board Bot

Printer Egg Boogie Board Bot

Over at Thingiverse, user gkrangan posted this wacky contraption: A machine to write with a stylus on a Boogie Board e-writer, built from PrintrBot Simple frame components, along with EggBot electronics and the pen-holder.  It’s driven through the EggBot extensions for Inkscape.

I was initially taping an index card onto the print platform for testing purposes, but when I saw this Boogie Board at a toy store, it seemed like a perfect choice to be used as the writing surface. One can draw/write anything on it, and erase with a press of a button. Of course, it can still be removed and any other suitable surface can be taped or mounted on the print platform, as necessary.

Printer Egg Boogie Board Bot @ Thingiverse

From the Mailbag: Understanding the Homopolar Motor

Wes wrote in to say:

I am an Electrical Engineer (graduated May ’72, Texas Tech U), but I never saw or even heard of a homopolar motor until last week, when I saw an electric motor made from four parts on National Geographic’s program, “None of the Above“. When I first saw it, I figured it must be a hoax. A DC motor had to have a commutator and two magnets.

Only when I was browsing around in Wikipedia did I find an article on the motor. I happened to have everything I needed, so I built one, not really expecting it to work. To my great surprise, it spun up to a few thousand RPMs in seconds. I read Wikipedia’s theory of operation, but it didn’t make sense. Today, I came across your wonderfully clear and simple explanation, and now I understand the motor perfectly.

I simply cannot thank you enough for your drawing and explanation.

Thanks for writing in— we’re glad to hear you enjoyed learning something new! The instructions for making the motor and the discussion of how it works are in our articles:

Simple Relay Shield v 2.0

relay shield

A minor bump for one of our little open source Arduino add-ons. The Simple Relay Shield is an easy to use single-relay board that does one thing, and does it well: It adds a beefy little mechanical relay to an Arduino, which you control through pin Digital 4.

relay shield

Version 2.0 adds the ability — by popular request — to control it from a pin other than D4. Solder the jumper in the normal way (in location JP), and it works on pin D4. Hook it up to any other digital pin, say to D7, and now you have a relay on that pin. The Simple Relay Shield is available as a complete soldering kit or as a bare PCB, and you can find documentation on our wiki.

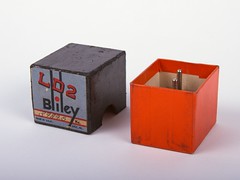
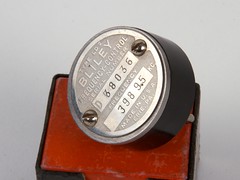
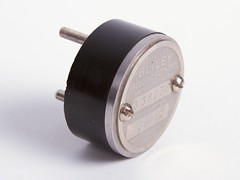
A Vintage Bliley Crystal

Bliley Crystal 1
Bliley Crystal 2 Bliley Crystal 4
Bliley Crystal 7 Bliley Crystal 6

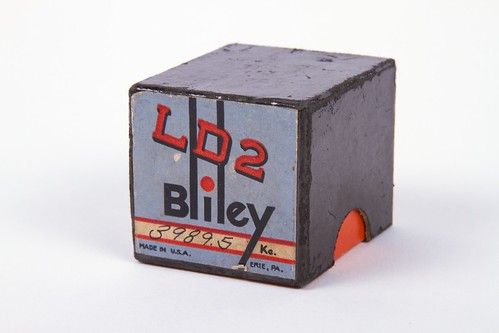
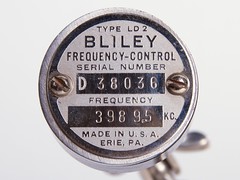
They don’t make — or package — them like they used to. This is a vintage radio crystal from the Bliley Electric Company.  Bliley is still around, making modern oscillators and even space flight hardware, but this vintage unit is a beauty.

Introduced in the 1930’s, the Bliley LD2 was a popular frequency standard for amateur radio operators. A 1935 advertisement in QST magazine claimed efficiency and extremely low drift (<8 ppm/°C), guaranteed operation, an improved holder, and a cost of only $4.80, or $82.79 in 2014 dollars.  This particular unit is calibrated at 3.9895 MHz (“3989.5 KC”), for a radio wavelength of about 75.2 m.
Bliley Crystal 9


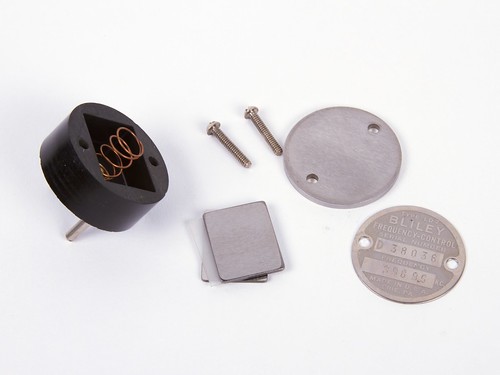
Unlike most modern crystals, this type comes apart easily. Inside, two rectangular steel plates sandwich a thin slice of quartz crystal, all held pressed together with a simple spring.

If you’re interested to learn more, there’s a wealth of additional information about vintage crystals and the Bliley company available online, here.

Interactive art at Helix

Romy Randev of Looma is installing his latest piece, Penumbra at the Helix museum in Los Altos.

Penumbra is an interactive installation that responds to movement in its environment. Without any human interaction, Penumbra is disguised as a decorative glass wall. However, each colored glass tile illuminates individually as sensors that respond to movements control LEDs behind the glass.

Penumbra makes use of our Octolively modules, and we’ll be at Helix with Romy on Saturday March 29th, starting at 2:00 PM to talk about the art and tech behind Penumbra. Event information is available from Helix.