Category Archives: Microcontrollers

A new Kraftwerk-inspired LED tie kit?

LED Tie - 28.jpg

Well, almost— With a breath of new firmware, our Larson Scanner kit takes us on a trip to the late 1970’s.

In the old videos of electronic music pioneers Kraftwerk performing their classic The Robots, a prominent prop is the animated LED necktie worn by each member of the band. If you haven’t seen this, or it’s been a while, you can see it right here at YouTube. (Additional viewing, if you’re so inclined: Die Roboter, the German version.)

The Kraftwerk tie has nine red LEDs in a vertical row, and one lights up after the one above it in a simple descending pattern. And what does it say to the world? One thing only, loud and clear: “We are the robots.” Now, if you’re anything like us, the most important question going through your head at this point is something along the lines of “why am I not wearing a tie like that right now?

larson3

The good news is that it’s actually easy to make one. And the starting point? A circuit with nine red LEDs and just the right spacing: our open-source Larson Scanner kit. With minor modifications– a software change and dumping the heavy 2xAA battery pack–it makes a pretty awesome tie. In what follows, we’ll show you how to build your own, complete with video.

Continue reading A new Kraftwerk-inspired LED tie kit?

The 4313 has landed.

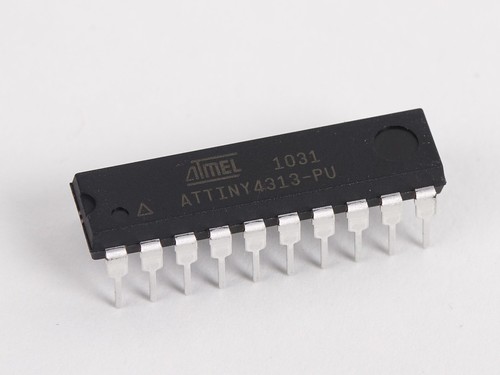
ATtiny4313-PU

One of our all-time favorite chips is the ATtiny2313.

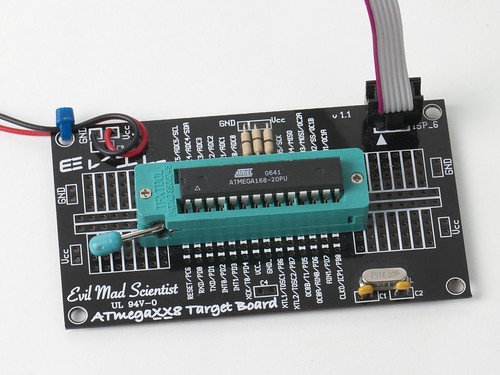
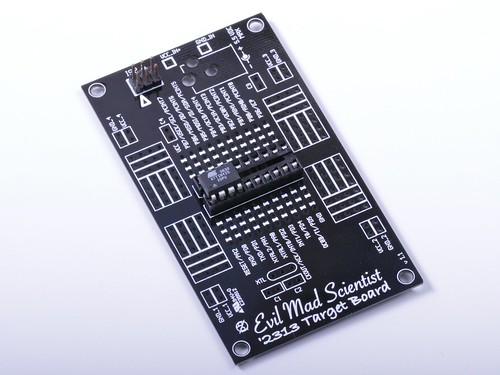
It’s a little 20-pin AVR microcontroller that we’ve used in dozens of projects, including our high tech holiday decorations, some of our coolest pumpkins, our (digital) Larson Scanner, and some wacky papercraft— to name a few. It’s one of those few chips that we used often enough to justify a custom breakout board.

But… if there’s one thing that the ‘2313 is short on, it’s memory. With 2 kB of flash (program) memory and 128 bytes of RAM, it’s perfect for tiny single-purpose projects. But, it’s oh-so-easy to run up against that memory limit. And, that’s why we were so excited when Atmel began to announce their then-forthcoming ATtiny4313 in late 2009.

Unfortunately, it’s often a long delay between when a chip is announced and when it’s actually available through distribution. Sample quantities have been floating around for half a year or so, but– and finally— a big box showed up in the mail, and so here they are.
4313 - 3

Now, programming it. There are very few changes between the ‘2313 and ‘4313. Mainly, it’s what you’d expect: memory sizes (Flash, SRAM, EEPROM are all doubled), and the device signature is different.

Recent versions of AVR-GCC already support the ‘4313, and so it’s relatively straightforward to recompile an existing program (say, the Larson scanner firmware) to run on the ‘4313. There are some minor inconsistencies between the “io.h” header files for the two chips, and those inconsistencies can cause compiling to fail. For example, the register name “WDTCSR” (for watchdog control register) works on the ‘2313, but the ‘4313 io.h file lists that same register name as “WDTCR.” So, if you run into a place where AVR-GCC is confused after switching chips, you might be able to solve the issue by comparing that register name in the “io.h” files for the two chips.

Now, for programming the chip with avrdude, things are slightly more complicated. Avrdude does not yet natively support the ‘4313, but fortunately, you can add the new chip definition by editing the avrdude.conf file on your system. (On my Mac, where I use Crosspack as the AVR toolchain, I found that file at /usr/local/CrossPack-AVR/etc/avrdude.conf ) The ‘4313 code block can be added right below the ‘2313 code block, and you can download that code block here (via this mailing list post). So, a couple of steps, but works like a charm.

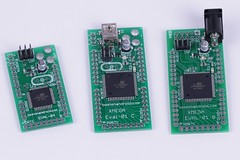
There aren’t a whole lot of these to go around right now, but we’ve put some of our ‘4313 chips into little dev kits that you can pick up at our store. Let’s see how long they last. ;)

AVR Basics: Reading (and writing) flash contents

Programming on a target board

From our forums comes this interesting question:

   “Is it possible to download the contents of an ATmega168/328, essentially backing it up so that it can somehow be restored later?

For example: Let’s say I have lost the source code to a very useful program currently residing on a 328, but I need to flash it with a different sketch temporarily, then restore that original sketch. This would be useful in the case that the chip was soldered directly onto a board – a big mess to try to replace.
Is this possible in some way, perhaps by altering an ISP programmer?”

The answer is that yes indeed, it is possible– with a couple of exceptions that are worth mentioning. And on occasion, it’s even very useful. Continue reading AVR Basics: Reading (and writing) flash contents

A pumpkin that sleeps like a Mac

sequence - 06   sequence - 02sequence - 10   sequence - 16

Here’s an neat idea for a jack-o’-lantern: Hide a single white LED just beneath the thin surface of the pumpkin. And program it with the same slow “breathing” effect that indicates sleep on Mac computers.

The result? A pumpkin that sleeps like a Mac. It’s actually quite striking, in part because the effect becomes invisible every few seconds. It’s also an easy microcontroller project: our demonstration video and build instructions follow. Continue reading A pumpkin that sleeps like a Mac

AVR programming trick: Sharing target boards

2313-25 (plain socket)

This week, Brad wrote in with an interesting question: Can you program the ATtiny25 on one of our ‘tiny2313 target boards? And the answer is yes: you can, with just a trivial modification.

Okay, back up– a little context here. The ATtiny25 and the ATtiny2313 are examples of AVR microcontrollers, the little brains that power many of our projects.
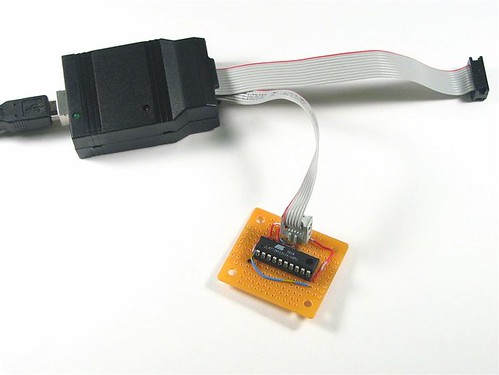
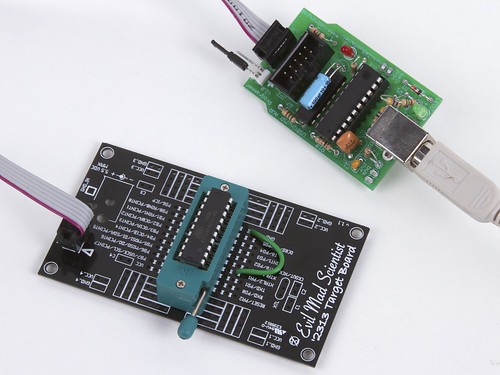
To program these chips, we use a usbtinyisp programmer, hooked up to a minimalist target board.

USBtinyISP & simple target

The target board basically provides a programming header that’s hooked up to the right pins of the chip, plus some way to power the chip– often through the programmer itself.

After hand-wiring up one too many minimalist ‘2313 boards like that, we also made a printed circuit board version of the ‘2313 target board. Normally, it looks something like this, with an ATtiny2313 in a ZIF socket:
2313Card - 4

But, back to the question. The ATtiny25, ATtiny45, and ATtiny85 are a family of 8-pin AVR microcontrollers that are not pin compatible with the ‘2313. However, at only 8 pins instead of 20 pins, they’ll definitely fit in the socket… somewhere.

Looking at the datasheets and pinouts for the the ’45, ‘2313 (and the ‘168 that we also have a target board for), we can identify the lines used for programming: MISO, MOSI, SCK, and RESET:


The chips also need power and ground connections to be programmed, of course. Now if you notice, the connections for the ‘2313 and ’45 are very similar– in fact, almost identical if you line the chip up so that pin 1 goes where pin 1 of the ‘2313 normally would. The one remaining difference is that there’s no ground connection to pin 4 of the ‘2313.

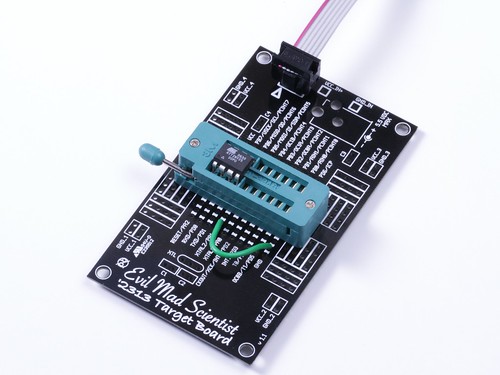
2313-25 (fixed up)

So, adding a wire from ground– pin 10 of the ‘2313 –to pin 4 of the smaller chip (an ATtiny25 in our photo), and lining up pin 1 to pin 1, we’re ready to go. And yes, it works like a charm.
If you do use this method, there are a few (possibly obvious) things worth noting:


  • You need to be careful to line up pin 1 of the chip to pin 1 of the socket.
  • Be careful if or when you put a ‘2313 chip back in the socket. It will draw a lot of current if you set pin 4’s to a high output level– it’s shorted to ground. (Better: If you want to go back and forth, use a switch, not a wire.)
  • Keep in mind that the pin labels on the target board are for the ‘2313, not the ’85.

Going one step further, you could also potentially program the ’25/’45/’85 from the ‘168 target board: it only takes a couple more wires. To do so, line up pin 1 of the ’25 to pin 9 of the ‘168. Add two wires this time, from board-reset to chip-reset, and from board-ground to chip-ground. You’ll also need to connect AVCC (analog power supply) to VCC. A little more work, yes, but still a good hack.

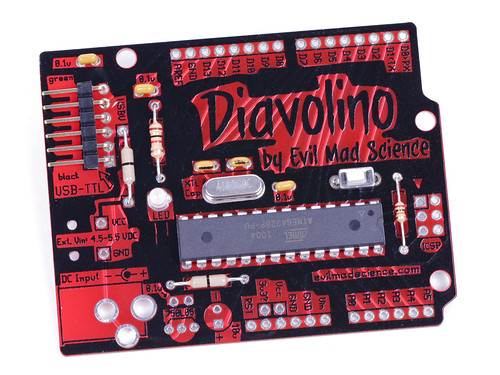
Diavolino

Diavolino-angle2

Say hell-o to Diavolino. Yes, it’s yet-another Arduino compatible board, but it’s cheap and kind of neat. Simplified design, rounded corners, and shiny. Open source kit. You can get one at our store here.

We designed this primarily in response to local need in our San Francisco hacker community for low-cost boards for teaching.

In many ways, this project is reminiscent of and complimentary to our ATmegaXX8 target boards, which are low-cost, simple design circuit boards for programming AVR microcontrollers through an ISP connection. And while you can add one, those boards don’t have a place to put a USB-TTL cable. And so here we are. Continue reading Diavolino

Evil Mad Scientist Laboratories: Year 4

Evil

Happy birthday to us! Evil Mad Scientist Laboratories has now been around for four years. We’ve collected some interesting projects from this past year to celebrate.

Microcontroller and Electronics Projects:

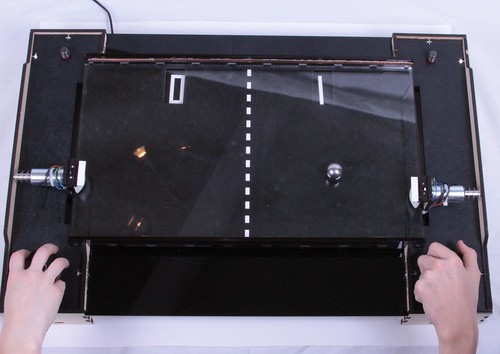
Tabletop Pong
Tabletop Pong

Breadboard
Moving from breadboard to protoboard

Revenge!
Revenge of the Cherry Tomatoes

drink making unit
Drink making unit

pin 1
Finding pin 1

xmega - 2
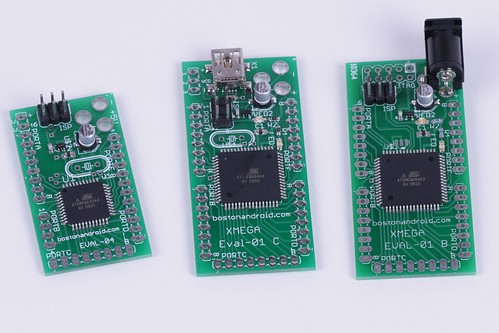
Say hello to xmega

Peggydot
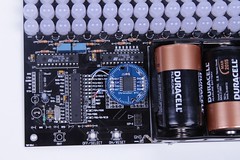
Adding a Chronodot to Peggy 2

Meggy Twitter Reader
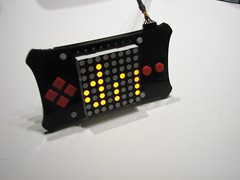
Meggy Jr RGB Twitter Reader

twisted wire bundle
Twisted Wire Bundles

LED graph
Some thoughts on throwies

rovin pumpkin
Rovin’ pumpkin

ADXL335 - 10
Accelerometer with an AVR (updated)

LEDcalc - 20
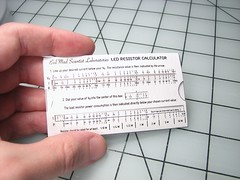
Wallet-size LED Resistance Calculator

Science:

seeing magnetic fields
Seeing Magnetic Fields

Ice Spikes
Ice Spikes

opposition effect in clover
Opposition effect

Kitchen Science 18
Litmus Candy

Beans day five
Gibberellic Acid and Giantism in Sprouts

Simple LED Projects:

fake seven segment display
Fake seven segment display

LED-lit sea urchin
LED-lit sea urchins

Edge Lit Cards
Refining edge-lit cards

Food Hacking:

Ice Cream Gyoza -13
Ice Cream Gyoza

Lemon Pickle
Lemon Pickle

The array
Spices

coffee bean cooler
DIY coffee bean cooler

Marmalade 30
Marmalade: easier than it looks

AtomicCookies 7
Atomic Cookies

asteroids cookies
Asteroids (the edible kind)

Crunchy Frogs01
Crunchy Frog

Kit Projects:

tortiseshell
Bulbdial Clock Kit

Peggy2le-end
Peggy 2LE

Scale
LED Hanukkah Menorah Kit

Larson Scanner
Larson Scanner

D12 bag8
Handbag of Holding Kits

Crafty Projects:

arecibo 2
SETI Scarf

scrap acrylic
Scrap acrylic shelf

Tombstone
24 hour tombstones

ipad 3
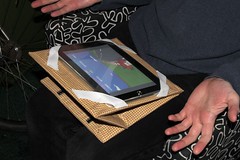
iPad lap stand

Custom iron ons 10
Custom iron-on techniques

Geek Design:

symmetrisketch
SymmetriSketch

Typographic Coasters
Typgraphical Character Coasters

Ornamental Components 08
Ornamental Components

Cat String 6
Radio controlled string

Bookend - 9
Bookends for physics geeks

Lego business cards-2
Lego Business Cards

Tie Stools2
Portable Stools

And, don’t forget, you can win a Peggy 2 or one of 13 other prizes in our clock
concept contest
, going on this week.

Related:

Say hello to xmega

xmega - 2

We’ve been big fans of AVR microcontrollers for a few years now. If you look around our site a bit, you might find quite a few AVR projects. And our little friends the ATtiny2313 and the ATmega328P have become our go-to chips for many different purposes.

And, while none of that is changing, something that just seems better has come along. Or rather, a better AVR has come along.

Continue reading Say hello to xmega

Basics (updated): Using an accelerometer with an AVR microcontroller

ADXL335 - 10

Some time ago, we wrote up a tutorial about using an ADXL330 accelerometer with an AVR microcontroller. A couple of years have passed, and so we’ve returned to update and clean up some loose ends on this project.
Continue reading Basics (updated): Using an accelerometer with an AVR microcontroller

YOU HAVE EIGHT EARTH MINUTES LEFT

Okay, maybe that’s a bit of an exaggeration. But, the deadline for our Arduino Contest at Instructables is approaching right fast: Entries are accepted until this Sunday, Nov 15, 2009, at 11:59 PM PST.

Why enter? To show off your cool stuff! Also, you could win a Meggy Jr RGB handheld gaming kit, or an Arduino Mega or other nice goodies, so don’t you want to come out and play?

Official contest rules are here. The basic entry requirement is that you make a project that involves the Arduino IDE in some way, and you can already check out many of the great projects entered. Woo!