EM Fabrication posted about our CNC workstation cart:
Thank you so much for sharing this! We are almost finished making the parts.
They posted a bunch of progress photos on their facebook page, too.
EM Fabrication posted about our CNC workstation cart:
Thank you so much for sharing this! We are almost finished making the parts.
They posted a bunch of progress photos on their facebook page, too.
YouTube user Richard Lewis built a working replica of the Digi-Comp II mechanical computer in the sandbox video game Terraria.
The replica makes extensive use of the so-called “Hoik glitch” in the game, that allows for rapid, controlled player movement, much like gravity guides the balls downward in the original.
More information about the version in Terraria is posted on the video page.
Chris wrote in:
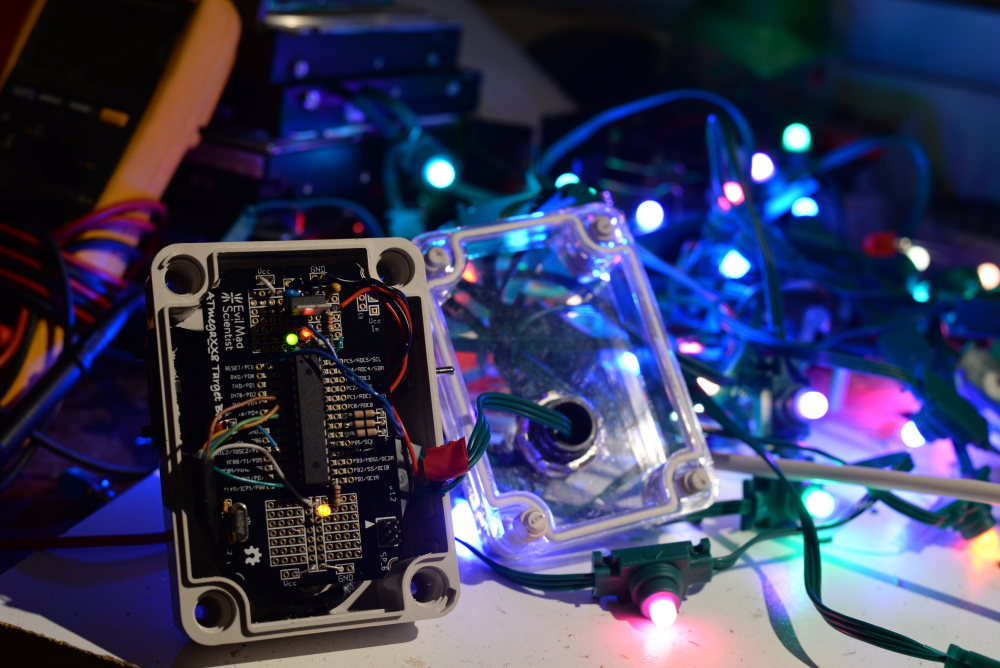
I wanted to say thank you for writing your blog and the products you’ve created. I used both to make my christmas lights this year. Couldn’t have done it without you.
I used an ATmega xx8 mini dev kit programmed with an ISP shield to control a series of WS2811 LED pixels to make beautiful light. The controller is designed to be standalone, not part of a bigger system. I used a BCD thumbwheel switch to select up to 10 looks.
We can give credit to the FastLED Library team for the heavy lifting. The case is from your friends at Adafruit. The target boards don’t quite fit in the Adafruit cases. Thankfully ya’ll had the schematic PDFs posted and I saw I could literally cut corners to make them fit.
Back to why I appreciate what you do so much, growing up my dad tried to teach me about electronics. He was putting motorola 6802 CPU’s in Sperry New Holland hay bale wagons. Unlike how easy we have it today with Arduino he had to program in assembly…
I got a degree in Theatre and loved doing sound and lighting design. So I really love the art you put into your technology. I’ve built many of your kits. My favorite are the interactive LED panels. Blinking lights! I like to put them behind the ikea glass “white boards” so my ideas really shine when I write them down. I’m looking forward to seeing what you do in 2015!
After a recent conversation we had on twitter about edible hot glue possibilities for gingerbread houses, Ben Krasnow modified a hot glue gun to melt chocolate, adding PID temperature control. He also made a mold for making chocolate sticks of the right size for the modified glue gun.
Darren posted pictures of his UV erasable coffee table which was inspired by our 555 footstool.
The top lifts to reveal the compartment inside and to provide a taller table surface.
There are lots of build photos in the imgur set, and more details in the reddit discussion.
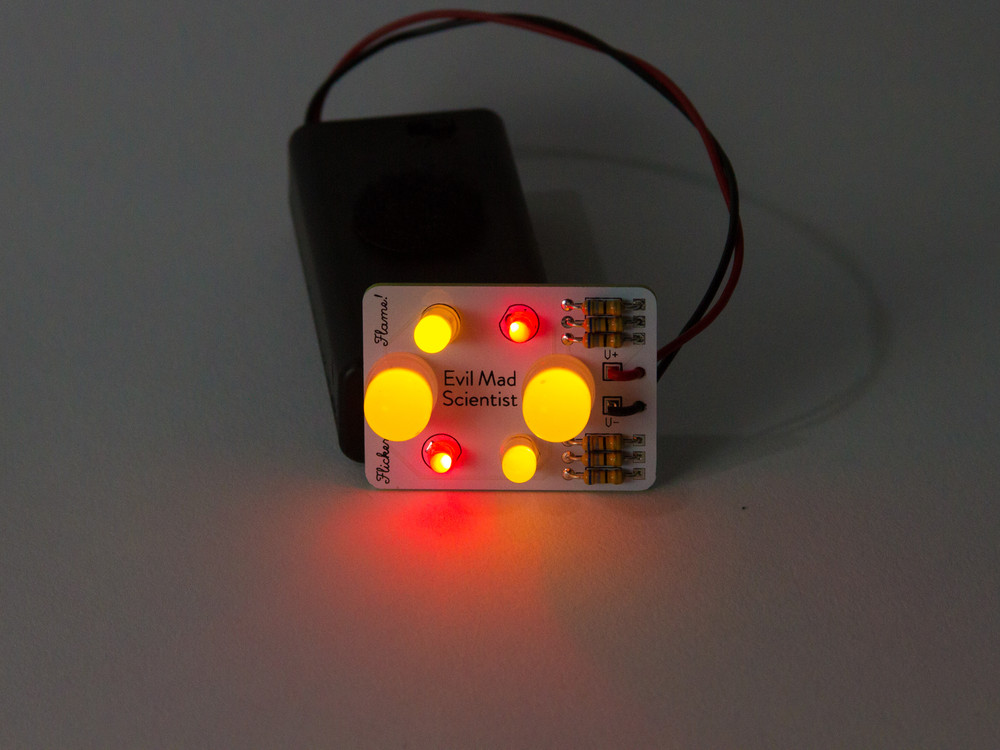
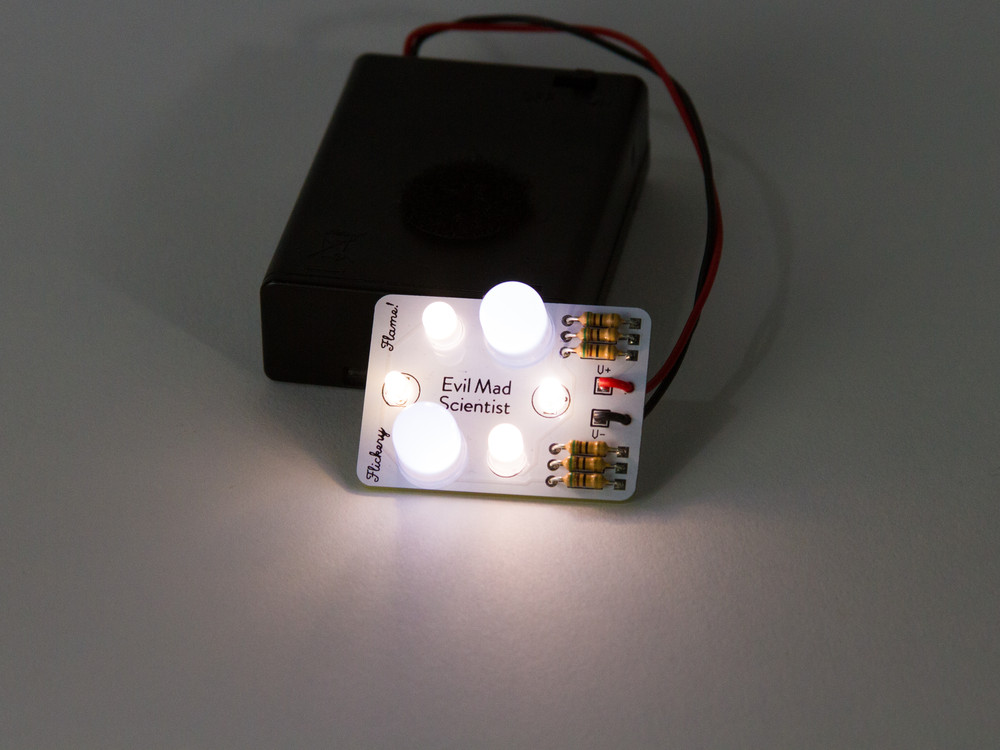
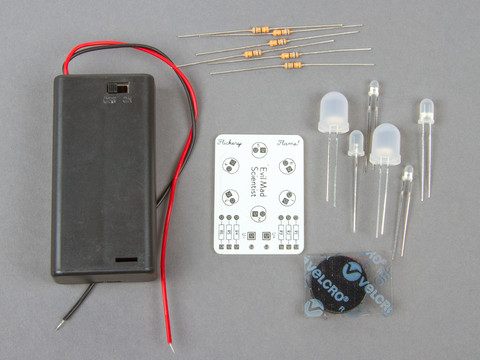
In October, we released our Solderless Flickery Flame project, based on a tiny breadboard with six red and yellow candle-flicker LEDs, to give a fun and semi-realistic flame effect. Today, we’re releasing two new Flickery Flame Soldering Kits along the same lines, each of which has 6 candle-flicker LEDs, a little circuit board, and a battery holder.
The Yellow/Red kit has the same mix of yellow and red candle-flicker LEDs that works so well in the breadboard kit. This one will look great in a jack-o-lantern, luminaria, or scale-model fireplace.
On the other hand, the White/Warm White kit has a mixture of (cool) white and warm white LEDs that give a modern wintery flame effect that has at least as much charm, but won’t be mistaken for a natural fire. This one will look great in all kinds of winter holiday decorations, luminarias, and props.
Both the Yellow/Red and White/Warm White kits are fun, low-cost, self-contained, and easy soldering kits, which will be right at home both as stocking stuffers and as bite-size first projects for soldering workshops.
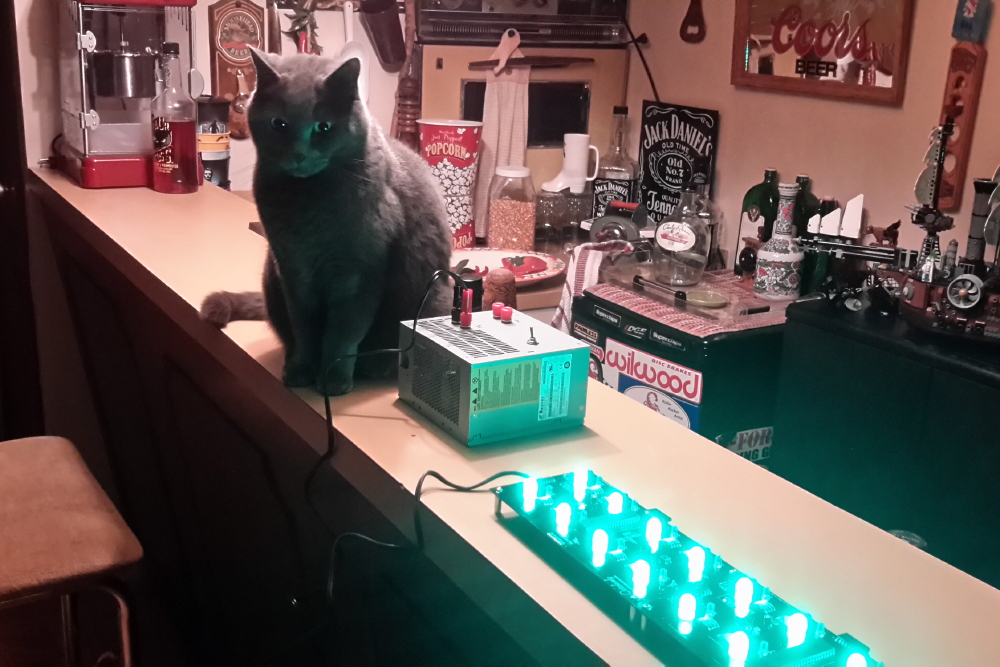
We were sent a picture of handsome cat Gandalf with an array of green Octolively kits all built up.
Mr. Pumpernickel also looks great in the green glow. Both Gandalf and Mr. Pumpernickel are continuing in a longstanding tradition of cats and interactive LEDs.
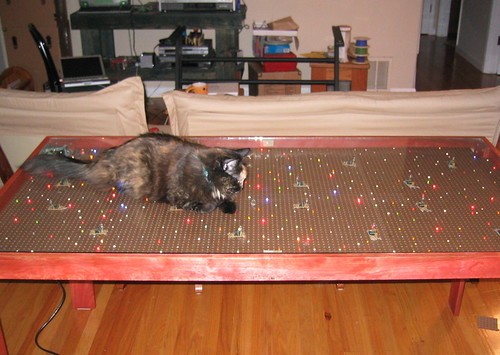
Harley Cat (who passed away a few years ago) helped test our very first interactive LED project: our Interactive LED Dining Table.
Jellybean helped demonstrate a later project: our interactive LED coffee table. She is featured at about 48 seconds into this video.
Joyce wrote in this year with her latest Pez Menorah (using our Deluxe LED Menorah kit), featuring a Star Wars theme.
She also wrote up a thorough set of instructions on tumblr, which looks like a remarkably easy way to publish a step-by-step tutorial without using a platform like instructables. It may take some getting used to reading chronologically, but it is effective.
Previous Pez Menorah posts:
After seeing our Larson Scanner kit, Martin shared this LED metronome project with us. Martin says:
It was designed as a “Visual Metronome” So a learning music student could help see the timing by watching the green light. There was to be an optional clicking sound by using a small solenoid for the ticking – I chose that in place of a speaker for a more authentic sound.
The timing is a standard 555 timer which is fed to 7442 BCD to DECIMAL counter. Next chip is a 74193 UP/DOWN counter. When the count hits the last number, it sends a pulse to reverse the count or start over – depending on the toggle switch on the side.
There is also a pot on the 555 to control the speed. All this was made in one night while I was working the graveyard shift.
The entire LED display was hand wired using a manual wire-wrap tool.
The chip pin labels on the back of the perf board are a particularly awesome relic of a different era of electronics assembly. Thanks for sharing your project photos and video with us!
Our friends at Other Machine Co. have put out a mold making kit for the Othermill and posted an instructable for making snowflake chocolates using the online Snowflake Generator that Paul Kaplan of Inventables ported from our Vector Snowflake Application.
The process involves milling a wax positive for making a silicone mold. The beautiful two-tone chocolates are made by putting white couverture chocolate into the details of the mold, and then filling the rest of the mold with dark.
One more technique we could have used for Operation: CNC Snowflake!