Category Archives: Engineering

Octolively: Digital interactive LED surfaces

Octolively Array: 8 inches wide

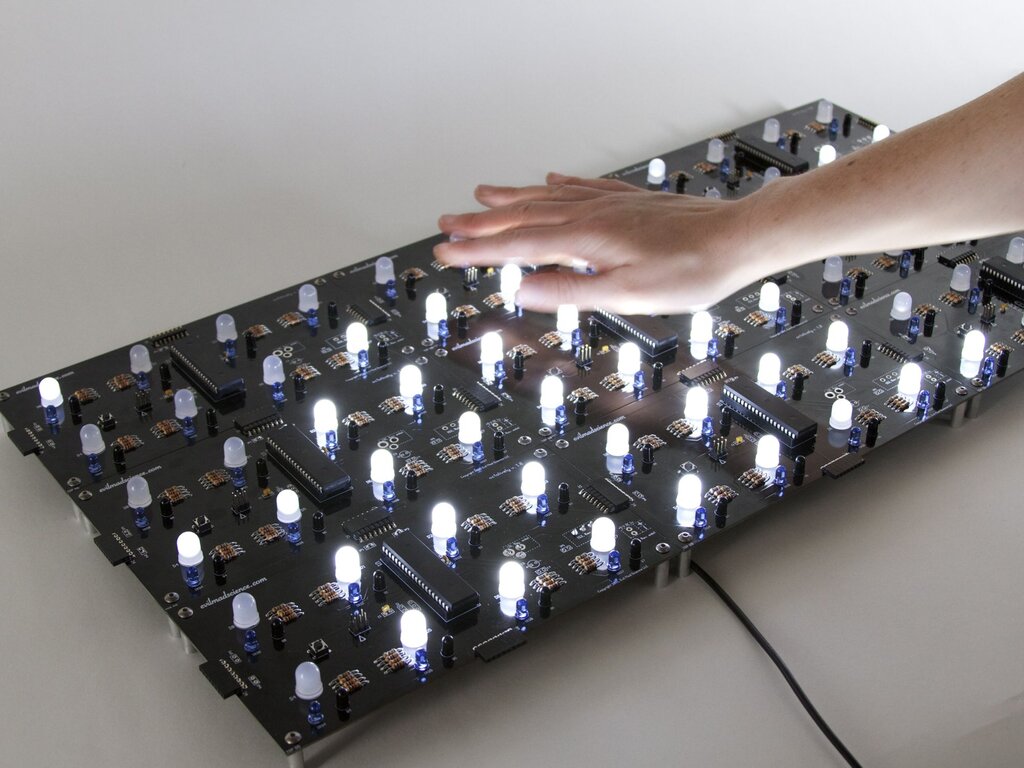
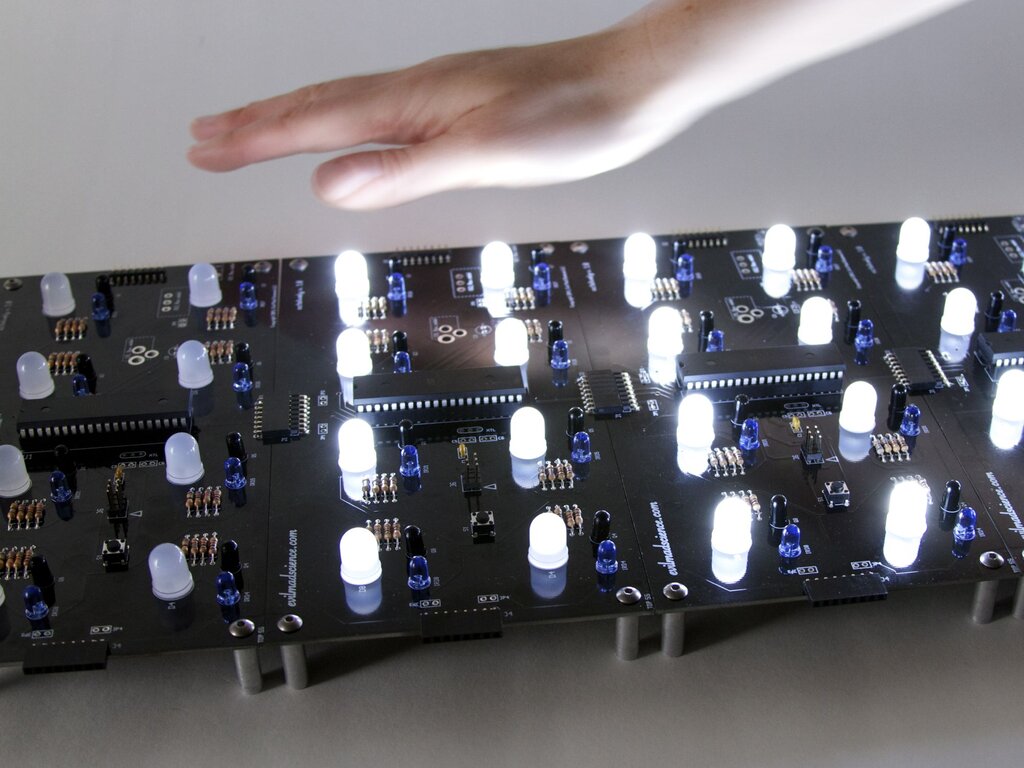
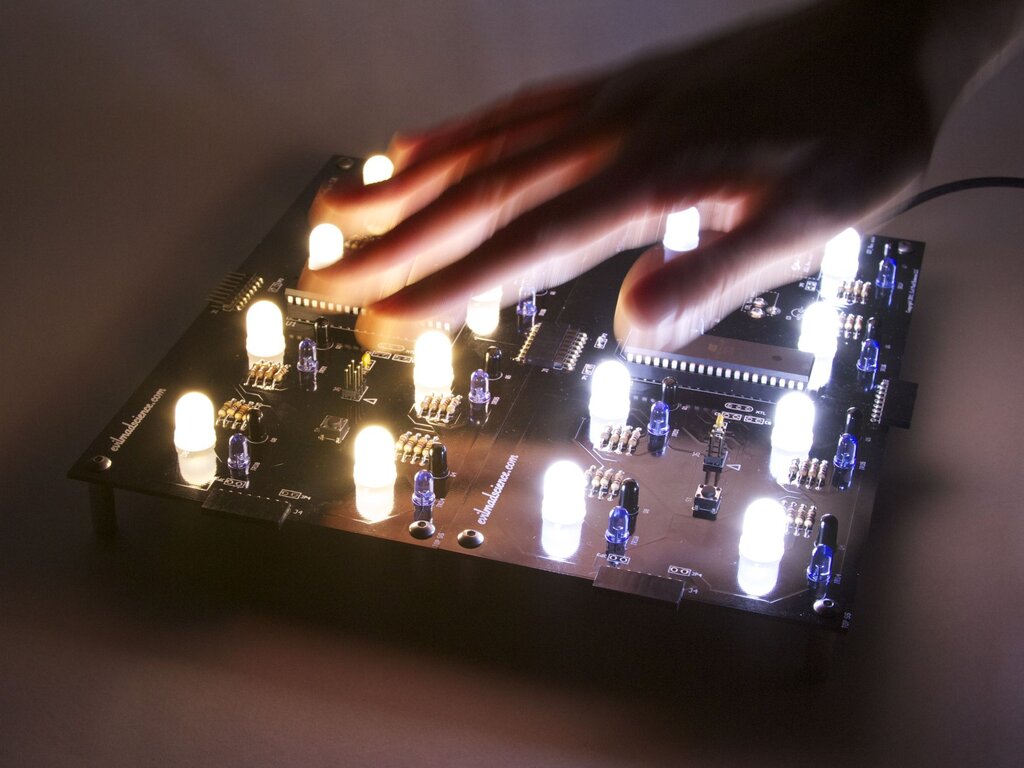
Octolively is an all-new, open source interactive LED surface kit that we’re releasing today. Octolively features high resolution– an independent motion sensor for every LED, stand-alone operation, a variety of response functions, and easy scaling for large grids.

Warm white (left), Regular "cool" white (right)

Octolively represents our fourth generation of interactive LED surfaces.

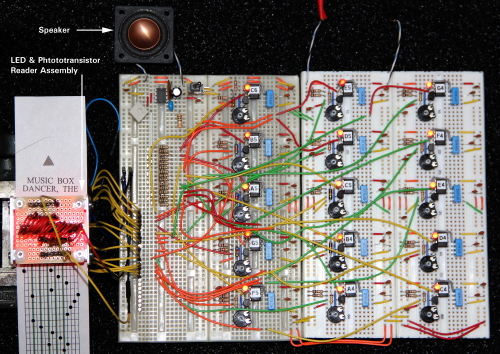
Long-time readers might recall the original Interactive LED Dining Table, the infamous Interactive LED Coffee Tables, or the third-generation, not-very-creatively-named Interactive LED Panels. All of these surfaces were based on fully-analog circuitry with large circuit boards and a fairly high ratio of LEDs to sensors– typically 20:1.

Octolively: single unit, powered down-2

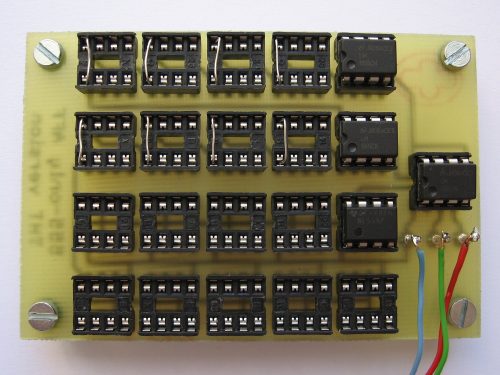
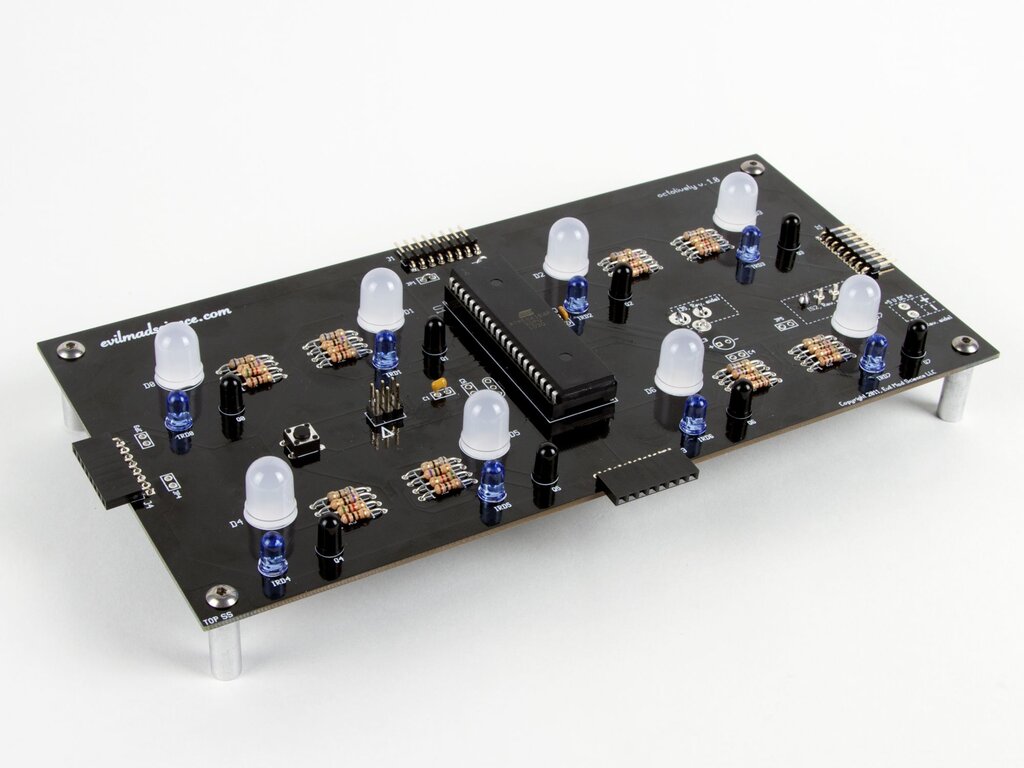
Octolively, by contrast, is based on smaller, lower-cost circuit board modules, “only” 4×8 inches in size. Part of the reason for this is so that there’s more flexibility in making arbitrarily shaped arrays. Arrays can now be as skinny as 4″ wide, or as wide as you like.

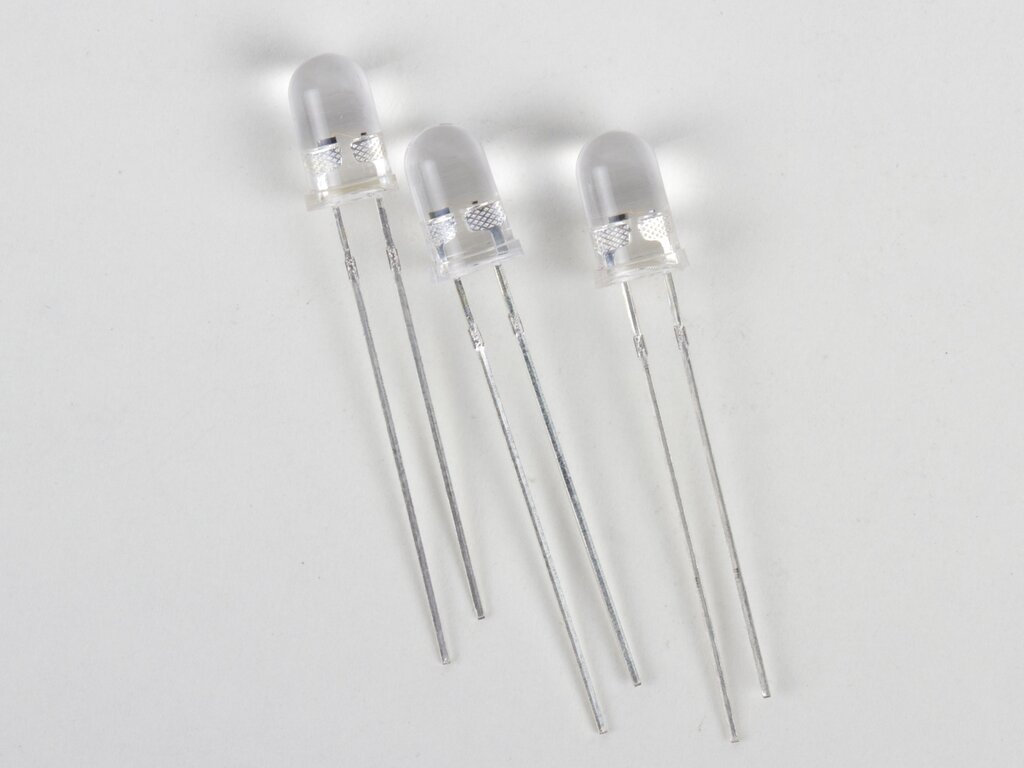
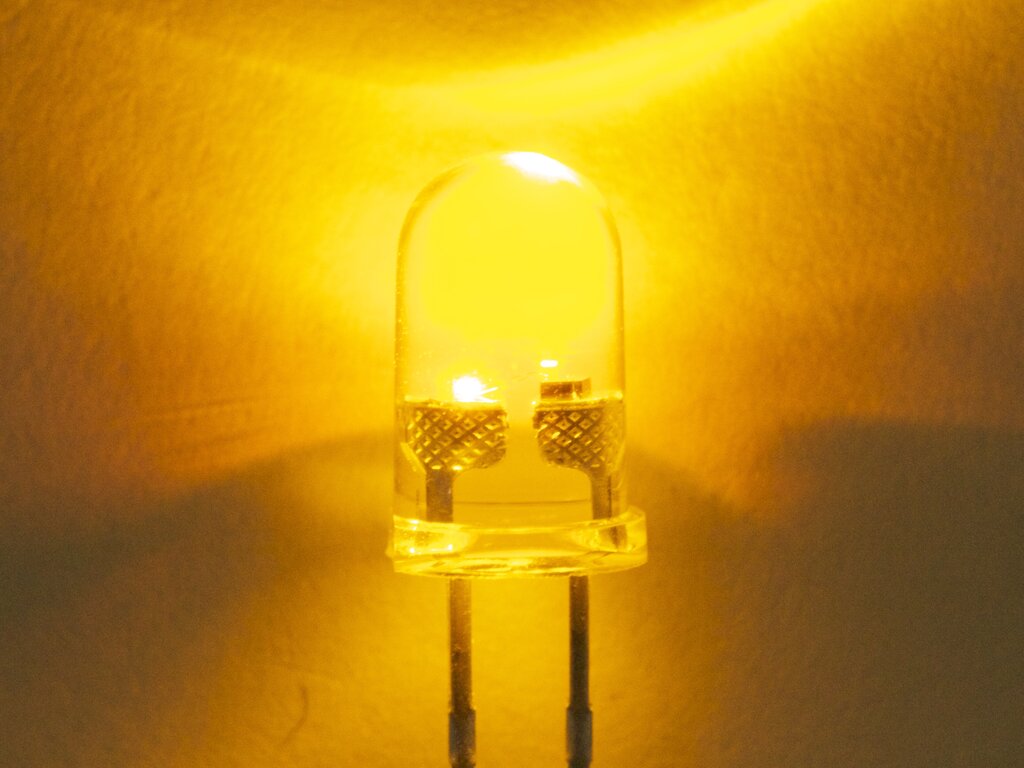
Each module features 8 LEDs and 8 independent proximity sensors– one for each and every LED. The LEDs are (huge) 10 mm types, and that chip in the middle of the board is an (also huge) ATmega164 microcontroller.
Each sensor consists of an infrared LED and phototransistor pair, which– together with polling and readout from the microcontroller –acts as reflective motion sensor. The LEDs are spaced on a 2-inch grid, and the edge connectors allow boards to be tiled seamlessly.

Because the circuit is now primarily digital, it’s easy to store a variety of response functions in the microcontroller. Our standard firmware contains 8 different response functions– fades, ripples, shadows and sparkles, which you can change with a button press. As it’s an open source project, we’ll expect that (in time), others will become available as well.

Octolively: 3x3 grid of boards

And, because the entire circuit is self-contained on the module, the surface scales effortlessly– you get very high resolution over huge areas without bandwidth bottlenecks, and no need for a central computer.

Of course, static pictures don’t do much justice for interactive LED surfaces. (We’ve embedded our video above. If you can’t see it here, click through to YouTube.)

Octolively, warm white LEDs

And doesn’t that look good with warm white LEDs?

Octolively begins shipping next week. Additional details– including the datasheet and documentation links –are available on the product page.

Does this LED sound funny to you?

flickerLED - 01

flickerLED - 02

At first glance, these might appear to be normal 5 mm (“T-1 3/4”) clear lens ultrabright yellow LEDs. However, they’re actually “candle flicker” LEDs— self-flickering LEDs with a built-in flicker circuit that emulates the seemingly-random behavior of a candle flame.

In the close-up photo above, you can actually make out the glowing LED die on the left side, and a corresponding-but-not-glowing block on the right: the flicker circuit itself. In what follows, we’ll take a much closer look, and even use that little flicker chip to drive larger circuitry. Continue reading Does this LED sound funny to you?

A Diamond Engraving Tool for Eggbot

Driver board with pen arm


What is it? It’s a most useful little thing: a low-cost diamond engraving attachment for the Eggbot.


This turns a humble pen-plotting Eggbot into a full-on CNC-driven vibrated-tip diamond-point engraving tool, capable of light-duty marking and engraving on hard materials like glass, stone, and ceramic. Wooo!

Clear glass engraving Continue reading A Diamond Engraving Tool for Eggbot

ISP Shield Kit, version 2.0

ISP Shield 2.0

Earlier this spring, we released our open-source ISP Shield for Arduino. After using them for a while, we’ve found a few ways to improve the design, so today we’re releasing version 2.0.

ISP Shield 2.0

The ISP Shield is an Arduino “shield” (daughtercard) that makes it easier to use your Arduino as an AVR ISP programmer. It can be used to burn bootloaders onto new AVR chips, from directly within the Arduino programming environment, either in the on-board ZIF socket or on an external target board. More generally, it can also be used as a general-purpose AVR ISP programmer, using avrdude with the programmer type specified as “avrisp.”

ISP Shield 2.0

One of the tricky things about using the ISP shield is that there is a known incompatibility between Arduino-as-ISP and Arduino boards that have auto-reset capability. Version 2.0 of our ISP shield design fixes this, by adding the ability to temporarily disable auto-reset on the Arduino. Auto-reset override is an optional, jumper-selected feature that can be turned on and off.

(The other jumper shown above allows you to select whether or not the ISP shield provides 5V power over the ISP interface, a handy feature for programming chips on simple target boards.)

ISP Shield 2.0
The ISP Shield 2.0 is also our first printed circuit board to feature the OSHW logo— the first of many, we hope. :)

The ISP shield kit is available at Evil Mad Science, and complete documentation is available at the Evil Mad Science Wiki.

Solving an old surplus mystery

mystery

Several years ago, we came across this interesting artifactat one of our local electronics surplus shops, and couldn’t really make heads or tails of it. But after the passage of the aforementioned several years– along with several dozen interesting suggestions from our readers –we haven’t been able to get much closer to an answer.

But then, at this month’s Electronics Flea Market, we came across what appears to bea related chunk of hardware:

Ampboard - 2
Continue reading Solving an old surplus mystery

Some gems from the 555 Contest

This spring, we’ve had the honor to help judge the 555 Contest organized by Jeri Ellsworth and Chris Gammell.

Now that the scores have been received from final-round celebrity judges Hans Camenzind and Forrest Mims, Jeri and Chris will be announcing the results of the contest live on uStream, today (Wednesday April 20) at 9 pm EST.

To help get you in the mood for the results, here are just a few of our favorites that you may not have seen, in no particular order– hopefully some of these will be amongst the winners!

A beautiful working model of a 555 constructed of discrete components installed in the Encyclopedia of Integrated Circuits.

DSCN1232

555 Timer based Music Box Player


LED Dominoes

Flashus Bulbus, an array of blinking bulbs

555 Adding Machine by Alan Yates

555 AM Radio by Eric Schlaepfer:


Rather brilliant 555-based POV display by Michael Noland, writes out “555” in space, using nothing but 555s:

This Atari Punk Sequencer just rocks; check out the video.


Pavel Hanak built the most pure 555 circuits that we’ve ever seen: Astable Multivibrators Built Solely From 555s. No external resistors or capacitors, just the internal resistance and capacitance of up to 20 additional 555s. (Clearly an insane genius!)

So that’s just a taste of all the awesomeness from this contest– we hope you’ll tune in
live on uStream, today (Wednesday April 20) at 9 pm EST to see the winners.

National Robotics Week

DSC_0857

It’s National Robotics Week, and for us that means RoboGames!

BarBot 2011 gave us just a taste of what is to come this weekend at the huge international robotics competition in San Mateo. We rounded up some video links of Drink Making Unit 2.0:

Lots of the BarBot partygoers posted photos to flickr too, including a huge set from Spaceman Sam and lots more from ekai, nicolecwongninavisshackmancoltairek0re, shifzr and amyr_81.

We’ll be at RoboGames all weekend, participating in the symposium and selling a few choice kits and components. So get your tickets now! If you’re not in the bay area check the National Robotics Week event listingsto find an event near you.

Photo from BarBot 2011 by Samuel Coniglio.

Ponoko Spring Design Challenge


Ponoko Springtime Challenge Graphic


We’ve teamed up with Ponoko for a spring design challenge! We’re helping to judge and we’ve donated a Deluxe Egg-Bot Kit for the grand prize winner. Ponoko is also giving away vouchers for getting stuff made through their services.

Ponoko has made it so that anyone can have take advantage of prototyping tools like laser cutters and 3D printers that used to be either prohibitively expensive or inaccessible to individuals. You upload your digital designs, choose from a wide range of materials they stock, and then they fabricate them and ship the physical object to you. We’ve recommended them for folks who don’t have access to a laser cutter, but want to make custom handles for their Meggy Jr RGB or custom cases for their Bulbdial Clock.

The contest deadline is April 13, and we’re looking forward to seeing your entries!


Eggbot with Brass Hardware


The Deluxe Egg-Bot Kit is available here.

ISP Shield Kit

ISP Shield

The Evil Mad Science ISP Shield is a new open source hardware kit that we’re releasing today.

It lets you use your Arduino (or shield-compatible clone, such as the Diavolino) as an AVR ISP programmer, for example to burn bootloaders onto “raw” AVR chips, directly within the Arduino programming environment, either in the provided ZIF socket or on an external target board.

You can read more about this process here.

The circuit is designed to be compatible with the “Arduino as ISP” option in recent versions of the Arduino IDE. It is based on a number of prior hardware implementations, most closely the version by Andre Knoerig at Fritzing.

Complete documentation, including assembly instructions, design files, and basic usage information is available on the Evil Mad Science Wiki.