HackerBoxes are a monthly kit subscription for a box of electronics to learn from and hack on. This month, they included our Three Fives board as part of a 555 timer themed box. They post a monthly set of instructions over at instructables, which contain projects you can do even if you’re not a subscriber.
Category Archives: Engineering
555 Teardown
Ken Shirriff has posted a teardown of the beloved 555 timer IC. He sawed the top of a metal can packaged 555 to expose the die underneath.
On top of the silicon, a thin layer of metal connects different parts of the chip. … Under the metal, a thin, glassy silicon dioxide layer provides insulation between the metal and the silicon, except where contact holes in the silicon dioxide allow the metal to connect to the silicon. At the edge of the chip, thin wires connect the metal pads to the chip’s external pins.
He goes on to explain how it works and its cultural significance. He even mentions our discrete 555 and 555 footstool in the footnotes.
The Adafruit Dronies
I’m pleased to announce that I’m on the judging panel for the new Adafruit Drone Film Fest, the Adafruit Dronies 2016.
The Adafruit Dronies celebrates videos taken from drones. The contest is open to everyone in the United States to show and share their amazing drone videos. You’ll be judged on creative use of technology, storytelling, and cinematography.
Entries are limited to five minutes and winners receive trophies as well as gift certificates to the Adafruit store. The lineup of judges is amazing, and we’re looking forward to seeing your entries!
Drawing Electronics
Kapunahele Wong posted this beautiful drawing of an Octolively module, saying:
I got to draw Octolively for work. Best assignment ever.
International RobotArt Competition
We recently found out about the 2016 International RobotArt Competition for students to create art with paintbrush wielding robots and win prizes of up to $30,000 for their school.
For 2016, we focus on the technical side of creating art – the physical transition from raw color to applied color on a canvas. We challenge the participants to create artwork to showcase their robot’s abilities.
The team registration deadline is March 1st, and the competition is open to high school and college student teams. Artwork must be uploaded by April 15. (This sounds like a perfect challenge for schools that have a WaterColorBot.)
Public participation in the first round of judging is encouraged, and then the works will be judged by professional art critics on originality, aesthetics, painting capability, and technical contribution (e.g. sharing source code.)
We love art robots, so we’ll look forward to seeing the results of this competition.
EggBots in Library Makerspaces
Our #eggbot is up and running! #leduccounty #newsarepta #makerspace come check it out! pic.twitter.com/blXxFD2iJY
— New Sarepta Library (@NSPublicLibrary) January 16, 2016
The New Sarepta Library in Alberta, Canada posted this video on twitter saying:
Our new EggBot is up and running! Come check it out!
We’re super happy to see libraries including our tools in their makerspaces.
From the mailbag: Bristlebots and Scribblebots
Jessica K. wrote in:
A few years ago I used your bristlebot design for one of my kid’s classes as a project and it was such a success I’ve done it for each kid (I have 4).
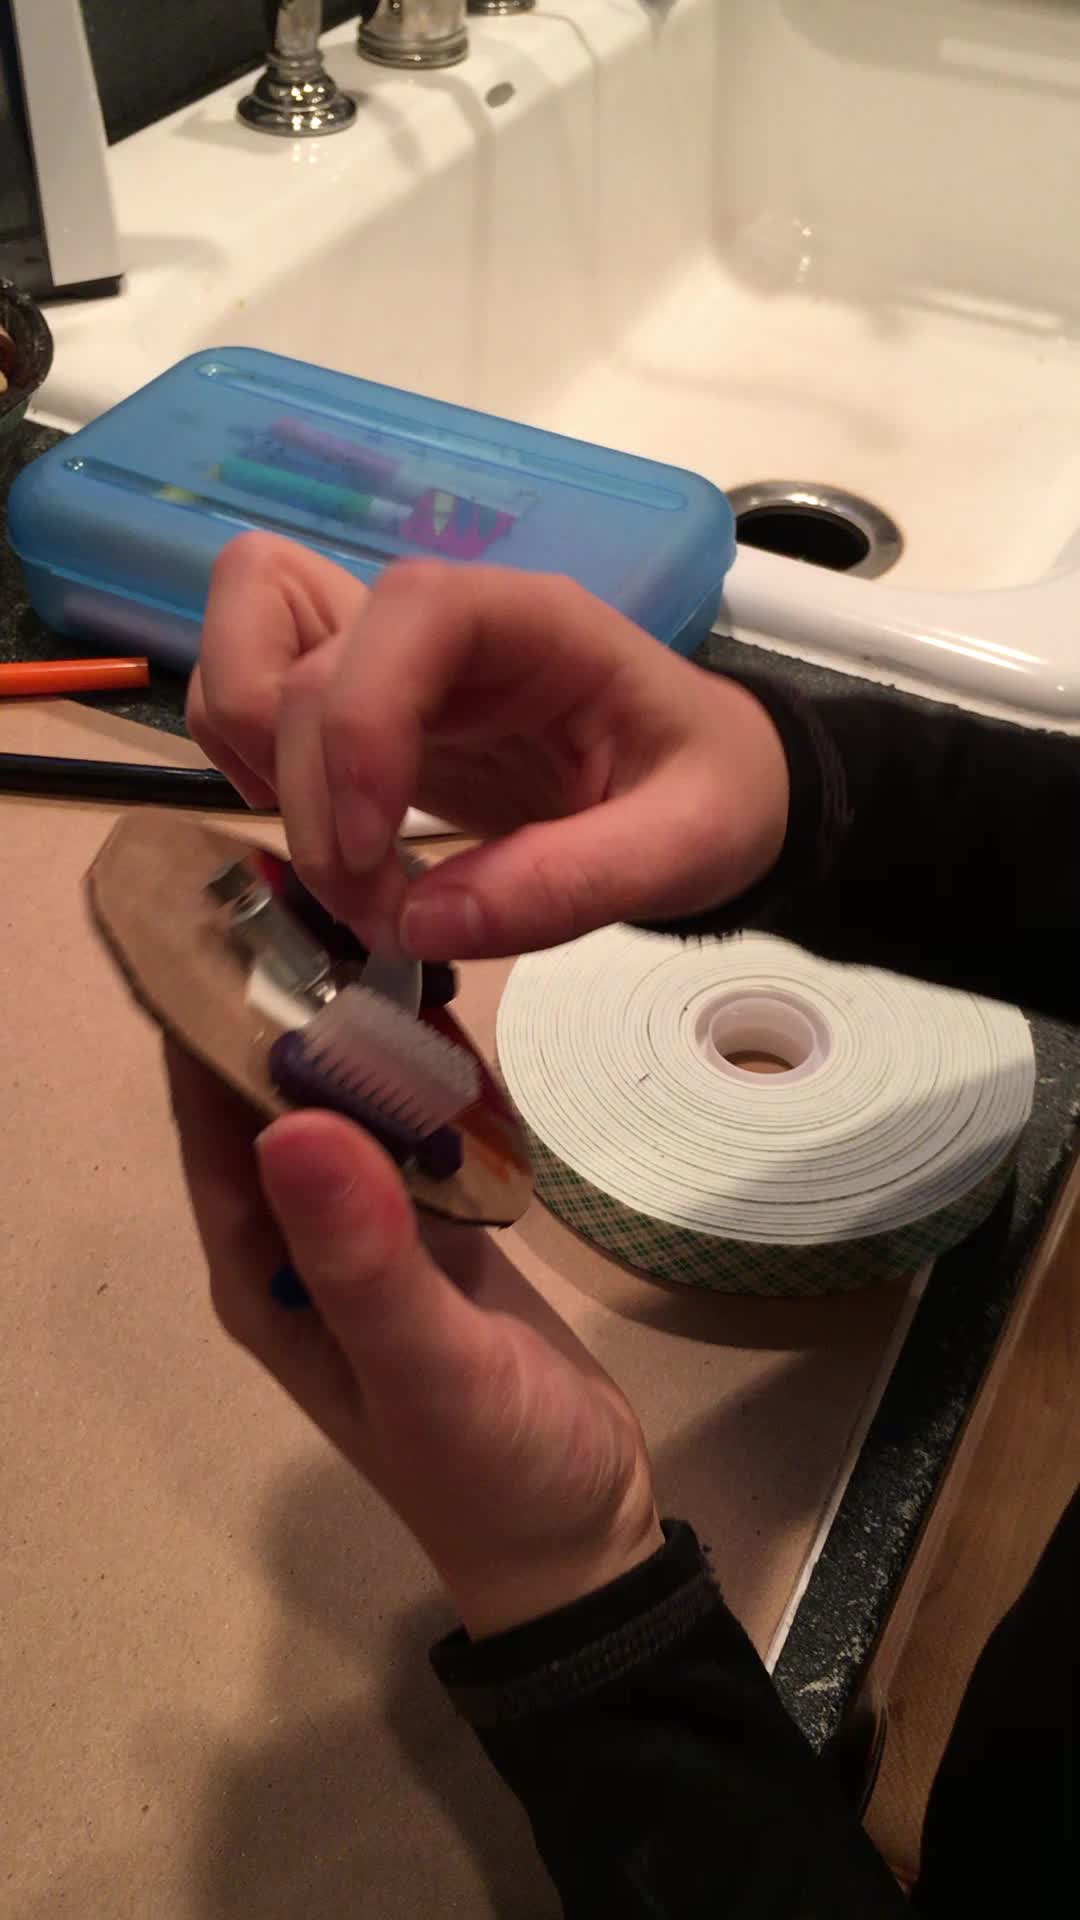
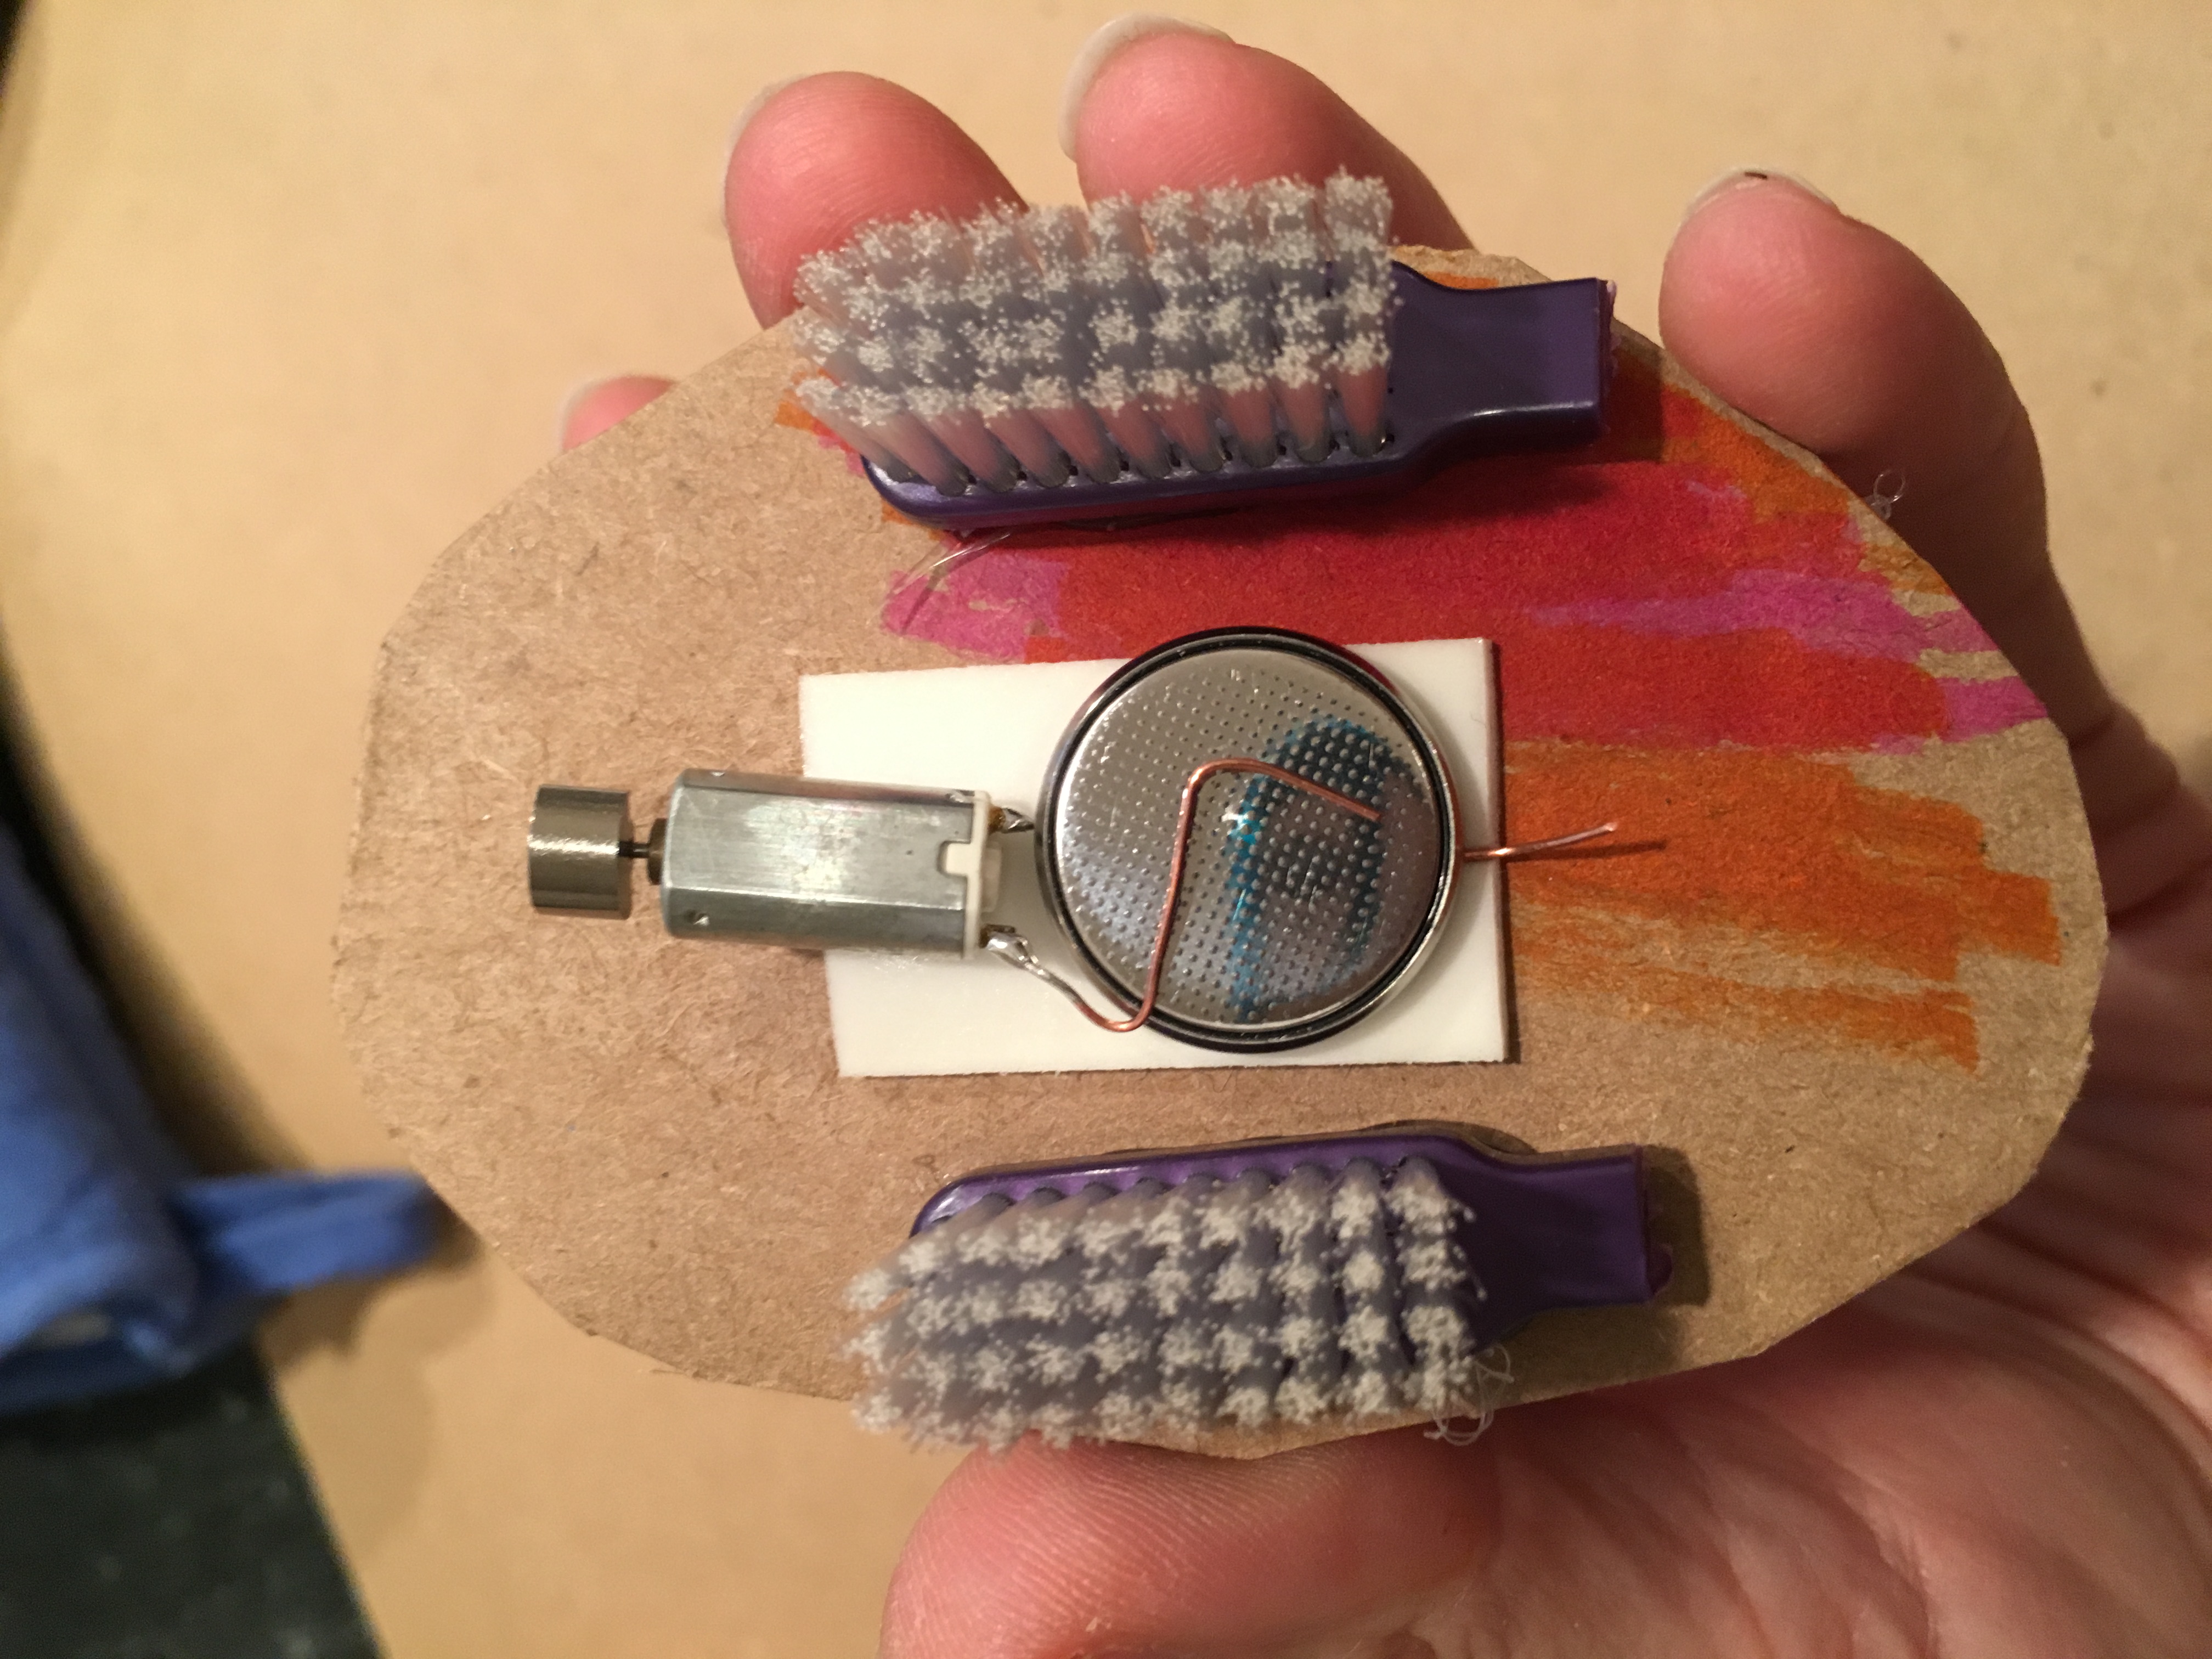
We also made made “pontoon” versions of your bristlebots with 2 toothbrush ends underneath a cardboard oval so it looked like a beetle and gave the kids more decorating space.
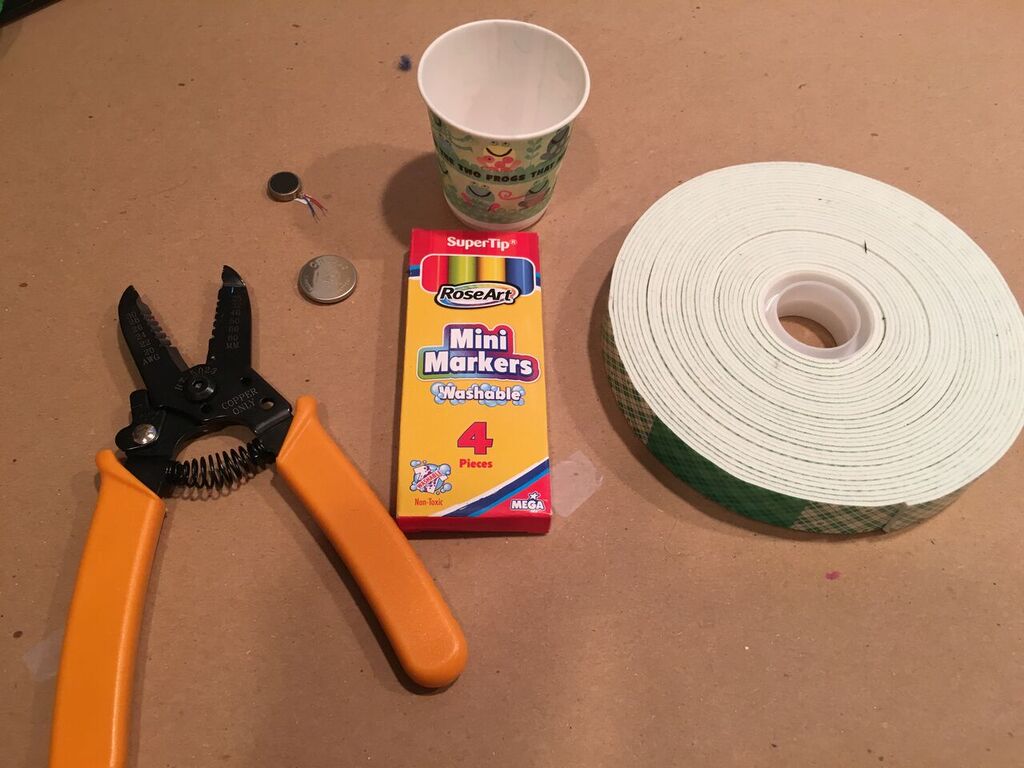
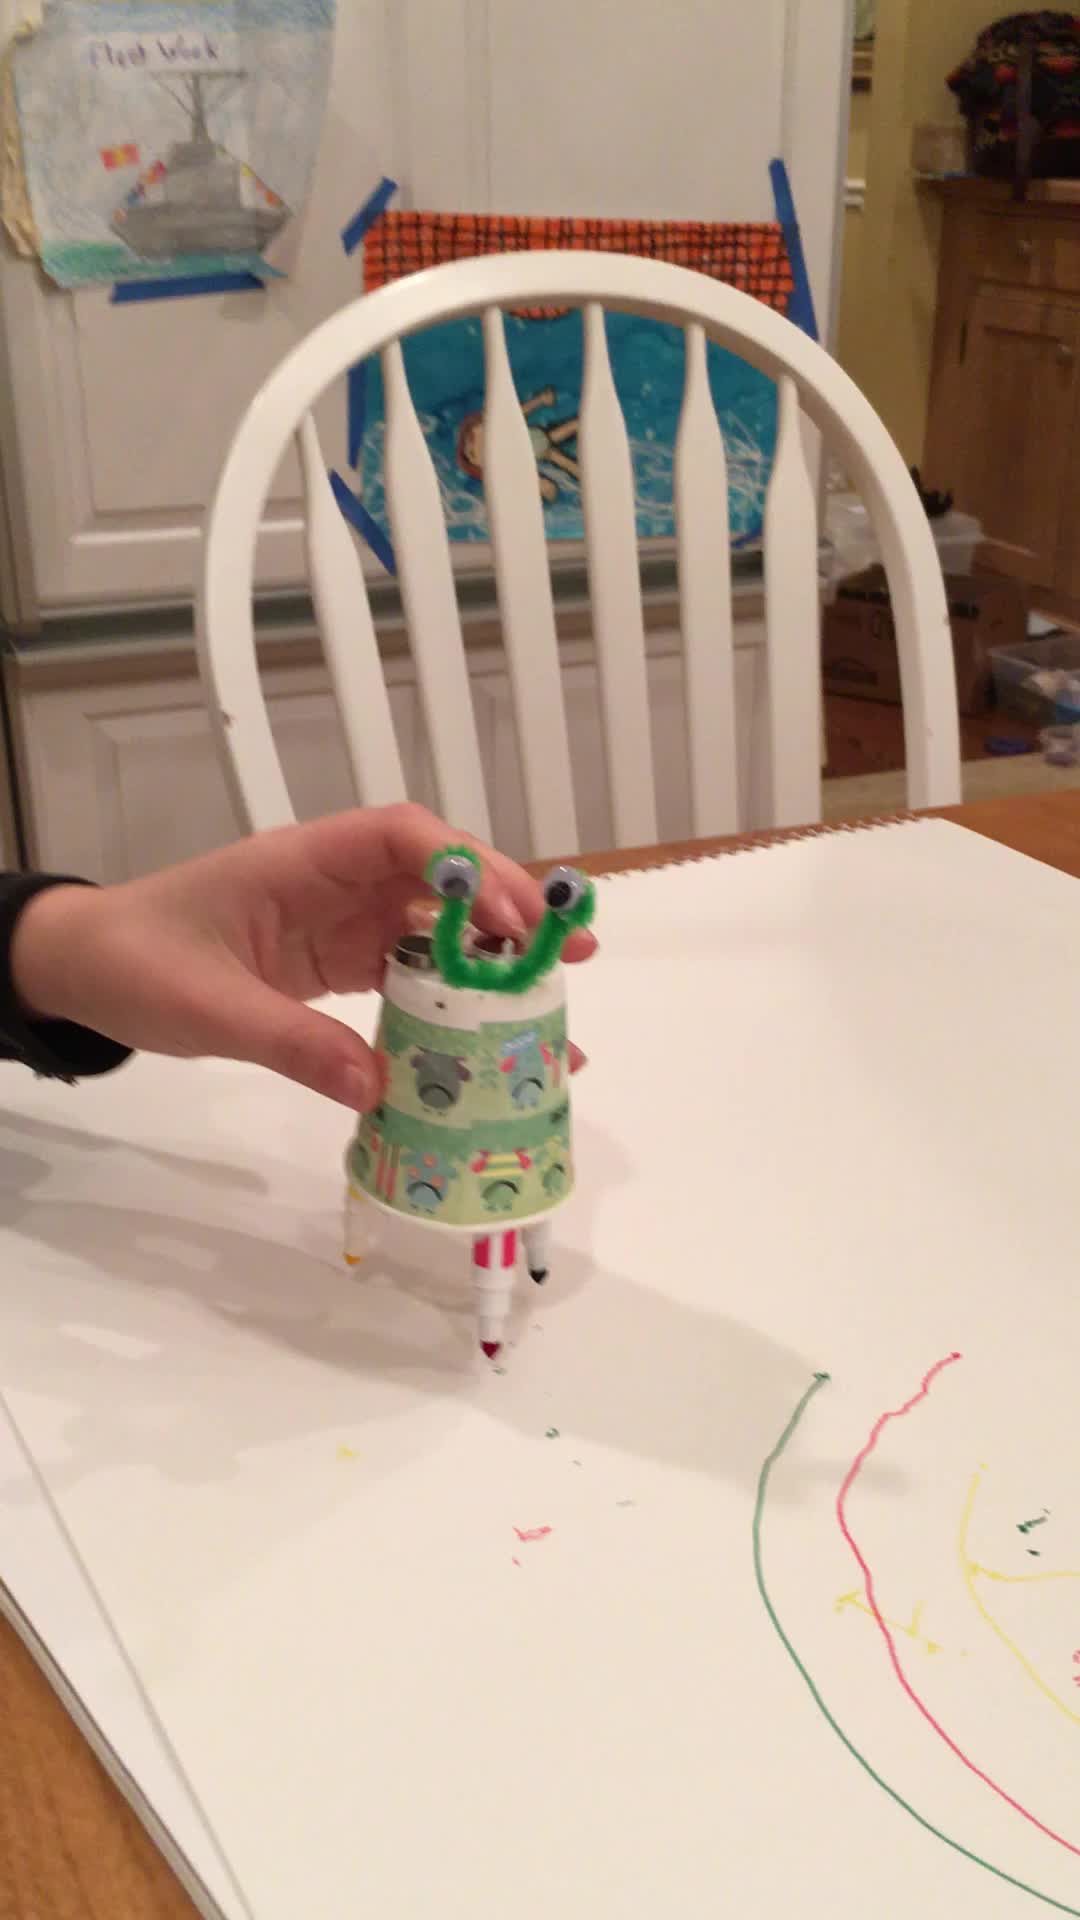
Well, now I needed a new project and I came up with the easiest, cheapest Scribblebot I’ve come across, using mostly your bristlebot construction.
The big discovery is that a Dixie cup plus mini markers keeps the whole thing so lightweight. Then put your foam taped pager motor and battery combo on top. It was also way cuter with some antennae and googley eyes. Thank you again for your great bristlebot – it’s made me the most popular mom in each of my kids’ classes.
The bots shown were made by her daughter Kate who also demonstrates them in the video clips. Thank you Kate & Jessica!
Epic Cylon costume with Larson Scanner
Warren wrote in on Facebook:
I just received your Larson scanner for my Foam Cylon helmet today … I have since this video diffused the light inside the clear conduit pipe the LEDS are held inside of to make the LED effect a bit more smoother.
He has been posting updates of the costume on facebook.
Stippled Utah Teapot
A Utah Teapot is an ideal design for a geeky ornament. For this one, I generated a vector stipple drawing from a photograph of the source object for this digital design icon. There are certainly many other ways to create a Utah Teapot ornament, including, of course, 3D printing.
In this case, I took our photo of our teapot, adjusted it to give it slightly higher contrast, and loaded it into StippleGen 2.
I removed any background stipples and plotted it on an ornament. The ornament is 2.6 inches in diameter and I used a 0.2 tip Copic Multiliner SP. I have posted the design on thingiverse.
RGB Interactive Table
Craig shared this project which evolved with the assistance of the Octolively project.
Thanks for the previous help you gave me when I was designing my own IR proximity boards. I thought you may want to have a look at the finished item.
I have attached a picture of the 25 100mmx100mm boards and a video of the table working. Each one had a SOIC PIC 18F26K22 on it, with 9 IR transmitters and receivers and 9 x WS2812b addressable LEDs on. They all kind of communicate with each other so that each board does the same IR reading of the same ‘pixel’ at the same time as the others. I simply have a pin on the board which outputs low whan it is working (taking a reading’, then after it is done, it changes to an input pin, it continually looks at this pin until it goes high, meaning all the other boards have also completed that particular reading and then it’s on to the next one.
I also have a calibration function so any thickness opaque covering can be put on the table top.
I have 2 buttons on it. One to change the colour (including the rainbow fade) and also a button to change the fade speed.
Thank you, Craig, for sharing your project! We’re glad you were able to get inspiration and helpful information from one of our projects.