Category Archives: Robotics

Introducing WaterColorBot 2.0

WaterColorBot 2.0

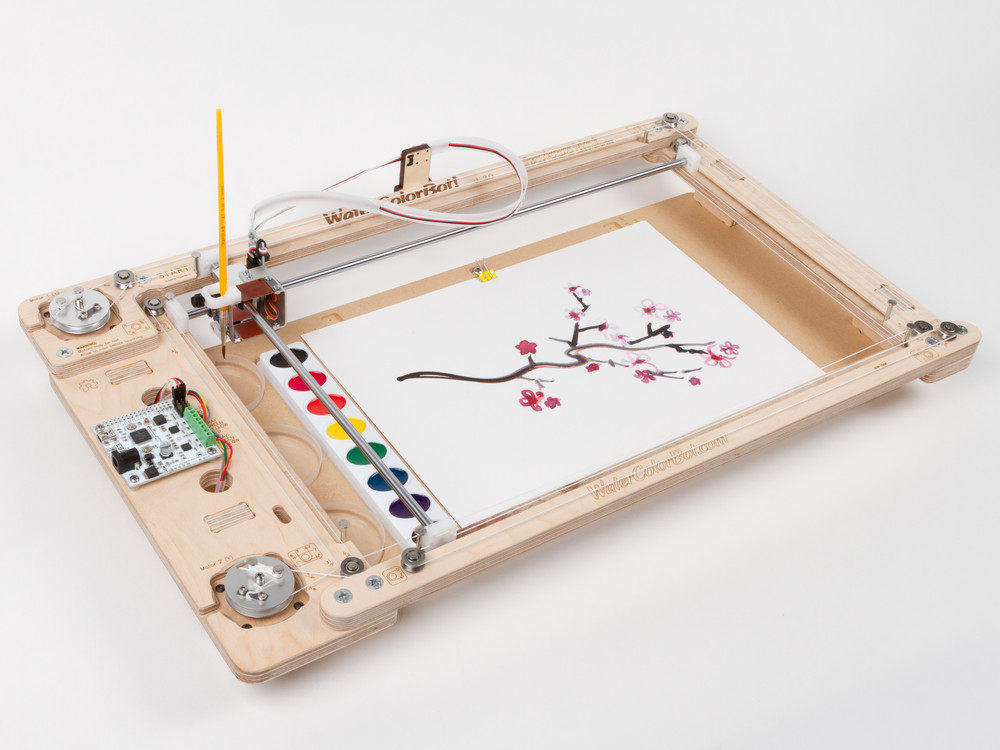
We are very pleased to introduce something that we’ve been working on for most of this year: WaterColorBot version 2.0!

WaterColorBot 2.0

The WaterColorBot is our collaboration with Super Awesome Sylvia: A friendly art robot that moves a paint brush to paint your digital artwork onto paper, using a set of watercolor paints.

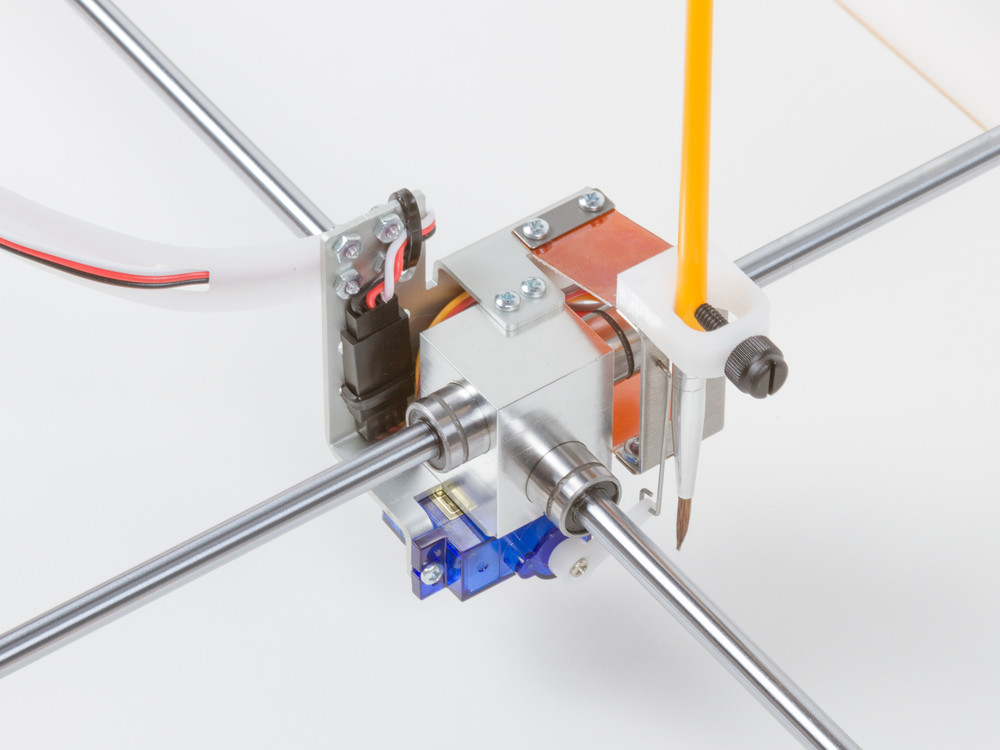
Version 2.0 brings it to the next level with some greatly improved hardware. First and foremost, the carriage that holds the brush has been completely redesigned:

WaterColorBot 2.0

The carriage on the original WaterColorBot was made from laser-cut plywood, with nylon bushings and two simple delrin strips that formed the vertical flexure translation stage. (You can read more about the original carriage here and here.)

The new carriage consists mainly of two pieces of metal. The center block of anodized aluminum is CNC milled, and houses crossed linear roller bearings. Wrapped around that is a laser-cut and formed aluminum part that mounts the brush-lift motor, cable guide, and the flexure stage.

WaterColorBot 2.0

The new flexure stage is built with two custom flex circuit boards, used in this case as mechanical flexures. Each board consists of a very thin (0.1 mm, 4 mil) Kapton sheet with a thin fiberglass (G10/FR4) stiffener on its center section. With the two ends of each sheet clamped rigidly and the stiffener in the center, each flex circuit is to flex only along two well-defined lines. And with two boards, it forms a neat parallelogram linkage, without the slop that one might encounter in multi-part hinges. The net effect is that this new flexure stage has remarkable stiffness compared to the old design.

WaterColorBot 2.0

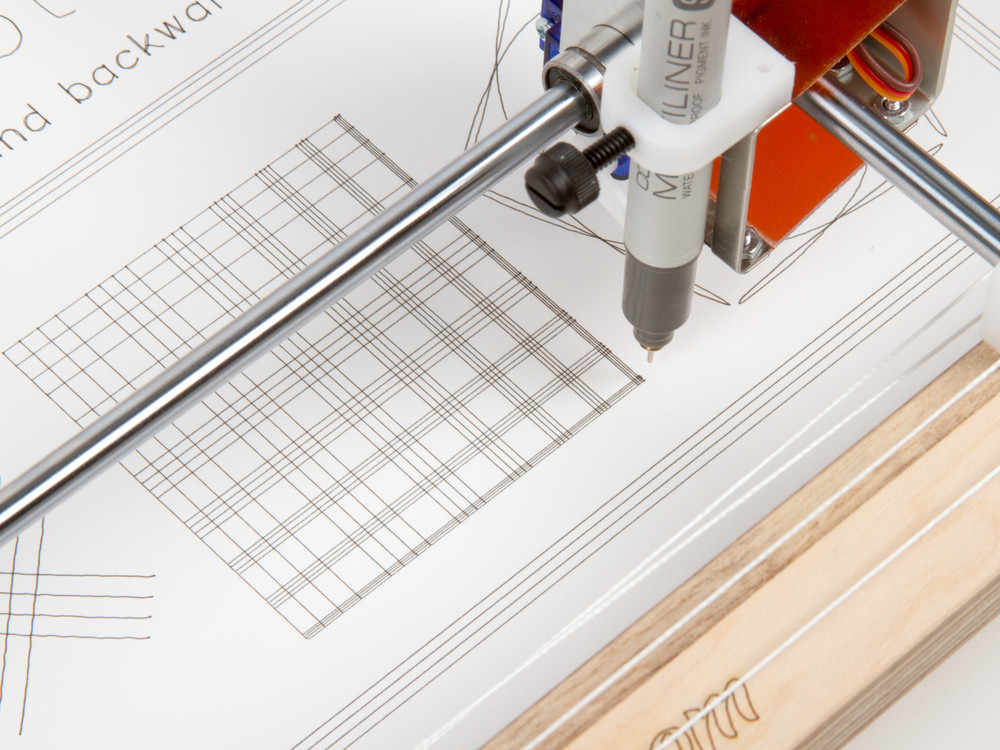
That stiffness, combined with the improved performance of the linear ball bearings makes this a more precise WaterColorBot. Not that you could even detect the improvement with a fat brush and watercolor paints, but things are looking quite good even with using ultra-fine point drawing pens, as you can see above.

WaterColorBot 2.0

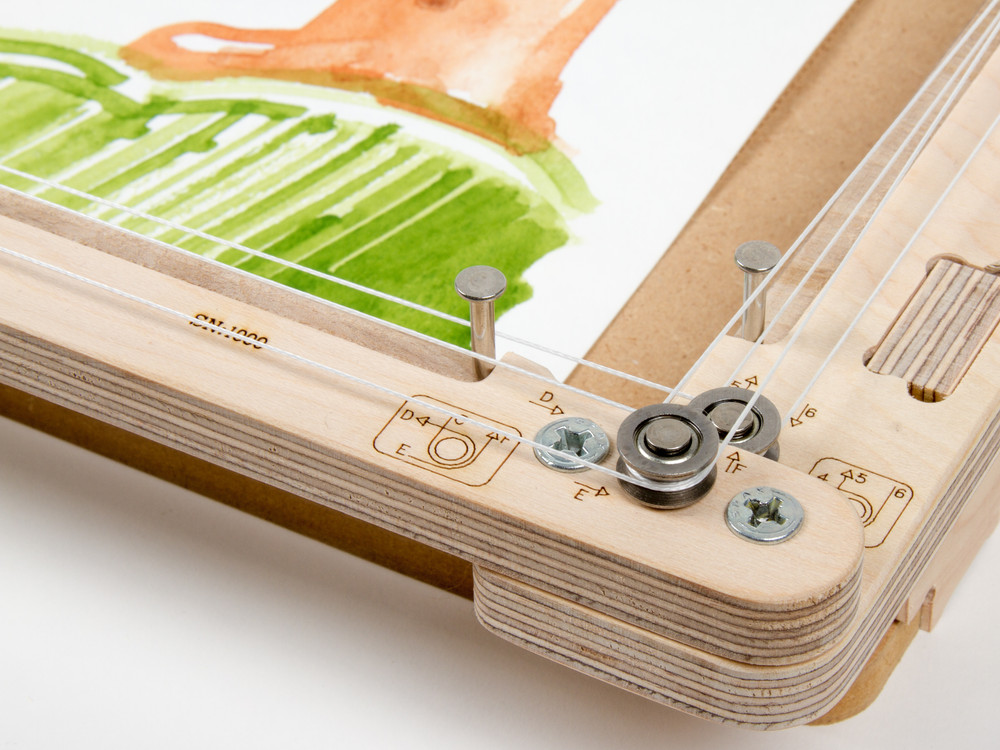
The second major change is to the system of Spectra cords that the stepper motors control in order to move the carriage. Previously, the cords were guided around 11 plain bearings (stainless steel solid rivets) and 3 ball bearings.  We’ve simplified this into an arrangement of just 8 ball bearings— four for each motor. The ball bearing pulleys have also been updated to use wide V-groove bearings that are easy to wrap the cords around.

Which brings us to the third (and last) major change. Thus far, WaterColorBot kits have shipped “some assembly required” — with all the major components built, but the cord lacing left to the end user. As of 2.0, WaterColorBot kits now come fully assembled and tested. That doesn’t make them any less hackable, but it does mean that you can get up and running faster.

WaterColorBot 2.0

Version 2.0 includes the same CNC machined aluminum winches that we introduced back in August. Tiny detail: we’ve carved a subtle indentation into the wood around the winch that makes them a little easier to turn by hand.

WaterColorBot 2.0

The new WaterColorBot kits will begin to ship right after Thanksgiving. And a bonus present for the holiday season: Version 2.0 is priced the same as the previous version, it’s just a whole lot more awesome per dollar.

Ostrich EggBot 2.0

Ostrich EggBot
Ostrich EggBot

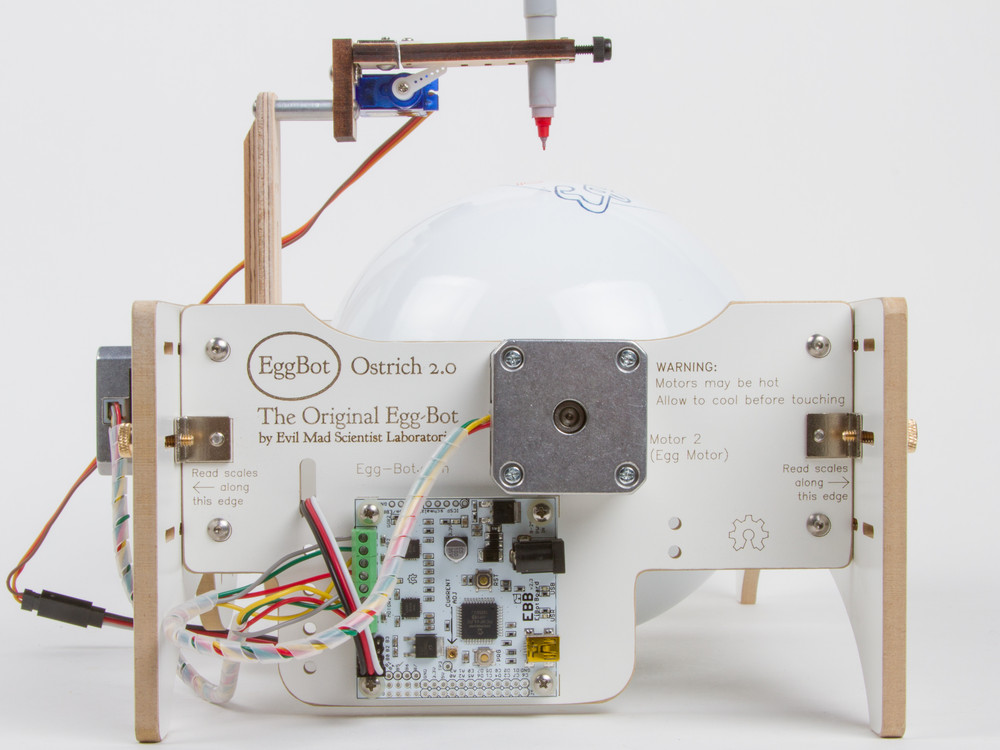
We’ve just released version 2.0 of our Ostrich EggBot kit!  This is the giant size EggBot. Like the smaller models, it’s a machine capable of drawing on the surface of all kinds of spherical and egg-shaped objects up to 6.25 inches (15 cm) in diameter, including large ostrich eggs.

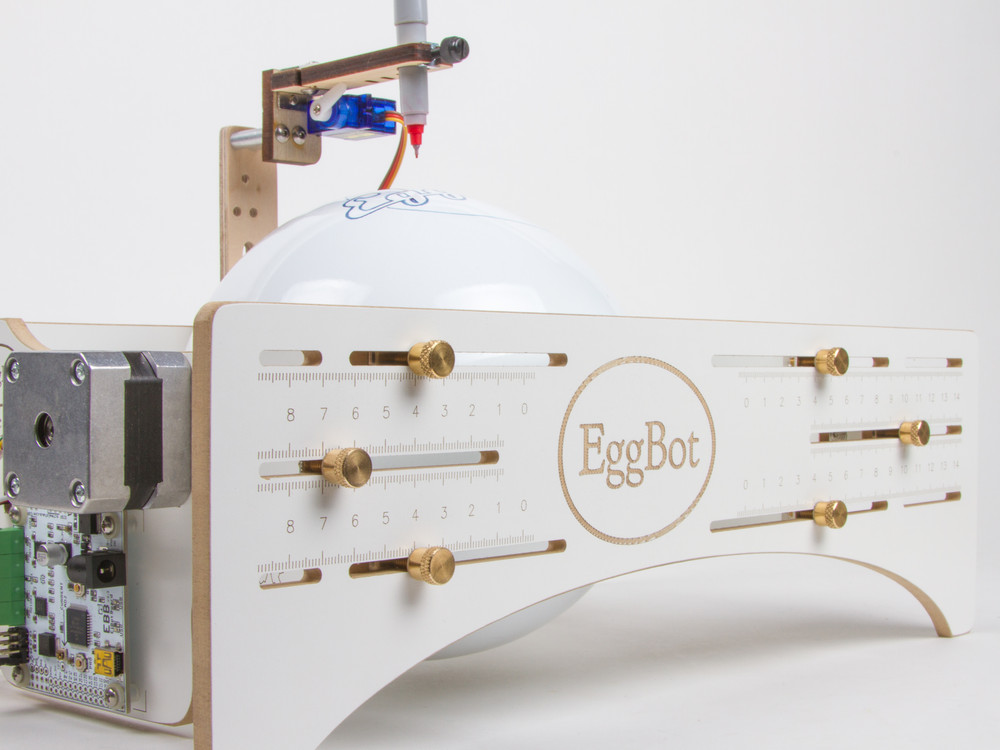
This chassis of the new version is CNC machined from melamine-faced MDF, and laser engraved with markings and calibration scales. (The previous version was made of plywood; you can read about it here.) We’ve also updated the graphics, and rolled in a number of subtle improvements based on user suggestions and our own extensive experience with the machine and other members of the EggBot family.

Ostrich EggBot Ostrich EggBot

With a relatively large chicken egg chucked into the holders, you can get a better sense of scale. (An ostrich egg is a terrible object to suggest a sense of size!)

The tailstock (the sliding portion of the right hand side) has been slightly redesigned for higher stiffness and better ease of use. The bulk of the stiffness in the directions that we care about (that is, in the directions where the chassis material is not strong) derives from the steel angle brackets, and the new tailstock helps to reinforce that for better overall rigidity.

Ostrich EggBot

One of the best things about the new chassis material is that it laser engraves particularly well, giving high-contrast, highly readable adjustment scales on the sides. And that makes it all easier to use in practice. All considered, this has turned out to be quite a nice little upgrade.

The Return of RoboGames

RoboGames, the huge cross-disciplinary international robotics competition, is running a kickstarter campaign to bring back the event in 2015, and they need your help to do it.

We love RoboGames. The range of competitions is so broad, there is opportunity for participation from roboticists of all backgrounds. We received a silver medal in the bartending division of the art robots category in 2011 with Drink Making Unit 2.0. In 2013, we helped Super Awesome Sylvia create the WaterColorBot, which won silver in the painting robots category. We helped to produce the medals for the winners in 2009 and 2013. But more important than our personal successes and participation, we have been privileged to see the excitement that comes from the entrants, whether they are competing in soccer, fire-fighting, sumo, or crowd-pleasing combat.

RoboGames is also planning production of a video series around the event, to bring it to those who can’t be there in person, and so that you can enjoy it whenever you need a good dose of robots.

A Requiem for CandyFab

Coil

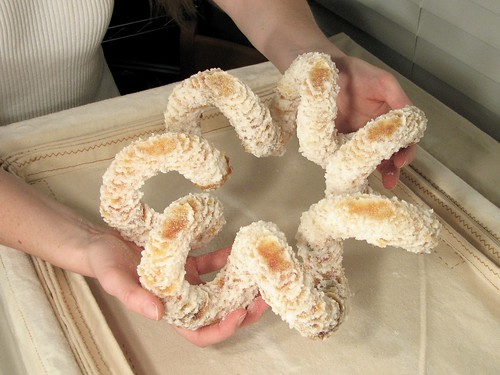
The CandyFab 4000, 5000, and 6000 were three early DIY 3D printers that we built in the years 2006 through 2009. They worked by using hot air to selectively melt and fuse granulated media, and were capable of producing large, complex objects out of pure sugar, amongst other things.

CandyFab is no longer an active project — it hasn’t been for a few years. But the time has come to retire it officially and document its history. We have taken some time to write an in-depth article about the history of the CandyFab project, the different CandyFab machines, why and how they were built, what they were capable of, and the lessons that we learned in the process. Have a seat; we have a story to tell.

The CandyFab Project: 3D Printing in Sugar. Big, DIY, and on the cheap. 2006 — 2009.
Link: candyfab.org

Introducing the EggBot Pro

EggBot Pro

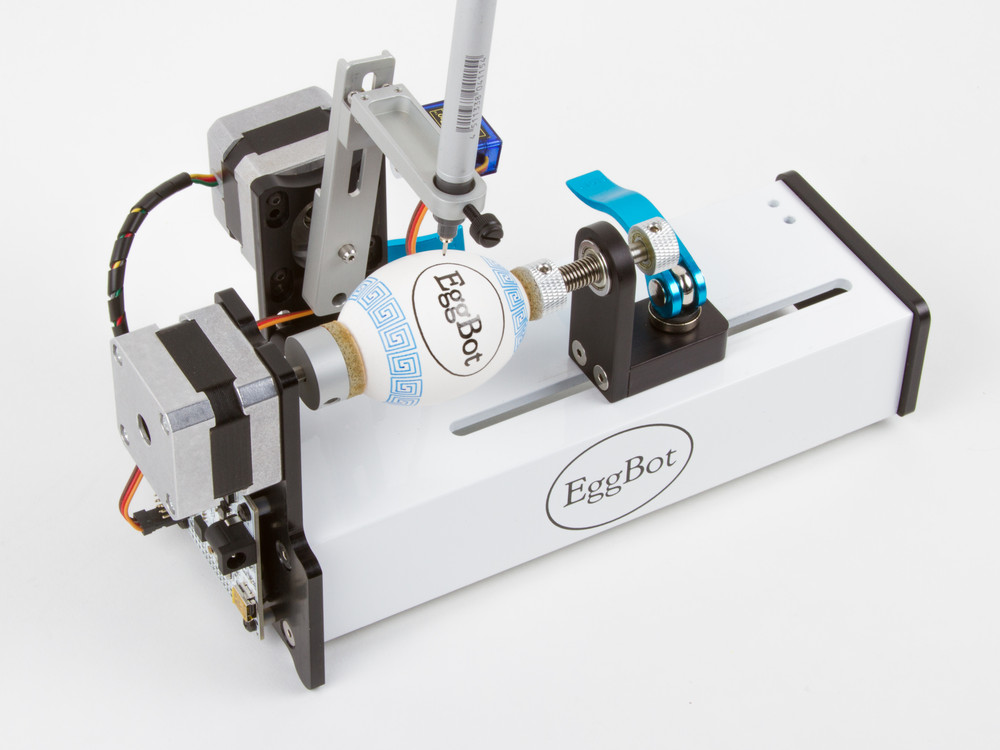
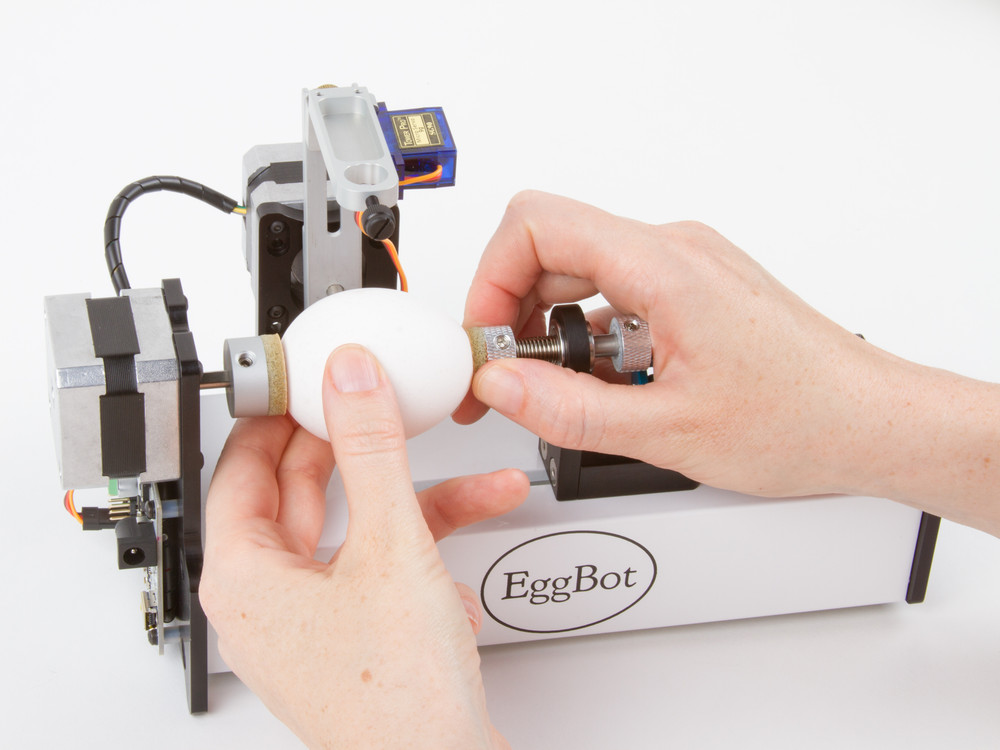
An EggBot is a compact, easy to use art robot that can draw on small spherical and egg-shaped objects. The EggBot was originally invented by motion control artist Bruce Shapiro in 1990. Since then, EggBots have been used as educational and artistic pieces in museums and workshops. We have been working with Bruce since 2010 to design and manufacture EggBot kits, and our well-known Deluxe EggBot kit is a popular favorite at makerspaces and hackerspaces around the world.

Today we’re very proud to release the newest member of the family: the EggBot Pro, a near-complete reimagining of the EggBot, designed for rigidity, ease of use, and faster setup.

EggBot Pro

The EggBot Pro is as sturdy as can be: Its major components are all solid aluminum, CNC machined in the USA, and powder coated or anodized. (And isn’t it a beauty?)

The most common mechanical adjustments are faster with twin bicycle-style quick releases, and repositioned thumbscrews for easier access.

EggBot Pro

The frame also has an open front design that gives much better visibility while running, and greatly improved manual access when setting up.

EggBot Pro

And, it comes built, tested, and ready to use — no assembly required.  Assuming that you’ve installed the software first, you can be up and printing within minutes of opening the box.

The EggBot Pro begins shipping this week. We’ve also put together a little comparison chart, so you can see how it fits in with the rest of the family.


A template for BristleBot Competitions

Aesthetically Interesting

For the robotics team that we mentor (FRC team 3501), we created an “Advanced Bristlebot Competition” to serve as an off-season team building exercise. We are publishing our competition template (PDF download) here so that anyone can use it as a starting point for their own events. The goals of the competition are to provide a self-contained, resource-constrained and time-limited introduction to a robot competition environment, and to get new and continuing students working together on solving simple engineering challenges.

Arenas

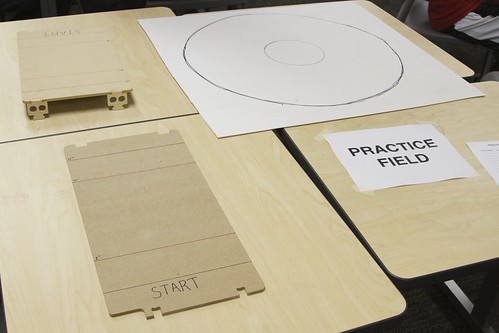
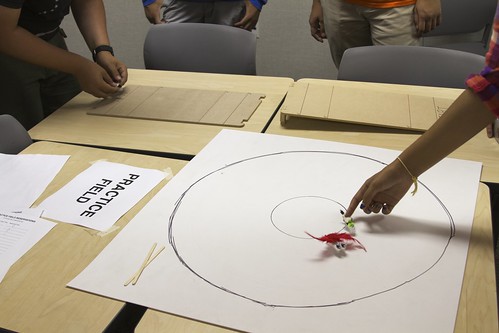
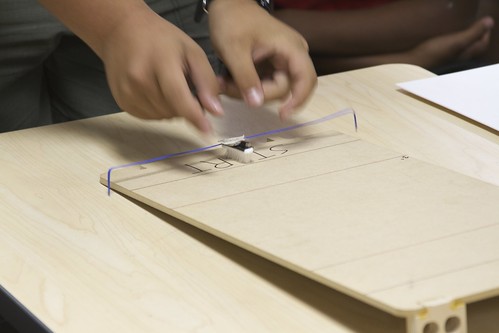
The competition consists of three challenges: sprint (distance time trial), mountain climbing (same, on an inclined plane), and sumo (a two-robot competition that rewards going in circles).

Working together

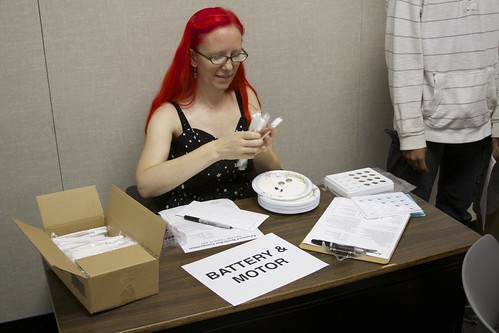
The group of students is split into teams of two, trying to pair new students with team veterans.

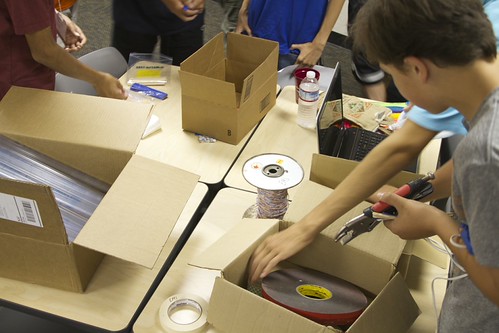
Distributing supplies

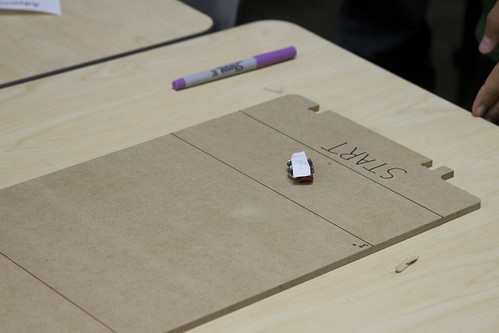
Each team is given a set of rules and a small pile of toothbrushes, motors, and batteries.

construction supplies

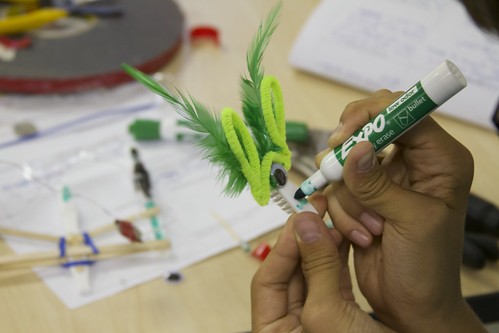
Beyond this, one table is designated for tools and supplies, and has an assortment of craft supplies including things like coffee stir sticks, wires, twist-ties, googly eyes, pipe cleaners, pom-poms, and tape. Building tools include hot glue guns, scissors, bolt cutters (for cutting the heads off of toothbrushes), and wire strippers.

Ready for competition

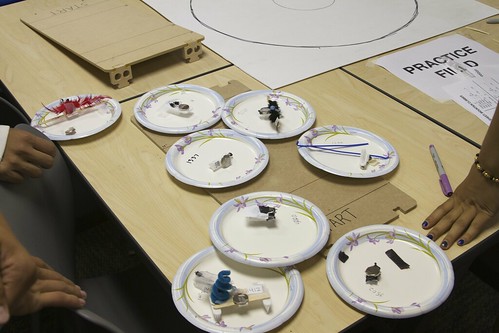
After a building period, the robots are “bagged and tagged” prior to competition. For the BristleBots, this means they are placed on paper plates marked with their team number for inspection to ensure that they meet the competition requirements.

Practice match

The competition takes place in two rounds, separated by an interval of building time between them.  The extra time allows the students to redesign and implement changes based on what they learned during the first round of matches.

Vrooom...

We witnessed a couple of great moments during our event. We overheard some students watching our original BristleBot video on a phone, and when they noticed us watching them, they defended themselves, saying, “The rules don’t say we can’t!”

Go!

One of the most technically inclined students on the team, after building several prototypes and studying the performance of his BristleBots on the ramp for about 10 minutes asked, “This can’t actually be done, can it?” Minutes later, a veteran student from another team, proudly set his robot on the ramp and it whizzed up in one solid go in about 10 seconds. Later, during competition, another student watched her BristleBot zoom up the ramp in 3 seconds flat, using a variation on that successful design.

Materials & Resources

BAMF 2014: Taktia

BAMF 2014 147
Part of our continuing coverage of highlights from the 2014 Bay Area Maker Faire.

One of the most exciting new technologies that we saw at Maker Faire was from Taktia, a startup making augmented-reality power tools. They were showing off their semi-automated handheld wood router.
BAMF 2014 148

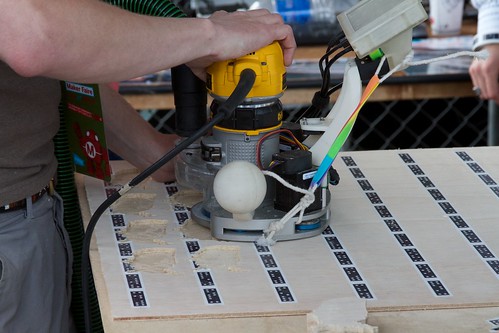
The router sits in a robotic cradle with a computer vision system and a screen. The human guides the router by hand, keeping its center within a 1 inch diameter circle shown on the LCD screen. As the human moves the router, the cradle makes fine corrections to put the router bit exactly where it needs to be, allowing a non-expert to cut precise, complex shapes, while only moving the router along a coarse path.
BAMF 2014 160

In the photo above you can see some wooden shapes that visitors were cutting out, by only moving the router freehand, while letting the robotic cradle do the hard work. We can certainly imagine other tools getting the same “robotic upgrade” — this startup will be worth watching.


BAMF 2014: Open Source Sprinkler Controls

BAMF 2014 140
BAMF 2014 141
BAMF 2014 142
Part of our continuing coverage of highlights from the 2014 Bay Area Maker Faire.

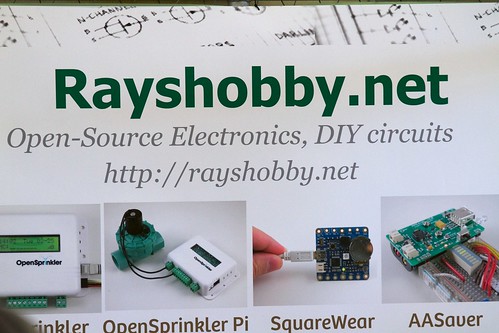
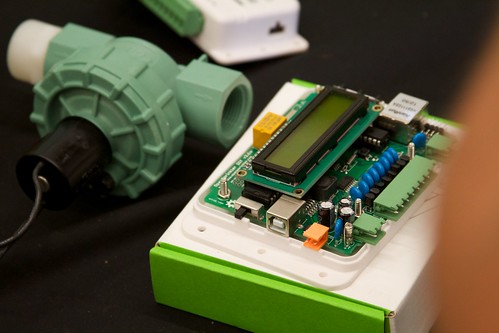
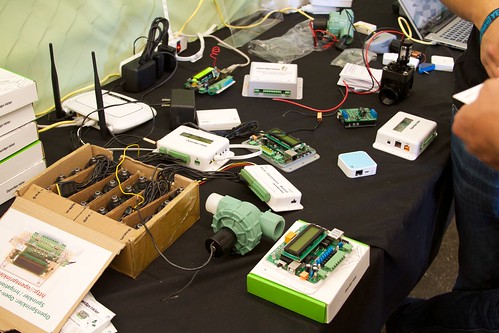
We can’t say how many times we’ve heard people ask questions about hacking or building their own sprinkler controllers, but apparently here are the ones that everyone has been looking for. These open source hardware sprinkler controllers from Ray’s Hobby —  designed so that you can hack and build your own — look well-made and genuinely useful. There are neat irrigation (and multipurpose relay) controls, including Arduino-flavored variants as well as versions for Raspberry Pi and BeagleBone lovers.