Category Archives: Mathematics

The Power of the Digi-Comp II

Last fall, we built an oversized Digi-Comp II for MIT, which we’ll be posting about in the near future. Today, MIT computer science professor Scott Aaronson published a short “paperlet” about the computational capabilities of the Digi-Comp II on his blog, Shtetl-Optimized:

…it’s amazing that such a simple contraption of balls and toggles could already take us over the threshold of universality.  Universality would immediately explain why the Digi-Comp is capable of multiplication, division, sorting, and so on.  If, on the other hand, we don’t have universality, that too is extremely interesting—for we’d then face the challenge of explaining how the Digi-Comp can do so many things without being universal.

Pi Day is Here

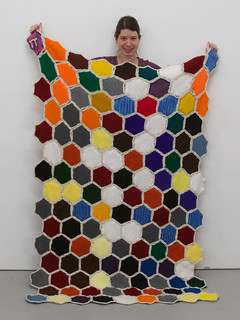
Or, if you prefer, we’re halfway (well, 44% of the way) to Tau day, 6/28.  A fine day to watch the Vi Hart‘s Anti-Pi Rant. And, a fine day to round up some of our finest Pi, Pie, and mathematics projects:

Pi Blanket   Apple Pie

Pi blanket for Pi Day, and the Apple Apple Pie!


Earrings 2   Sierpinski Cookies-11

Sierpinski triangles out of polymer clay, and fractal cookies.

Fractal Snowflake Cupcakes - 24 fabric klein bottle

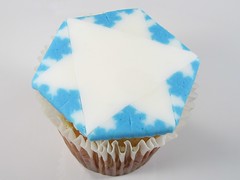
Fractal snowflake cupcakes, Fabric Klein bottle

Snowflake generator SymmetriSketch 2
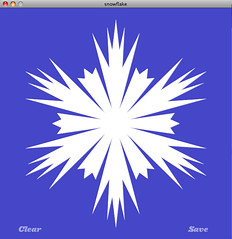
Vector Snowflake generator application, and Symmetrisketch— for exploring other symmetries.

Christmas fractalSconic Sections
Christmas Chaos and Sconic Sections

Marking Klein Bottles with the Eggbot

Untitled

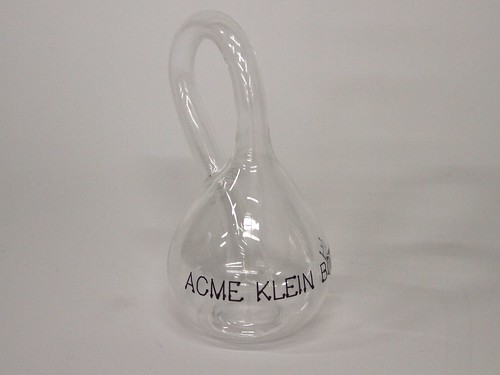
We were lucky enough to have a visit from Cliff Stoll, geek celebrity and proprietor of Acme Klein Bottle. Acme is the finest source of Klein bottles on the internet.

Cliff came with an esoteric dilemma: how to engrave a glass Klein bottle. Acme Klein bottles are blown from borosilicate (Pyrex) glass, which has a low coefficient of thermal expansion, which means that the usual way of engraving a curved glass surface—laser engraving—doesn’t actually work.  With more common types of glass, you can use a laser engraver to etch anything you want into the surface. But with Pyrex, the surface simply melts unevenly rather than creating the microfractures that give an etched appearance.

Untitled

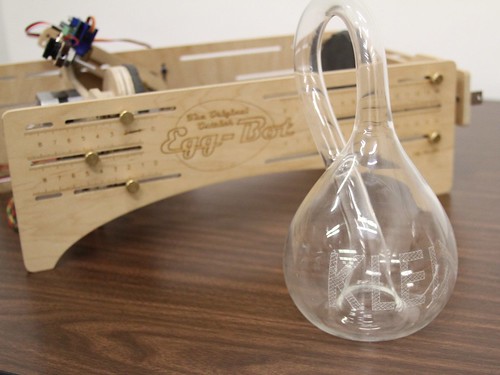
So how would you etch the curved surface of a Klein bottle? It turns out, to our surprise, that it is remarkably easy to do it with an Ostrich Eggbot fitted with a diamond engraver attachment.

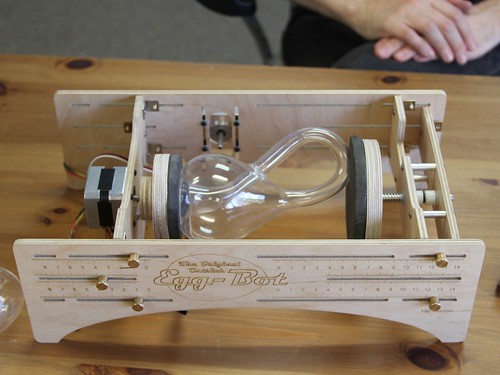
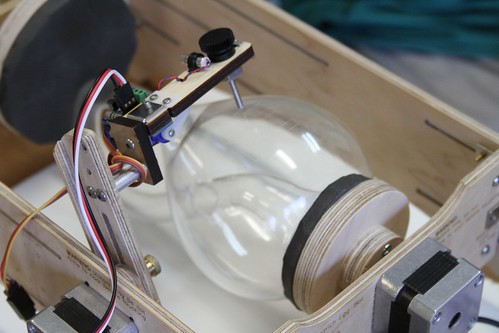
There was one complication, which is that a Klein bottle is a funny shaped object! In order to fixture the Klein bottle in the Eggbot, we made a couple of extra large couplers—much larger than the tiny pads normally used to hold the ends of an egg—with EVA foam rubber pads on their surfaces. The extra large couplers held the Klein bottle securely for rotation.

Untitled

Untitled

We did some initial tests with Sharpie and a medium sized Klein bottle to make sure our fixturing worked well.

Untitled

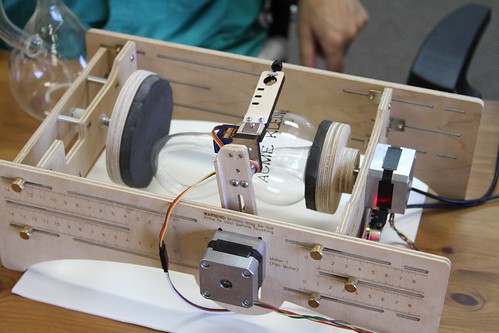
And then we hooked up an engraver for a real test.

Untitled

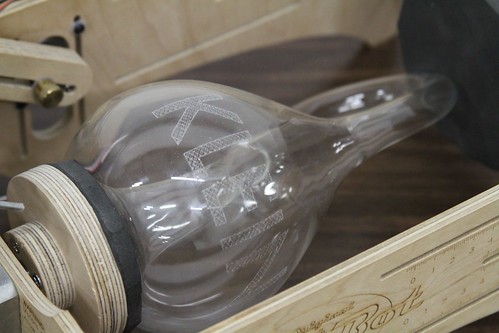
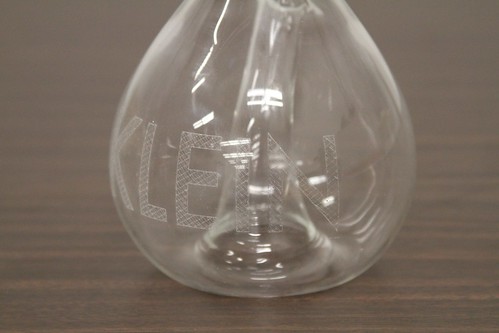
Here’s what the Klein bottle looked like after engraving. Not being particularly creative, we etched the word “KLEIN” into the side.  Because the Klein bottle is made from thick borosilicate glass, it takes engraving remarkably well. It is a much more sturdy object than the fragile Christmas ornaments that we have engraved in the past.

Untitled

While we can’t imagine that it is a major market segment, the Eggbot seems to be ideal for working with Klein bottles (insomuch as anything can be perfect for working with a closed, non-orientable, boundary-free manifold). But regardless, it’s quite wonderful to find an unexpected application like this, where our little robot can solve a real-world problem that we had never even considered.

Introducing The WaterColorBot

Today we’re thrilled to be launching our newest kit: the WaterColorBot.

The WaterColorBot is a brand-new project from Evil Mad Scientist Laboratories and Super Awesome Sylvia — a friendly art robot that moves a paint brush to paint your digital artwork onto paper, using a set of watercolor paints.

We’ve previously written about how we got started on this project (in a guest post by Sylvia), and about Sylvia’s visit to the White House Science Fair, where she was able to give President Obama a personal demonstration of the WaterColorBot.

And now, you can get one too!  We’re launching the WaterColorBot today on Kickstarter, and we’d like to ask for your support in getting it out there.  The WaterColorBot is an enormously powerful tool for helping to get young people interested in technology:

Beyond simple fun, we think that the WaterColorBot has enormous potential for STEM and STEAM education, especially as a way to get young people engaged with hands-on technology and robotics. We are particularly interested finding ways to inspire young women to pursue careers in science and technology. We cannot imagine any better way to do so, than starting with a robot co-designed by a 12 year old girl.

Perhaps more than anything else that we’ve done, we think that the WaterColorBot really can make the world a better place, one (young) Evil Mad Scientist at a time.

Play with your food: How to Make Sconic Sections

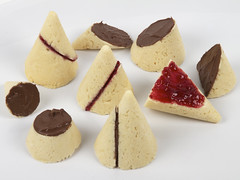
Sconic Sections

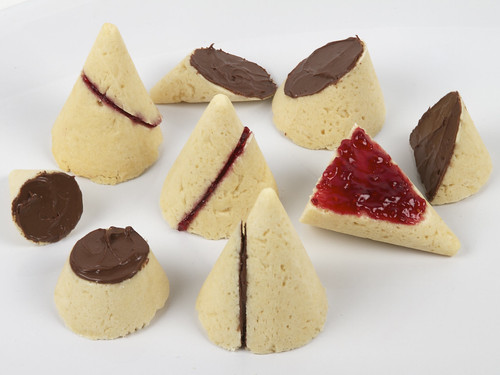
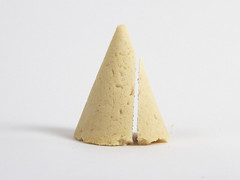
The conic sections are the four classic geometric curves that can occur at the intersection between a cone and a plane: the circleellipseparabola, and hyperbola.

The scone is a classic single-serving quick bread that is often served with breakfast or tea.

And, at the intersection of the two, we present something entirely new, delightfully educational, and remarkably tasty: Sconic Sections.

Sconic Sections: Circle Sconic Sections: Ellipse
Sconic Sections: Parabola Sconic Sections: Hyperbola

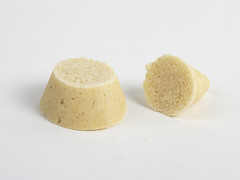
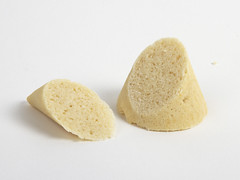
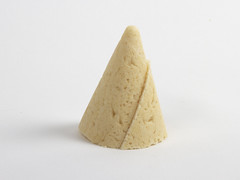
In what follows, we’ll show you how to bake cone-shaped scones, to slice them into plane geometric curves, and to highlight those curves by selective application of toppings.  We’ll also discuss some of the methods that didn’t work so well, as we refined our methods for making these.

Onwards, towards parabolic preserves and hyperbolic Nutella!

Continue reading Play with your food: How to Make Sconic Sections

Introduction to Analog Mechanical Computers

Courtesy of the United States Navy comes this incredible introduction to analog mechanical computers.

The context for this is that massive, mechanical computers were used aboard US Navy ships ranging from destroyers to battleships, from about 1944-1969, as part of the “Fire Control” system.  This type of computer would take up to 25 continuously changing input variables in order to calculate the proper bearing and elevation for heavy caliber guns aboard the ship.  This calculation— to ensure that a projectile will land at the place where the target is going to be —is marvelously complex, taking into account variables such as wind speed and direction, relative velocity of the ship and target, and parallax between the different guns on the ship.  What’s truly remarkable is that it was all done with mechanical  mechanisms such as gear differentials, cams, and mechanical integrators.

This two-part training film, from 1953, introduces the basic mechanisms that made these computers work:

The video embedded above (41:53 total length) contains both films, one after the other.  (And, the YouTube link is here.)

Basic Mechanisms in Fire Control Computers, Part 1 discusses shafts, gears, cams, and differentials. Note that the first couple of minutes are not so much about the mechanisms, but more of an explanation— to the servicemen —of why they needed to learn about them.

Basic Mechanisms in Fire Control Computers, Part 2 discusses component solvers, integrators, and multipliers


If you enjoy these training films, you may also want to read through the little book entitled Ordnance Pamphlet 1140: Basic Fire Control Mechanisms, available here in PDF format, which covers much of the same ground.