Category Archives: Open Hardware

MakerCon 2015

MakerCon is a short conference put on by Maker Media in the week leading up to Maker Faire about the business of making.

Gael with InMoov

3D printing is a common maker topic, and MakerCon brought a few different twists to it. Above is Gael demonstrating InMoov, an open source 3D printed humanoid robot. There was also an incredibly inspiring talk about applications for medical 3D printing by Dr. Glenn Green.

Gigabot print

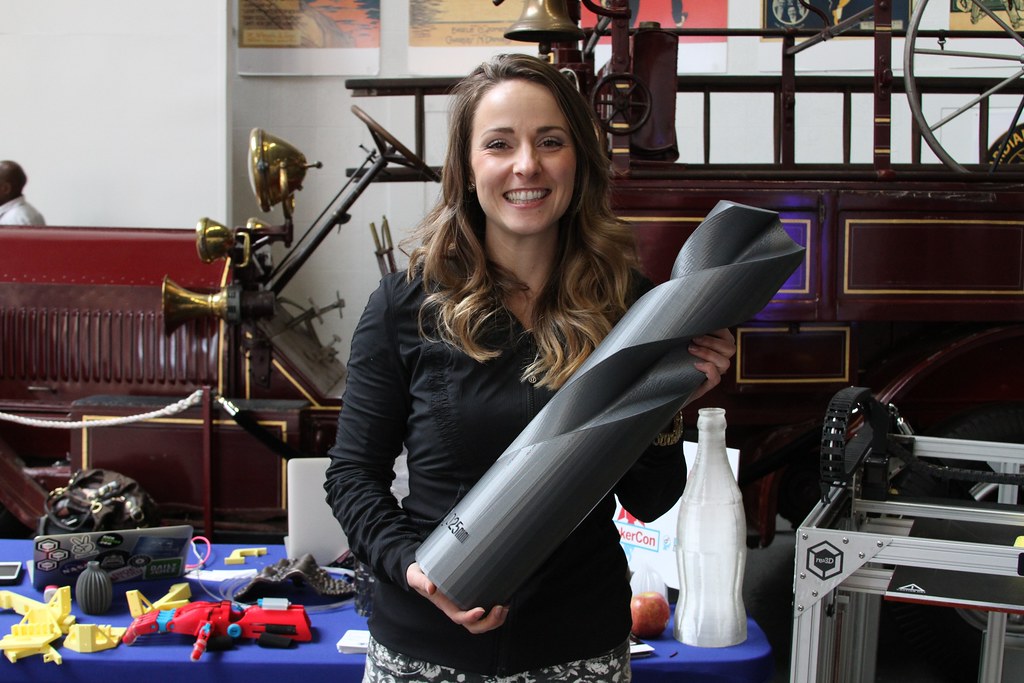
3D printing can be whimsical as well, as demonstrated by this “25 mm” drill bit by Gigabot.

Strawbees

The folks from Strawbees had built a quadcopter rotor cage with a clever servo actuator for flapping sculptural wings.

Clever flex design

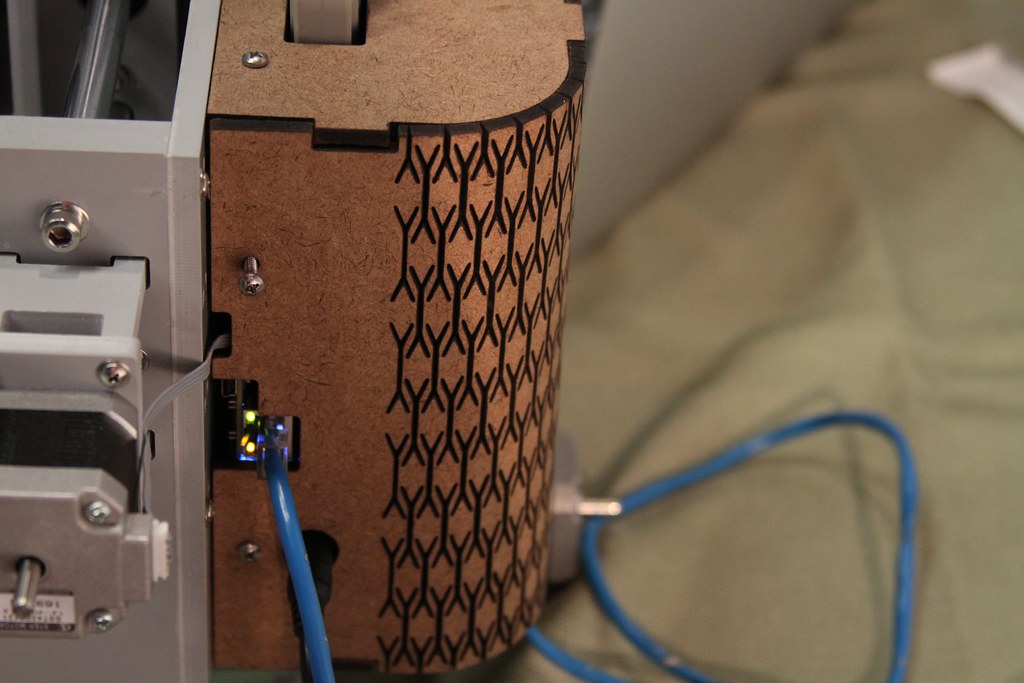
I enjoyed seeing this attractive laser cut living hinge at the BotFactory demo.

Rogue Rover

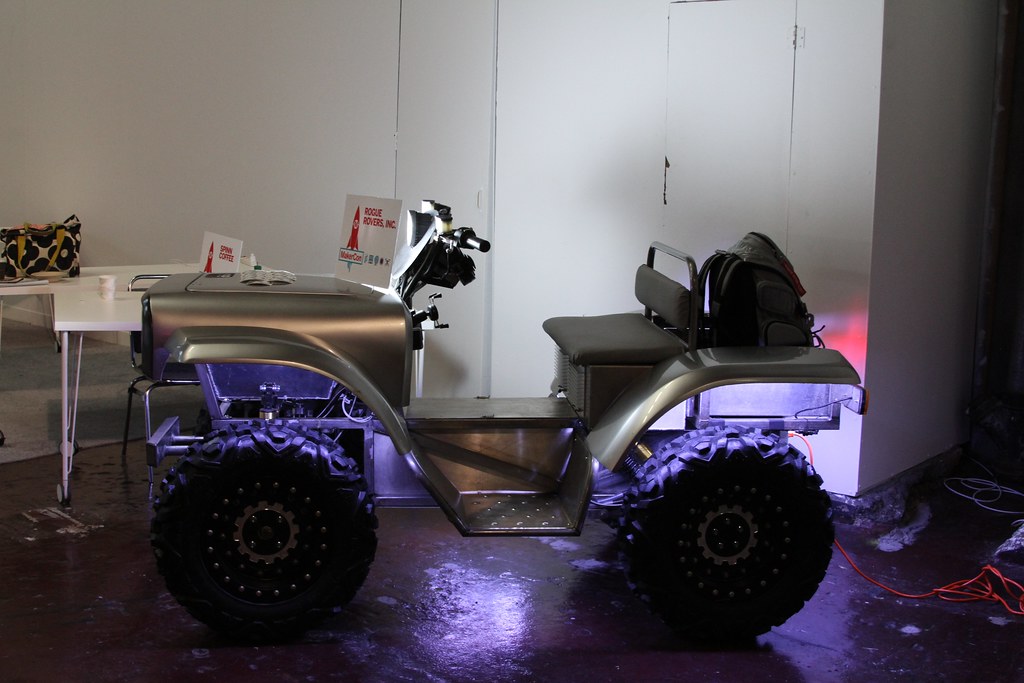
Rogue Rovers are electric semi-autonomous ATVs designed for agricultural use to reduce farm injuries and pollution.

More pictures from the event are in my flickr album.

Hands on with NanoBeam

nanobeam-26
nanobeam-13

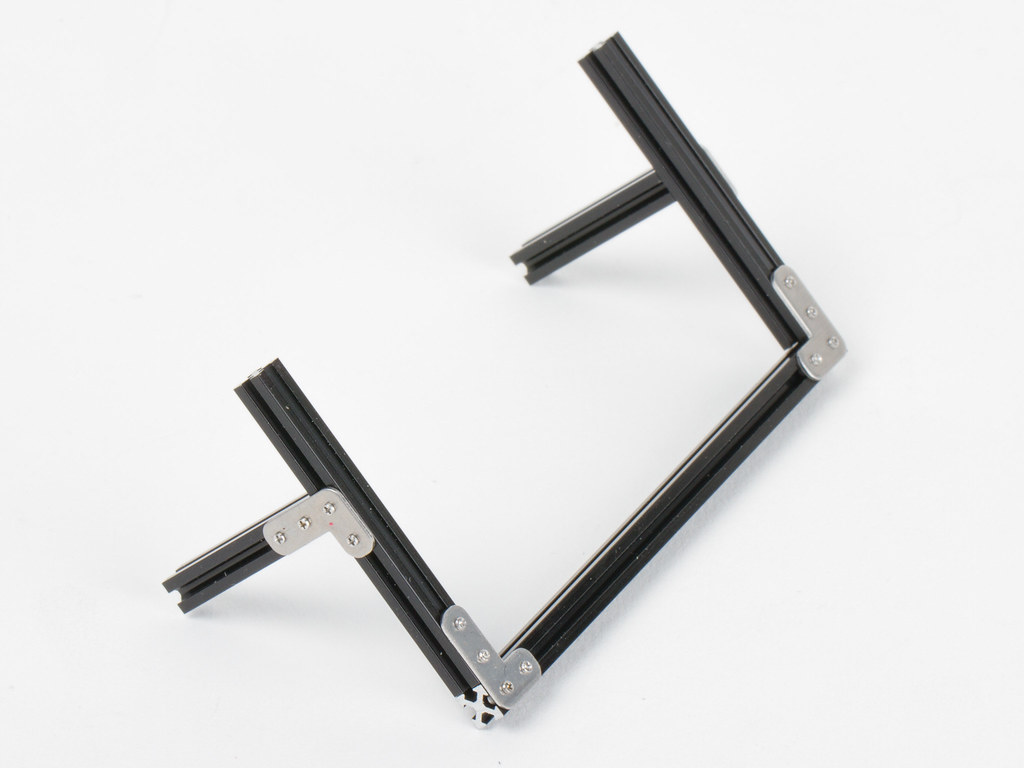
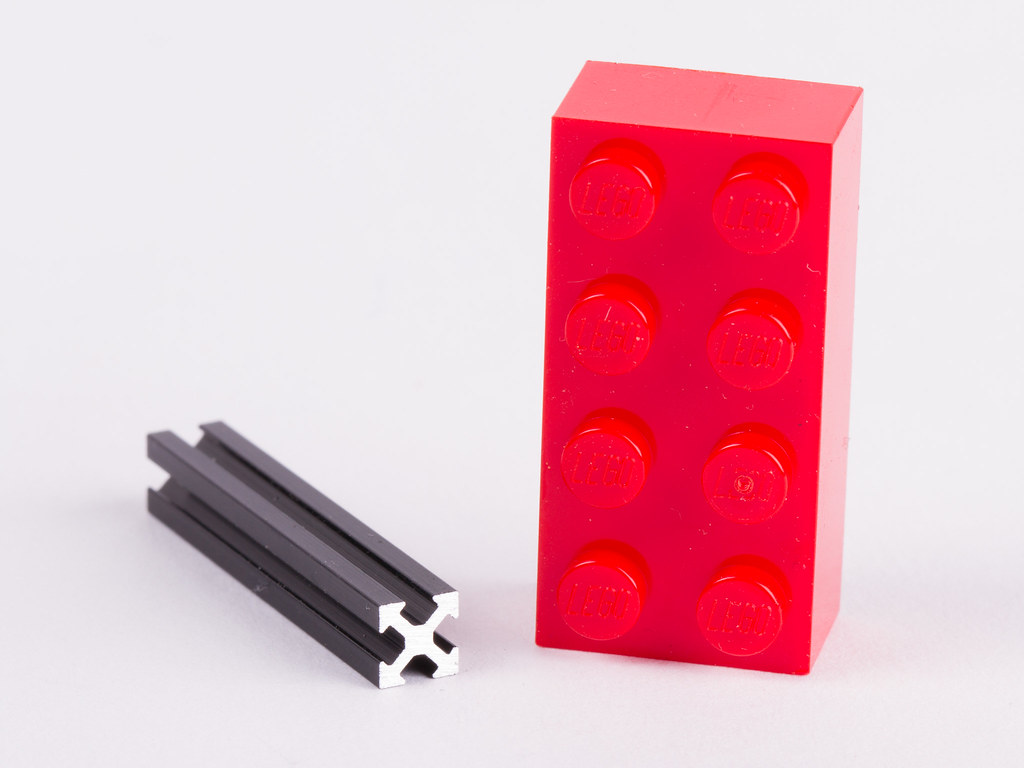
Last fall we wrote about NanoBeam, a new super-miniature open source aluminum T-slot profile construction set that was on Kickstarter at the time. While comparable in design to industrial profile systems like 80/20, its cross section of just 5 mm × 5 mm is comparable to a stud on a lego brick.

We recently got our tweezers hands on a ‘beam, and yes, it’s real, yes, it works, and yes, it’s that tiny. And just wait until you see the fasteners.

Continue reading Hands on with NanoBeam

The 2015 Hackaday Prize

We are very pleased to be amongst the judges for this year’s Hackaday Prize, which was announced today:

Last year we challenged you to build the next generation of connected devices. Six months later, the best teams and projects from around the world battled for the greatest prize of all: the respect of their peers and a trip to space. This year, we’re issuing a call to hackers, engineers, makers and startups from all over the world, to focus their creative efforts on nothing less than solving serious issues facing humanity.

Prizes this year include a trip to space on a carrier of your choice, a laser cutter, a builder kit (pcb mill, 3d printer, cnc router, bench lathe), and tours of CERN in Geneva or Shenzhen in China. New this year is a “Best Product” award. Show a production-ready (and ideally, open-source) device and you can win $100,000 in addition to being eligible for the other prizes.

You can read more about the contest and sign up at http://hackaday.io/prize

WaterColorBot as a laser engraver

Laser in place of paintbrush on the WaterColorBot

Our friend Schuyler posted on twitter that he got a laser working with his WaterColorBot. He uses the brush/up down function to move the laser up to defocus when he doesn’t want to engrave/cut.

Paperboard marked with the word Laser(s)

He even posted sample output: paperboard marked with the word “Laser(s)”. This isn’t the first WaterColorBot laser mod we’ve seen, but it’s the first with demonstrated output!

Introducing WaterColorBot 2.0

WaterColorBot 2.0

We are very pleased to introduce something that we’ve been working on for most of this year: WaterColorBot version 2.0!

WaterColorBot 2.0

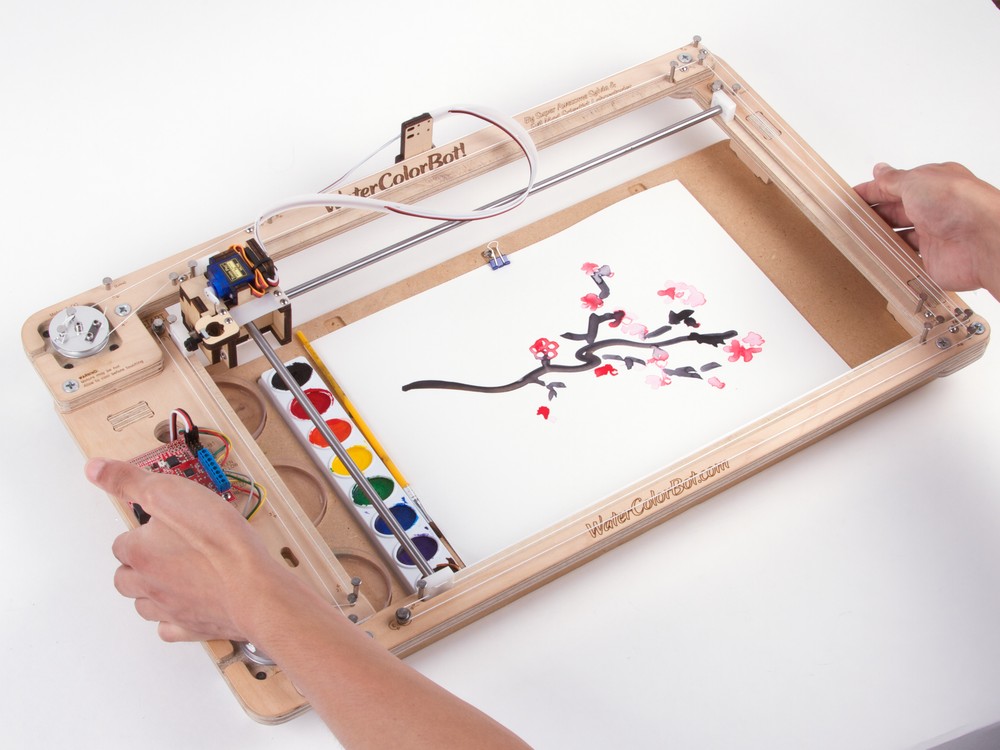
The WaterColorBot is our collaboration with Super Awesome Sylvia: A friendly art robot that moves a paint brush to paint your digital artwork onto paper, using a set of watercolor paints.

Version 2.0 brings it to the next level with some greatly improved hardware. First and foremost, the carriage that holds the brush has been completely redesigned:
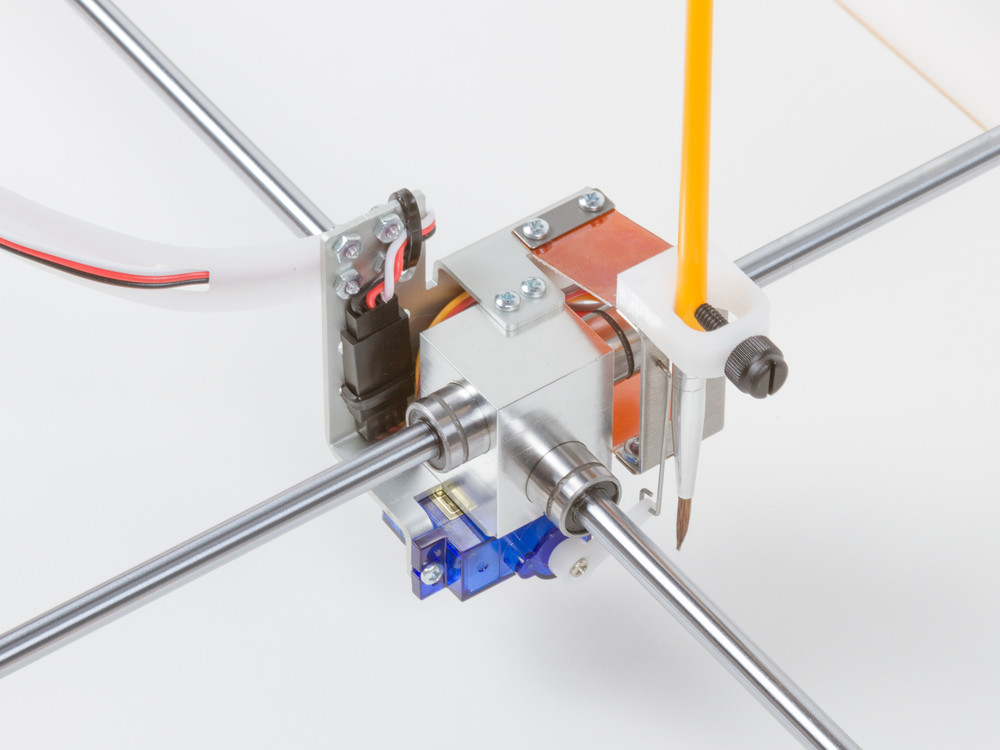
WaterColorBot 2.0

The carriage on the original WaterColorBot was made from laser-cut plywood, with nylon bushings and two simple delrin strips that formed the vertical flexure translation stage. (You can read more about the original carriage here and here.)

The new carriage consists mainly of two pieces of metal. The center block of anodized aluminum is CNC milled, and houses crossed linear roller bearings. Wrapped around that is a laser-cut and formed aluminum part that mounts the brush-lift motor, cable guide, and the flexure stage.

WaterColorBot 2.0

The new flexure stage is built with two custom flex circuit boards, used in this case as mechanical flexures. Each board consists of a very thin (0.1 mm, 4 mil) Kapton sheet with a thin fiberglass (G10/FR4) stiffener on its center section. With the two ends of each sheet clamped rigidly and the stiffener in the center, each flex circuit is to flex only along two well-defined lines. And with two boards, it forms a neat parallelogram linkage, without the slop that one might encounter in multi-part hinges. The net effect is that this new flexure stage has remarkable stiffness compared to the old design.
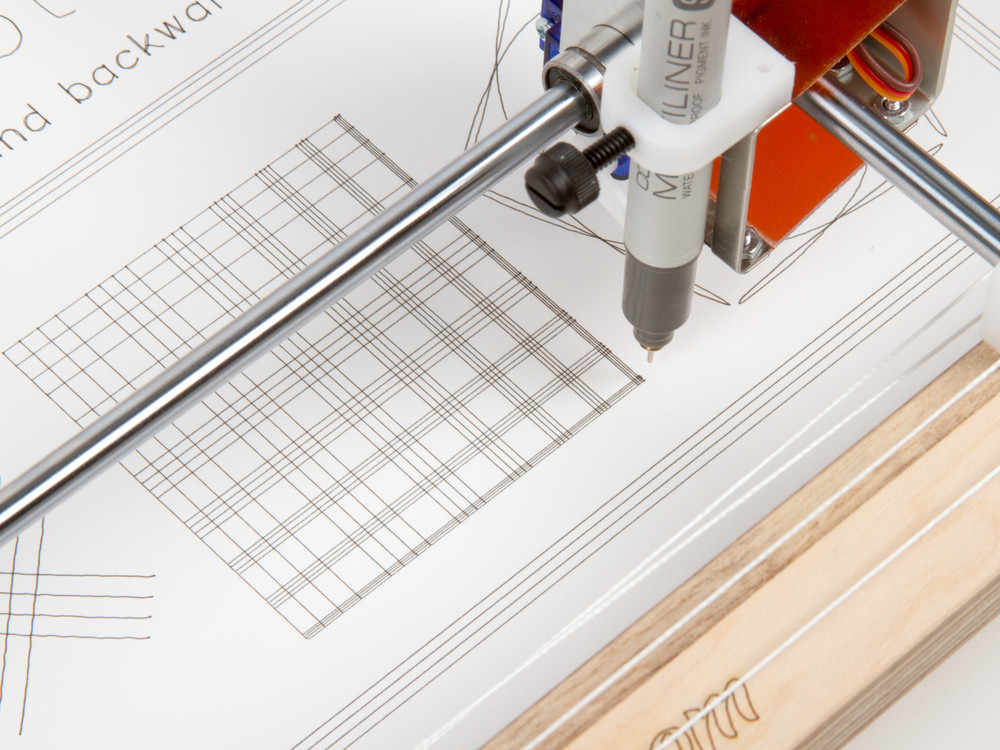
WaterColorBot 2.0

That stiffness, combined with the improved performance of the linear ball bearings makes this a more precise WaterColorBot. Not that you could even detect the improvement with a fat brush and watercolor paints, but things are looking quite good even with using ultra-fine point drawing pens, as you can see above.
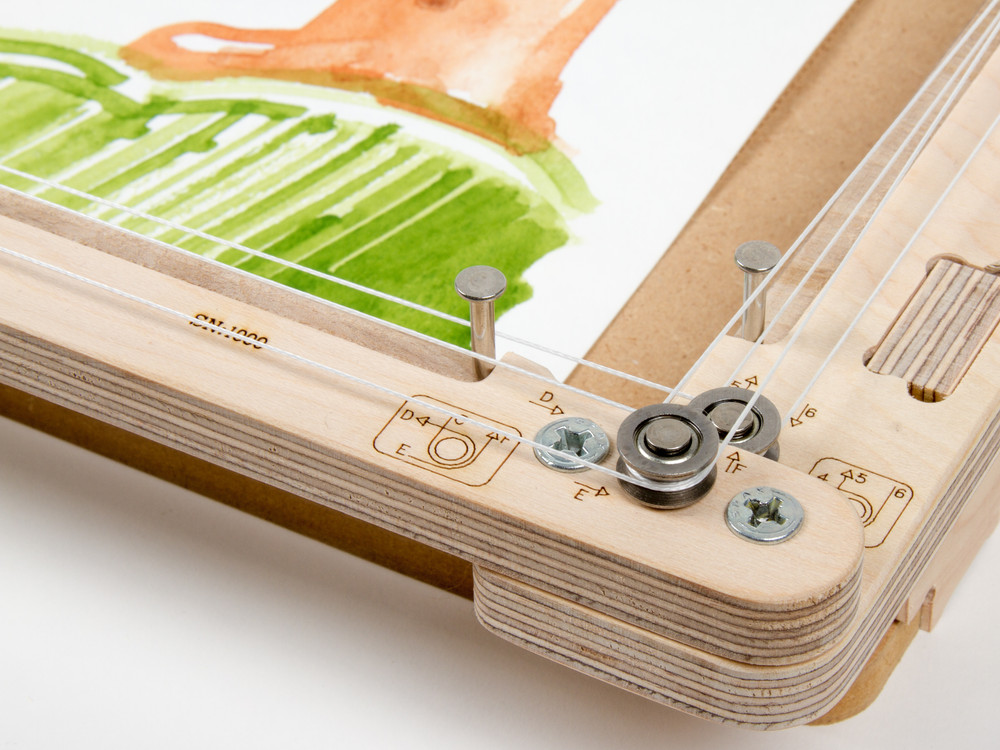
WaterColorBot 2.0

The second major change is to the system of Spectra cords that the stepper motors control in order to move the carriage. Previously, the cords were guided around 11 plain bearings (stainless steel solid rivets) and 3 ball bearings.  We’ve simplified this into an arrangement of just 8 ball bearings— four for each motor. The ball bearing pulleys have also been updated to use wide V-groove bearings that are easy to wrap the cords around.

Which brings us to the third (and last) major change. Thus far, WaterColorBot kits have shipped “some assembly required” — with all the major components built, but the cord lacing left to the end user. As of 2.0, WaterColorBot kits now come fully assembled and tested. That doesn’t make them any less hackable, but it does mean that you can get up and running faster.

WaterColorBot 2.0

Version 2.0 includes the same CNC machined aluminum winches that we introduced back in August. Tiny detail: we’ve carved a subtle indentation into the wood around the winch that makes them a little easier to turn by hand.
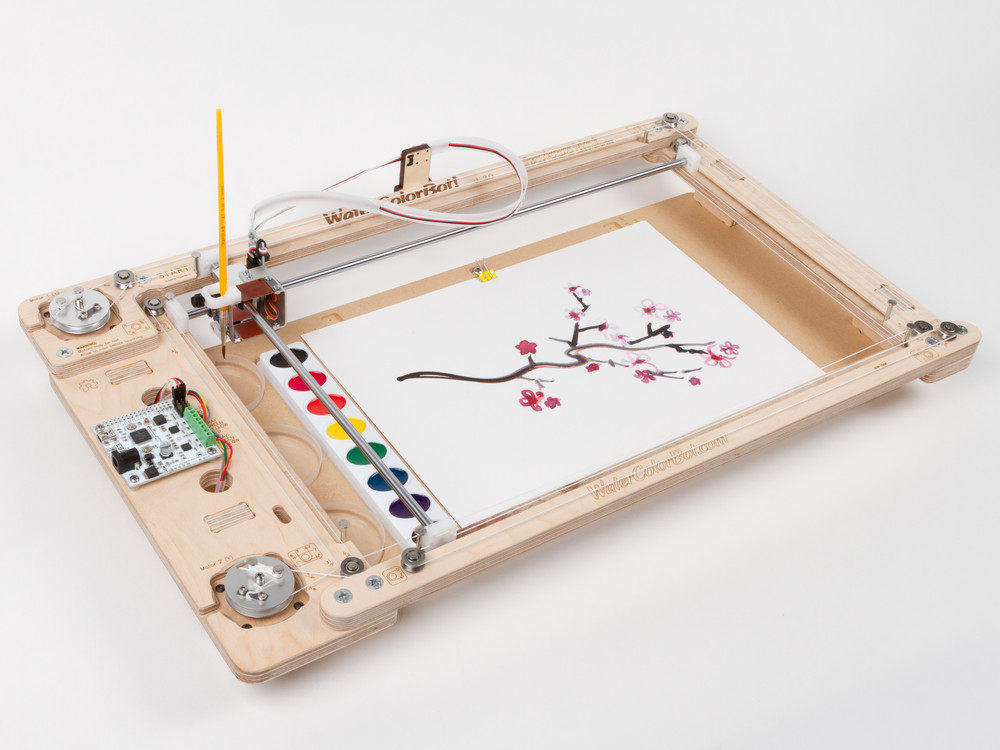
WaterColorBot 2.0

The new WaterColorBot kits will begin to ship right after Thanksgiving. And a bonus present for the holiday season: Version 2.0 is priced the same as the previous version, it’s just a whole lot more awesome per dollar.

Introducing the EggBot Pro

EggBot Pro

An EggBot is a compact, easy to use art robot that can draw on small spherical and egg-shaped objects. The EggBot was originally invented by motion control artist Bruce Shapiro in 1990. Since then, EggBots have been used as educational and artistic pieces in museums and workshops. We have been working with Bruce since 2010 to design and manufacture EggBot kits, and our well-known Deluxe EggBot kit is a popular favorite at makerspaces and hackerspaces around the world.

Today we’re very proud to release the newest member of the family: the EggBot Pro, a near-complete reimagining of the EggBot, designed for rigidity, ease of use, and faster setup.

EggBot Pro

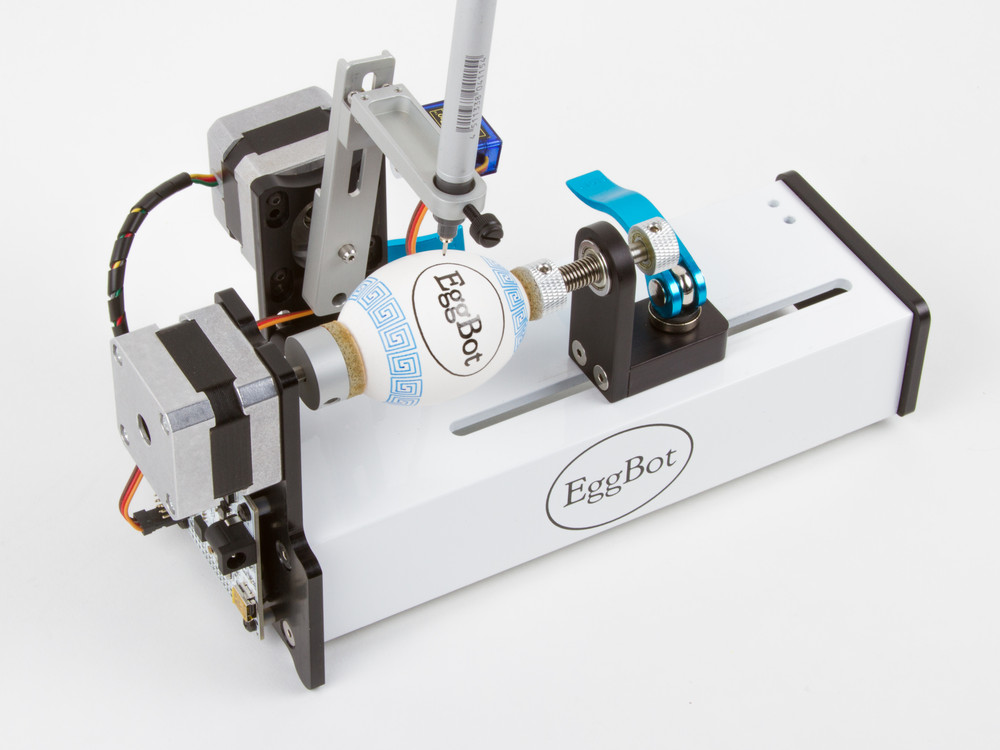
The EggBot Pro is as sturdy as can be: Its major components are all solid aluminum, CNC machined in the USA, and powder coated or anodized. (And isn’t it a beauty?)

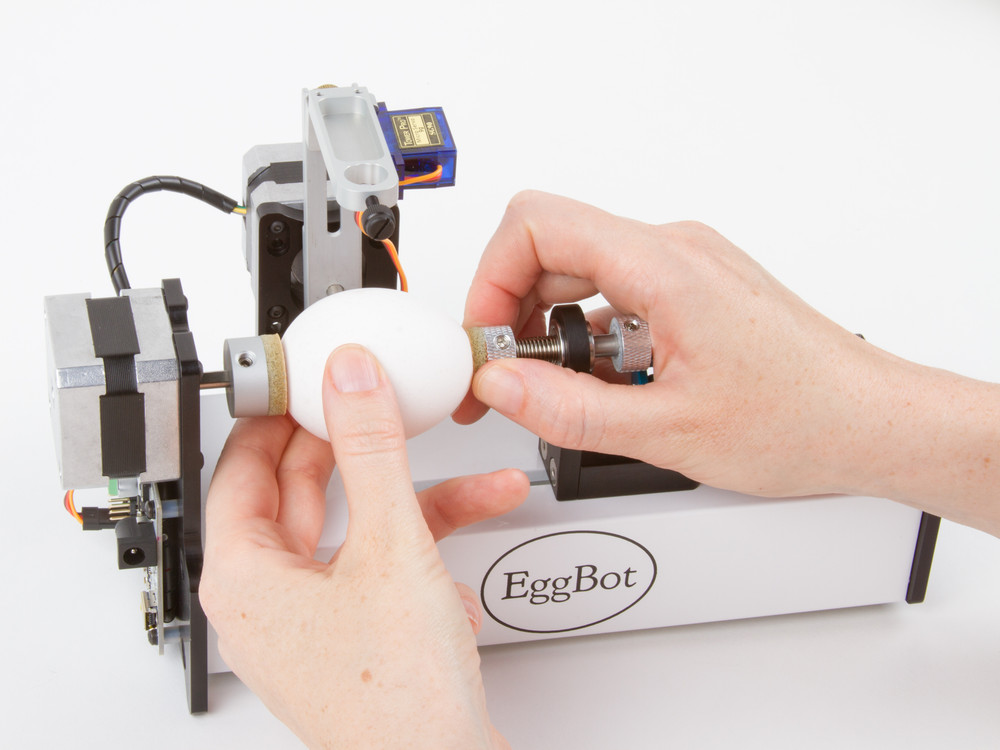
The most common mechanical adjustments are faster with twin bicycle-style quick releases, and repositioned thumbscrews for easier access.

EggBot Pro

The frame also has an open front design that gives much better visibility while running, and greatly improved manual access when setting up.

EggBot Pro

And, it comes built, tested, and ready to use — no assembly required.  Assuming that you’ve installed the software first, you can be up and printing within minutes of opening the box.

The EggBot Pro begins shipping this week. We’ve also put together a little comparison chart, so you can see how it fits in with the rest of the family.


Linkdump: August 2014

New Winches for WaterColorBot

We’ve just given the WaterColorBot a little bump up to kit version 1.5. The new version now comes with a pair of beautifully machined aluminum winches.

The winches are precision cut on CNC machines and anodized clear. We add a few extra little parts (flat-head rivets to wind the winch around, screws, and a stamped and polished stainless steel “clamp” to hold the string end), and wind them with the same “100 pound” Spectra cord as we did before.

We described the process of making and winding our older laser-cut wooden winches in our blog post about the making of the WaterColorBot, and again in our post about the  winch cutting jig. For better or worse, transitioning to the new aluminum means that we’re no longer using our older wooden winches that we described in those blog posts.  But in the end, these new winches are a better, more elegant solution.

 WaterColorBot kit version 1.5 is now shipping from the Evil Mad Scientist Shop.