Hi.
Looking at the EMS blog I found the “Dyeing egg in place” very interesting.
I came up with an alternative method. Disclaimer; I don’t have the ‘Kistka kit” (yet) – Egg used in illustration is ‘plotted’ with pens.
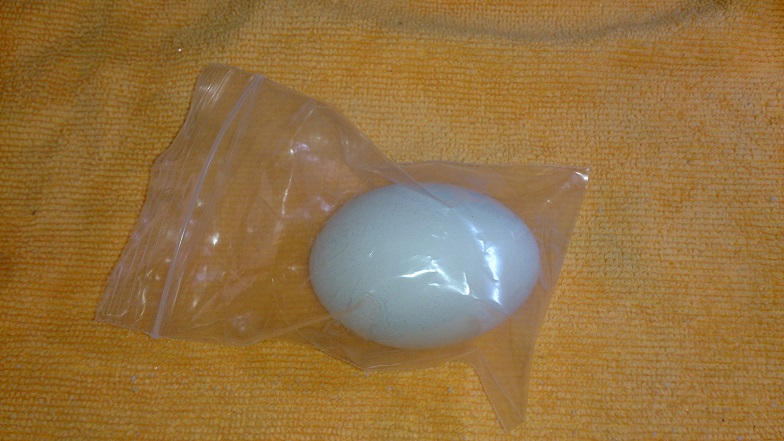
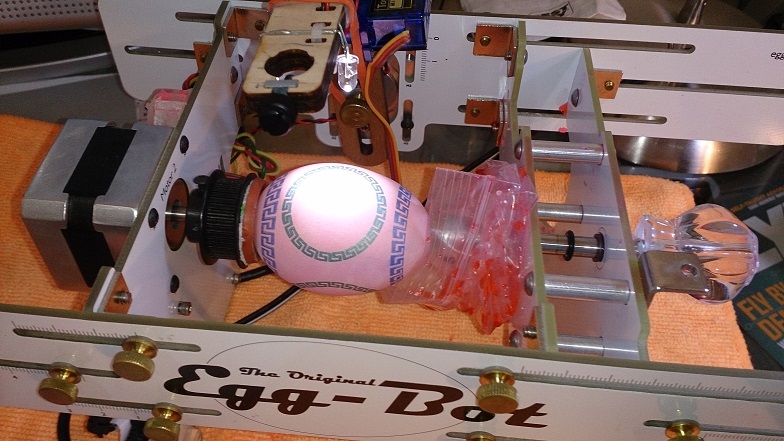
1. Place the egg in a small zip-lock bag
( I used a 3×4″ or 7.6×10.0 cm approx.)
2. Install the egg with the top (open) end over the motor end egg-coupler.
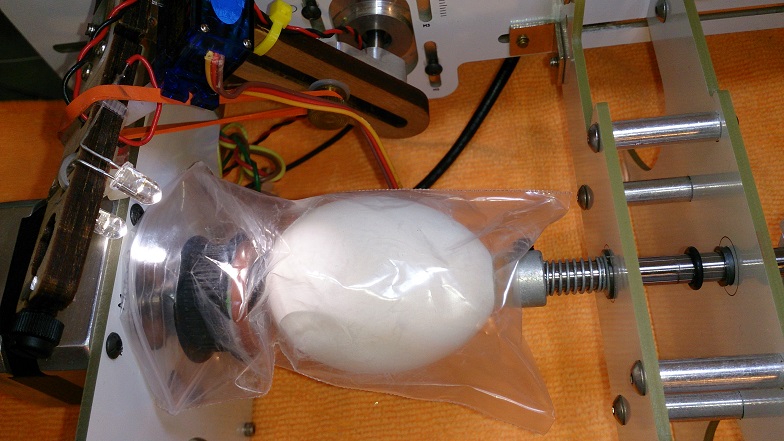
3. Pull the bag back and tie off with a string, rubber band or hookup wire.
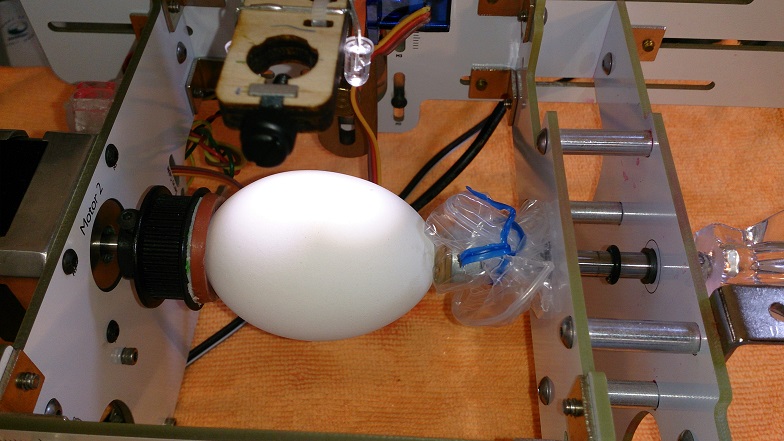
4. Let the Eggbot draw your design.
5. Place the eggbot vertically in a large bowl, motor side up in case of spills.
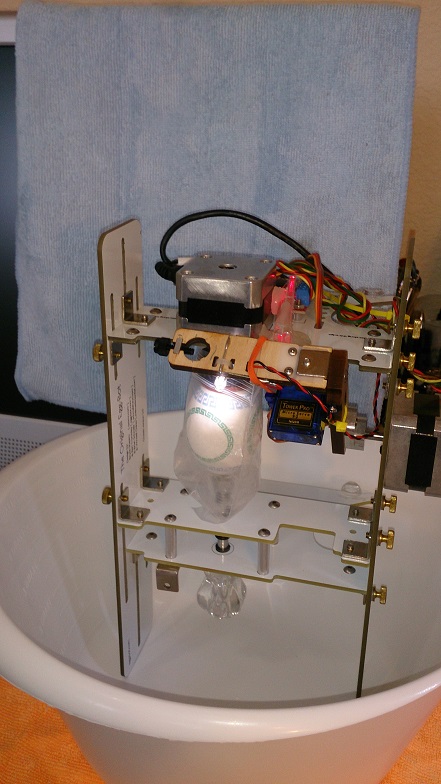
6. Pull the zip-lock bag up over the egg.
7. Fill dye in bag.
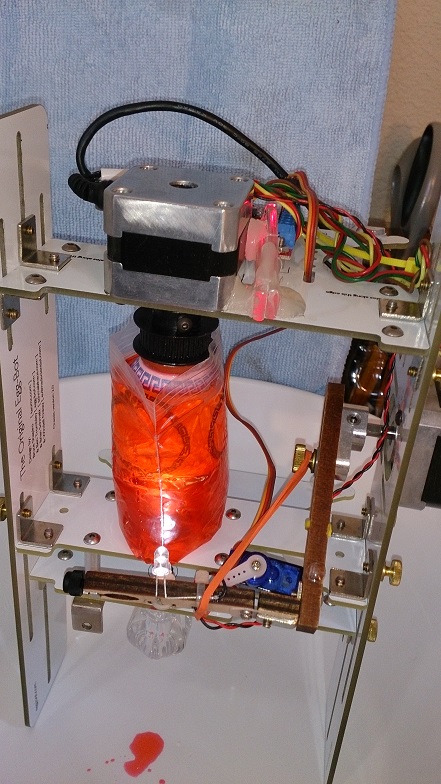
8.After the dye-period; empty the bag into the bowl by pulling it down over the ‘spring-shaft’.
9. Rinse & dry off the eggbot / bag with a paper towel.
Repeat steps 3-9 as necessary.
Have fun.
RGDS
Ragnar


