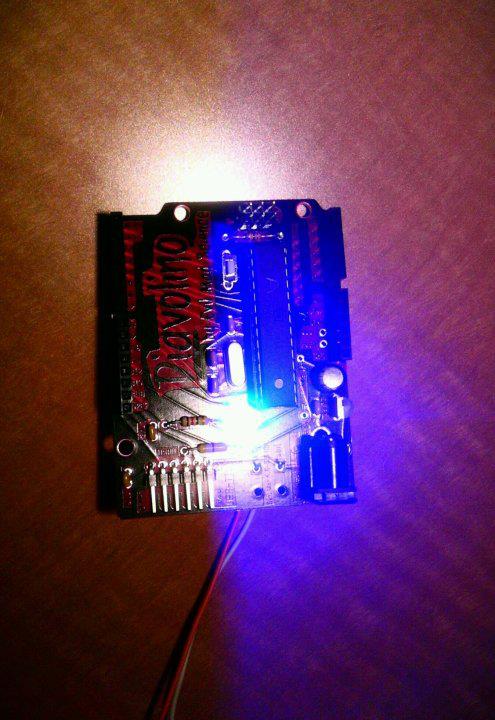
I Just wanted to say thank you for building such an excellent product. Also wanted to thank Windell for the help with some questions I had about the board. As you can see, everything went quite well. I’ve got everything assembled, with minor changes (higher intensity blue LED replaces the red one in the kit, and the resistor is correspondingly smaller…)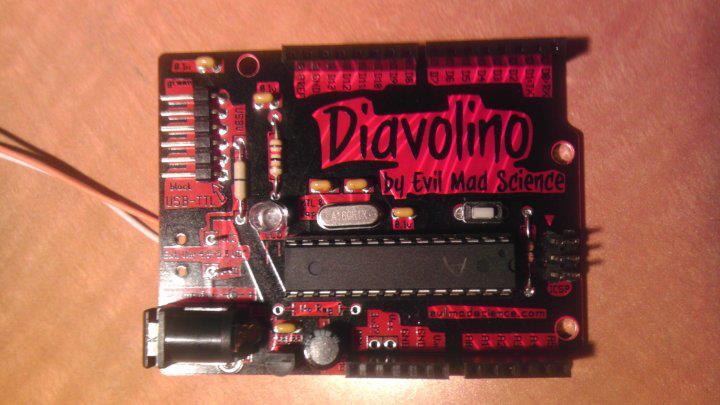
It comes on and blinks the LED, as you can see here:
Anyway, thanks very much. I do have one other request for input while I’m here. As you can see, I haven’t yet soldered the battery holder in place. I’d like for it to be removable, and I’m looking for a good way to do this. My ideas so far:
Find screw posts that can be soldered into the contact holes.
Solder a set of 90 degree header pins, and attach a corresponding plug to the battery box. Perhaps difficult to do in a pleasant way, since the contact points are somewhat far apart.
Cut the wire to the battery box into two halves. Solder one to the board, using the strain relief holes and so on. Add a set of matching plugs so that the cable on the board can plug into the cable on the box.
Any other ideas? Any one of these sound especially better or worse than the others? :)
Chris