
EM Fabrication posted about our CNC workstation cart:
Thank you so much for sharing this! We are almost finished making the parts.

They posted a bunch of progress photos on their facebook page, too.


EM Fabrication posted about our CNC workstation cart:
Thank you so much for sharing this! We are almost finished making the parts.
They posted a bunch of progress photos on their facebook page, too.
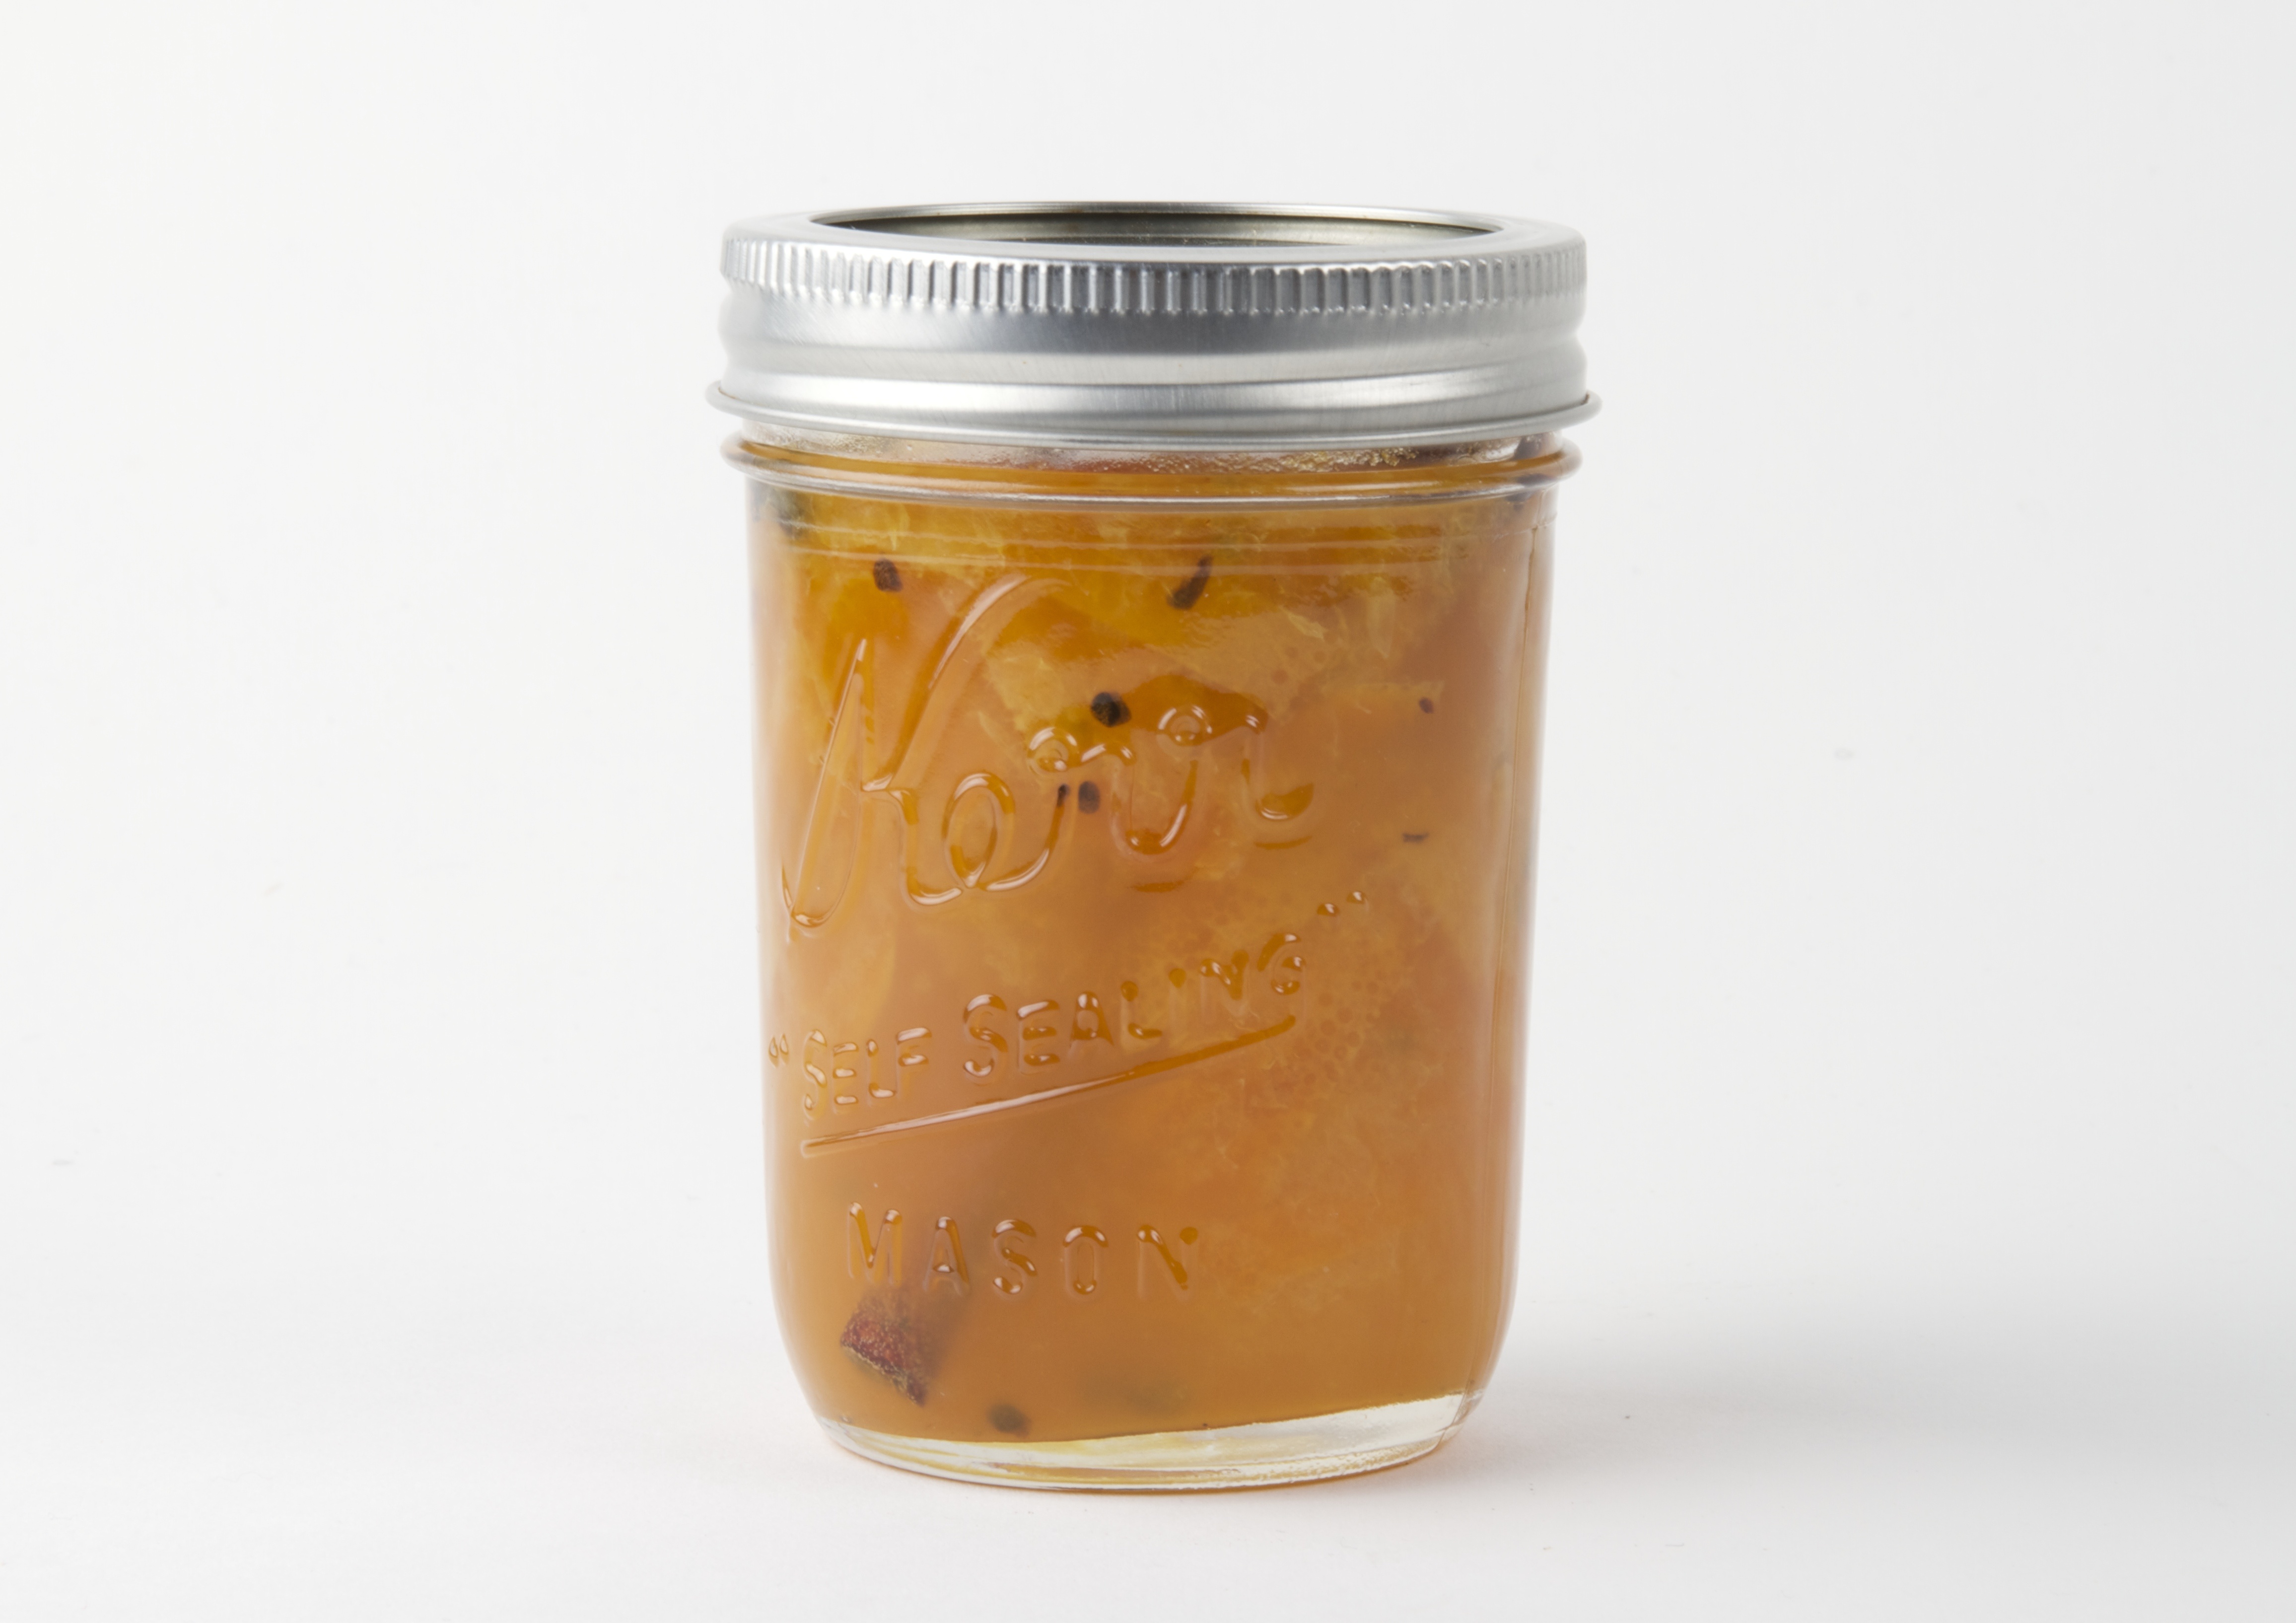
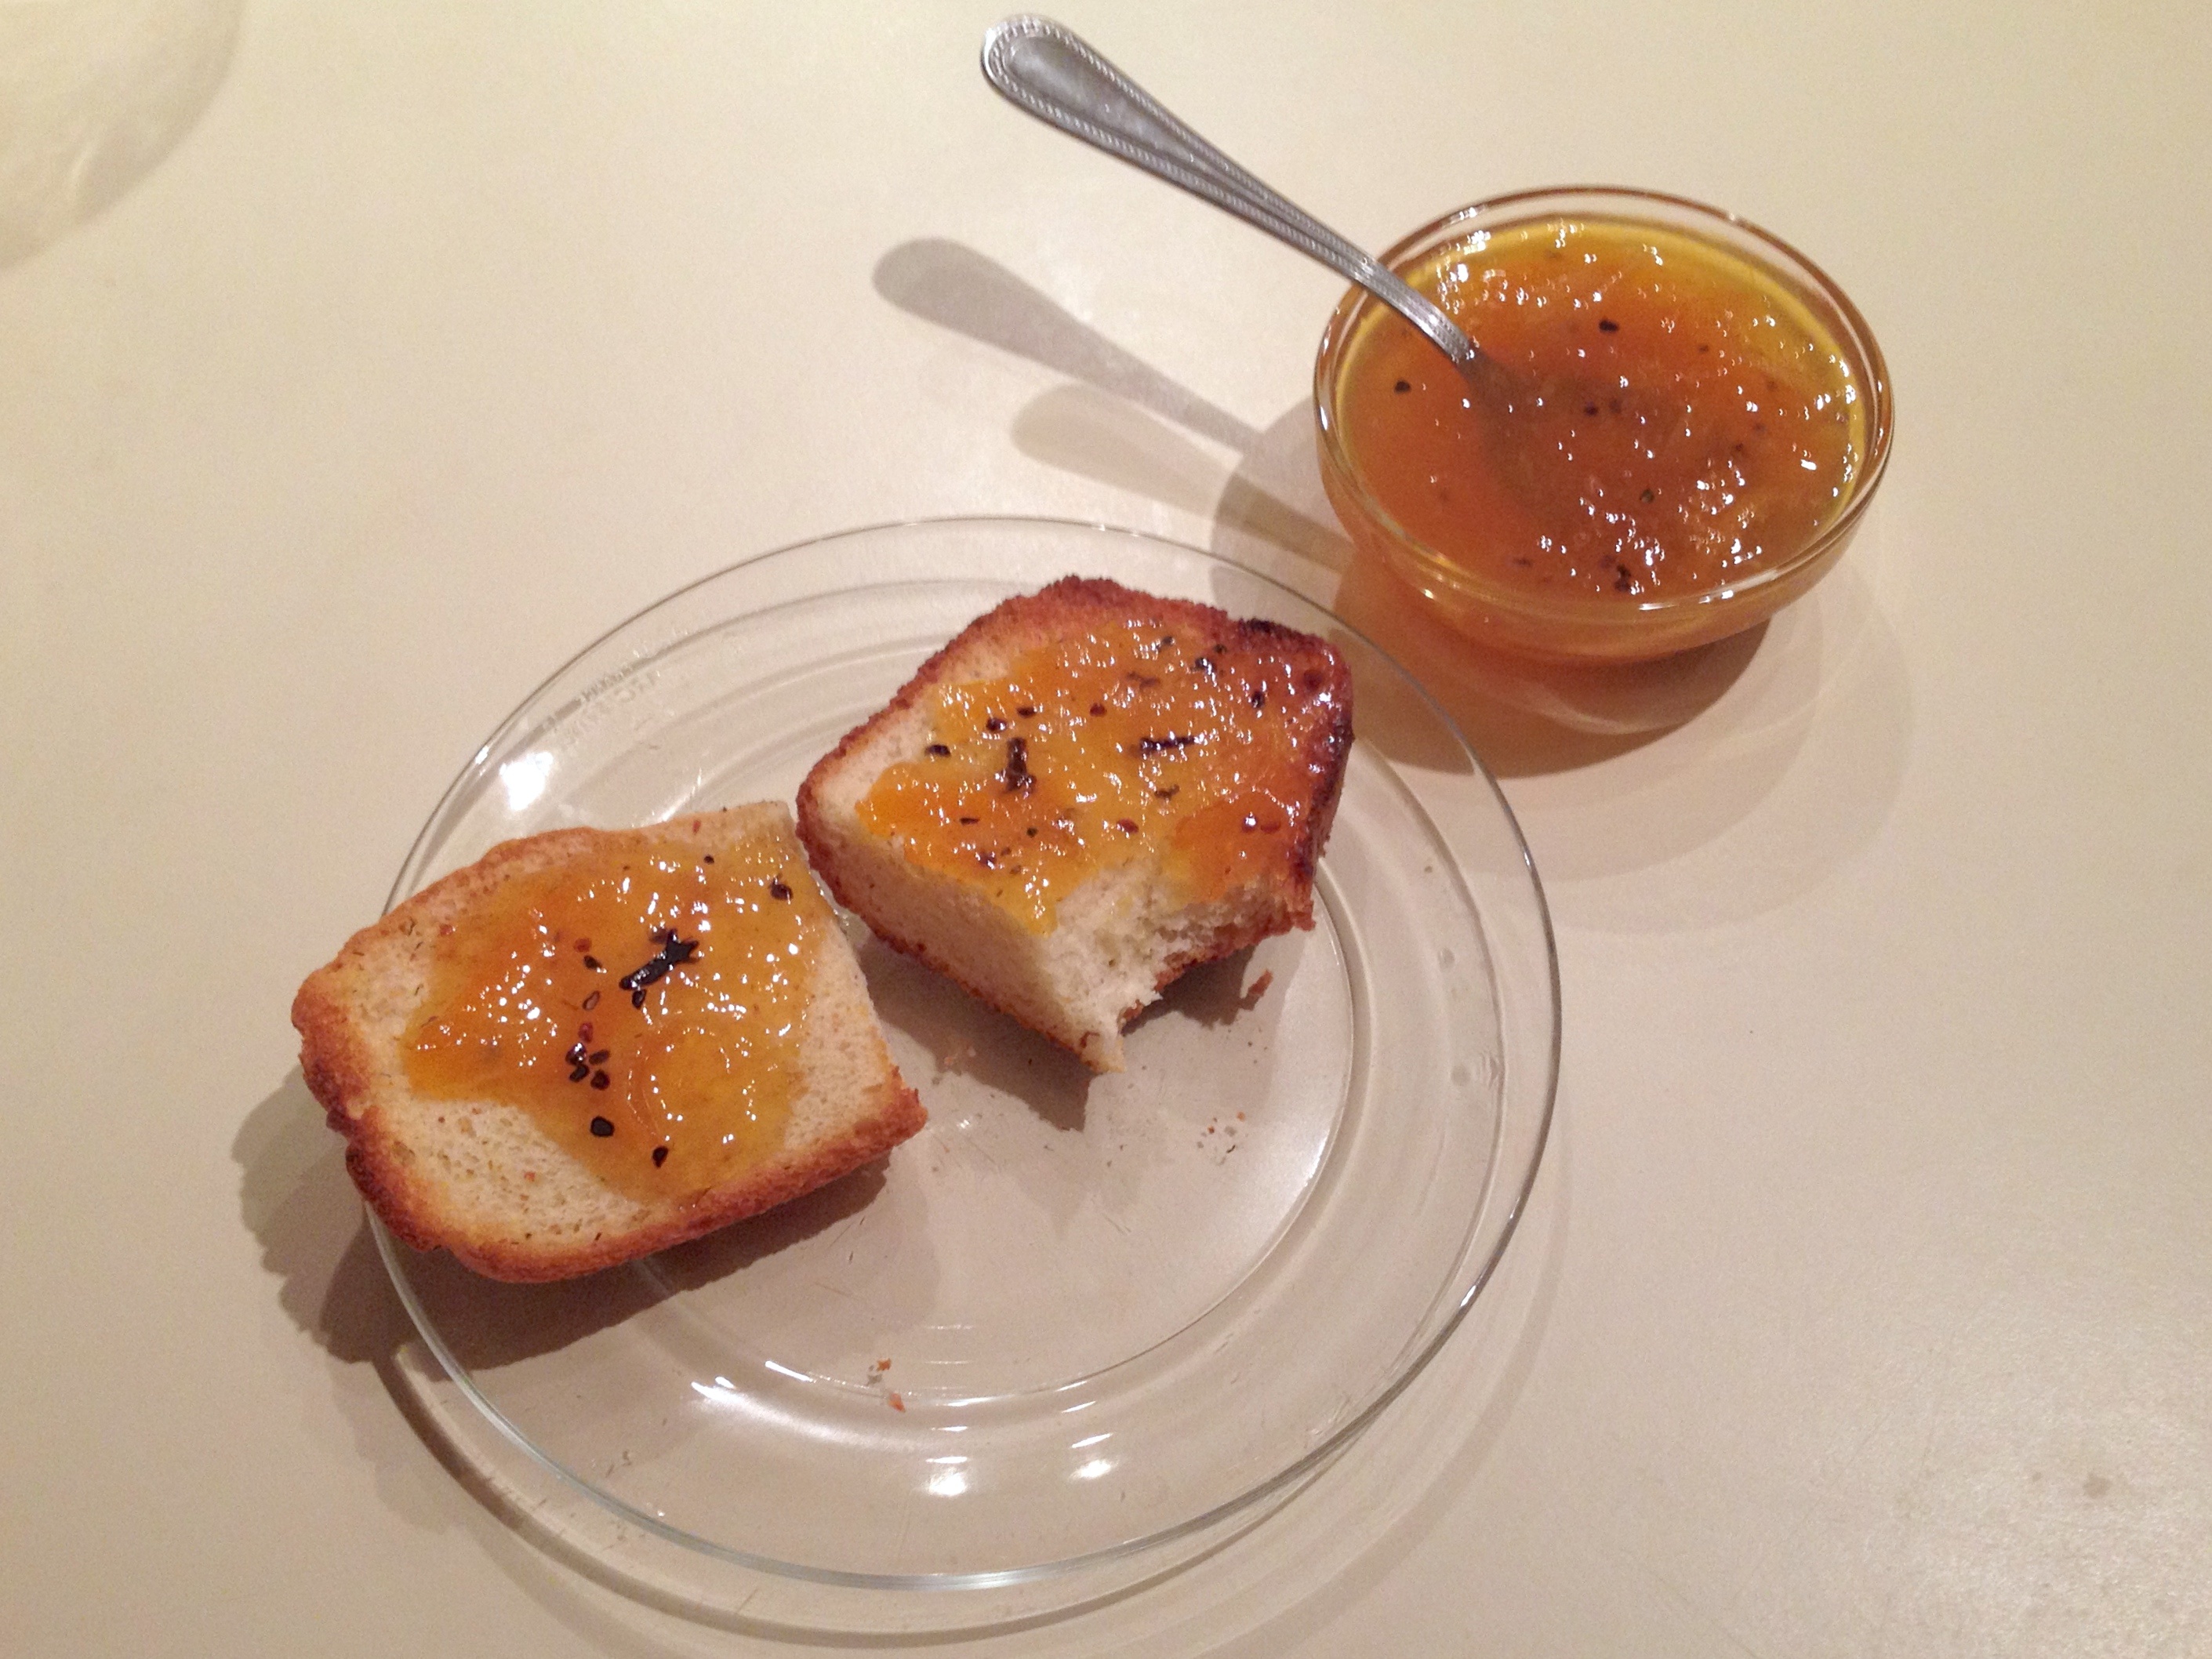
It’s citrus season around here, and that means marmalade. Whole cloves, cardamom seeds and cinnamon sticks decorate this sweet orange preserve and give it an aroma reminiscent of holiday desserts and spiced cider.
Ingredients:
15 navel oranges
2 cups water
6 cups sugar
1 tablespoon whole cloves
1 tablespoon cardamom seeds
1 stick of cinnamon per container
The procedure is from our Marmalade Redux: peel the oranges and cut the peel into strips. Juice the oranges and put the strips of peel, juice and water in a pot to cook. Take the pithy pulpy parts leftover from juicing three or four of the oranges. Cut into smaller chunks and tie into several layers of cheesecloth or a cloth jelly bag (like this one) to cook in the pot with everything else.
After cooking for about 20-30 minutes, the pieces of peel should be softened. Remove the pith bag and put it in the cold equivalent of a double boiler: a bowl on top of a layer of ice that’s in a larger bowl. Turn the bag over every so often to help it cool down more quickly. When it is cool enough to handle, squeeze out a few tablespoons of the cooked pulp and pith through the cloth–this will provide the pectin that will help the marmalade to gel.
Put the pectin goo into the pot (which you conveniently left simmering on the stove) and add the sugar, cloves and cardamom. Stir regularly and cook to the desired consistency. To test consistency, put a spoonful on a plate in the fridge. If it’s too runny after cooling for a few minutes, keep simmering and test again after a few minutes. Put one cinnamon stick in each storage container you’ll be using and pour the finished marmalade over it. Makes about four and a half pints.
If you want to can it for longer storage, Ball has a nice introduction to canning (pdf), and additional resources on their website.
Other fruit preserves from the Play with your food archives:
YouTube user Richard Lewis built a working replica of the Digi-Comp II mechanical computer in the sandbox video game Terraria.
The replica makes extensive use of the so-called “Hoik glitch” in the game, that allows for rapid, controlled player movement, much like gravity guides the balls downward in the original.
More information about the version in Terraria is posted on the video page.
Chris wrote in:
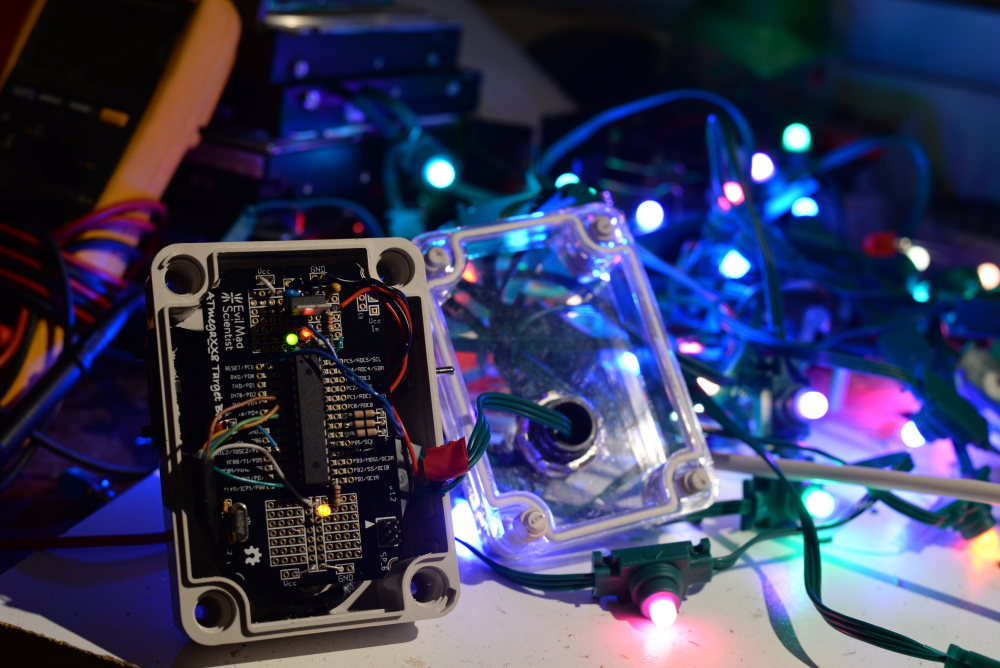
I wanted to say thank you for writing your blog and the products you’ve created. I used both to make my christmas lights this year. Couldn’t have done it without you.
I used an ATmega xx8 mini dev kit programmed with an ISP shield to control a series of WS2811 LED pixels to make beautiful light. The controller is designed to be standalone, not part of a bigger system. I used a BCD thumbwheel switch to select up to 10 looks.
We can give credit to the FastLED Library team for the heavy lifting. The case is from your friends at Adafruit. The target boards don’t quite fit in the Adafruit cases. Thankfully ya’ll had the schematic PDFs posted and I saw I could literally cut corners to make them fit.

Back to why I appreciate what you do so much, growing up my dad tried to teach me about electronics. He was putting motorola 6802 CPU’s in Sperry New Holland hay bale wagons. Unlike how easy we have it today with Arduino he had to program in assembly…
I got a degree in Theatre and loved doing sound and lighting design. So I really love the art you put into your technology. I’ve built many of your kits. My favorite are the interactive LED panels. Blinking lights! I like to put them behind the ikea glass “white boards” so my ideas really shine when I write them down. I’m looking forward to seeing what you do in 2015!
It’s close to the holidays, which means people are pulling out their EggBots and getting creative. Last year, we posted a set of holiday designs and some tips for working with ornaments. Here are a few projects we’ve found this year.

Erin Ruppert made this lovely “First Christmas” ornament. The gold ink looks great on the clear ball.

Erin also made ornaments with ornaments on them, which somehow seems fitting.
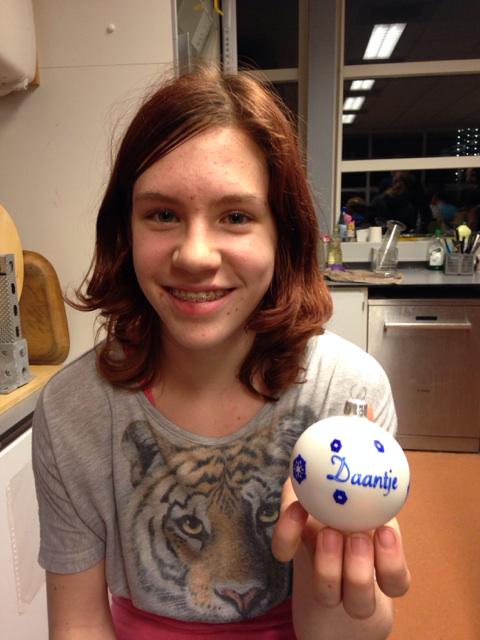
Lotte made an ornament for her mom at FABKlas, a maker education program.
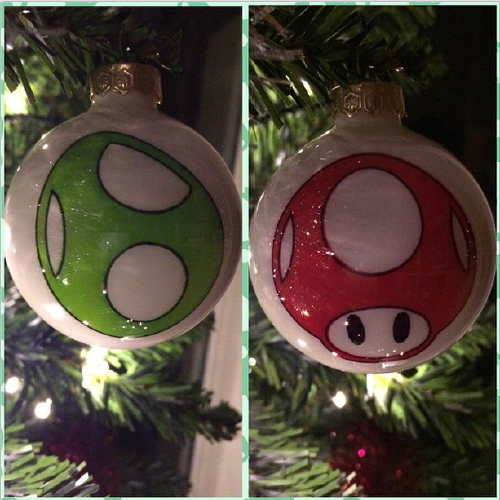
The folks at FABsterdam made this Mario ornament.

MAKE Ventura used gold Sharpie markers on a matte finish ornament to great effect. Other makerspaces are playing with their EggBots, too. The Johnson County Library in Kansas is doing Eggbot ornament tutorials in their makerspace.

Chris Lynas took the EggBot to “work and school Christmas fair raising money for charity – result: £200 in under four hours!”

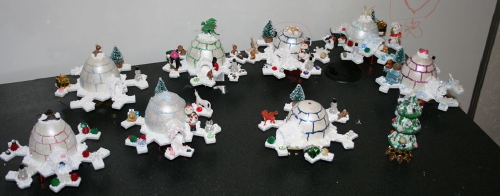
Fran marked up eggs for a family igloo making craft party.

Lastly, our friend Miguel engraved glass ornaments with his EggBot.
After a recent conversation we had on twitter about edible hot glue possibilities for gingerbread houses, Ben Krasnow modified a hot glue gun to melt chocolate, adding PID temperature control. He also made a mold for making chocolate sticks of the right size for the modified glue gun.

Darren posted pictures of his UV erasable coffee table which was inspired by our 555 footstool.

The top lifts to reveal the compartment inside and to provide a taller table surface.

There are lots of build photos in the imgur set, and more details in the reddit discussion.


In October, we released our Solderless Flickery Flame project, based on a tiny breadboard with six red and yellow candle-flicker LEDs, to give a fun and semi-realistic flame effect. Today, we’re releasing two new Flickery Flame Soldering Kits along the same lines, each of which has 6 candle-flicker LEDs, a little circuit board, and a battery holder.

The Yellow/Red kit has the same mix of yellow and red candle-flicker LEDs that works so well in the breadboard kit. This one will look great in a jack-o-lantern, luminaria, or scale-model fireplace.

On the other hand, the White/Warm White kit has a mixture of (cool) white and warm white LEDs that give a modern wintery flame effect that has at least as much charm, but won’t be mistaken for a natural fire. This one will look great in all kinds of winter holiday decorations, luminarias, and props.


Both the Yellow/Red and White/Warm White kits are fun, low-cost, self-contained, and easy soldering kits, which will be right at home both as stocking stuffers and as bite-size first projects for soldering workshops.

