
From @fabsterdam on twitter:
We are also setting up the Christmas tree. Painting balls with the eggbot.
The file is available on Thingiverse.


From @fabsterdam on twitter:
We are also setting up the Christmas tree. Painting balls with the eggbot.
The file is available on Thingiverse.
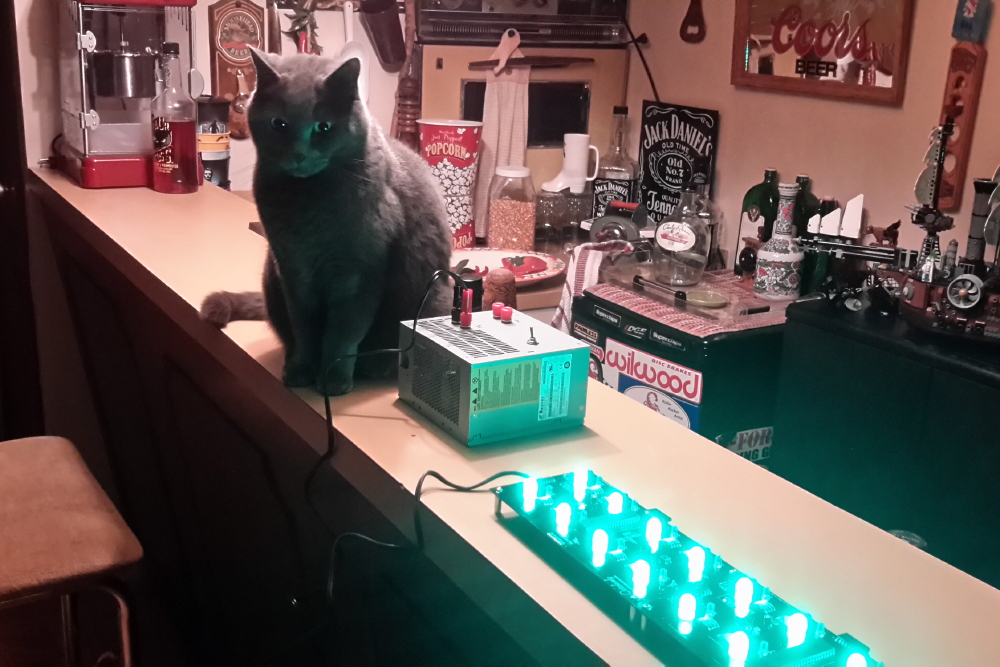
We were sent a picture of handsome cat Gandalf with an array of green Octolively kits all built up.

Mr. Pumpernickel also looks great in the green glow. Both Gandalf and Mr. Pumpernickel are continuing in a longstanding tradition of cats and interactive LEDs.
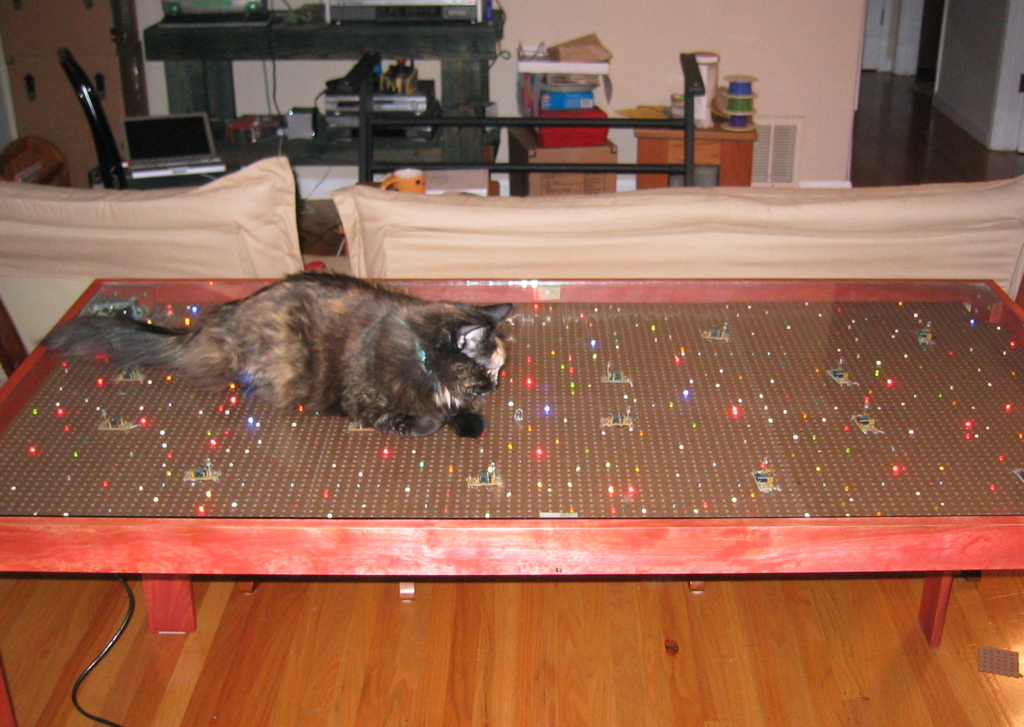
Harley Cat (who passed away a few years ago) helped test our very first interactive LED project: our Interactive LED Dining Table.
Jellybean helped demonstrate a later project: our interactive LED coffee table. She is featured at about 48 seconds into this video.

Joyce wrote in this year with her latest Pez Menorah (using our Deluxe LED Menorah kit), featuring a Star Wars theme.

She also wrote up a thorough set of instructions on tumblr, which looks like a remarkably easy way to publish a step-by-step tutorial without using a platform like instructables. It may take some getting used to reading chronologically, but it is effective.
Previous Pez Menorah posts:
Karen wrote in to say:
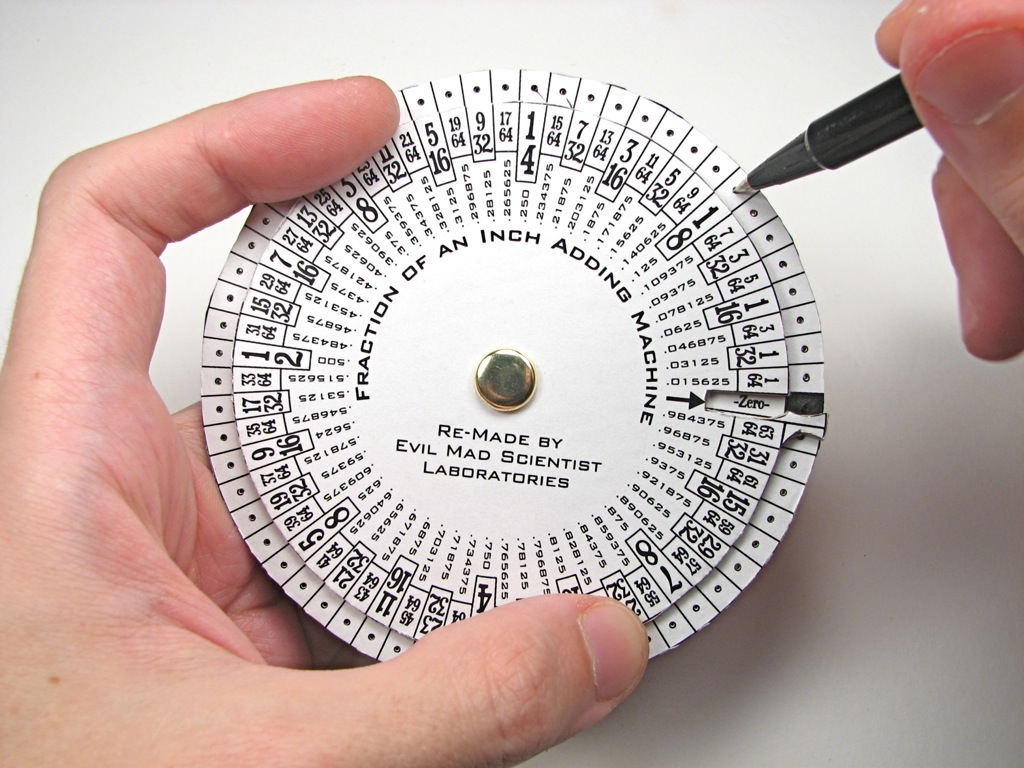
Thanks so much for the 2007 article on Make your own 1952 Fraction-of-an-inch Adding Machine. I inherited one of these and was delighted to find information about it on your web site. Now that I have explored your web site a bit, I am adding it to my favorites!

The Exploratorium is holding their annual member holiday party and shopping night on Sunday, December 7 from 6-9 p.m. We’re excited to be there to show off some of our kits, including the EggBot, which will be available for sale. You must be a member to attend (need an excuse to become a member?), and RSVP by December 4.
After seeing our Larson Scanner kit, Martin shared this LED metronome project with us. Martin says:
It was designed as a “Visual Metronome” So a learning music student could help see the timing by watching the green light. There was to be an optional clicking sound by using a small solenoid for the ticking – I chose that in place of a speaker for a more authentic sound.
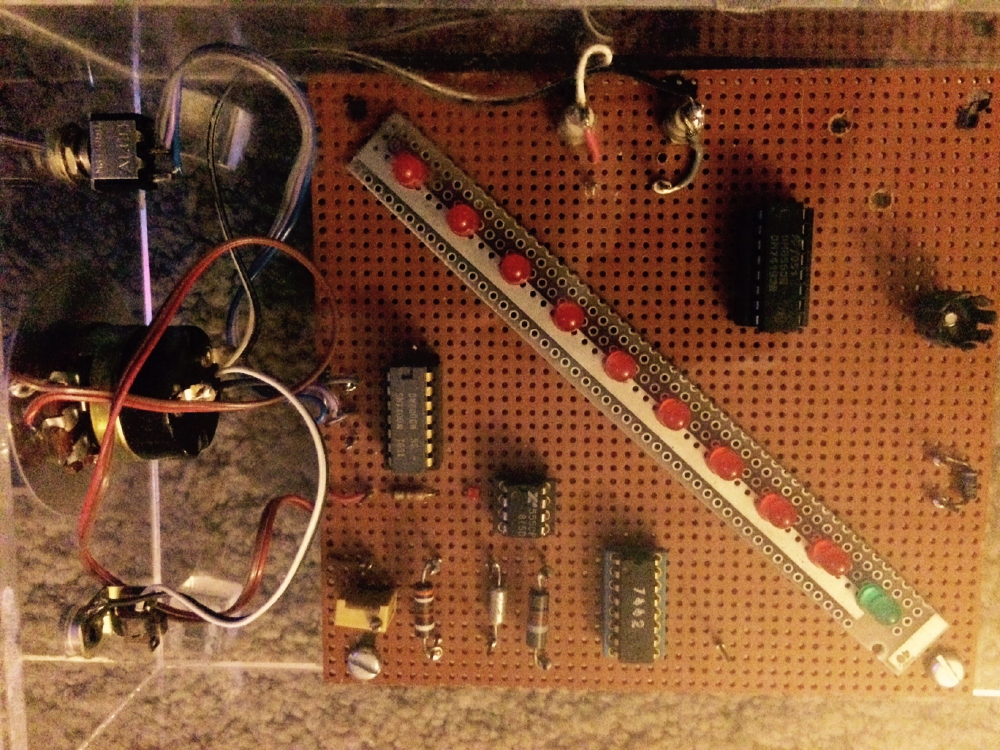
The timing is a standard 555 timer which is fed to 7442 BCD to DECIMAL counter. Next chip is a 74193 UP/DOWN counter. When the count hits the last number, it sends a pulse to reverse the count or start over – depending on the toggle switch on the side.

There is also a pot on the 555 to control the speed. All this was made in one night while I was working the graveyard shift.

The entire LED display was hand wired using a manual wire-wrap tool.
The chip pin labels on the back of the perf board are a particularly awesome relic of a different era of electronics assembly. Thanks for sharing your project photos and video with us!

Our friends at Other Machine Co. have put out a mold making kit for the Othermill and posted an instructable for making snowflake chocolates using the online Snowflake Generator that Paul Kaplan of Inventables ported from our Vector Snowflake Application.
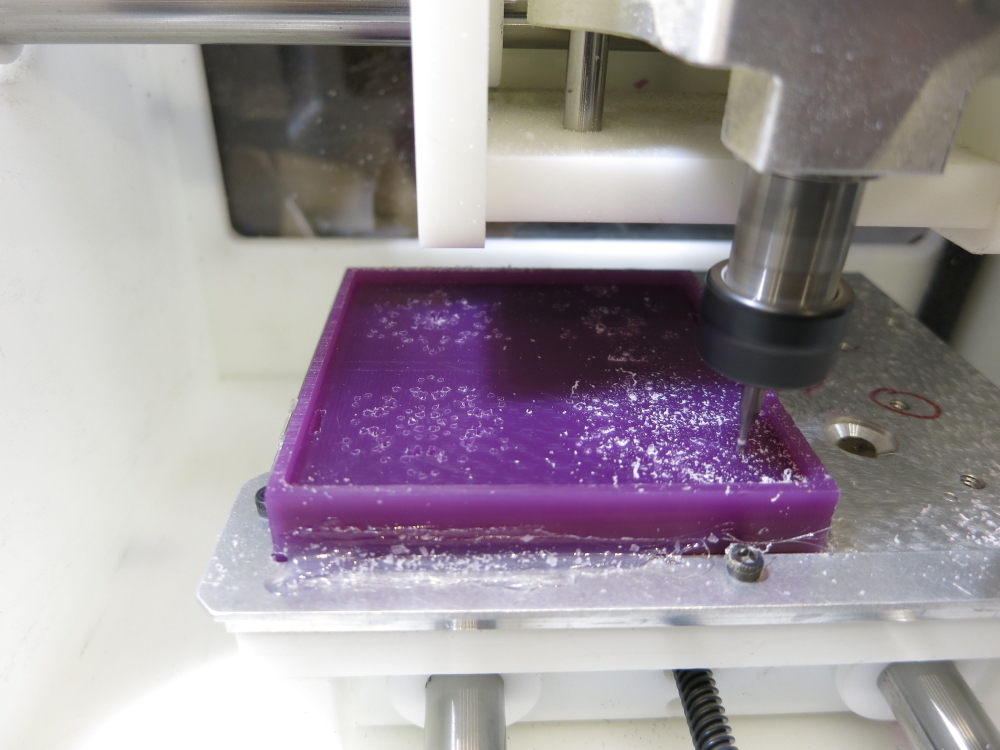
The process involves milling a wax positive for making a silicone mold. The beautiful two-tone chocolates are made by putting white couverture chocolate into the details of the mold, and then filling the rest of the mold with dark.
One more technique we could have used for Operation: CNC Snowflake!

We are very pleased to introduce something that we’ve been working on for most of this year: WaterColorBot version 2.0!

The WaterColorBot is our collaboration with Super Awesome Sylvia: A friendly art robot that moves a paint brush to paint your digital artwork onto paper, using a set of watercolor paints.
Version 2.0 brings it to the next level with some greatly improved hardware. First and foremost, the carriage that holds the brush has been completely redesigned:

The carriage on the original WaterColorBot was made from laser-cut plywood, with nylon bushings and two simple delrin strips that formed the vertical flexure translation stage. (You can read more about the original carriage here and here.)
The new carriage consists mainly of two pieces of metal. The center block of anodized aluminum is CNC milled, and houses crossed linear roller bearings. Wrapped around that is a laser-cut and formed aluminum part that mounts the brush-lift motor, cable guide, and the flexure stage.

The new flexure stage is built with two custom flex circuit boards, used in this case as mechanical flexures. Each board consists of a very thin (0.1 mm, 4 mil) Kapton sheet with a thin fiberglass (G10/FR4) stiffener on its center section. With the two ends of each sheet clamped rigidly and the stiffener in the center, each flex circuit is to flex only along two well-defined lines. And with two boards, it forms a neat parallelogram linkage, without the slop that one might encounter in multi-part hinges. The net effect is that this new flexure stage has remarkable stiffness compared to the old design.

That stiffness, combined with the improved performance of the linear ball bearings makes this a more precise WaterColorBot. Not that you could even detect the improvement with a fat brush and watercolor paints, but things are looking quite good even with using ultra-fine point drawing pens, as you can see above.

The second major change is to the system of Spectra cords that the stepper motors control in order to move the carriage. Previously, the cords were guided around 11 plain bearings (stainless steel solid rivets) and 3 ball bearings. We’ve simplified this into an arrangement of just 8 ball bearings— four for each motor. The ball bearing pulleys have also been updated to use wide V-groove bearings that are easy to wrap the cords around.
Which brings us to the third (and last) major change. Thus far, WaterColorBot kits have shipped “some assembly required” — with all the major components built, but the cord lacing left to the end user. As of 2.0, WaterColorBot kits now come fully assembled and tested. That doesn’t make them any less hackable, but it does mean that you can get up and running faster.

Version 2.0 includes the same CNC machined aluminum winches that we introduced back in August. Tiny detail: we’ve carved a subtle indentation into the wood around the winch that makes them a little easier to turn by hand.

The new WaterColorBot kits will begin to ship right after Thanksgiving. And a bonus present for the holiday season: Version 2.0 is priced the same as the previous version, it’s just a whole lot more awesome per dollar.
The Digi-Comp II we made for MIT is featured in this outreach video from MIT+K12 Videos by Jamie Teherani about how computers work. The mechanical switches on the Digi-Comp II are compared to first to light switches and then to transistors. Regarding manufacturing computers with transistors, Jamie says, “We can make them over a billion times faster than the Digi-Comp!”


Introducing our newest Hanukkah menorah kit: Mega Menorah 9000!
This is a great new easy soldering kit to make a handsome and decently-sized menorah. Once built, it stands just over 6 inches (15 cm) tall, and is 7.5 inches (19 cm) wide.
It’s USB powered, USB programmable with a built-in interface based on the Adafruit Trinket, and features 9 discrete RGB LED “pixels” that can produce all kinds of bright colors. Flickery flame effects built in too, of course.

One of the cool things about this kit is that it has a unique “Trompe-l’œil” circuit board design that gives some illusion of a rounded 3D surface. As you can see above, it’s actually flat as a board.
To make it, we started with a 3D CAD model of what we wanted the circuit board to look like. The outer contours of the model became the outline of the circuit board. We then rendered the CAD model, and used our StippleGen 2 software to convert the resulting image into a vector stipple drawing— one that could eventually be converted into the artwork for the circuit board. All together it’s over 9000 stippled dots of black silkscreen! (To be more specific, there are roughly 17,000 dots on each side.)
MM9k FAQ: OK, but isn’t the name “Mega Menorah 9000” perhaps just slightly on the excessive side?
Yes, we must (grudgingly) admit that it is. It just slipped out when we were trying to come up with a working title for the project — a name that meant “better than deluxe” so as to distinguish this model from our old favorite Deluxe LED Menorah Kits.
Alas, it was funny. And so it stuck. And now, it’s too late.


There are two circuit boards in the kit. The “top” PCB is shaped like a menorah and the components (mainly just the nine WS2812-style LEDs) are for the most part hidden on the back side.
The base circuit board has rubber feet, the control buttons (color, night, reset), an ATtiny85 AVR microcontroller, USB power/programming jack, and a programming indicator LED. The circuit is actually an implementation of the Adafruit Trinket, which allows for reprogramming the microcontroller without requiring any hardware other than a regular USB cable.
MM9k FAQ: Why is there a binder clip there?
It’s an assembly jig that helps to align the parts in place so that it’s easy to build and looks neat. We’ll write more about it later.

And, wow does this thing do colors! The nine WS2812-style individually addressable RGB LEDs in 5 mm packages, look reminiscent of candle flames, but can be tuned to just about any color in the rainbow. From a control standpoint, it’s awfully nice that they’re managed by just a single pin of the microcontroller, and have the built-in ICs to handle colors and dimming.
Mega Menorah 9000 begins shipping this week.
