
John Keefe took LED throwies in a new direction, adding a tilt switch to a coin cell holder and a flickering LED to make candles that can be “blown out” by turning them on their sides.
Related: Simple LED Projects


John Keefe took LED throwies in a new direction, adding a tilt switch to a coin cell holder and a flickering LED to make candles that can be “blown out” by turning them on their sides.
Related: Simple LED Projects

Wearing my OSHWA hat, I’ll be giving a talk about Open Source Hardware at this year’s Bay Area Maker Faire:
Best Practices for Open Source Hardware in 2014
In the past year OSHWA, the Open Source Hardware Association, has worked with the community to develop a modern list of best practices for designing, releasing and building upon existing open source hardware projects. Windell Oskay, Vice President of OSHWA, will discuss recommended approaches, touching upon open source design tools, documentation, hosting, licenses, and other current issues. Time permitting, we will also take questions from the audience.
The talk is scheduled for Saturday, May 17, 4:45-5:00 pm. You can find the rest of the center stage schedule for Maker Faire right here.
 We’ll be at The Tech museum in San Jose this Saturday, April 26, for an Open Make session with the theme of “Flow.” The event is in collaboration with the Maker Education Initiative.
Open Make activities run from 10 am to 2 pm and are free with museum admission.
Previous Open Make posts:
Hey look! It’s the fossilized remains of a possible evolutionary ancestor of the EggBot!
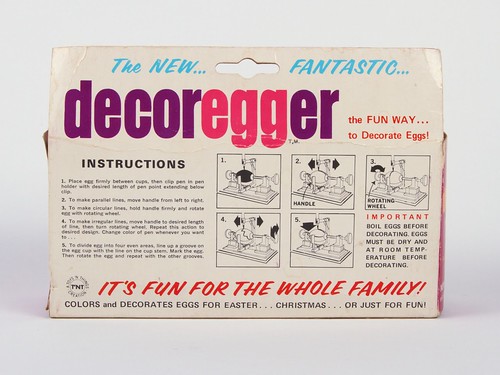
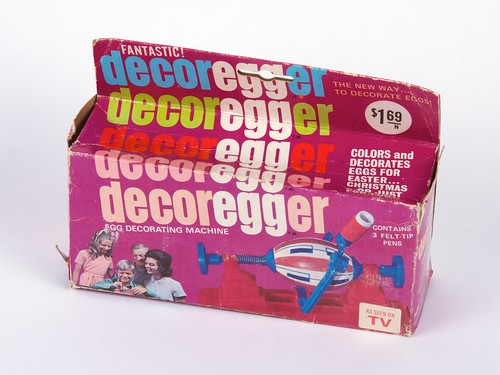
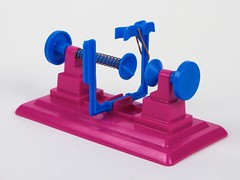
Okay, it’s pre-USB but technically it’s not a fossil. Like many of us, the decoregger dates from the mid-1970’s. It’s a simple function gadget that mounts an egg so that you can spin it, with arm second arm that holds tiny felt-tip pens. Curiously, there are also some contemporary machines bearing the same name that lack the separate arm.
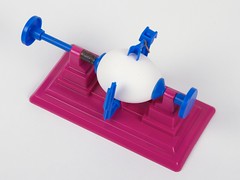
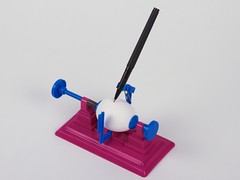
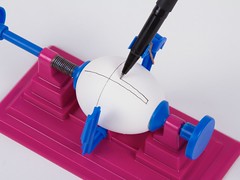
In the upper-left photo, you can see that the pen holder has a separate “paddle” that you hold, to manually move the pen in the arc across the egg surface. Lacking the proper felt-tip pens, we found that a uni-ball micro pen was about the right diameter to fit in the holder.
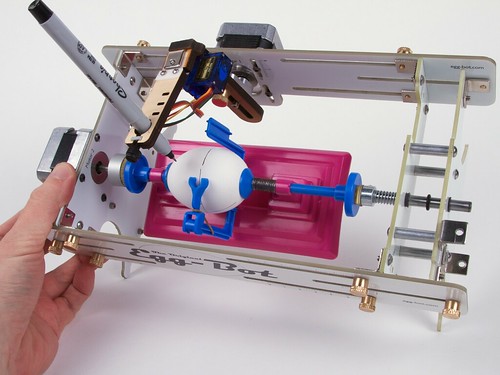
One surprising thing: To model this thing, we used regular “large AA” (not extra large, and not jumbo) size eggs from the grocery store. And it was only barely possible to squeeze the egg into the holders. From the picture on the box, it looks like there’s plenty of room for even the largest egg. Possible explanation #1: Plastic shrinks over time. Possible explanation #2: The egg pictured on the box is from the advertising land of freaky micro-children.
But in any case, the decoregger is a cute little machine, and it looks like it might be fun to play with. The actual play is a matter of turning knob 1 and knob 2, so it feels a lot like an Etch-a-Sketch in spherical coordinates. Now if only there were some way to strap a couple of motors to it and perform a CNC conversion….
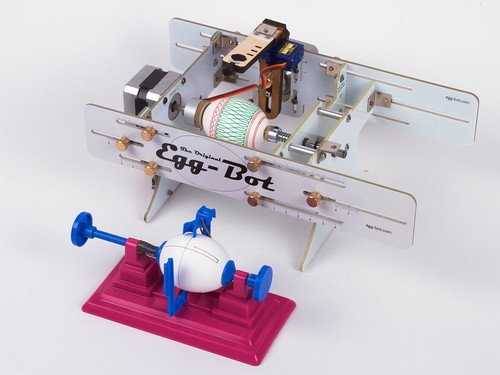
Speaking of which, it really is a lot smaller than the EggBot. Heck, you could probably fit the whole thing inside the EggBot.
Wait — am I doing this right?
Special thanks to Michelle Hlubinka for finding this artifact and sending it to us!

Katherine Scott posted on Twitter:
The
@EMSL eggbot being used for demos by IDS imaging at the@AIAVision show. Awesome.

A minor bump for one of our little open source Arduino add-ons. The Simple Relay Shield is an easy to use single-relay board that does one thing, and does it well: It adds a beefy little mechanical relay to an Arduino, which you control through pin Digital 4.

Version 2.0 adds the ability — by popular request — to control it from a pin other than D4. Solder the jumper in the normal way (in location JP), and it works on pin D4. Hook it up to any other digital pin, say to D7, and now you have a relay on that pin. The Simple Relay Shield is available as a complete soldering kit or as a bare PCB, and you can find documentation on our wiki.
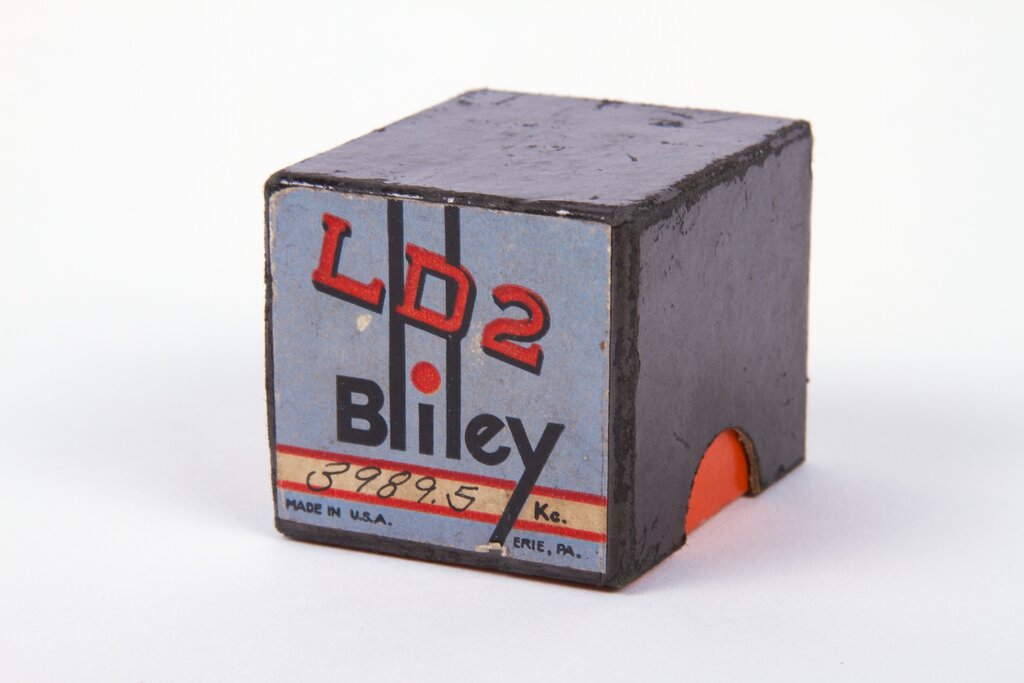

They don’t make — or package — them like they used to. This is a vintage radio crystal from the Bliley Electric Company. Bliley is still around, making modern oscillators and even space flight hardware, but this vintage unit is a beauty.
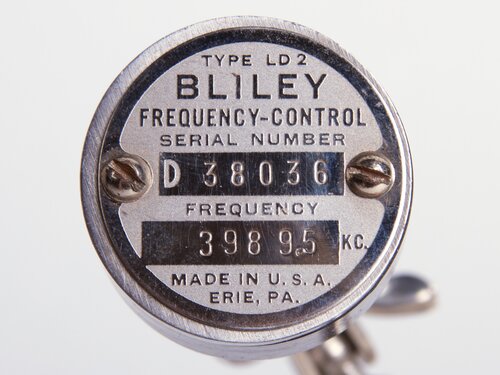
Introduced in the 1930’s, the Bliley LD2 was a popular frequency standard for amateur radio operators. A 1935 advertisement in QST magazine claimed efficiency and extremely low drift (<8 ppm/°C), guaranteed operation, an improved holder, and a cost of only $4.80, or $82.79 in 2014 dollars. This particular unit is calibrated at 3.9895 MHz (“3989.5 KC”), for a radio wavelength of about 75.2 m.
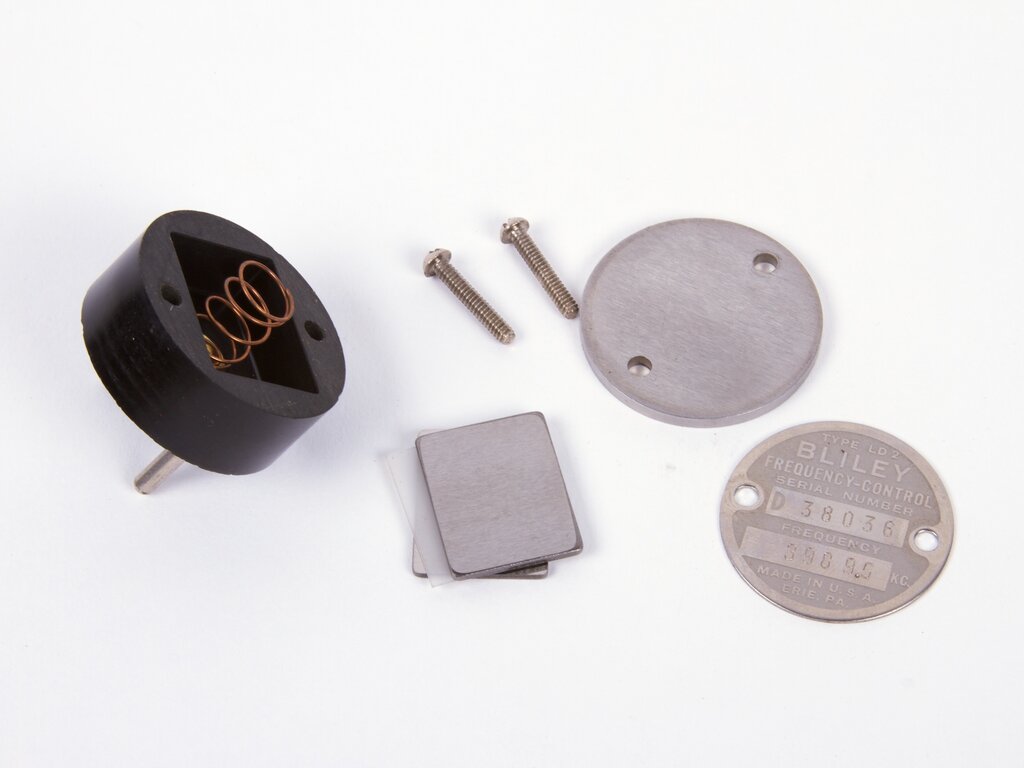
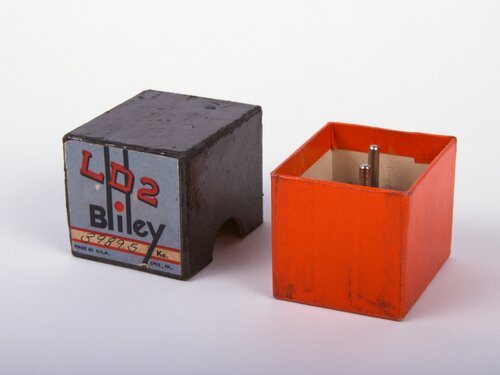
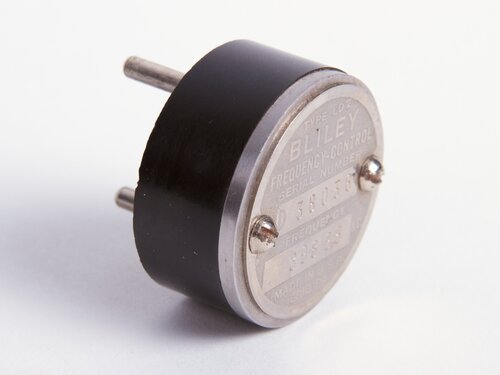
Unlike most modern crystals, this type comes apart easily. Inside, two rectangular steel plates sandwich a thin slice of quartz crystal, all held pressed together with a simple spring.
If you’re interested to learn more, there’s a wealth of additional information about vintage crystals and the Bliley company available online, here.
Our friend AnnMarie, who is an engineering professor, wrote to say,
I keep showing the short CNN explains 3D printing video in talks I have to give to students, and always love that you and Windell are walking through the MakerBot store in it!
We were highly amused as we had never seen the clip, which was published in 2013. The footage must have been shot just after the 2012 NY Maker Faire. Having been featured in Wired Magazine for our own 3D printer, it is perhaps appropriate that when the video cuts to us, the narrator says,
The people at the forefront of this movement, they say they want this to be as common in peoples homes as the toaster oven.
(We show up for about one second at 1:35.)

The Robot Block Party was on the news yesterday, including a our very own Eggbot in action. You can watch the segment, titled “Robotics ‘Block Party’ Attracts Diverse Crowd To Palo Alto” over at CBS.