Field Trips: Fern Canyon

Fern Canyon 6
Fern Canyon is a lush little feature of Prairie Creek Redwoods State Park— a tiny winding canyon whose dripping walls are lined with soft ferns and vibrant mosses.

The park is located very northwest corner of California, nestled against Redwood National Park.  The two parks are managed together, as part of the “Redwood National and State Parks.”  It’s a substantial six hour drive north from San Francisco or Silicon Valley, but as you will see, it’s unique, and arguably worth the trip.


Continue reading Field Trips: Fern Canyon

From the Mailbag: Meggy Jr RGB

Ted from Boston wrote in with nice things to say about our Meggy Jr RGB handheld LED matrix game kit:

My experience with your company in my recent purchase of a Meggy Jr. Kit was nothing but outstanding.  It was a joy from the ordering process, delivery to the product and documentation!  Looking forward to doing business with you again.

Thanks, Ted!

Eggbot, iPad and Raspberry Pi

After seeing the Eggbot at Maker Faire, and seeing that it could be used with a Raspberry Pi, John Biehler got one. He hooked it up to his Raspberry Pi, went on to control his Raspberry Pi with his iPad, and took it to Maker Faire. Full circle! He has lovingly documented the process on his site.

How to Make Sweet Makrut Lime Liqueur

Untitled

Here’s how to make an exotic makrut lime based variation on Limoncello.  Limoncello is a sweet Italian liqueur made with lemon-peel infused vodka (or grain alcohol) and simple syrup.  Our variation adds a exotic twist to a fantastic summer treat.

Untitled

makrut lime leaves are one of the signature flavors of Thai food. They’re often available at asian grocery stores in small bunches, but the trees are also available at some nurseries. When they first leaf out, the young double-lobed leaves are purplish, tender, and very spicy. The flavor of makrut lime is a distinct citrus flavor, as different from lime as lemon, orange, and grapefruit are from one another. The makrut lime tree also produces fruit (wrinkly little spherical green lime), and the zest of that fruit contains the same flavor as the leaves.  However, it’s generally easier to obtain the leaves, as they are found more commonly in Thai cooking.

Untitled

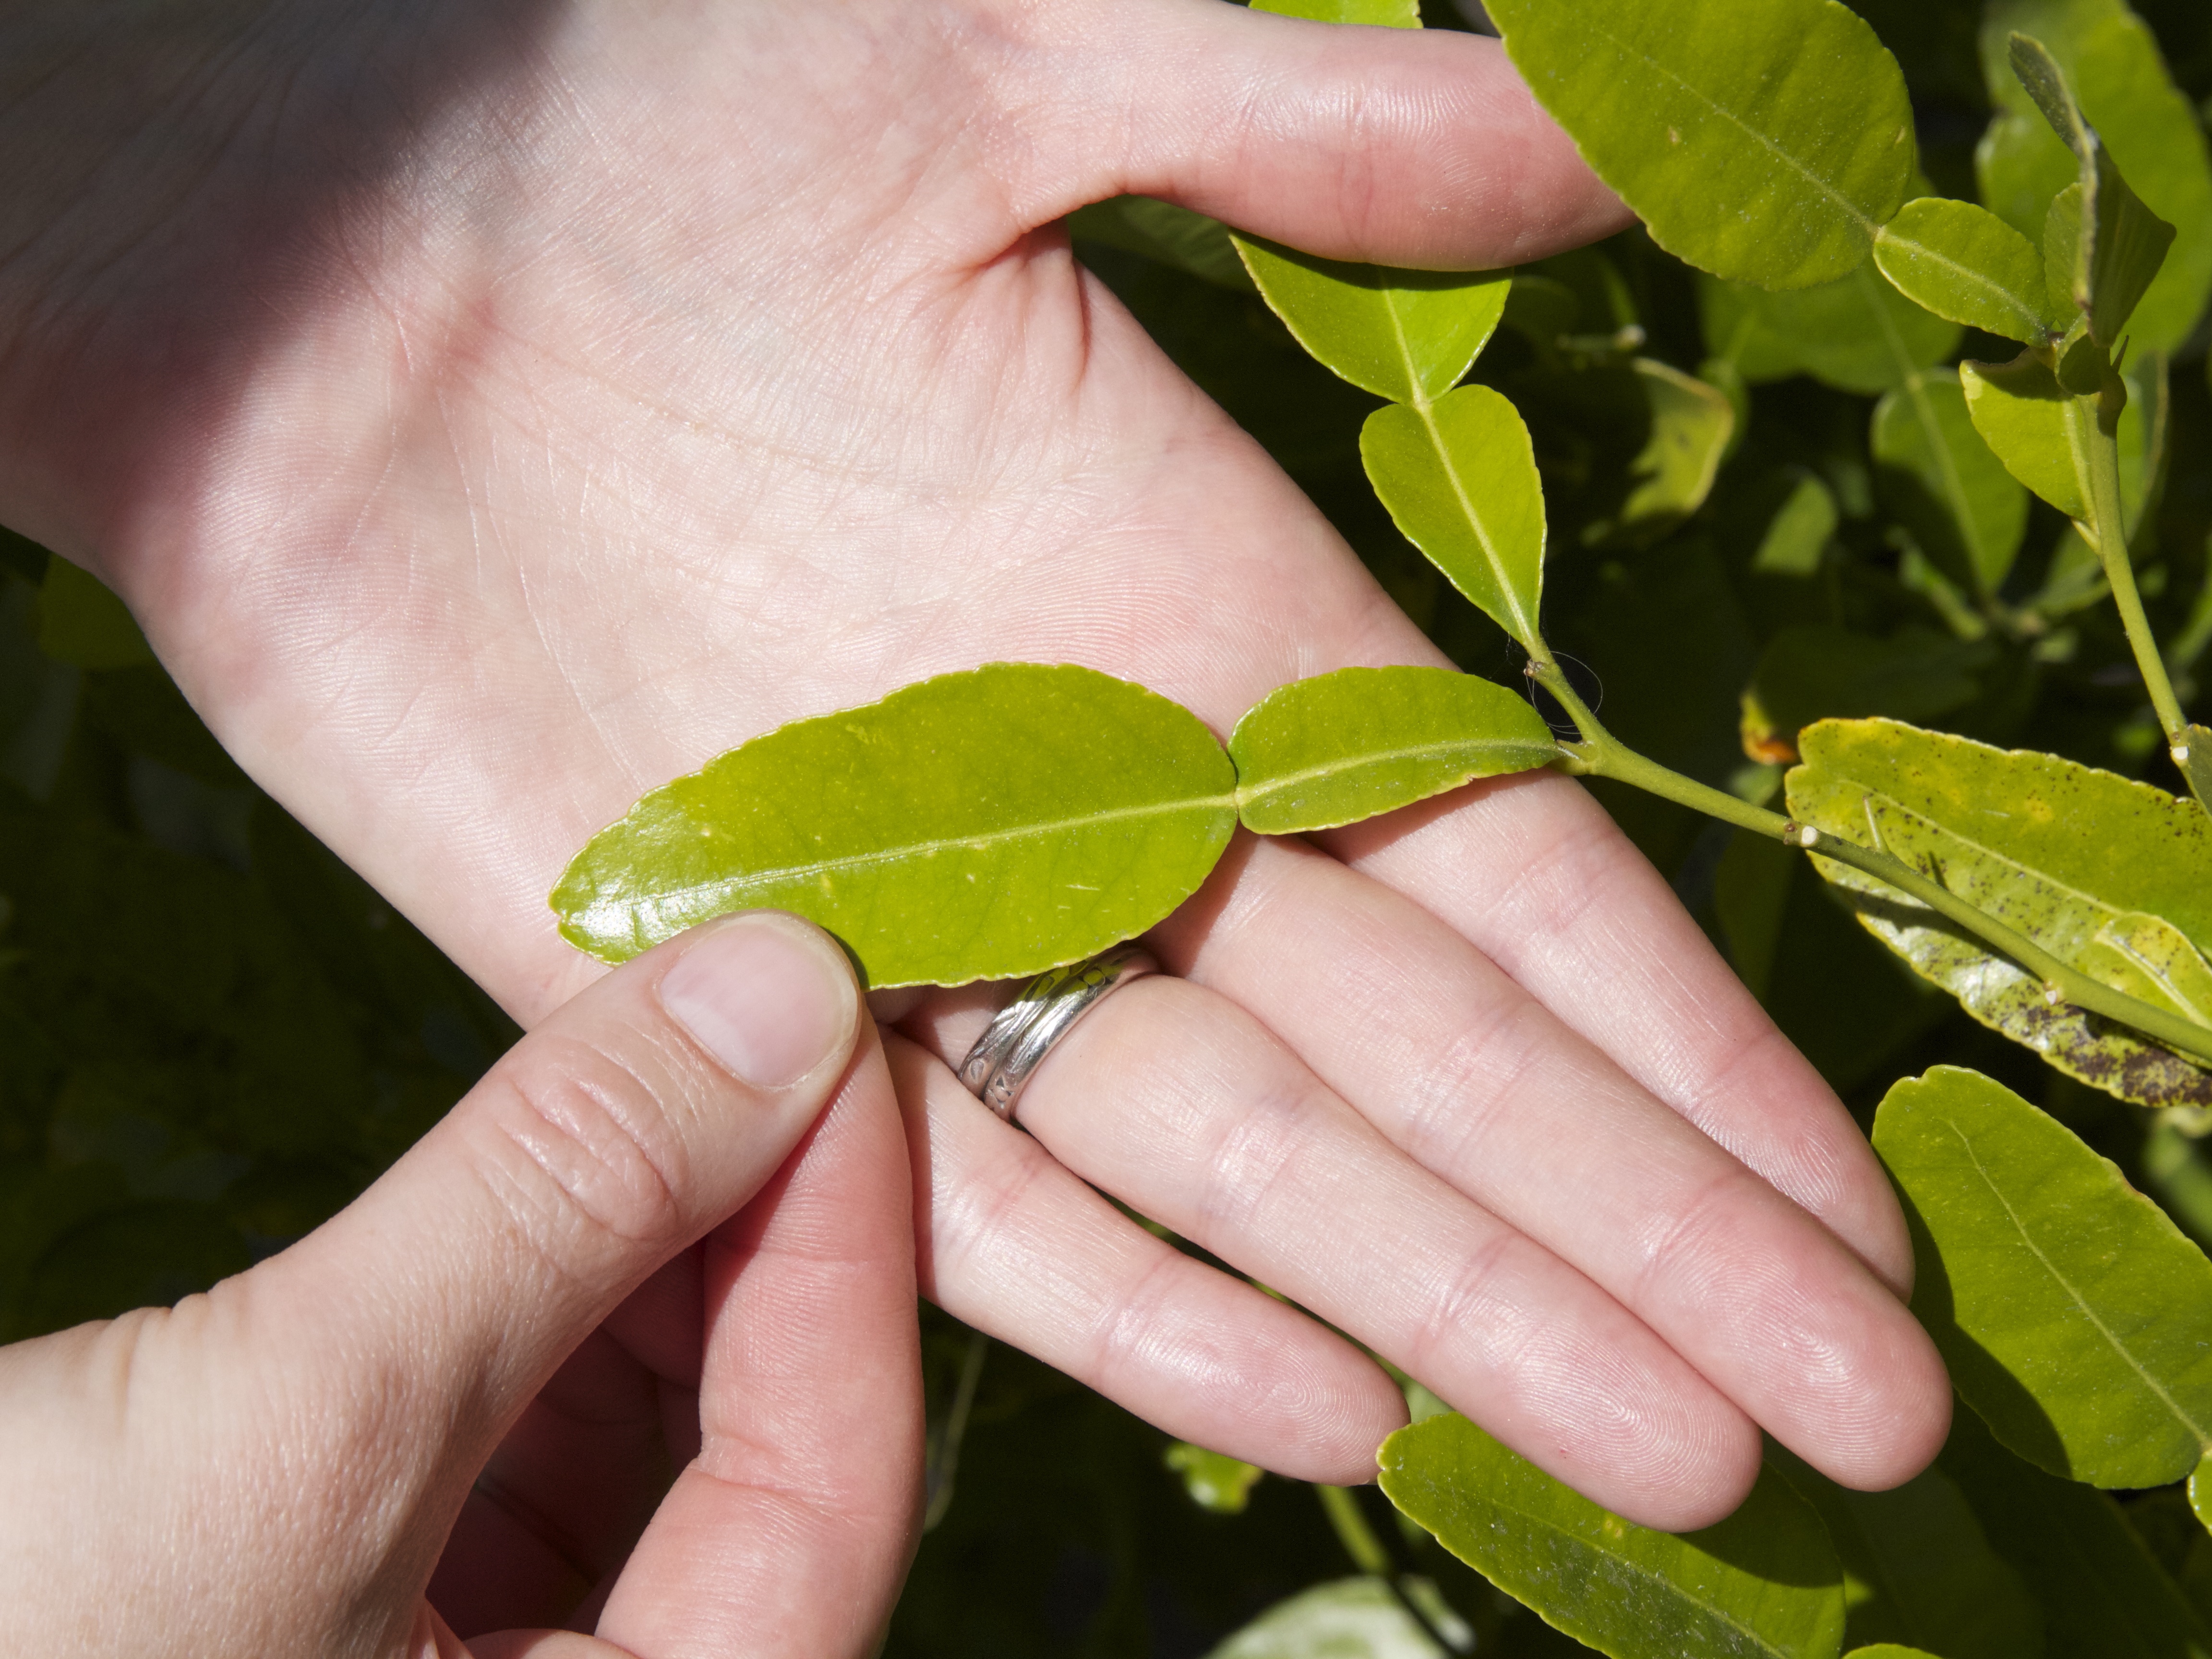
As the leaves mature to green, they mellow in flavor and begin to toughen. We usually pick them when they’ve just turned bright green, but are still tender.

Making Limoncello is a straightforward (but slightly lengthy) process of adding lemon zest to vodka or other neutral strong spirits, waiting several weeks, and then adding simple syrup and waiting a bit more. Our favorite Limoncello recipe served as a starting point of this variation. We also found a forum discussing the idea of using makrut limes, which gave us a starting point in terms of the number of leaves to use.

Untitled

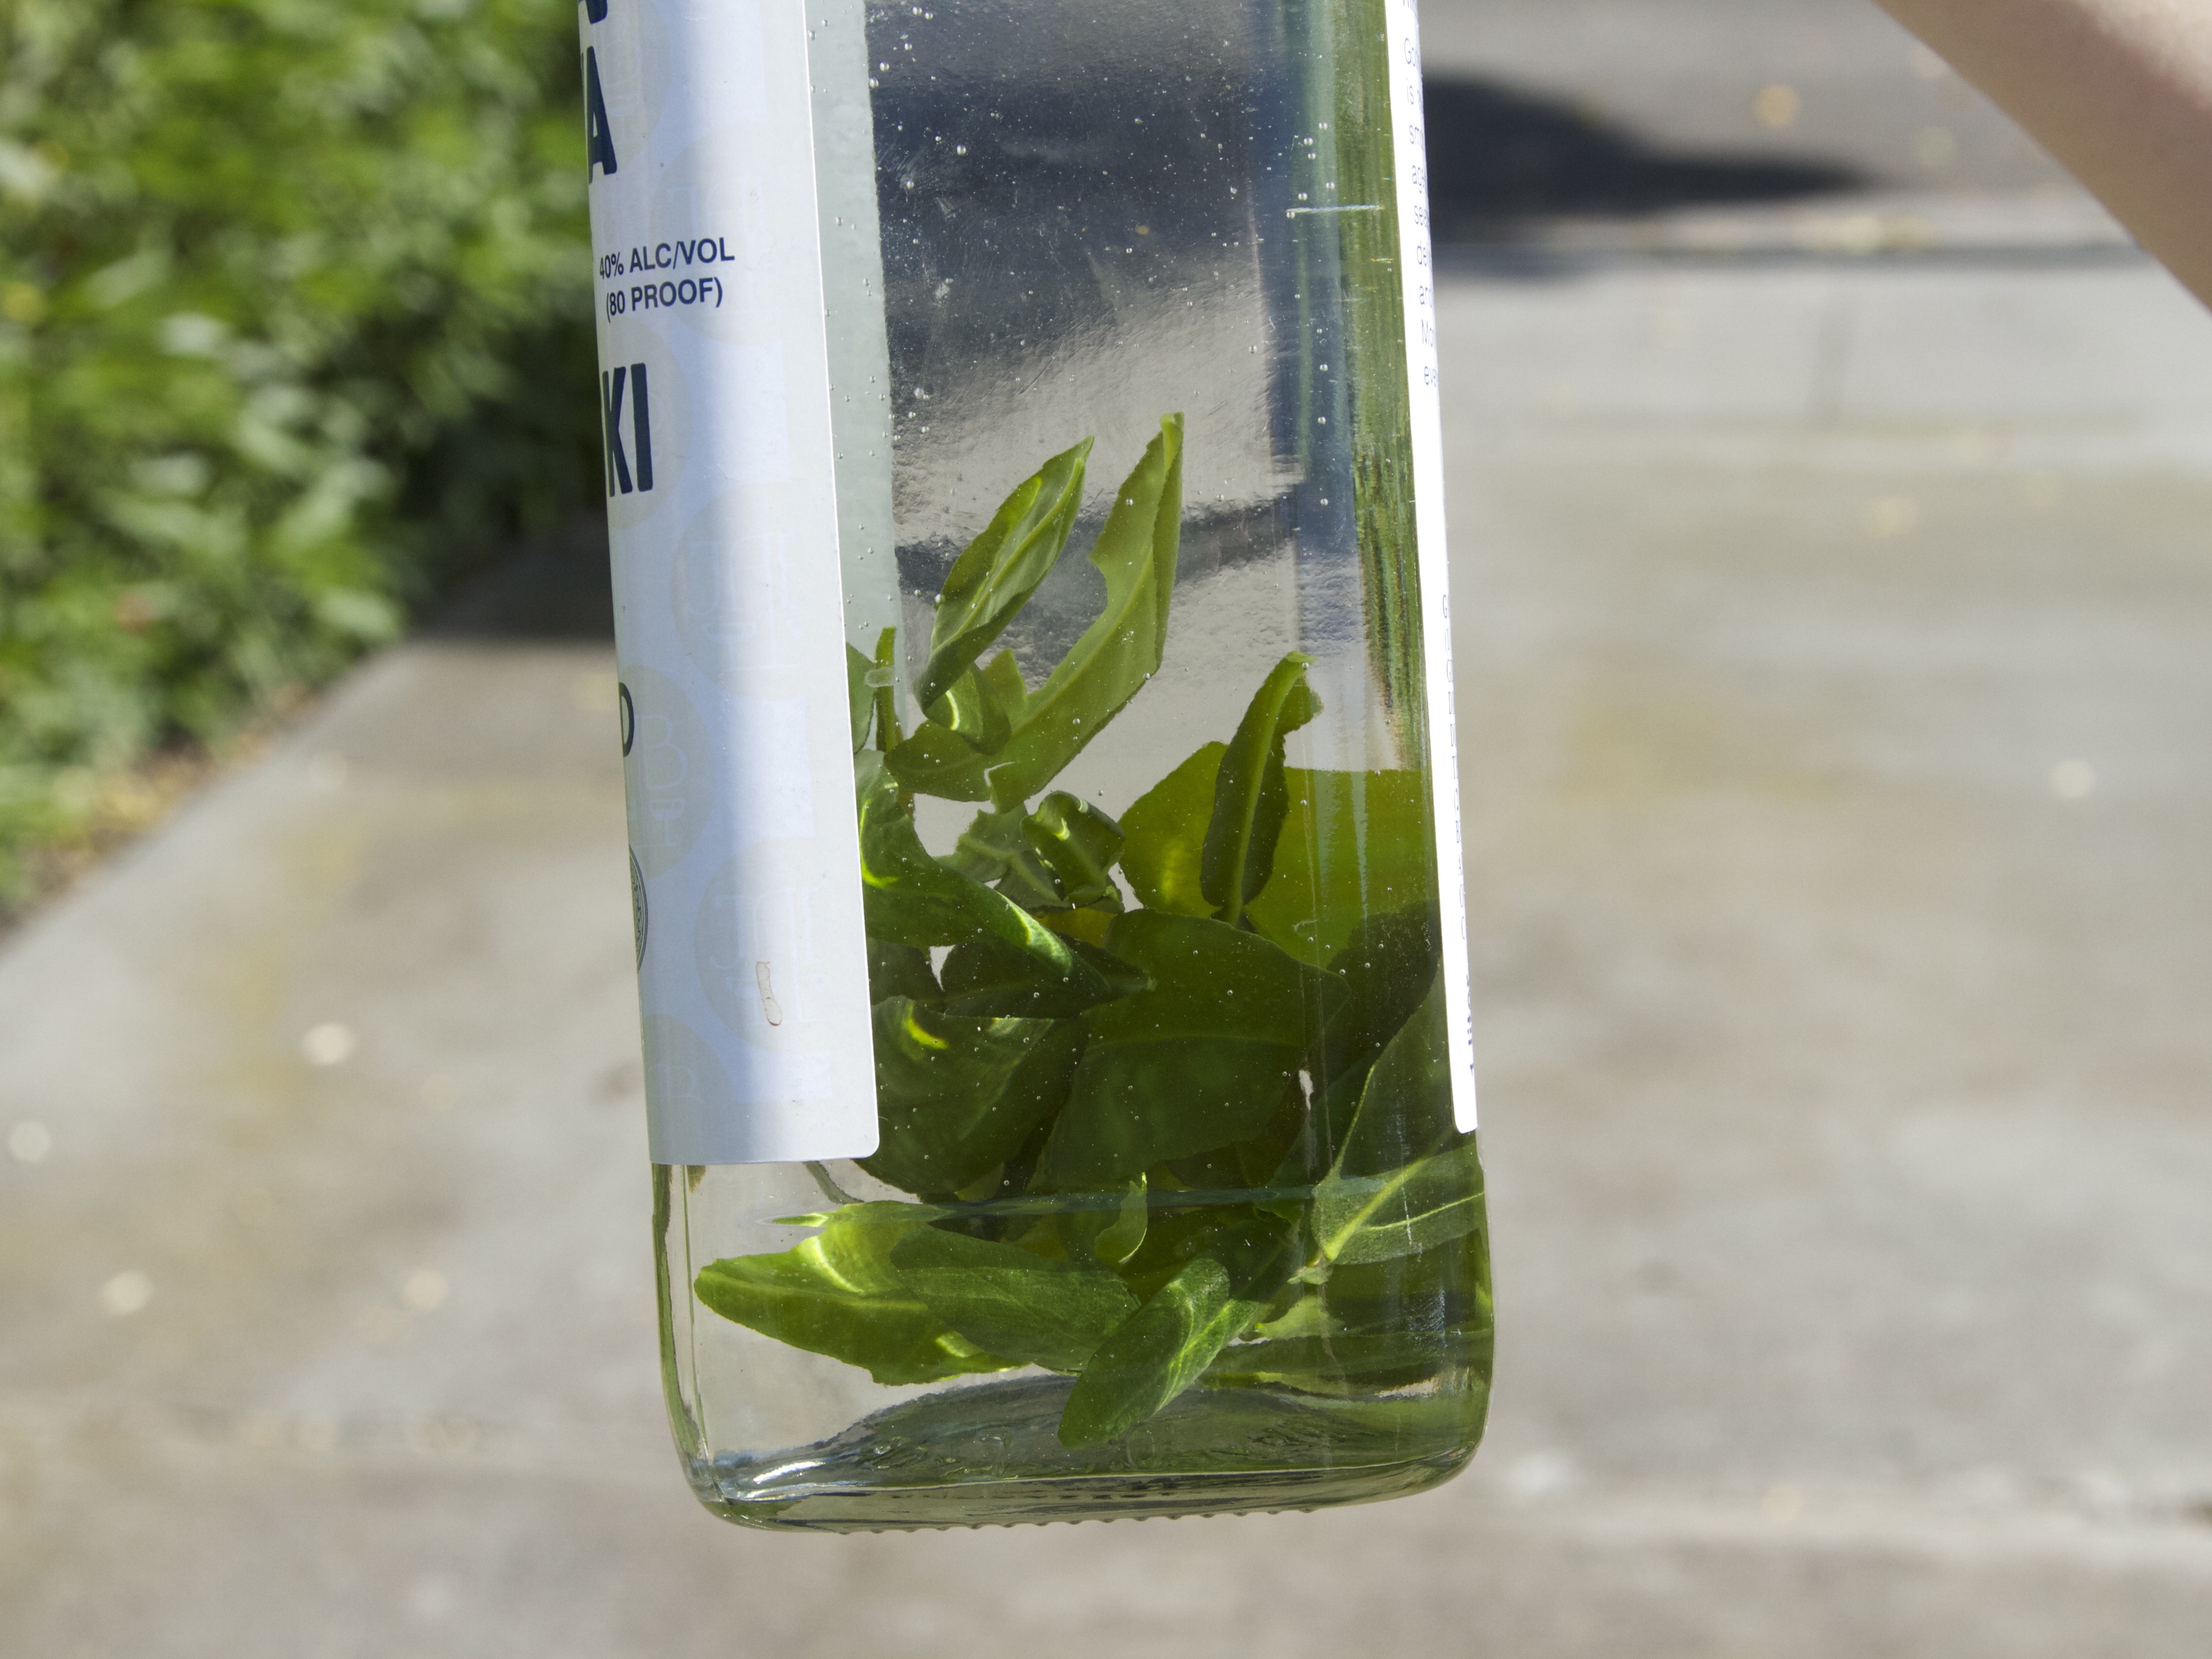
Step 1: Add 20 washed and dried leaves in a one-liter bottle of good quality vodka. (Our favorites are Polish or Austrian potato vodkas like Monopolowa and Luksosawa.)

A common and traditional variation is to use straight grain alcohol that allows you to use a shorter infusing period. However, following the GIGO principle, we’ve generally found that starting with a drinkable input results in a more drinkable output.

Set the bottle it in the back of a cupboard and forget about it for about a month. If you happen to see it on occasion, shake it a bit and open it to see how it smells. You’ll want to make Thai food.

Untitled

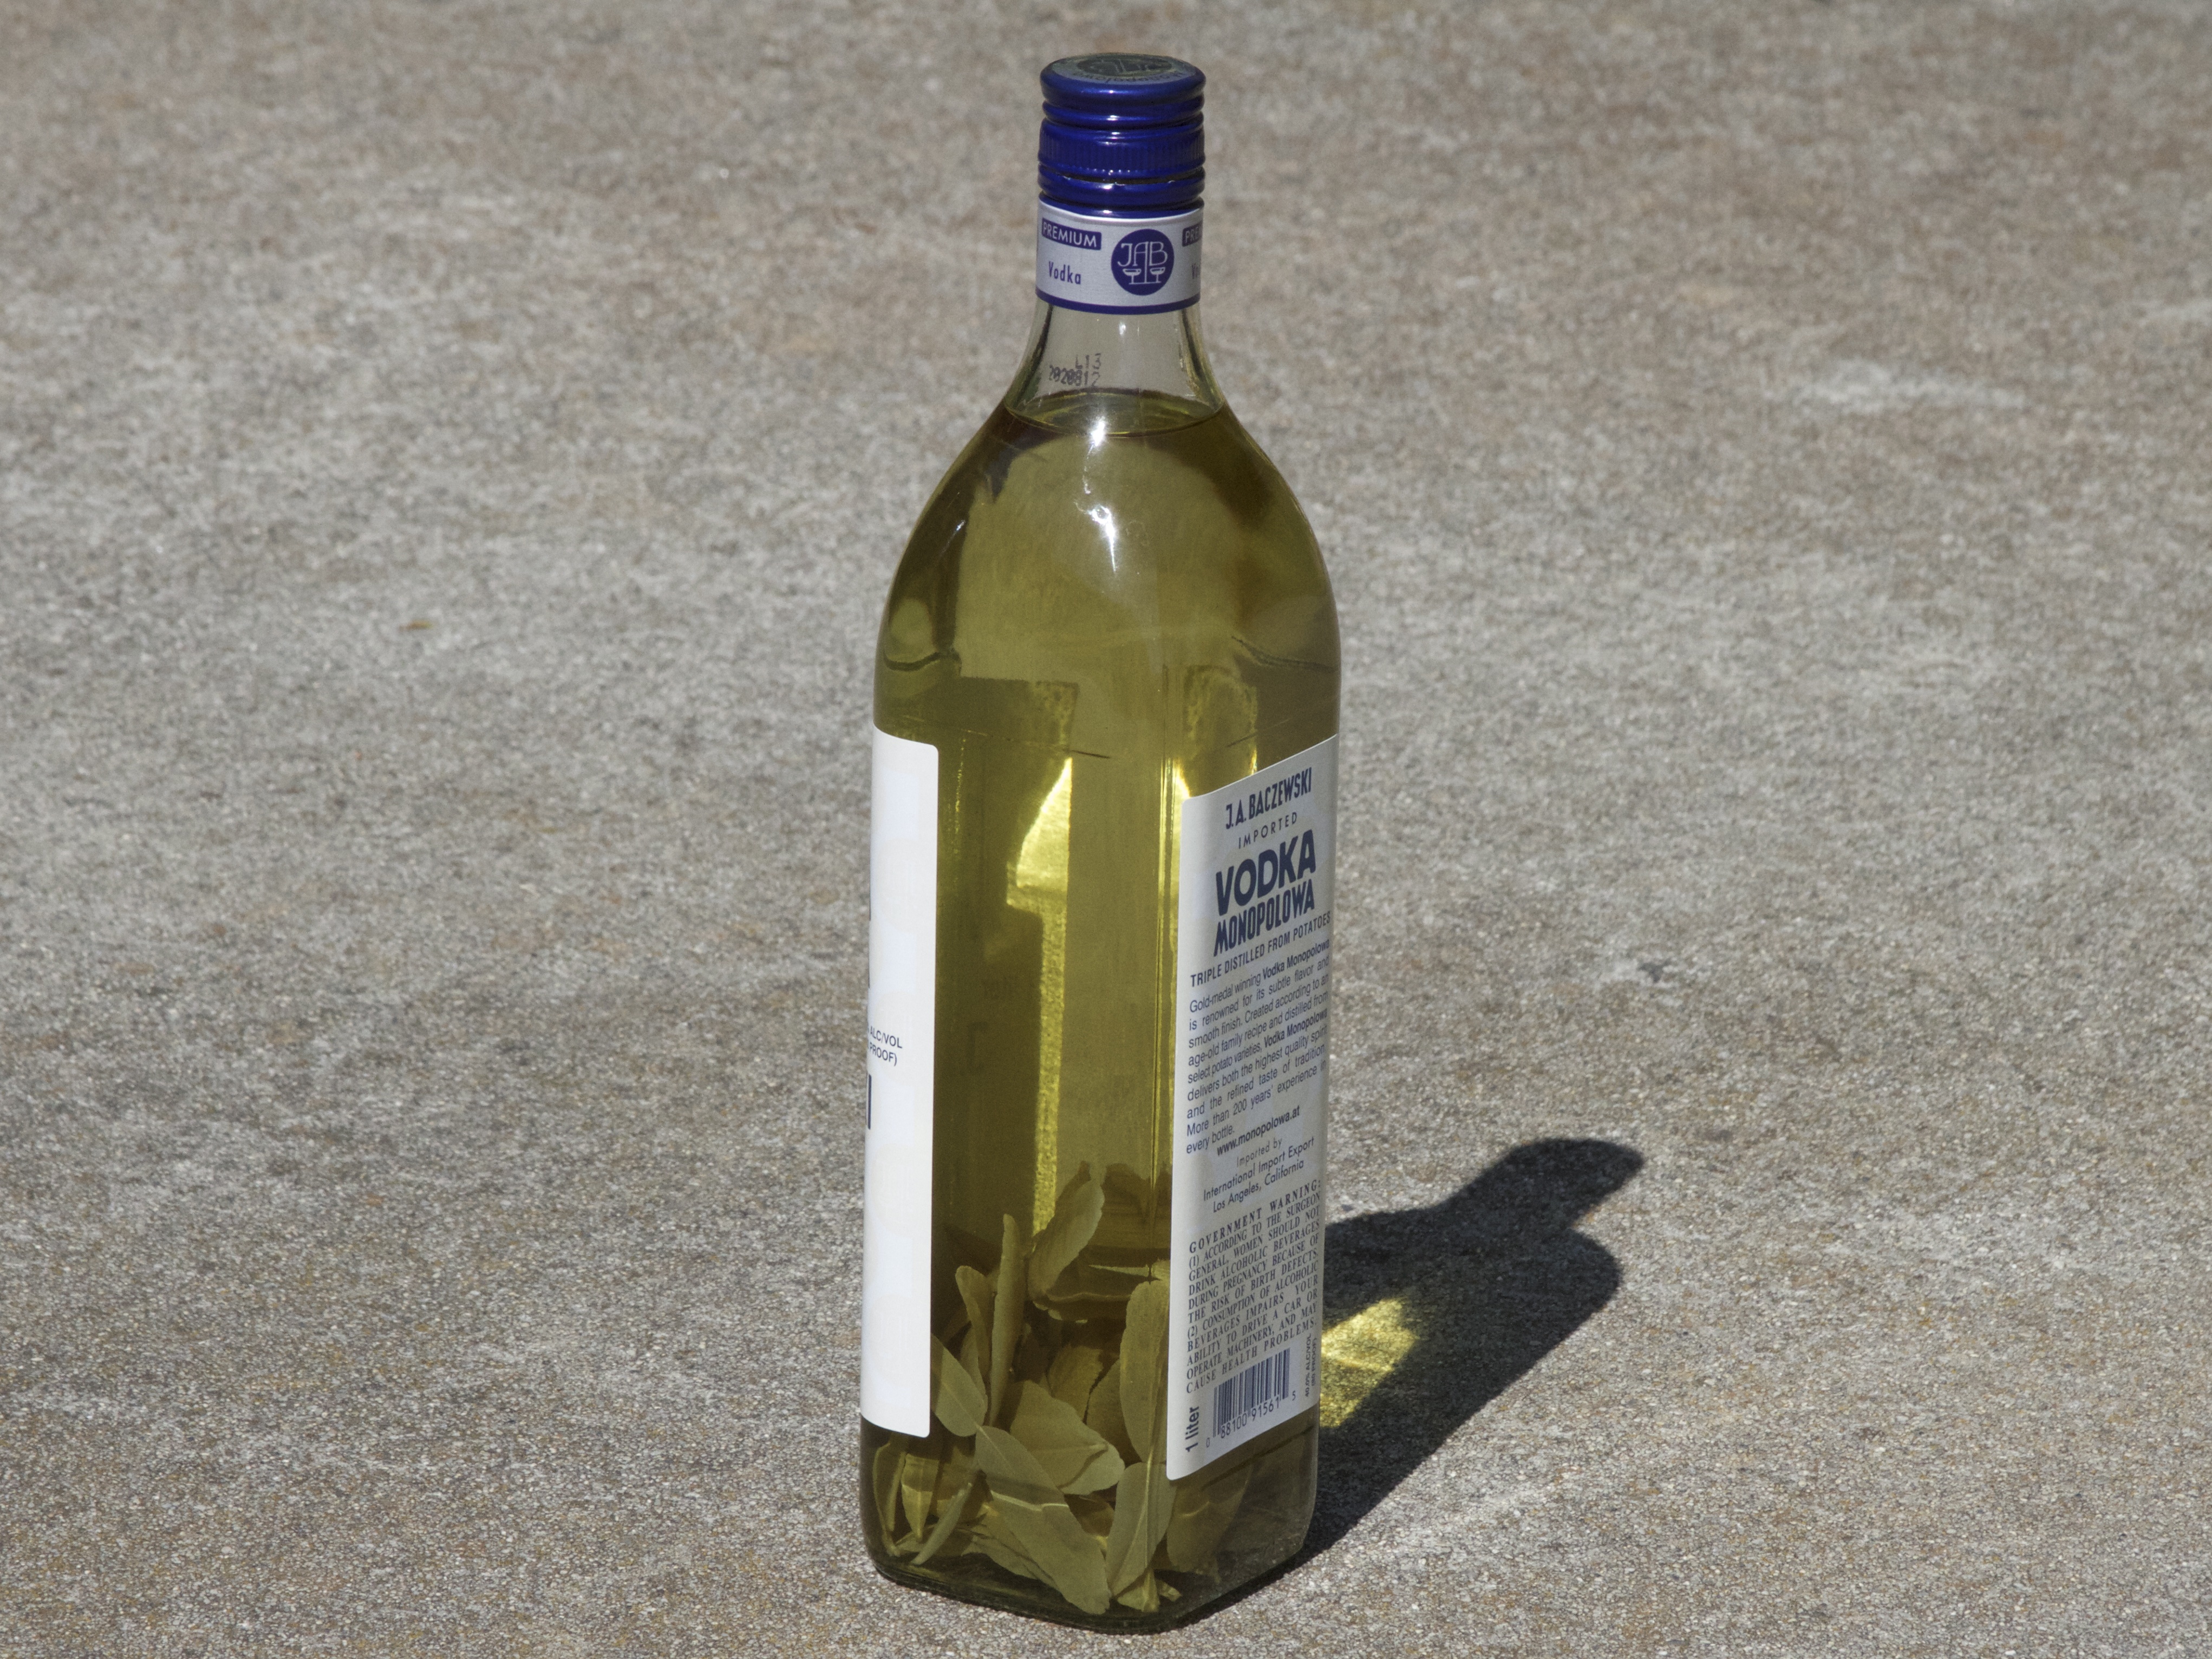
After a few weeks, the leaves will have leached their favor (and a hint of their color) into the vodka.

Step 2: Dissolve 1 3/4 cups sugar completely in 2 1/2 cups water. Microwaving it in a glass measuring cup for a couple of minutes will typically get it warm enough to dissolve.

Step 3: Thoroughly cool the simple syrup, to at least room temperature. (It’s okay to leave it in the fridge overnight.) If it is not fully cooled, it can result in an opaque final product.

Step 4: Pour the infused vodka and the simple syrup into a larger bottle (or multiple small ones), discarding the leaves.

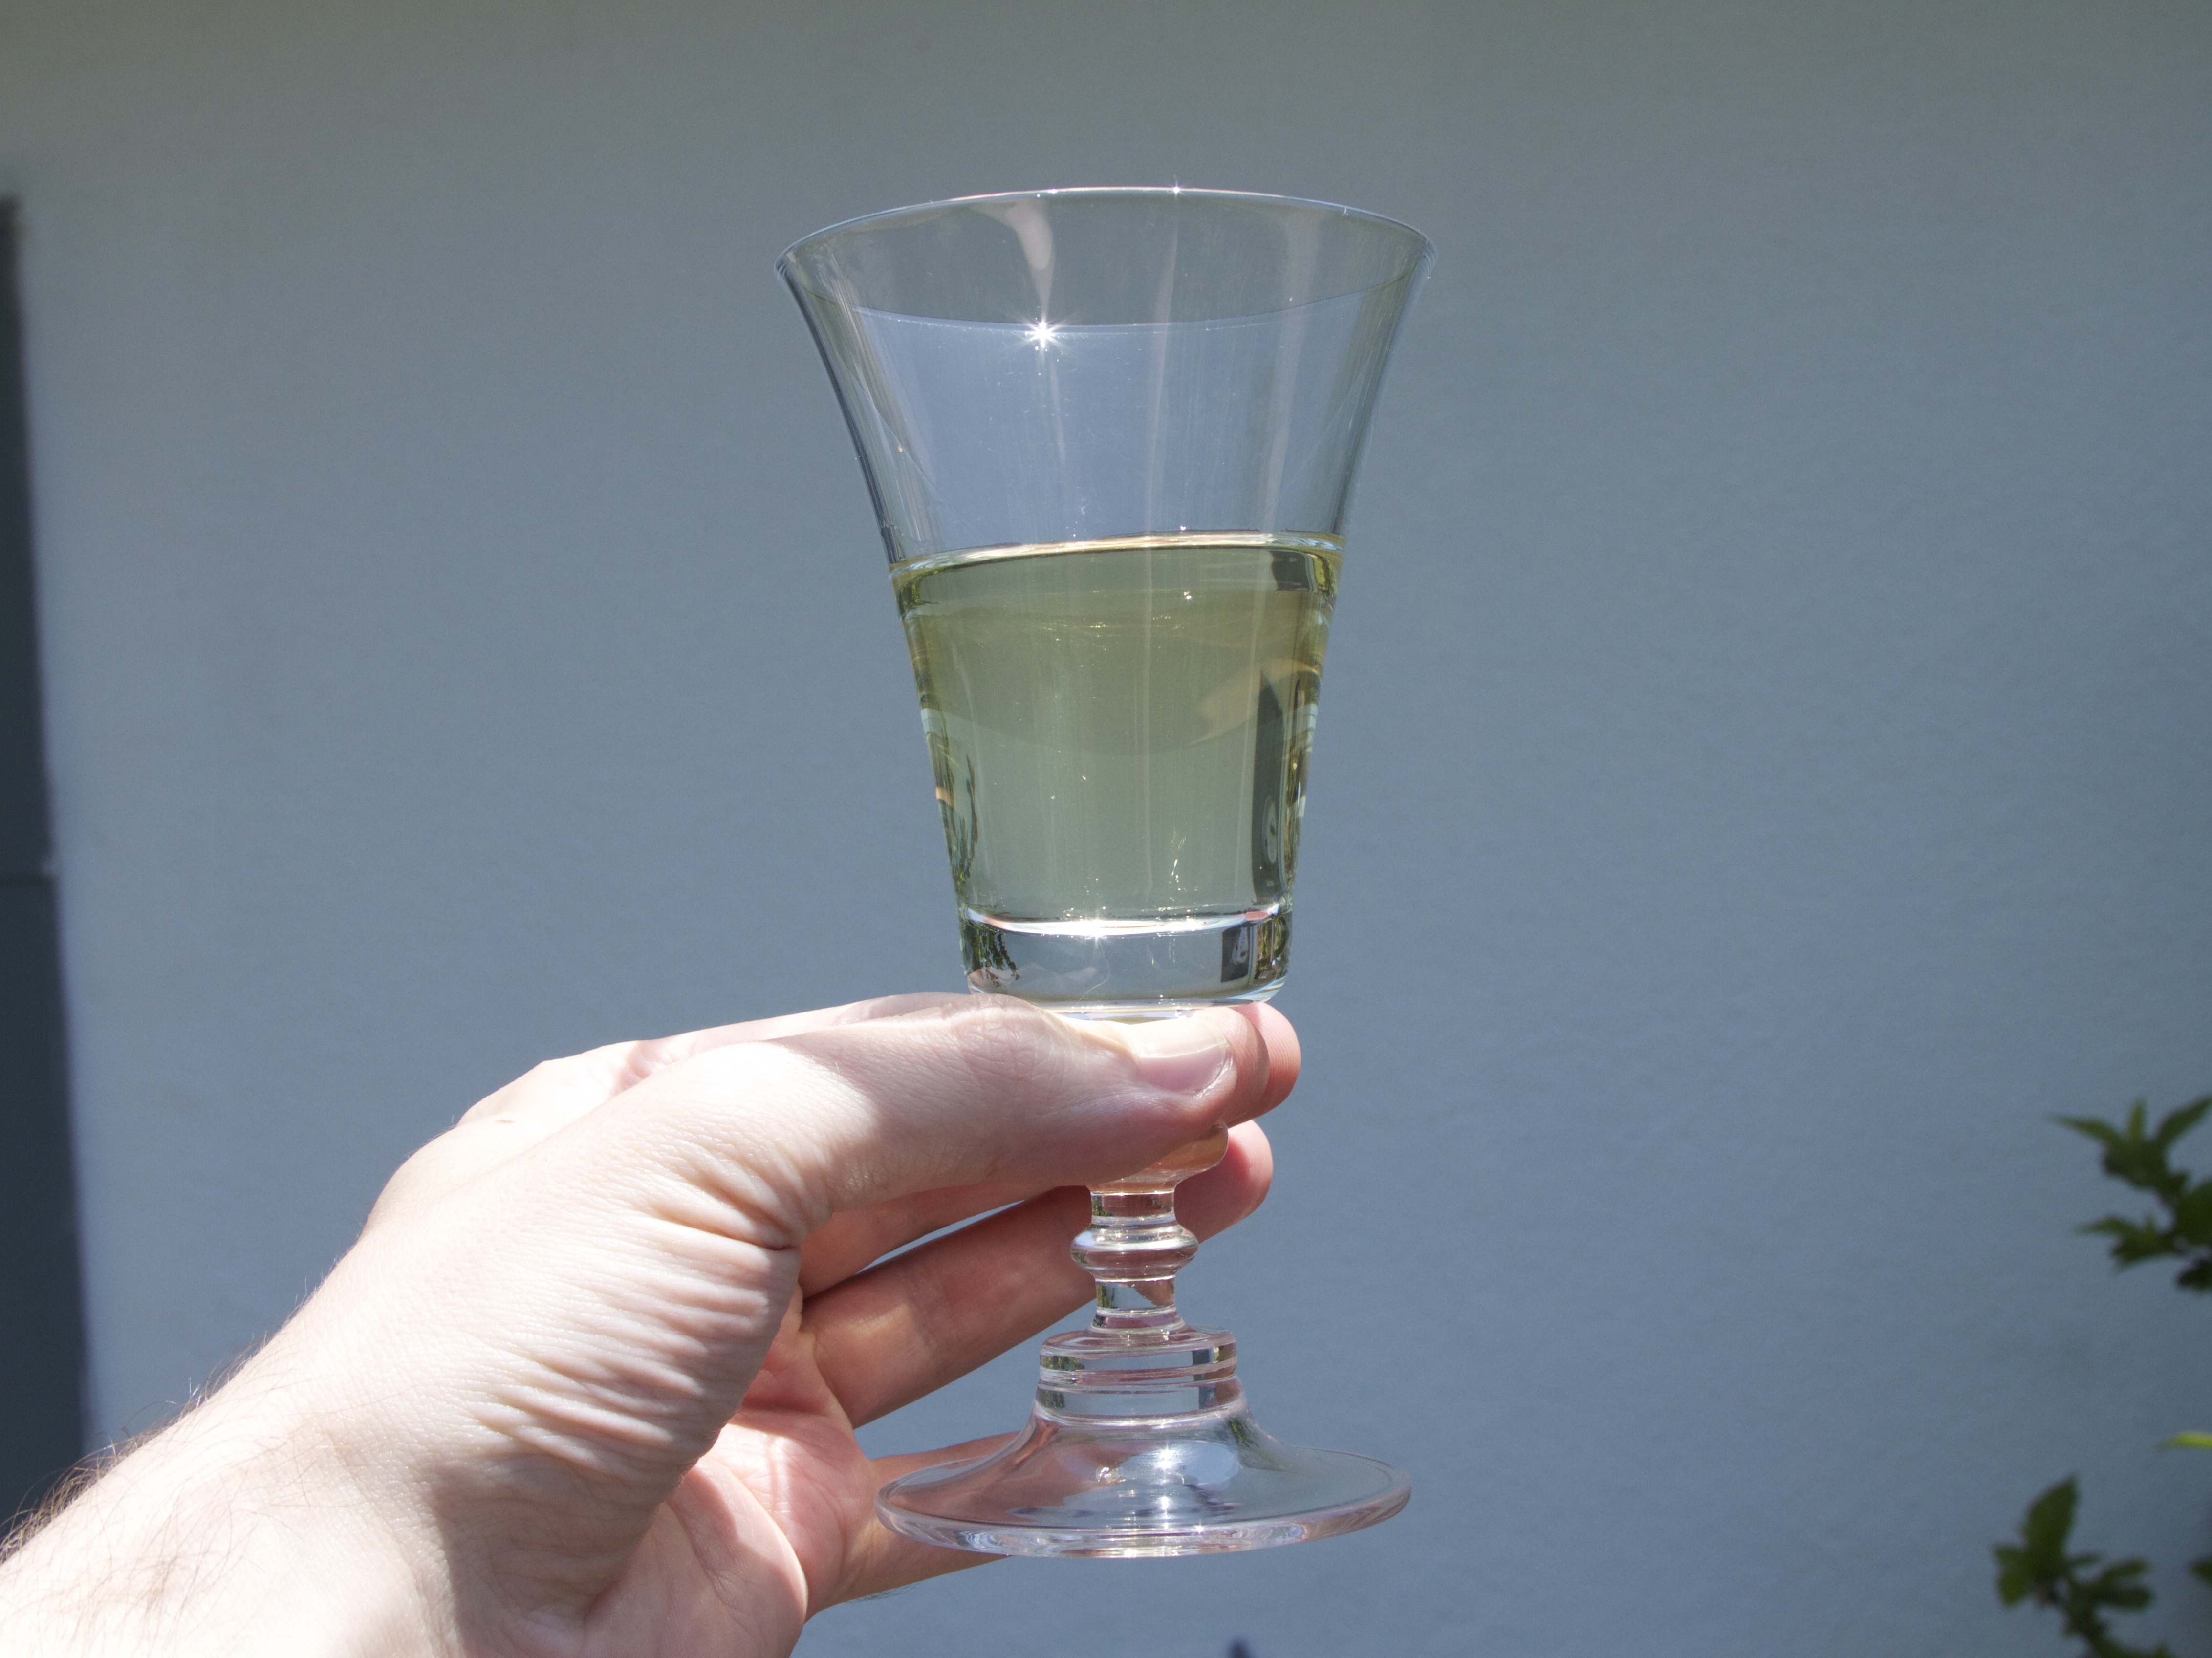
Most variations on this kind of recipe suggest waiting a few days after making it “for it to mellow,” although you may not be able to resist trying it first.
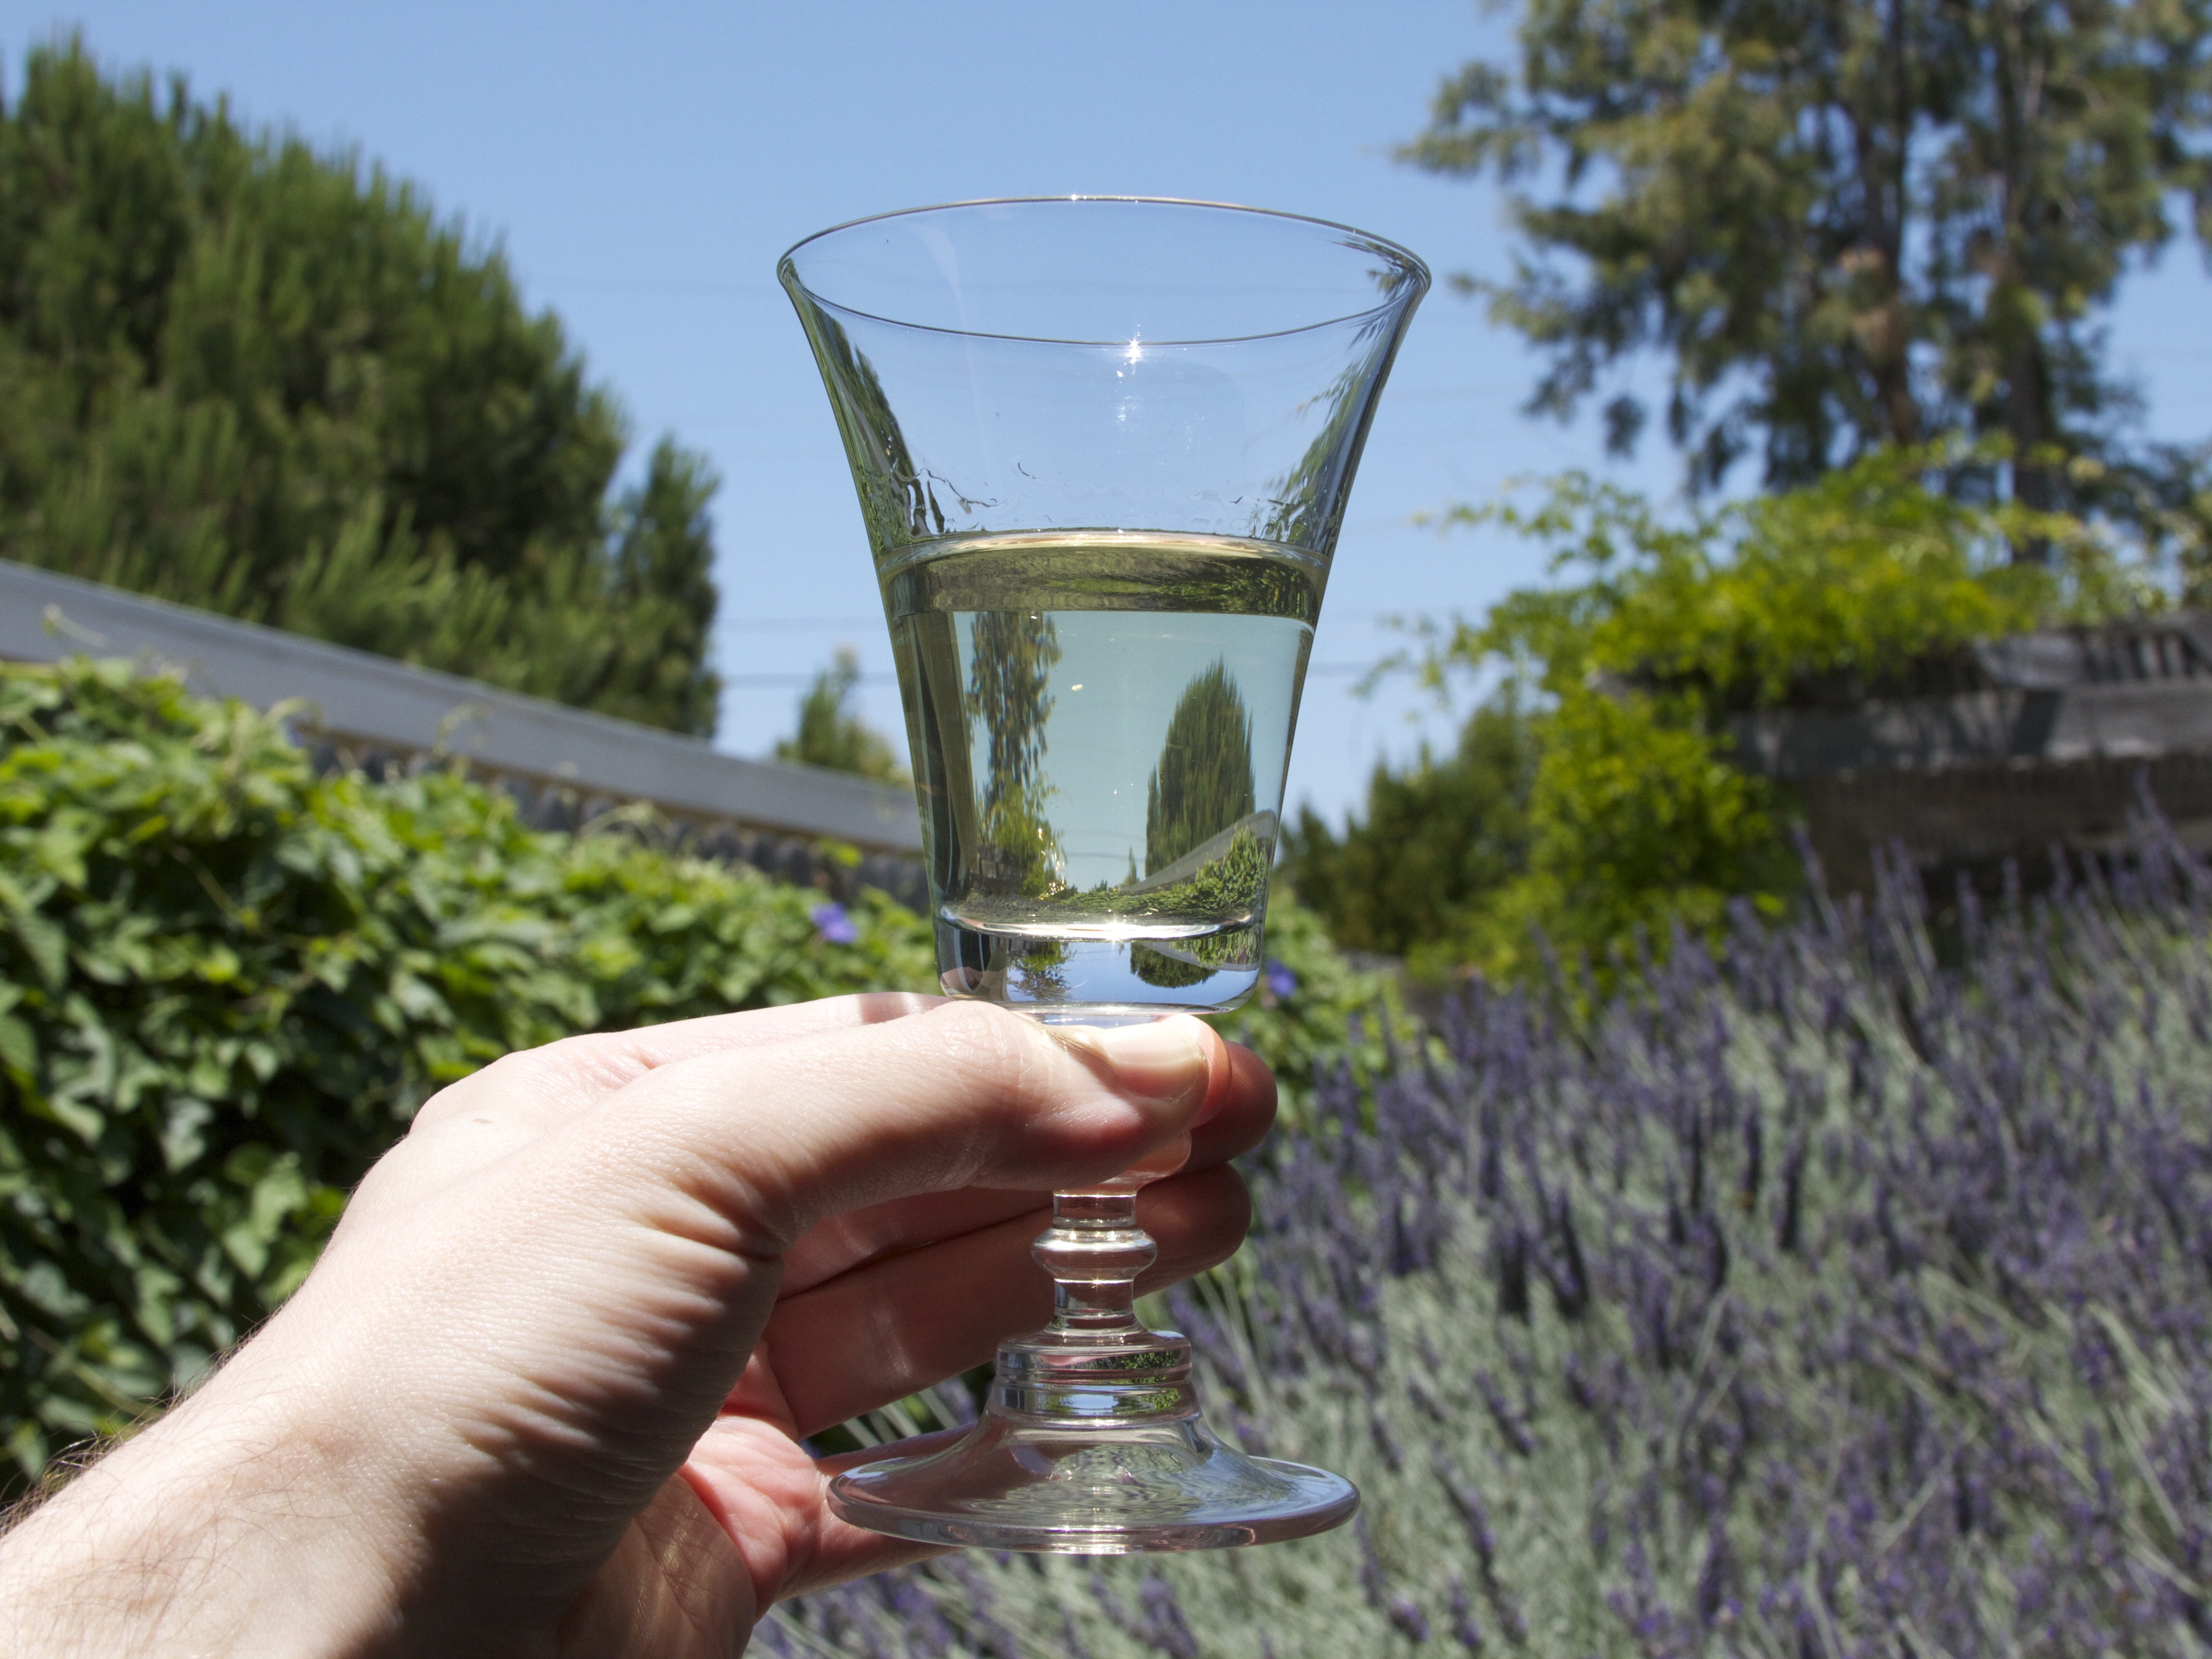
Untitled

Cheers!

Editor’s note April 10, 2021: This article has been edited to replace the word kaffir, which is offensive, with makrut, which is the preferred name for the fruit.

Client Bot by Nerd Industries

Mathias from Nerd Industries wrote in to tell us about their “Client Service Director Prototype” project. The Client Bot moves on a rail from one client logo the next, dusting each logo in sequence with a little brush. Mathias says:

We came up with the idea that it might be funny to build a robot holding a feather duster and constantly dusting the logos. We named the guy “our client service director” and started developing it.

The robot consists of an aluminum carriage. We put a multiphase motor inside and connected it to a robot arm. Also we attached an Arduino board to it as a controller and equipped it with a rechargeable battery pack. Everything has been mounted together with plastic screws to avoid conduction. The robot is powered through the rails.

The “feather duster” is actually a make up brush stolen from Christoph’s wife. You can see the general motion of the robot in the short clip below.

Client Service Director Prototype from Nerdindustries on Vimeo.

They’ve used a video of this charming robot to feature their client portfolio, and that’s where you can see it in its full glory.

Father’s Day Gift Guide

In anticipation of the upcoming father’s day holiday, we’ve put together a little gift guide with selections from our store. We’re also putting all of these items on sale now through June 12: just enter coupon code “VADER” in the shopping cart to receive 10% off.

dcii_2

First up is the Digi-Comp II, First Edition. It’s perfect for teaching the basics of binary math to kids and parents alike.

A5White

The Alpha Clock Five kit, in original Red Edition, the gleaming White Edition, or the brand-new Blue Edition, is the perfect clock for the discerning hobbyist. It’s eminently hackable and full-featured, with digits big enough to see across even the largest of garages or just next to the bed before you put your glasses on.

Diavolino-angle2

For someone expanding their electronic horizons, or working a ton of projects at once, our Diavolino Starter Packs, and AVR Starter Packs will keep them happily busy.

Our Octolively Modules would make an excellent addition to a furniture or remodeling project.

The Art Controller is a modern take on an old classic, perfect for someone with plenty of project ideas who just needs an occasional trigger.

Tools are always a great gift choice, and anyone would be proud to own our ESD-Safe Screwdriver Sets. Another great workbench addition would be our Standard LED Assortment.

Original Egg-Bot with Ostrich Egg-Bot

The Egg-Bot started out as a way for one father used to show his family how cool it could be to play with stepper motors. Both The Original Egg-Bot Kit and the Ostrich Egg-bot are on sale.

The father’s day sale runs through June 12: enter coupon code “VADER” in the shopping cart to receive 10% off these items.

Happy Father’s Day!

Quick project: 24-hour Cosplay Sword

Cosplay Sword 1

Junior Evil Mad Scientist Chris came to us for help with what turned out to be a funny little (well, huge) cosplay prop project. The kind of project that starts off with a conversation that goes like this:

“You want to build what?”
“A giant sword for my costume for FanimeCon!”
“And when do you need it by?”
“Uh… tomorrow?”

So, we got to help make a 64″ long replica sword, one of several from the flash game Epic Battle Fantasy 3 (which we had admittedly never heard of before), in what turned out to be kind of an interesting (if quick) project.

Chris drew up the outline for the sword in Inkscape, by tracing the outline of a bitmap drawing of the sword in a larger collection (where you can find this one in the top row, one third of the way from the left).   We cut the outline on our CNC router from lightweight 3/4″ hardwood plywood— strong enough to not be floppy, yet light enough to be carried — and sanded the sides until it could be handled without creating splinters. We also sanded a slight bevel around the edges of the blade, so as to create the illusion of a sharpened edge without actually thinning it much around the edges.

Next, we needed to paint the sword silver.  We had some silver spray paint on hand (left over from our 555 Footstool project!), but if you directly spray paint lightweight plywood, it tends to soak into the wood unevenly, dry slowly, and leave a finish that awkwardly highlights the grain of the underlying wood.  Instead, we coated the sword with a fast-drying sanding sealer and allowed it to dry for two hours before getting out the spray paint.


Cosplay Sword 3

In the mean time, we made the hilt details— what might count as greebles —by laser cutting two sheets of thin 1/8″ thick plywood on each side, in a shape slightly inset from the outline of the thicker plywood.  There are two of these, one to go on each side of the hilt.

Cosplay Sword 2

Once the sanding sealer had dried enough to gently sand, we test-fit the parts together. The photo above shows how the parts look after laser cutting and with the slick, yellowish finish that the sanding sealer gives to the plywood.

Next, we spray painted the body of the sword. Primer gray for the hilt section and metallic silver for the blade section, and allowed it to dry overnight.

Separately, we painted the laser-cut overlays black with black one-part polyurethane finish (the same type that we used for our ASCII art Tie Fighter project), and allowed them to dry separately.

Cosplay Sword 4

In the morning, a little superglue attaches the newly-black hilt details, an old leather belt becomes some lashing details, with the help of a staple gun, and… it’s off to the show.

In case you’re interested, you can download a copy of Chris’s sword design here, as an Inkscape SVG file.


You can find more costume projects in our Halloween Project Archive.

Kitty’s Morning Tea

Kitty’s Morning Tea: Kinetic Theory of Matter for Kids, by Christine Liu, is a remarkably charming book and physics lesson for young children.  It’s a short twelve-pages about tea, molecules, and kinetic energy that you can read (in its entirety) above, in a digital edition released by the author.   We love seeing science-themed educational materials for youngsters— and this is no exception.

Christine and friends are running an (already funded) campaign on Kickstarter to print the book and get it into the hands of children, and you can get your own printed copy as one of the rewards.  It’s also available in a Kindle edition, free for the short remaining duration of their campaign.

Winner, Name that Ware May 2013

Mystery Ware May 2013 9

Congratulations to reader VAX-Dude for winning the Name that Ware contest for May 2013, by correctly identifying our mystery ware as a VAX 9000 series High Density Signal Carrier (HDSC).

Which might lead you to ask another perfectly reasonable question: What the heck is a High Density Signal Carrier? Continue reading Winner, Name that Ware May 2013

3D printing use case: Custom parts for vintage cars

We always hear about how someday people will just print out rather than order spare parts for their cars. Here’s someone who actually does it.

When instructables user madmorrie had new door trims (interior panels) made for his 1962 Valiant, he neglected to allow for clearance for the door lock levers on the back door, so the original levers would no longer work. In the photo above you can see the end of the mounting post for the levers is flush with surface of the new panel, leaving no way to attach them.

Rather than have expensive new door trims made, he decided to make new levers. He designed the new levers with an extended splined section that could be recessed into the door trim and wrote up his experience in his instructable, Custom 3D Printed Car Parts.

It’s likely that no other 1962 Valiant owner will ever have the same problem, and that’s exactly why 3D printing is a good choice in this scenario. While 3D printing can get expensive for larger parts, when building tiny parts like these, you can save a lot of money by not paying for tooling costs.

And it turns out that 3D printing is good enough, even in low-cost materials (about $15 for the pair through Shapeways), for a usable part. Madmorrie says,

Initially I was intending to order them in stainless steel, however the plastic ones seem to be perfectly strong enough, so unless they break I will stick with them.

And, they look great!

All photos by madmorrie.