


Hey internet: You’ve got some good artists out there, and we could use a little help, right now!
Today is the last day to submit entries for the new Open Source Hardware logo — There are over 100 entries so far, and you can enter your own sketch by posting it there in the forum. The official requirements are that it is (1) easy to print/see on a circuit board or schematic document and (2) that it signify “open-ness.” To part (1), I’d add, it should be easy to carve/see milled into a block of aluminum– open hardware isn’t just about electronics! –and to part (2), I’d add that locks and keys aren’t always the best way to indicate that something is “open.” (Locks are often shut. There are plenty of things that never are– Klein bottles come to mind.) So, now is the “last minute” — and time to send in your own entry. We’ve got a whole lot of entries that won’t look good on a circuit board (or milled into aluminum), and a whole lot of entries with locks and keyholes that don’t necessarily send the right message. Care to lend a hand?PeggyDraw 2
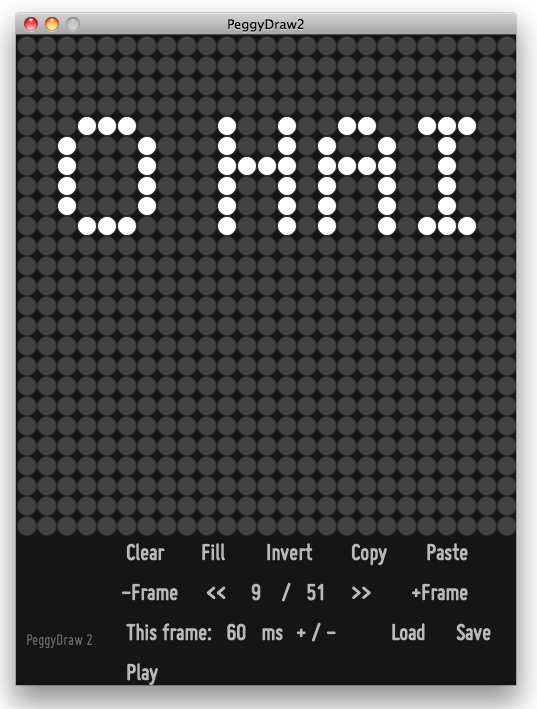
We are pleased to finally release PeggyDraw 2, a little bit of long-delayed software. It’s a Processing application that you can use to draw simple 1-bit animations on a 25×25 grid. The neat bit, of course, is that you can press the “Save” button, and the file that it saves is actually an Arduino program, ready to be programmed onto a Peggy 2.
You can download PeggyDraw 2 right here. It’s fully built in Processing, so that it works on Mac, Windows, and Linux. Also, open source, designed to be adaptable.
Some things to note about this program:
- If you don’t have Processing on your computer, download it here.
- The editing interface is easy point-and-click. Try it out to see how it works.
- You can individually pick different delay times per frame, as low as 20 ms, or give every frame the same duration.
- The frame data is stored in Arduino program memory, so you’re only limited by the flash memory in terms of frame number– over 250 frames fit on an ATmega328P.
- The output file is located in the PeggyDraw2 sketch directory, inside a directory named
“PeggyProgram”“data.” The file is called “PeggyProgram.pde.” - You can both save a file and later reload it for editing.
- The formats used in PeggyDraw 2 should be easily adaptable to write sequences for other types of LED grids, even of different aspect ratio and control software.
And, special thanks to Matt Mets, http://cibomahto.com for assistance with Processing.
Update, 3/19/2011: We’ve posted a new version, PeggyDraw 2 v. 1.1, available here. Note that the output file is now stored in the “data” directory, not a separate “PeggyProgram” directory.
The CO2inator
A guest project by Rich Faulhaber, contributing Evil Mad Scientist.

“Infusing unsuspecting whole fruit with gaseous CO2 in the entire Tri-State Area!”
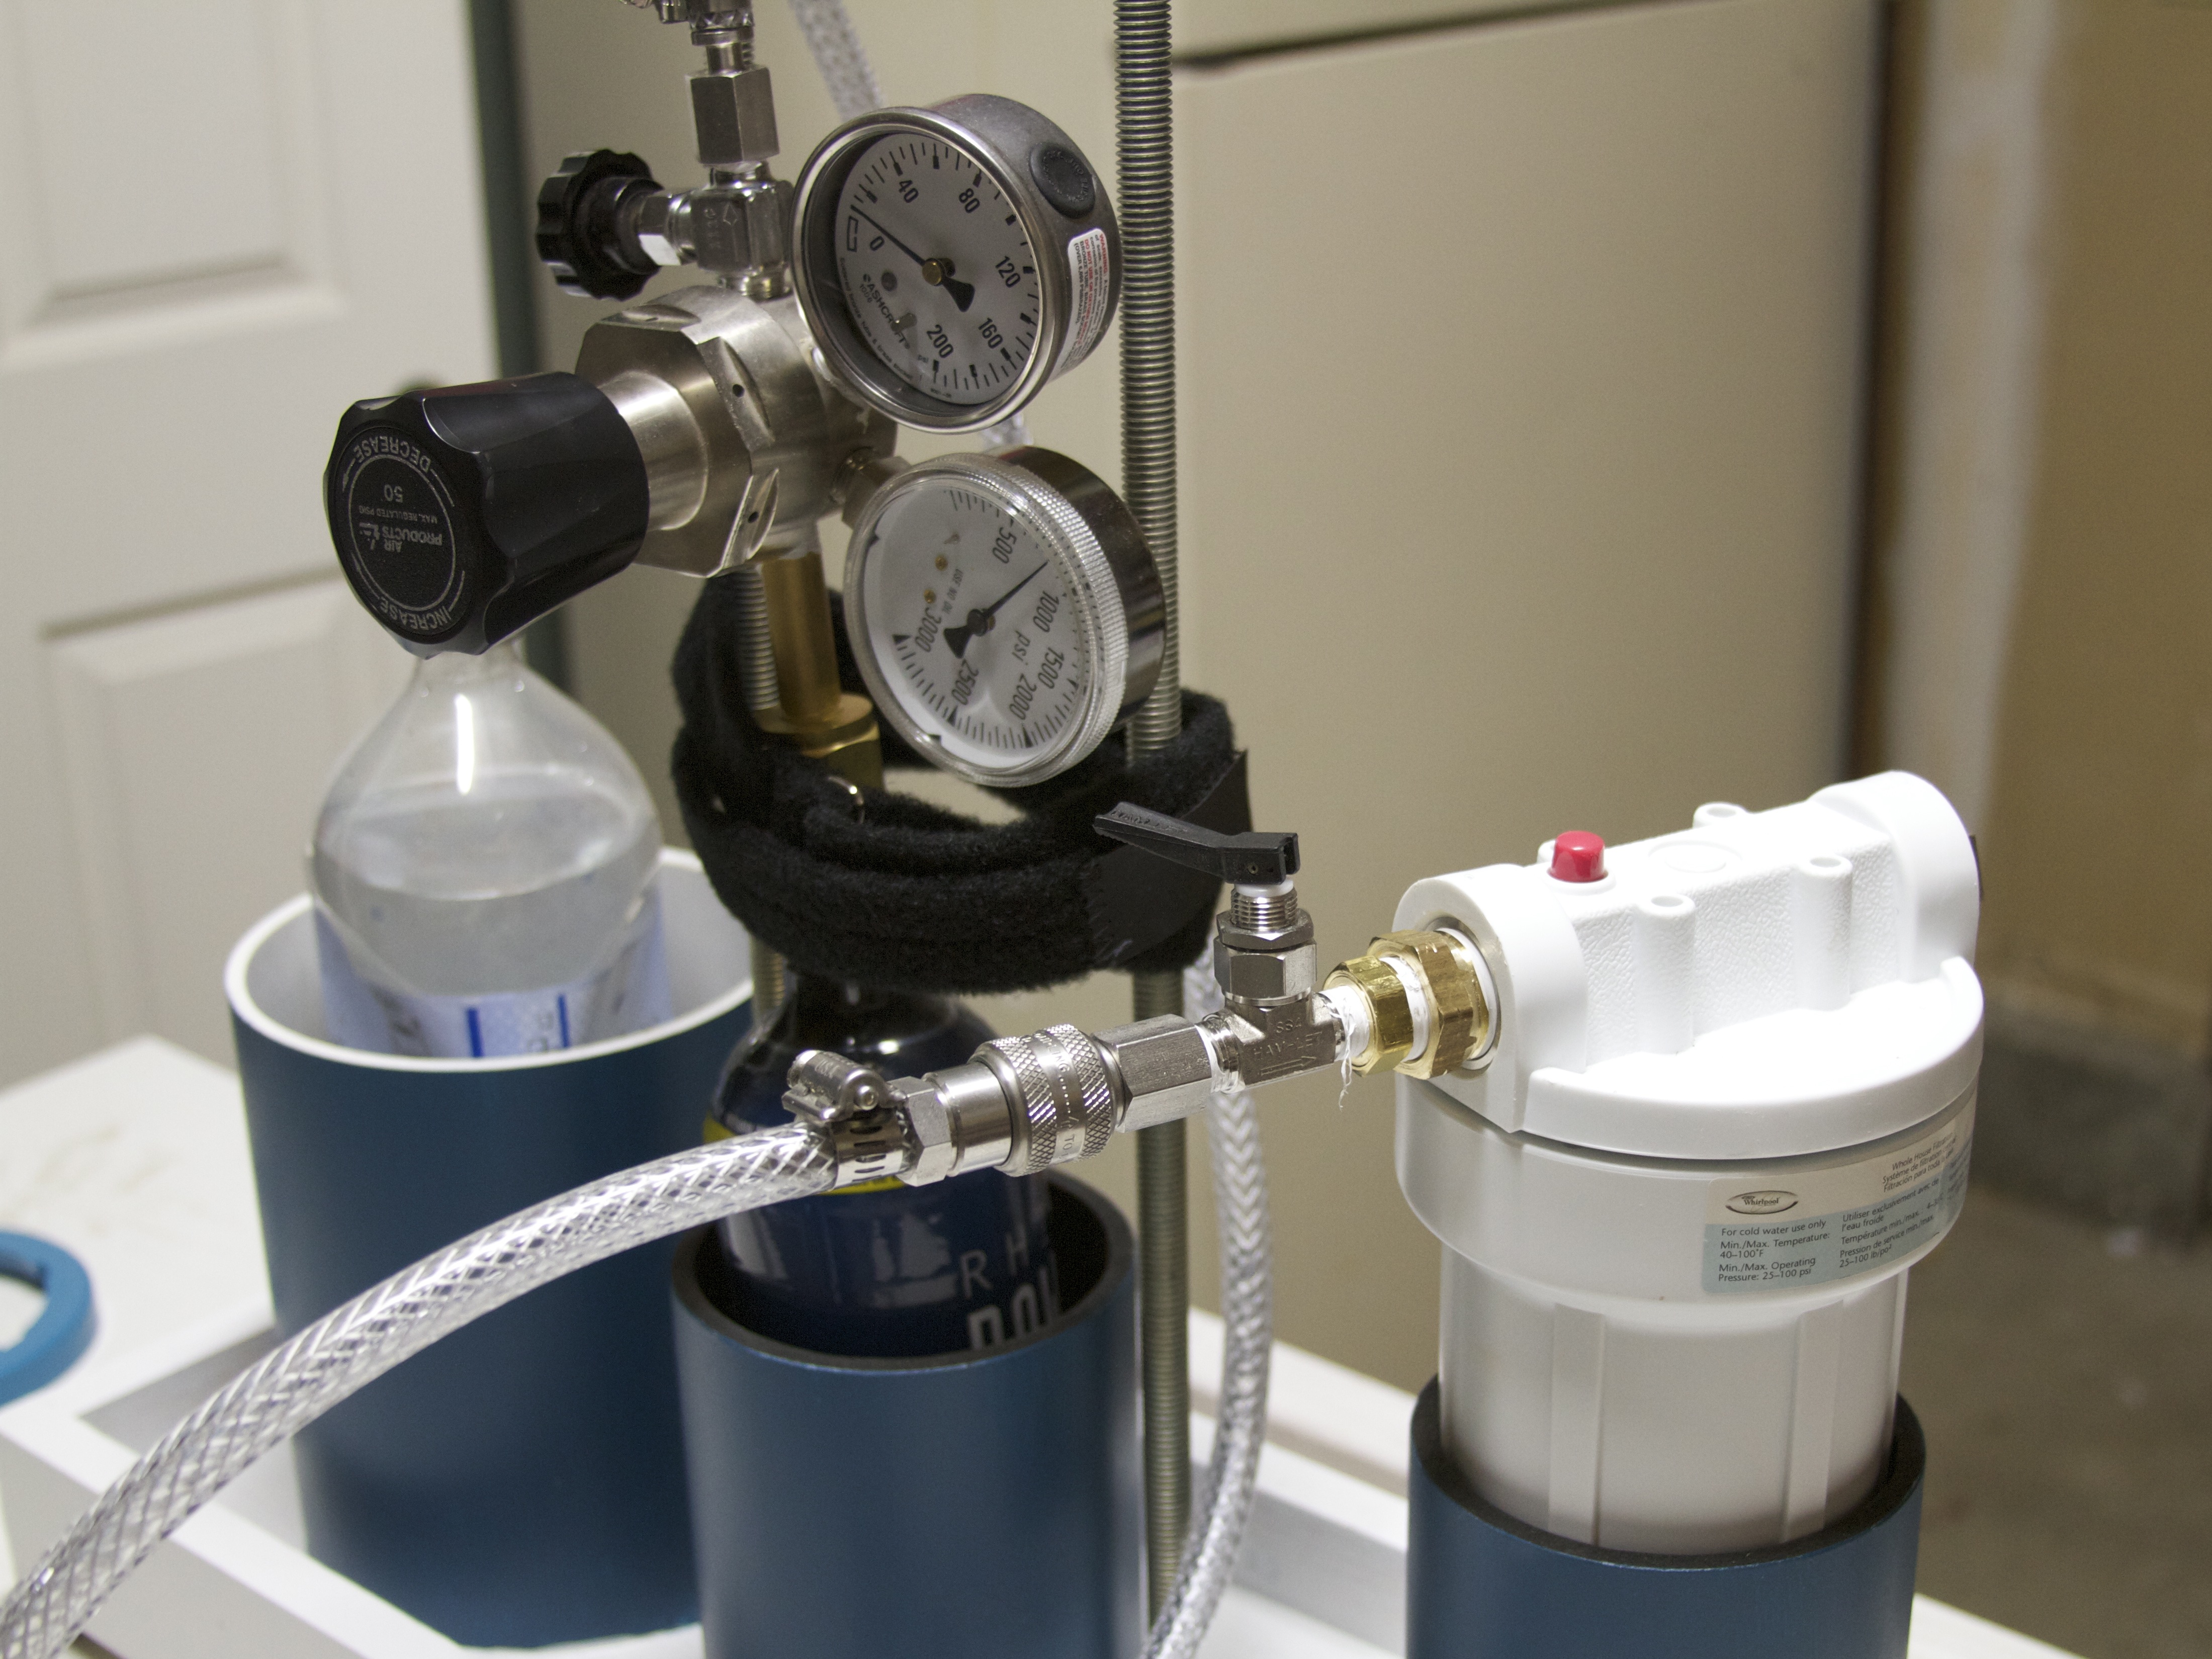
In an effort to make fruit fun for the kids, I built a carbon dioxide injector from parts in my garage with the purpose of carbonating whole fruit! With a common house water filter housing, a 16 Oz paintball CO2 canister, an old gas regulator, and some miscellaneous valves and fittings, I was able to bring this fizz fruit apparatus to life, and the kids love the results.
The principle
Carbon dioxide dissolves well in water, hence the reason you find it as the source of fizz in all your favorite soda drinks. When you open your soda and let it sit out on the counter you will find that after some period of time the soda loses its fizz and becomes “flat.” The rate at which the drink loses its fizz depends on pressure, temperature and the surface area of the liquid and the environment. Skipping the thermodynamics lecture, let me just tell you that the process works in reverse as well. To reverse this process, one needs only to have a high pressure CO2 environment, a medium to infuse (i.e., the fruit) and enough time to let the gas diffuse across the fruit skin and dissolve into the water inside. Refrigerating the fruit helps tremendously in the process as well.
Parts list
- 16 Oz paintball cylinder (or a more proper CO2 tank if you happen to have one)
- Gas Regulator
- Household water filter housing
- Some hose
- Toggle or ball valve
- Miscellaneous fittings to hook it all up
- Fruit
This type of water filter housing is designed to withstand water pressures in excess of 100 psi, and it comes with two ports and an o-ring seal. These can be bought for about ten dollars at Lowes or Home Depot. Its ports are standard 3/4-inch type. Use Teflon tape (plumbers tape) on all the threads. Thread in a plug on one side and a valve on the other. I used a toggle valve with a quick disconnect to make everything easier. The hose can by any standard type rated for at least 100 psi. Small bundles are available in the plumbing section of your hardware store.
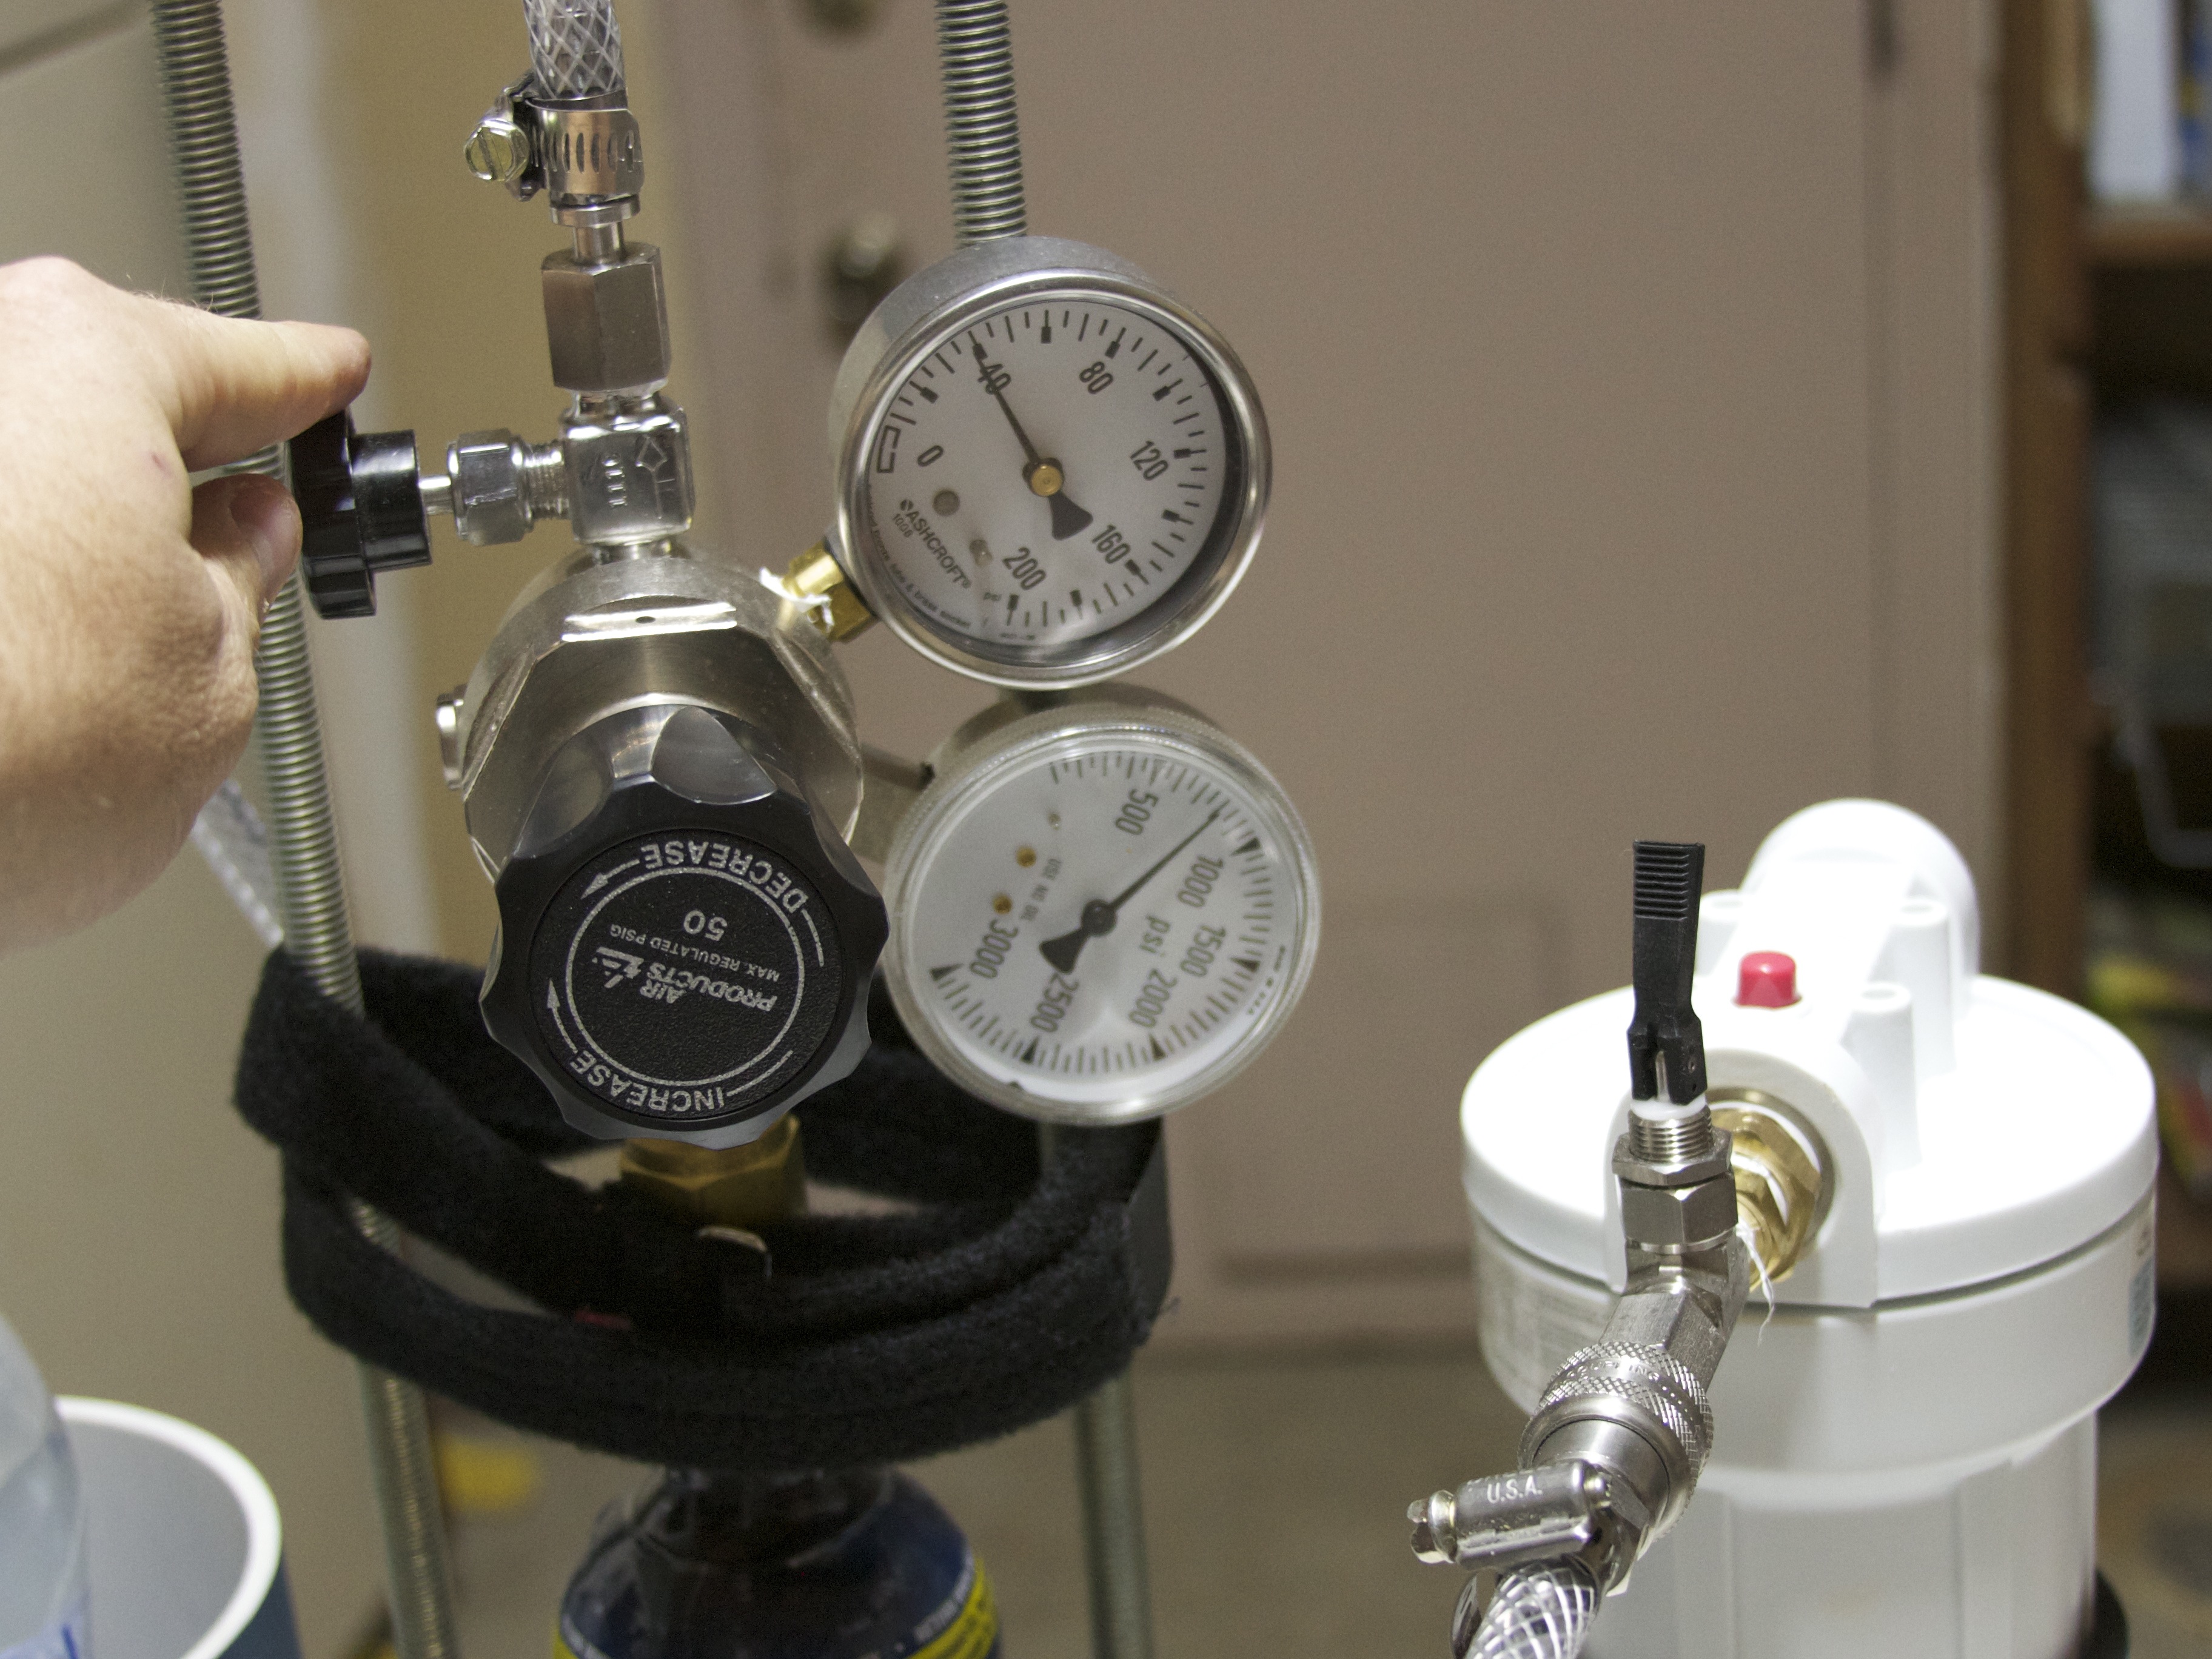
For gas handling I used an old single stage regulator. These can be quite expensive new but often times you can find deals at garage sales or in surplus stores. You don’t need anything fancy, just something to step down the pressure to something manageable– well below 100 psi. My CO2 source is a standard-issue paintball cylinder.
Procedure:
- Pre-chill the fruit in the refrigerator. Get it nice and cold. My favorites are grapes, oranges and blueberries. However, just about any fruit with a large water content will work.
- Open the house water filter by unscrewing the lid. Place your cold fruit inside.
- Connect the CO2 tank to your water filter housing. This is where the quick disconnects come in handy.
- Adjust the regulator output to about 40-60 psi, the higher the better but make sure all your connections are extra tight and sealed or “it might get dangerous.” If you think you have a leak somewhere, you can apply some soapy water where you think the leak is and look for bubbles. If you see bubble just tighten until they stop forming.
- Start pressurizing the house filter by opening the toggle valve. On top of the water filter housing there is a pressure relief button. Depress this while you fill to get some of the residual air out.
- Once pressurized, shut the toggle valve and disconnect the CO2 line. You can store the unit in the fridge or somewhere out of sight.
- Then, you wait. Depending on the fruit, temperature, and pressure, carbonation should occur between 20-60 minutes. If you go too long at too high a pressure the skin of the fruit can burst and it will be a big mess, if you go too short and at too low of a pressure, the results will be unimpressive. Experiment with your fruit, pressure, and duration until it suits your tastes.
- Open the toggle valve to release the pressurized gas then unscrew the lid to the housing and enjoy your newly carbonated fruit.
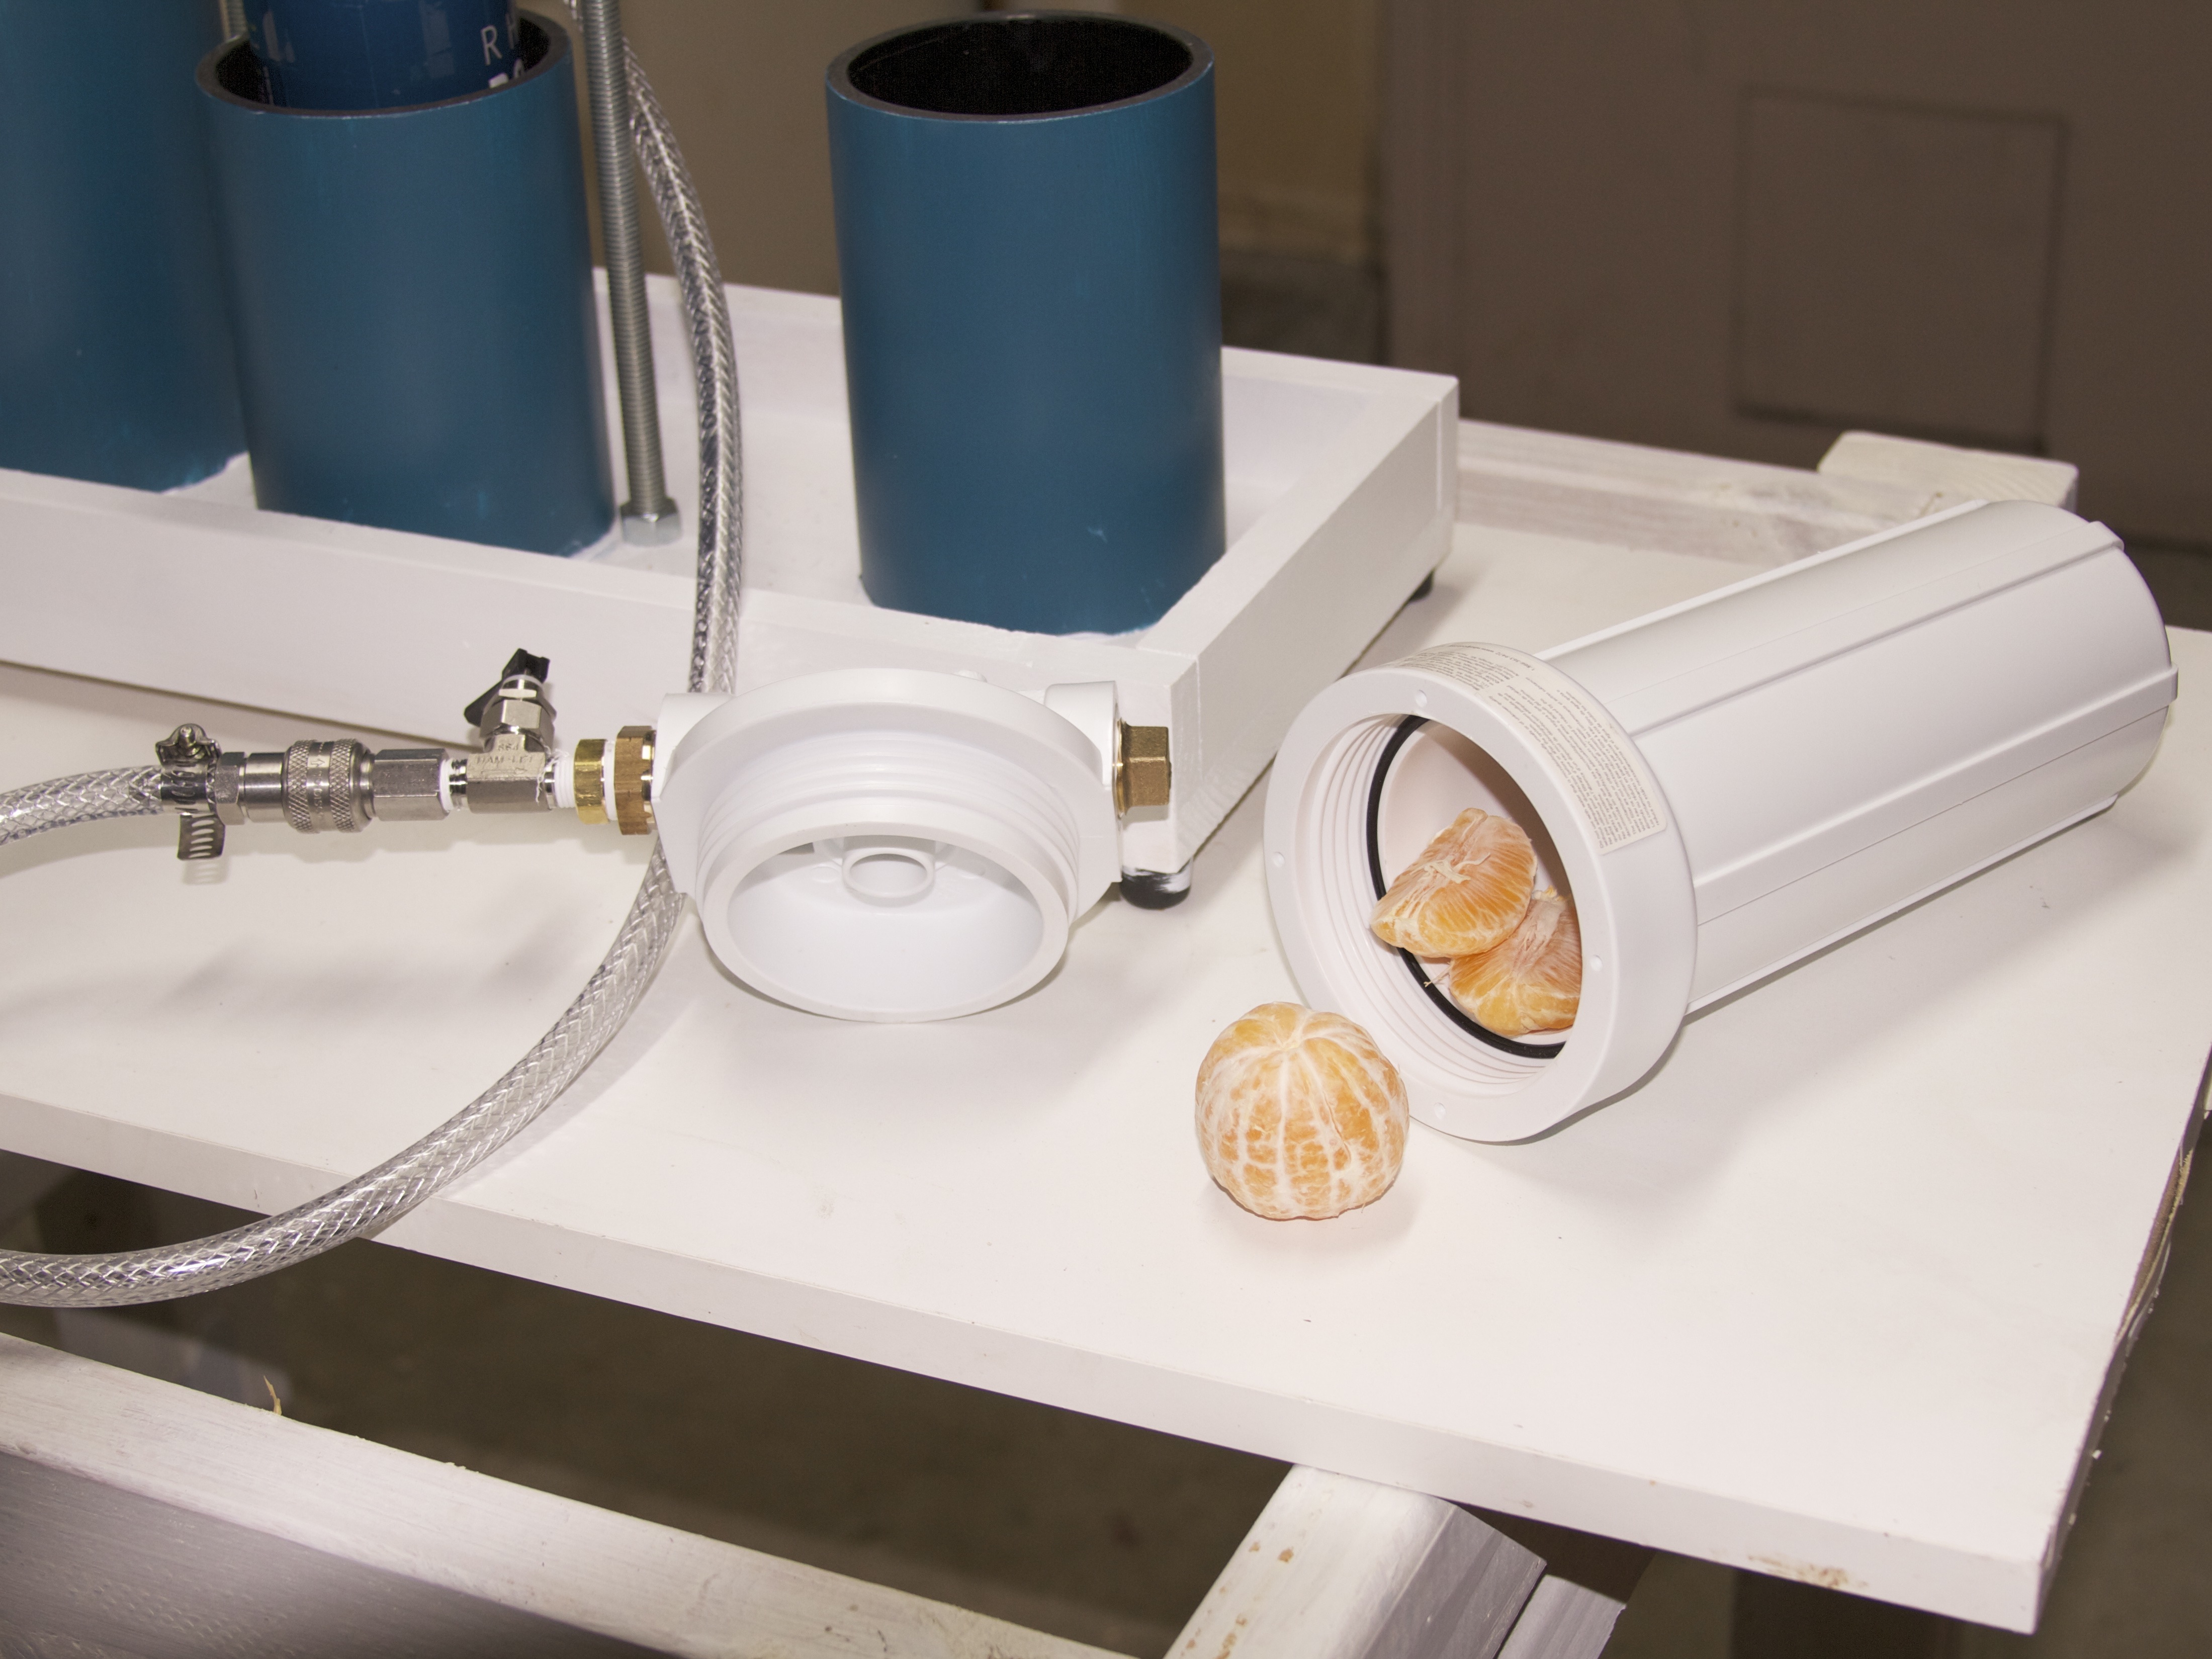
And of course, the kids love the “poppy fizz” inside the fizzy fruit.
Open Source Hardware Definition, v 1.0 released
It’s a big day for Open Hardware.
Following September’s Open Hardware Summit, we’re pleased to help announce the release of version 1.0 of the Open Source Hardware Definition.
While this is a “1.0” release, Open Source Hardware is an evolving field, and future releases are expected. The real milestone here is that we now have a first benchmark for evaluating possible open source hardware licenses– and we look forward to being part of that process.
Moving forward from here, some steps if you’d like to get involved:
- Endorse the definition, if you’d like to put your weight behind it.
- If you have feedback, please join the mailing list to talk about it. Hopefully a version 1.1 will be coming in the near future.
- Help out with the OSHW logo selection process. You can submit a new one, or look at those proposed.
- Show your support for OSHW by applying the definition to your projects
See also, release announcement at openhardwaresummit.org.
Hershey Text: An Inkscape extension for engraving fonts

Hershey Text is an Inkscape extension that can render a line of text in one of several stroke-based “engraving” fonts. This extension solves a persistent problem, and one which we have come across in many different contexts: How to easily create simple and readable vector representations of text.
Quick start: Download and install the EggBot extensions for Inkscape, which now include Hershey Text. Much more information follows.
Continue reading Hershey Text: An Inkscape extension for engraving fonts
The 4313 has landed.
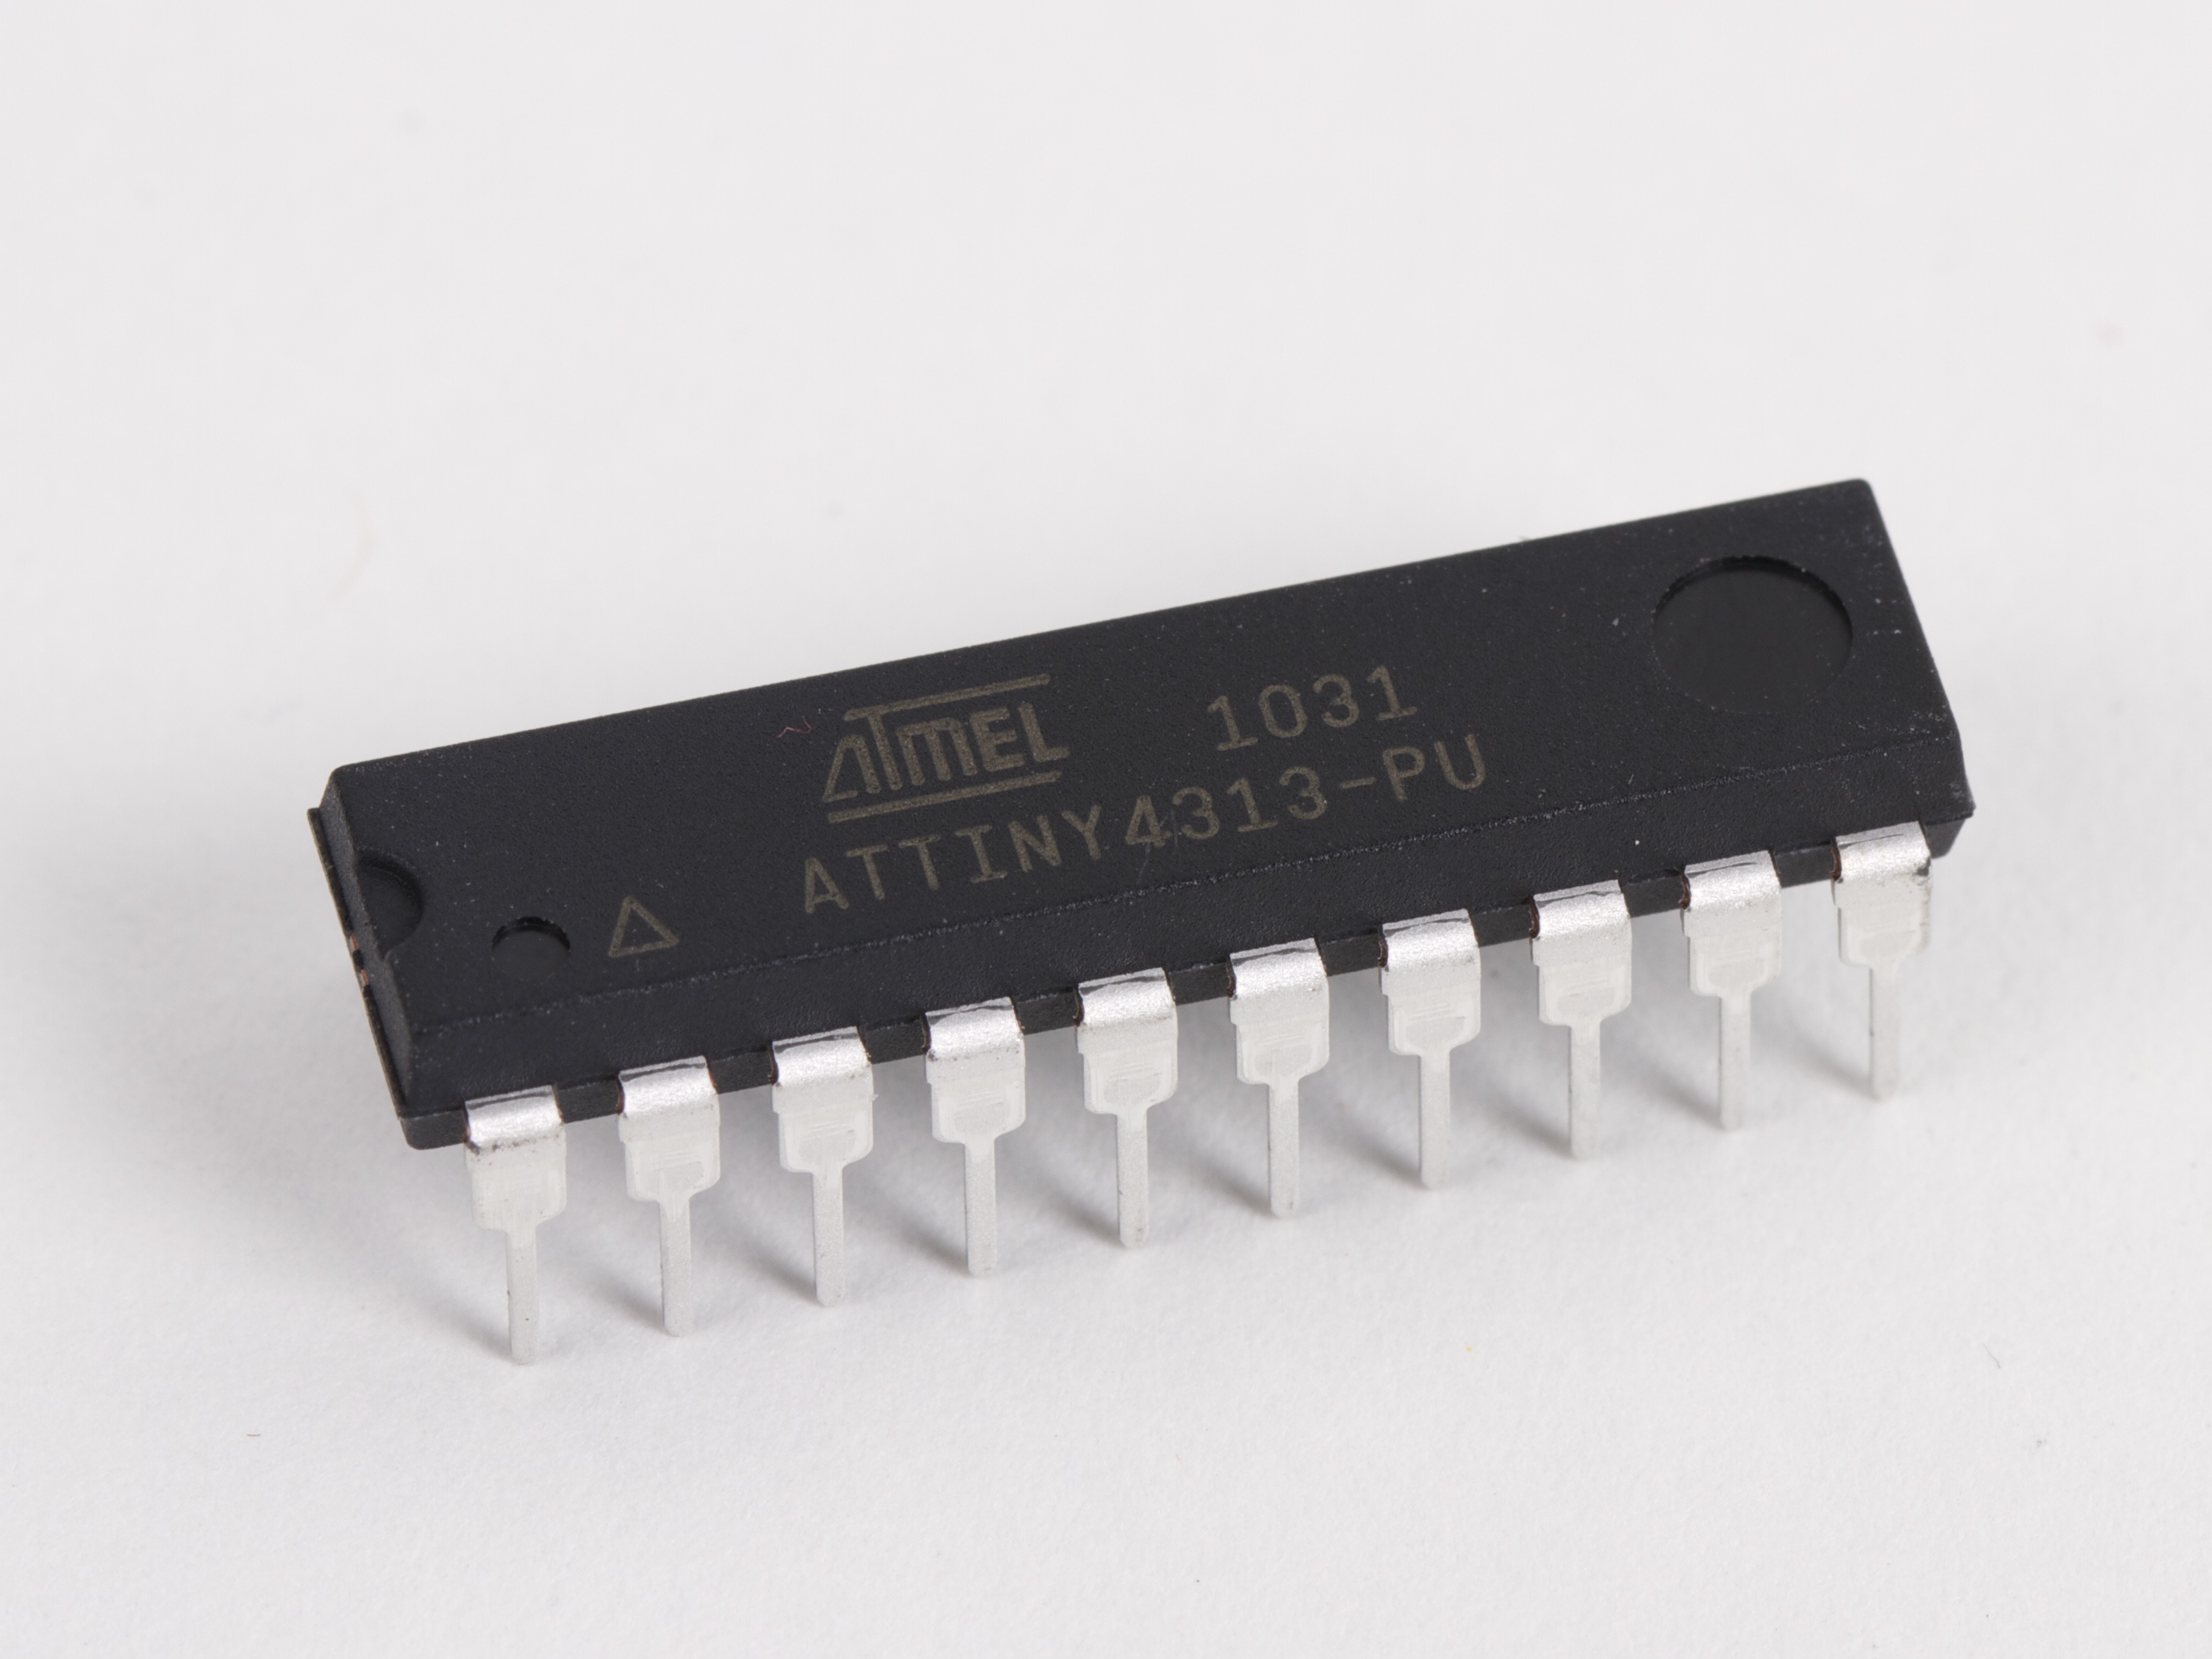
 Now, programming it. There are very few changes between the ‘2313 and ‘4313. Mainly, it’s what you’d expect: memory sizes (Flash, SRAM, EEPROM are all doubled), and the device signature is different.
Recent versions of AVR-GCC already support the ‘4313, and so it’s relatively straightforward to recompile an existing program (say, the Larson scanner firmware) to run on the ‘4313. There are some minor inconsistencies between the “io.h” header files for the two chips, and those inconsistencies can cause compiling to fail. For example, the register name “WDTCSR” (for watchdog control register) works on the ‘2313, but the ‘4313 io.h file lists that same register name as “WDTCR.” So, if you run into a place where AVR-GCC is confused after switching chips, you might be able to solve the issue by comparing that register name in the “io.h” files for the two chips.
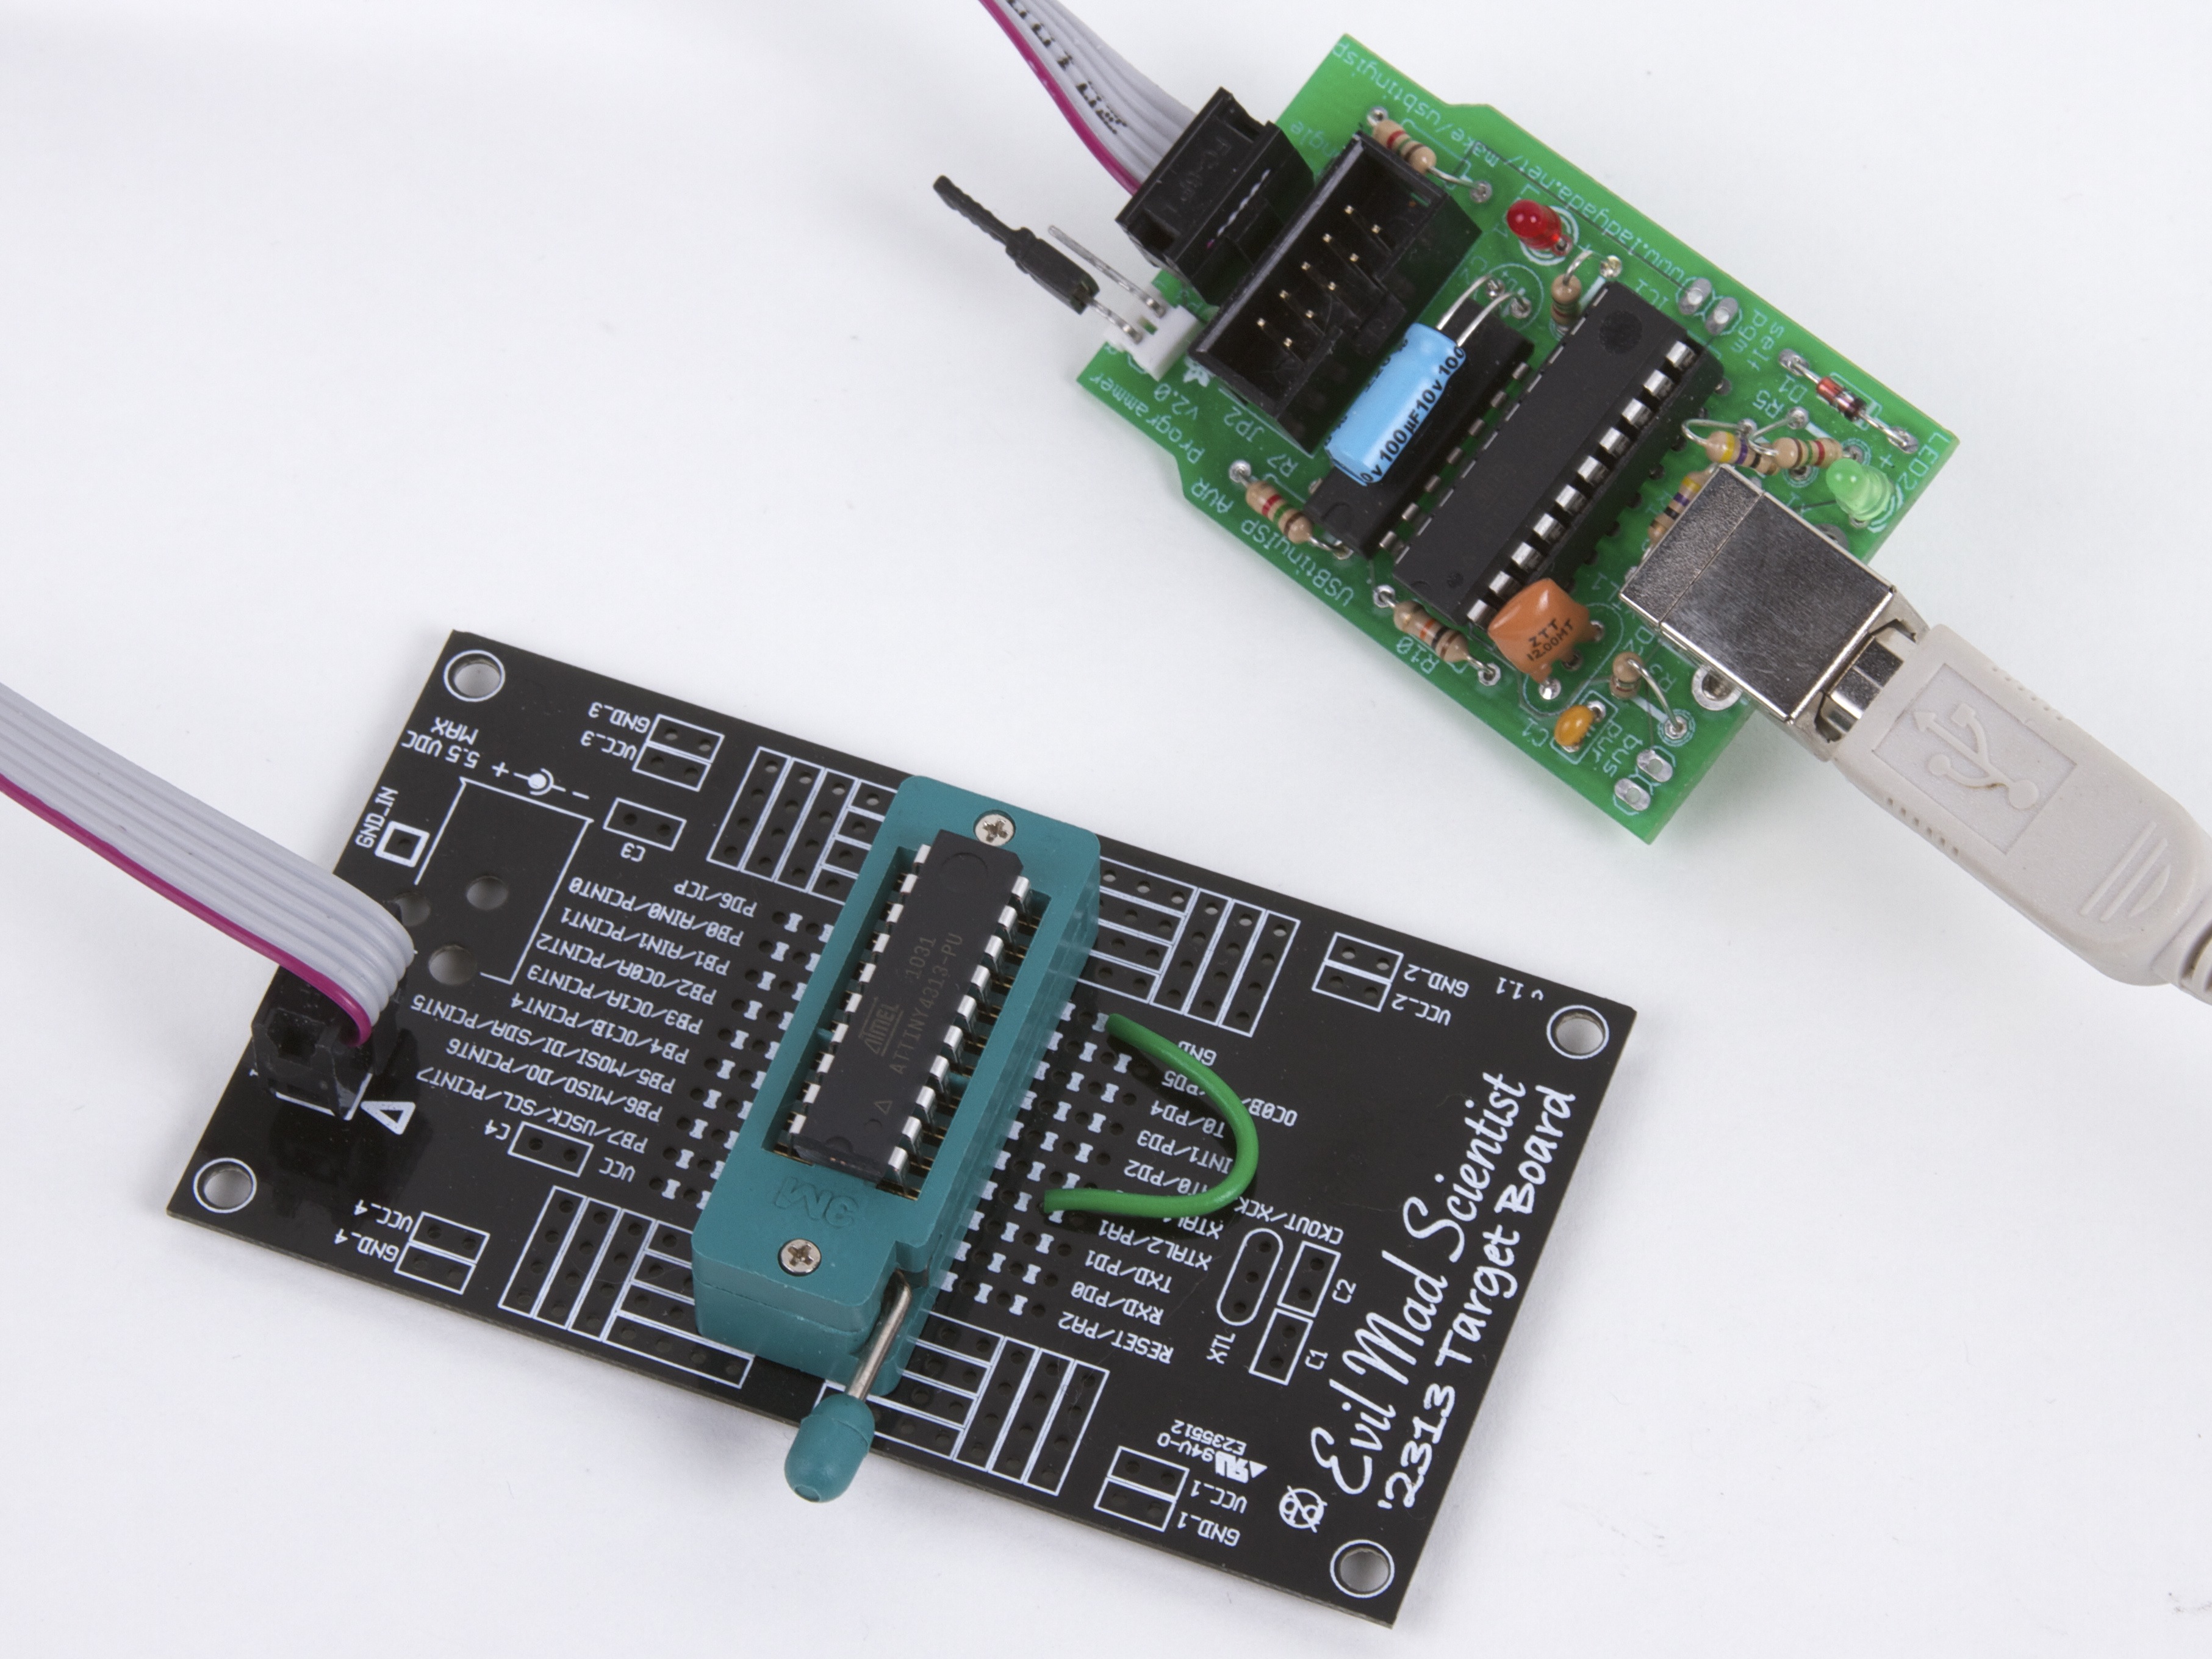
Now, for programming the chip with avrdude, things are slightly more complicated. Avrdude does not yet natively support the ‘4313, but fortunately, you can add the new chip definition by editing the avrdude.conf file on your system. (On my Mac, where I use Crosspack as the AVR toolchain, I found that file at /usr/local/CrossPack-AVR/etc/avrdude.conf ) The ‘4313 code block can be added right below the ‘2313 code block, and you can download that code block here (via this mailing list post). So, a couple of steps, but works like a charm.
There aren’t a whole lot of these to go around right now, but we’ve put some of our ‘4313 chips into little dev kits that you can pick up at our store. Let’s see how long they last. ;)
Now, programming it. There are very few changes between the ‘2313 and ‘4313. Mainly, it’s what you’d expect: memory sizes (Flash, SRAM, EEPROM are all doubled), and the device signature is different.
Recent versions of AVR-GCC already support the ‘4313, and so it’s relatively straightforward to recompile an existing program (say, the Larson scanner firmware) to run on the ‘4313. There are some minor inconsistencies between the “io.h” header files for the two chips, and those inconsistencies can cause compiling to fail. For example, the register name “WDTCSR” (for watchdog control register) works on the ‘2313, but the ‘4313 io.h file lists that same register name as “WDTCR.” So, if you run into a place where AVR-GCC is confused after switching chips, you might be able to solve the issue by comparing that register name in the “io.h” files for the two chips.
Now, for programming the chip with avrdude, things are slightly more complicated. Avrdude does not yet natively support the ‘4313, but fortunately, you can add the new chip definition by editing the avrdude.conf file on your system. (On my Mac, where I use Crosspack as the AVR toolchain, I found that file at /usr/local/CrossPack-AVR/etc/avrdude.conf ) The ‘4313 code block can be added right below the ‘2313 code block, and you can download that code block here (via this mailing list post). So, a couple of steps, but works like a charm.
There aren’t a whole lot of these to go around right now, but we’ve put some of our ‘4313 chips into little dev kits that you can pick up at our store. Let’s see how long they last. ;)
Make Live
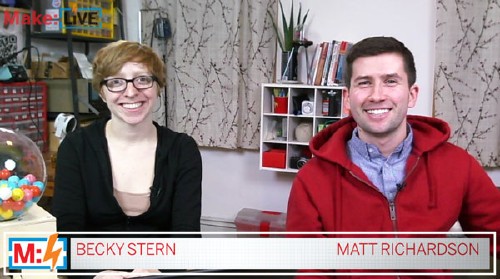
We’re looking forward to today’s premier of Make: Live, a new live web show hosted by Becky Stern and Matt Richardson. The show will feature show and tell DIY projects from guest makers and hackers– and we’ll hope to be amongst those guests in an episode later this year.
The first episode is Arduino focused, and features two (more) remarkable friends of ours: Steve Hoefer (of rock-paper-scissor-golve fame) and Collin Cunningham (of Make Video fame). Steve is bringing his Secret Knock Gumball Machine, and Collin will be discussing his MidiVox shield for Arduino.
The show runs live Wednesday January 26th, 9 PM Eastern / 6 PM Pacific, and you can see it at makezine.com/live or on UStream.
(And, if you can’t catch it live, they’ll be archiving it on their YouTube channel and iTunes podcast. We’ll post direct links to those when they’re available.)
Update: You can subscribe to the MAKE Podcast in iTunes, download Make: Live episode 01 in its entirety (m4v), or watch clips on YouTube.
The next episode, “Make: Live 02 – The Soldering Episode,” runs
Wednesday February 9th, at 9 PM Eastern / 6 PM Pacific
AVR Basics: Reading (and writing) flash contents
From our forums comes this interesting question:
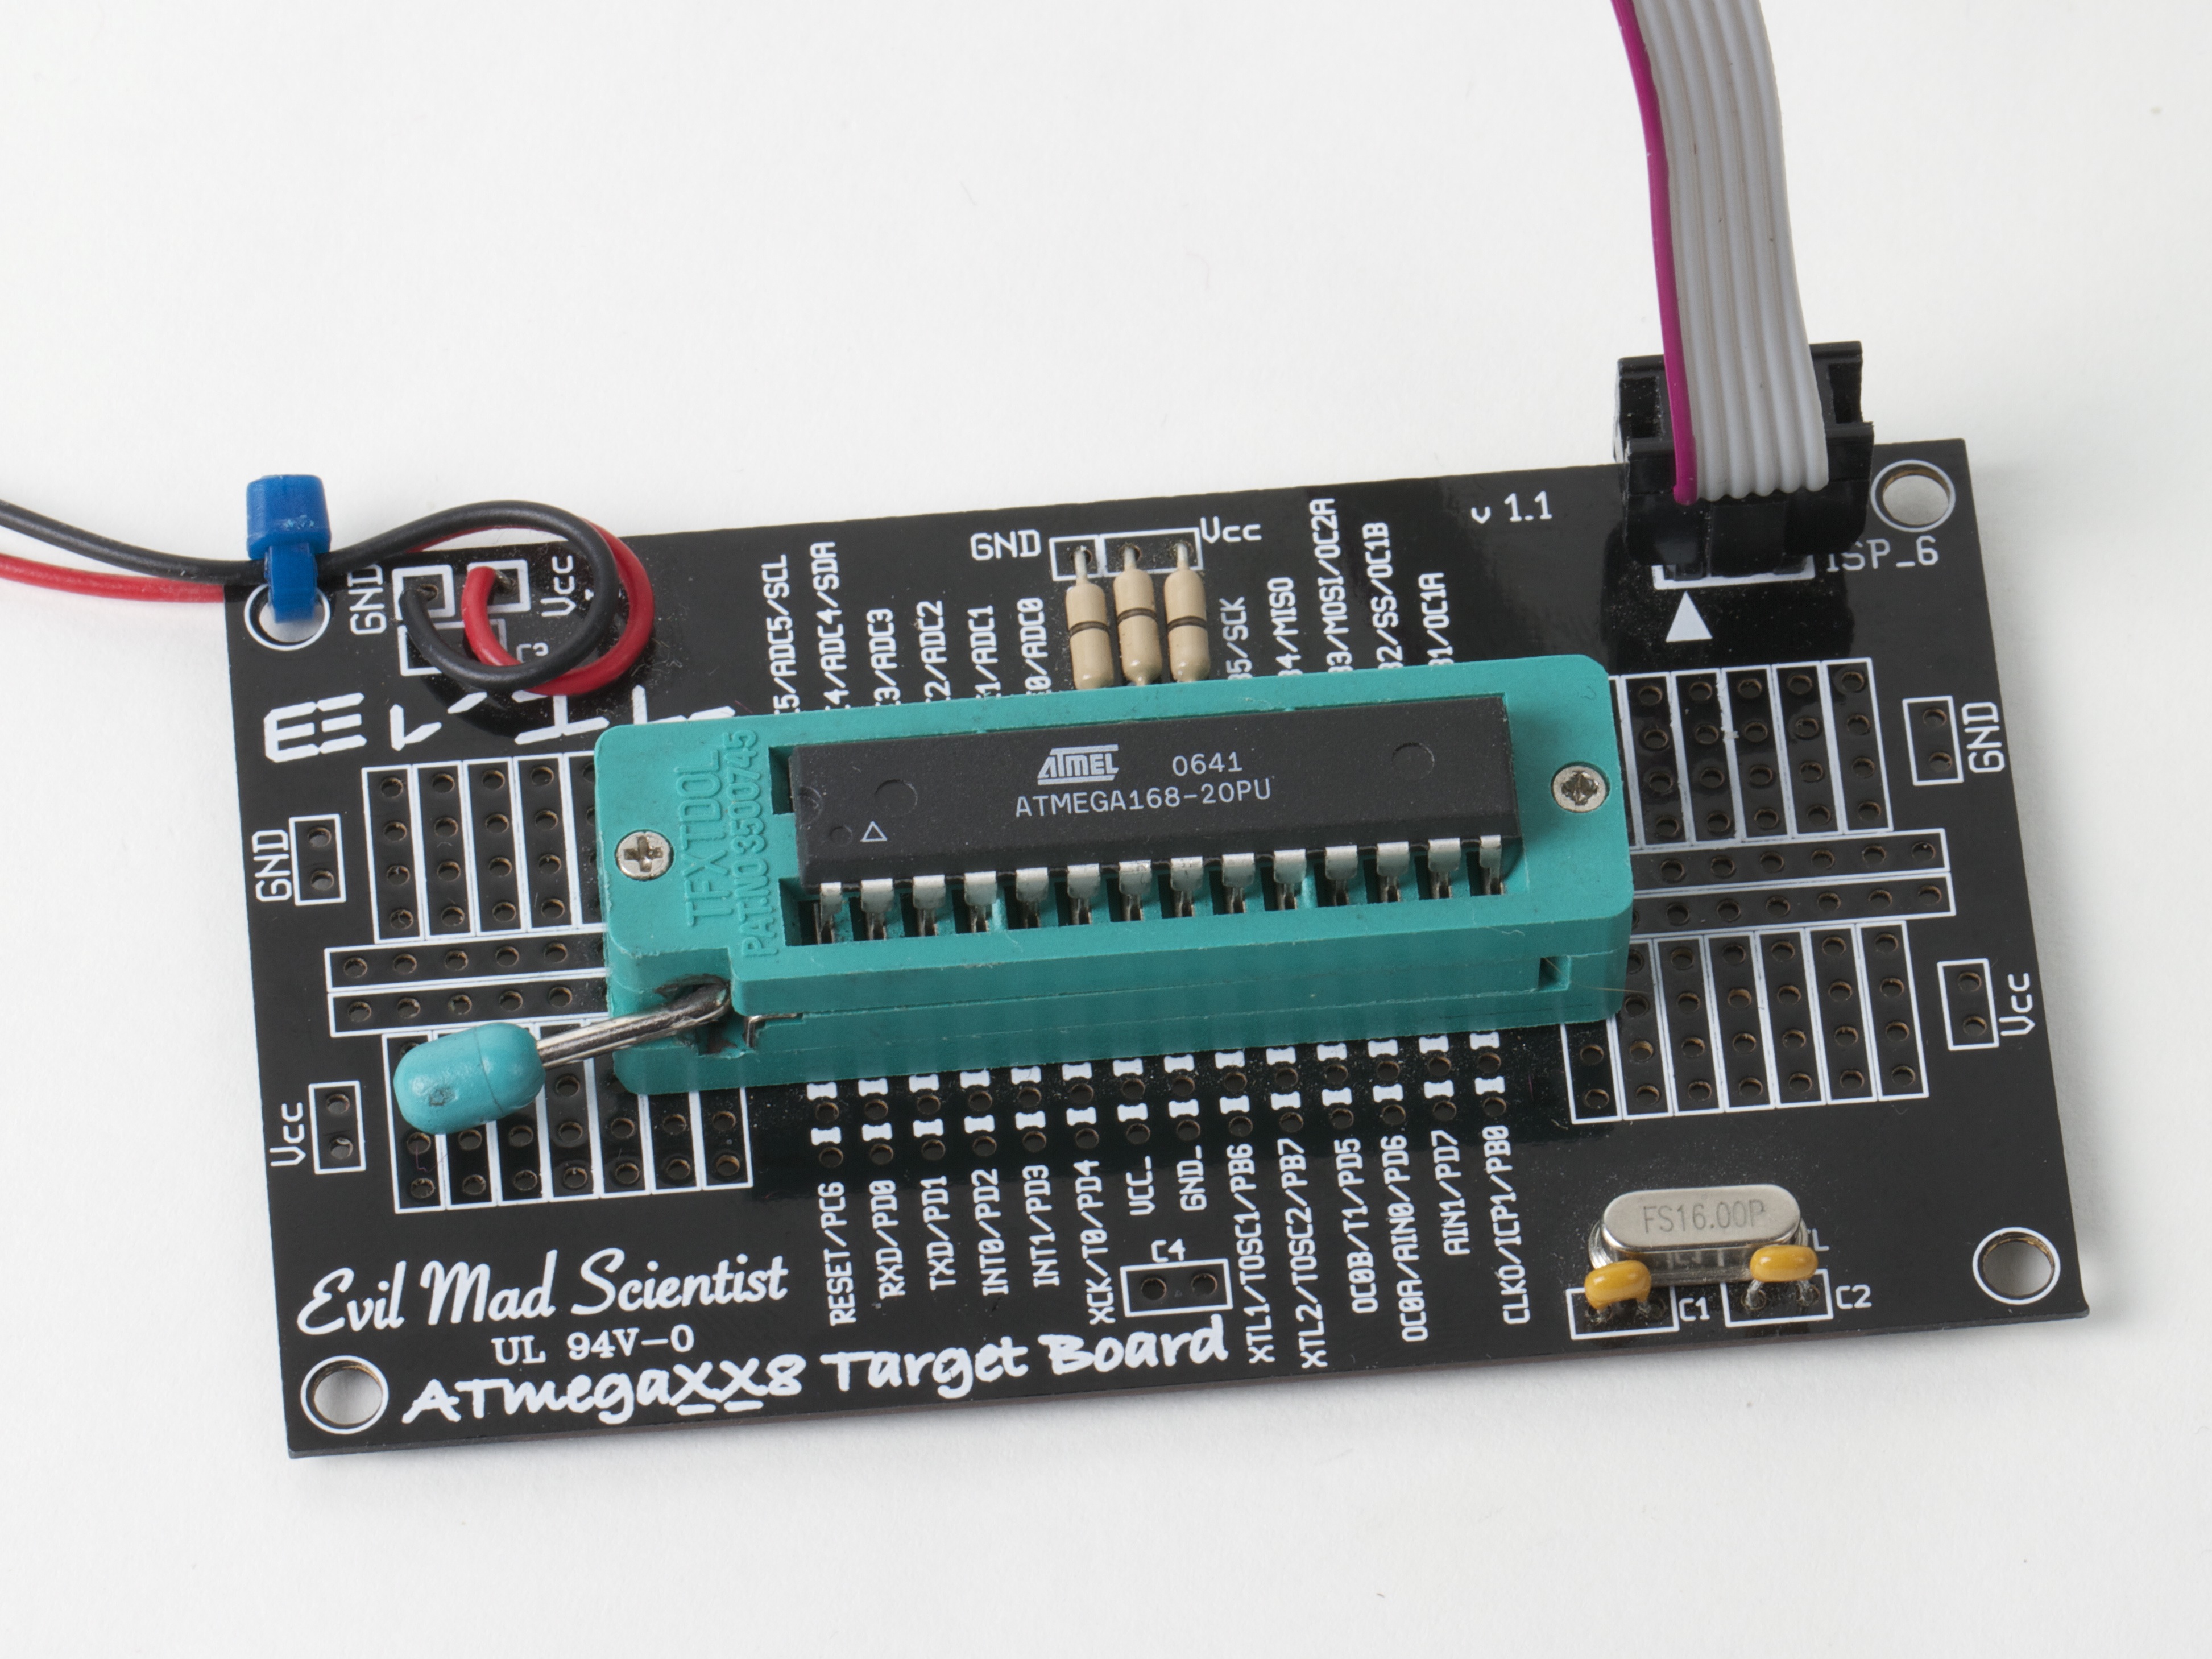
“Is it possible to download the contents of an ATmega168/328, essentially backing it up so that it can somehow be restored later?
For example: Let’s say I have lost the source code to a very useful program currently residing on a 328, but I need to flash it with a different sketch temporarily, then restore that original sketch. This would be useful in the case that the chip was soldered directly onto a board – a big mess to try to replace.
Is this possible in some way, perhaps by altering an ISP programmer?”
The answer is that yes indeed, it is possible– with a couple of exceptions that are worth mentioning. And on occasion, it’s even very useful. Continue reading AVR Basics: Reading (and writing) flash contents
Finally, organized.
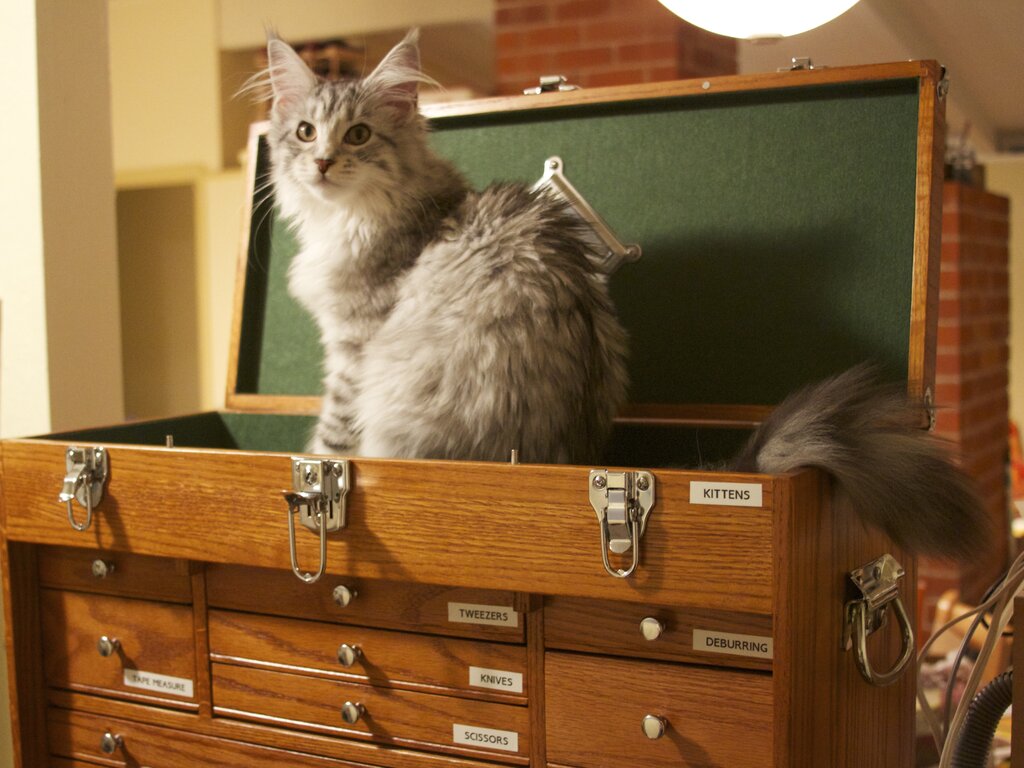
You can’t just leave these things lying around everywhere, you know.
Marmalade Redux
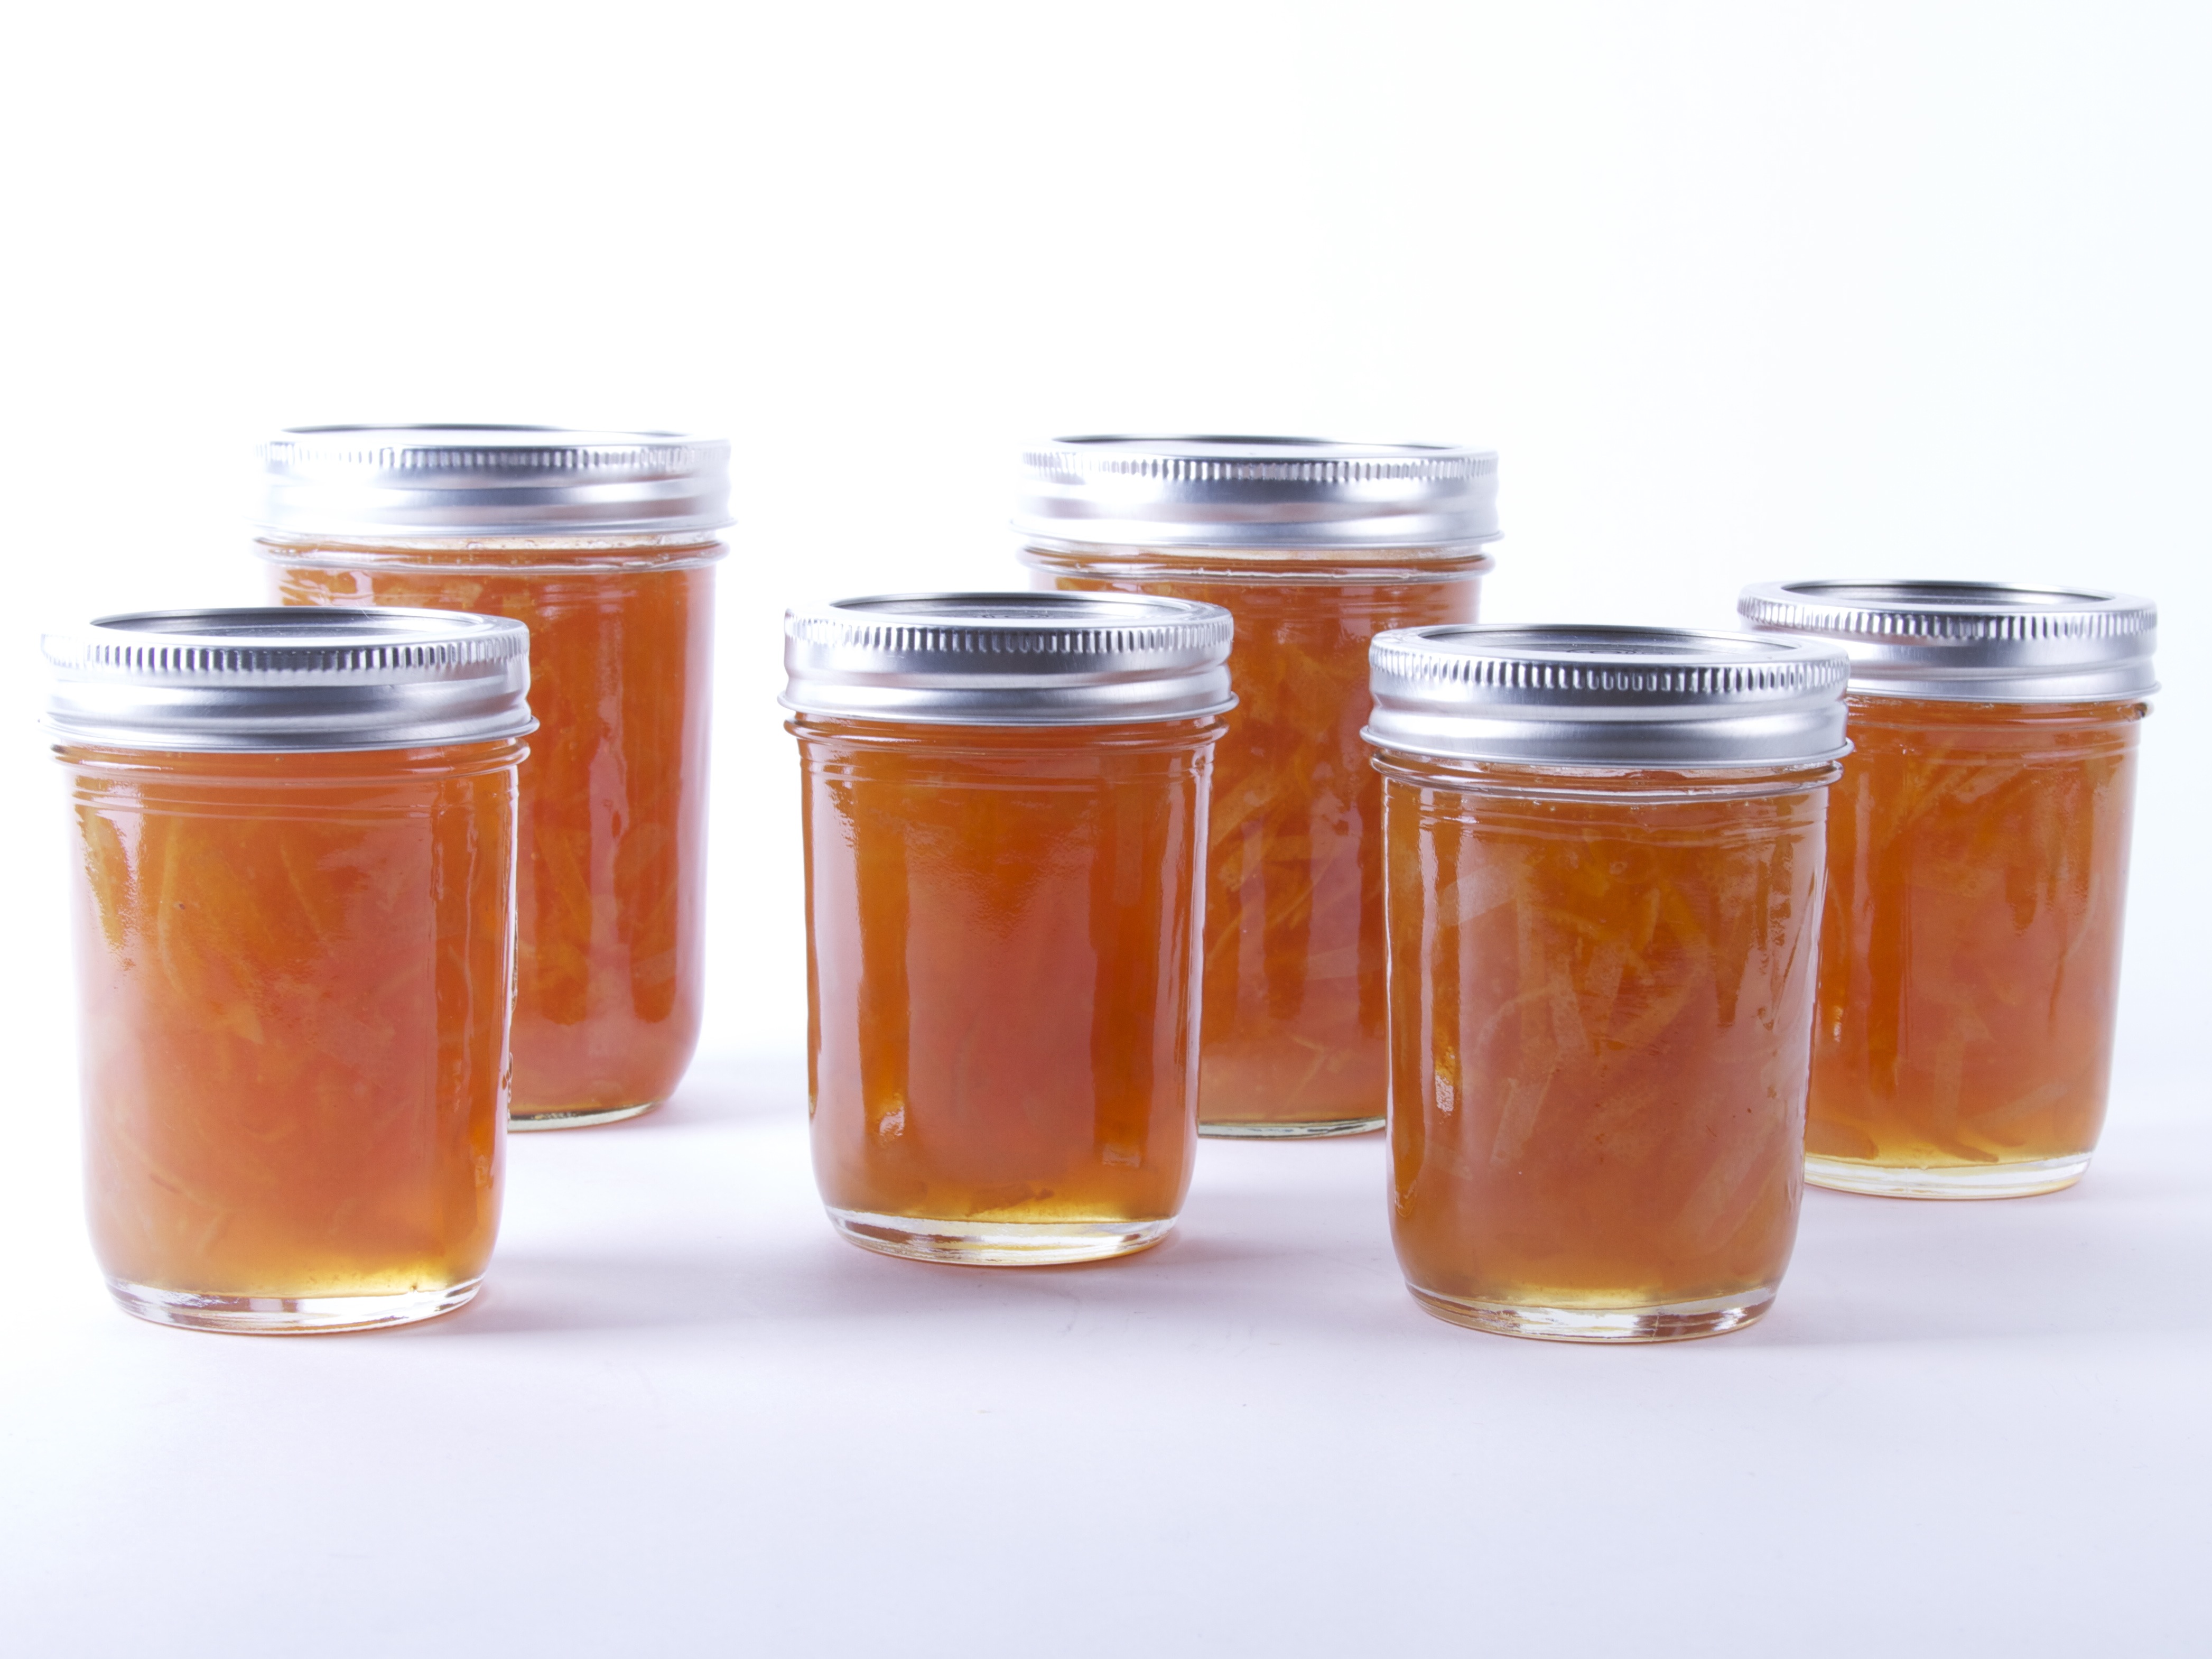
It’s lemon season again, and that means more marmalade!
Last year we showed how incredibly easy it is to make a simple marmalade. That kind was more of the bitter, opaque variety–which might be your favorite–but here’s how to take that to the next step and make a light and sweet marmalade.