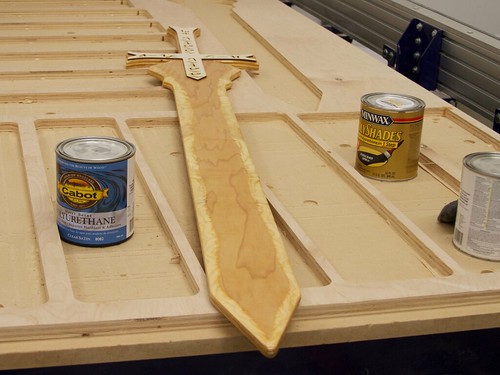
Tag Archives: Halloween

Halloween Project Archives

Array of Halloween Projects

Halloween is one of our favorite holidays, and our collection of Halloween projects continues to grow. Every fall we update it to include our latest projects for the season. In the list … we’ve organized dozens of our Halloween projects into categories: costumespumpkinsdecor and food.

Head over to the Halloween Project Archives for the full list of projects.

Robot heart

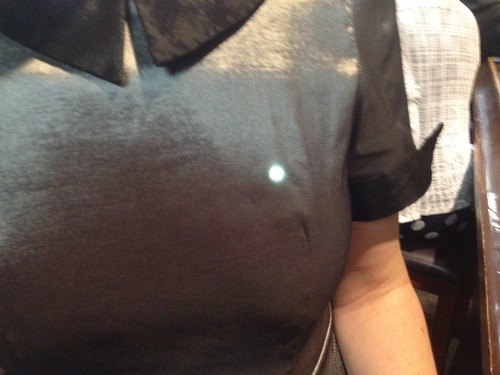
For Halloween this year, I went as a robot, wearing a silver dress with a slowly pulsing LED heart glowing visibly under the fabric.

Untitled

The LED is a one watt white LED, which we’re running at about 50 mA. It has a wide viewing angle, and the star-shaped mount lies conveniently flat. The LED is wired up to the PCB with a pair of twisted magnet wires. Magnet wire is flexible and thin, which makes it hardly noticeable under clothing. It is controlled by ATtiny2313 (running the code from our Mac sleep light pumpkin project) and powered by three AAA batteries. The PCB corners were rounded off so it wouldn’t be stabby.

Untitled

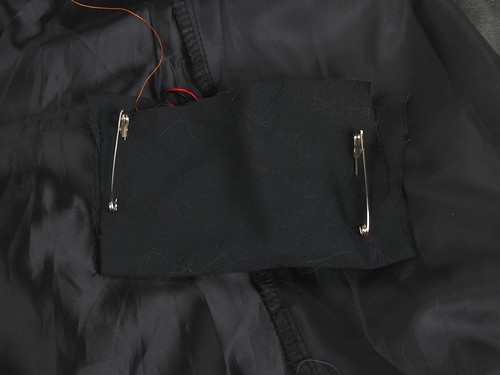
The dress was fully lined, which made it very convenient for mounting electronics. I pinned a makeshift pocket onto the liner, and tucked the battery holder and PCB in the pocket. I could feel the battery holder switch and turn it on and off through the fabric.

Untitled

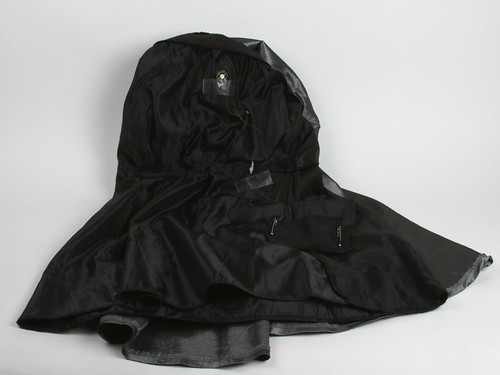
The LED was taped to the dress liner with medical tape to hold it in place. An extra piece or two of tape held the wires to make sure there was appropriate slack for movement. (A note on tape: use the good stuff. The cheap paper tape in the off-brand first aid kit only stuck to itself and the magnet wire. 3M plastic medical tape worked great and came off easily.) This makes it easy to disassemble after Halloween.

LED heart


You can find more costume projects in our Halloween Project Archive.

Pumpkin Faces for EggBot

Pumpkin Face

renegade_geek posted a set of Pumpkin Faces on thingiverse for the EggBot. They’re cleverly arranged in layers so that you can hide and show the different eye, nose and mouth options.

A collection of separate eyes, noses and mouths, each set on its own layer, for a customized jack-o-lantern/ghost face to be printed with the Eggbot. These were made to print on ping pong balls. You may need to adjust for eggs and other less regularly shaped items. I have included a “faces menu” PDF so that you can clearly review your choices. This was really helpful in a classroom situation.

Solderless Flickery Flame

We’ve talked previously about making simple LED pumpkins with candle flicker LEDs. Lately we’ve been playing with making better looking flames by using multiple independent flickering LEDs with different colors and lens styles. It makes a spectacular difference: it goes from something that looks like, well, a flickering LED to something that really looks like there might be a flame in there.

The end result is pretty neat: A compact battery powered “flameless flame” that looks great in a pumpkin, luminaria, or as a stage prop. The interplay of the different LED types and colors gives an ever-changing and shifting flame display.

Other than the candle flickering LEDs, the parts are commonly available. We’ve also bundled them together in the Solderless Flickery Flame Kit.

Components:

  • Battery Holder (2×AA with switch)
  • Mini-breadboard
  • 6 × candle flicker LEDs (2 red diffused, 2 yellow diffused, and 2 yellow clear lens)
  • 6 × 68 ohm resistor
  • 2 × wire jumper
  • White paper bag (optional)

Also needed:

  • 2 × AA Batteries (not optional)
  • Wire clippers, cutting pliers, or “beater” scissors (optional)

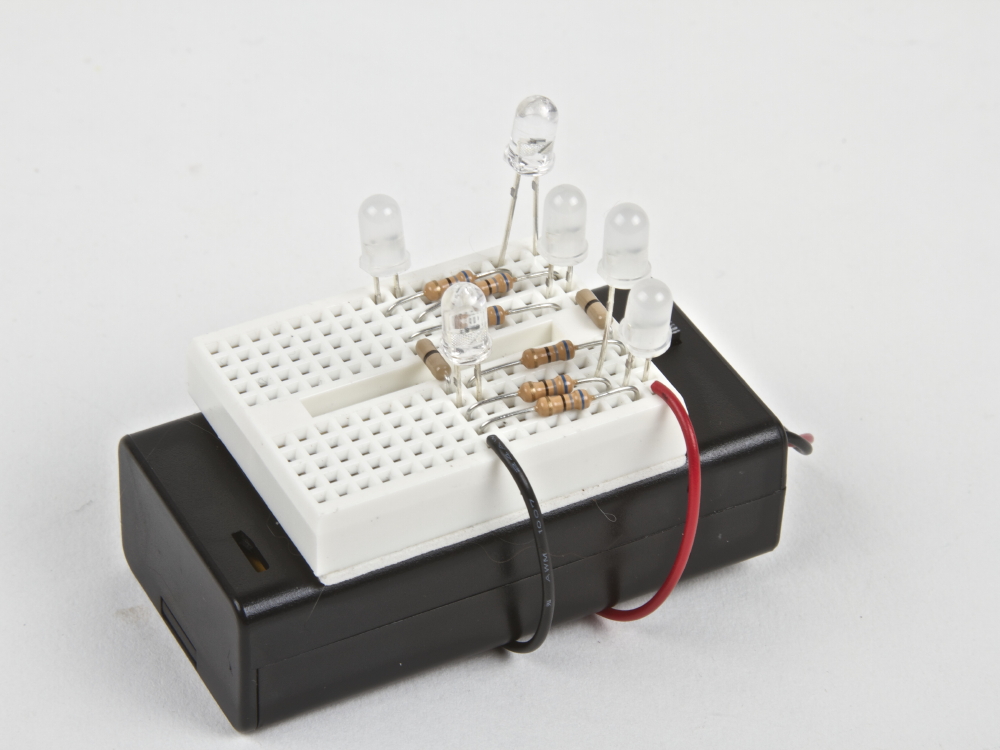
Hook up the battery holder to the breadboard several rows apart to give enough room to install the resistors and LEDs. Optional: peel off the backing on breadboard and adhere it to the battery holder. Connect each LED with its own 68 ohm resistor. (Use the “in parallel” method from this article.) The extra jumpers are included to help bridge across the center gap in the breadboard.

Trimming the resistor leads will keep the breadboard tidy, and help prevent short circuits. Trimming the LED leads to varying heights will help distribute the light in different ways.

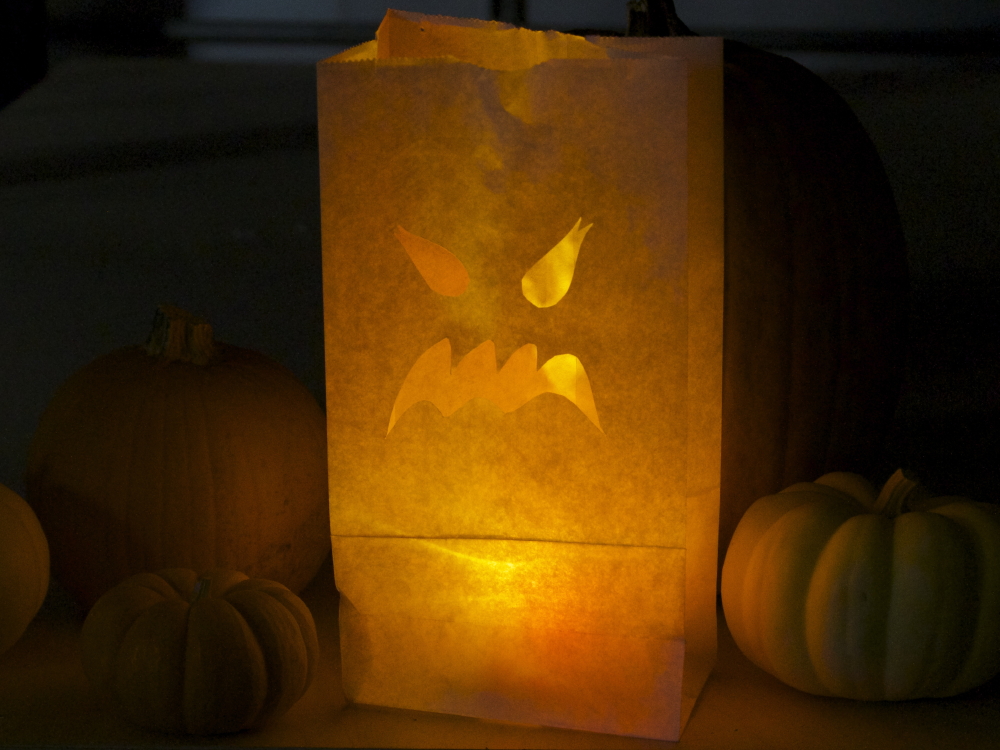
The white paper bag included with the kit can be used for creating a traditional luminaria or for making a ghostly halloween decoration.


You can find more Halloween decor projects in our Halloween Project Archive.

Evil Mad Scientist Halloween Projects

EMSL Halloween Roundup

Halloween, always one of our favorite holidays, is fast approaching again. We’ve updated our Halloween Projects Archive as we do every year to ensure that all of our Halloween projects are gathered together in one convenient location. We’ll continue to add projects as we post them. If one of our projects inspires you to make something, we’d love to hear about it!

Quick project: 24-hour Cosplay Sword

Cosplay Sword 1

Junior Evil Mad Scientist Chris came to us for help with what turned out to be a funny little (well, huge) cosplay prop project. The kind of project that starts off with a conversation that goes like this:

“You want to build what?”
“A giant sword for my costume for FanimeCon!”
“And when do you need it by?”
“Uh… tomorrow?”

So, we got to help make a 64″ long replica sword, one of several from the flash game Epic Battle Fantasy 3 (which we had admittedly never heard of before), in what turned out to be kind of an interesting (if quick) project.

Chris drew up the outline for the sword in Inkscape, by tracing the outline of a bitmap drawing of the sword in a larger collection (where you can find this one in the top row, one third of the way from the left).   We cut the outline on our CNC router from lightweight 3/4″ hardwood plywood— strong enough to not be floppy, yet light enough to be carried — and sanded the sides until it could be handled without creating splinters. We also sanded a slight bevel around the edges of the blade, so as to create the illusion of a sharpened edge without actually thinning it much around the edges.

Next, we needed to paint the sword silver.  We had some silver spray paint on hand (left over from our 555 Footstool project!), but if you directly spray paint lightweight plywood, it tends to soak into the wood unevenly, dry slowly, and leave a finish that awkwardly highlights the grain of the underlying wood.  Instead, we coated the sword with a fast-drying sanding sealer and allowed it to dry for two hours before getting out the spray paint.
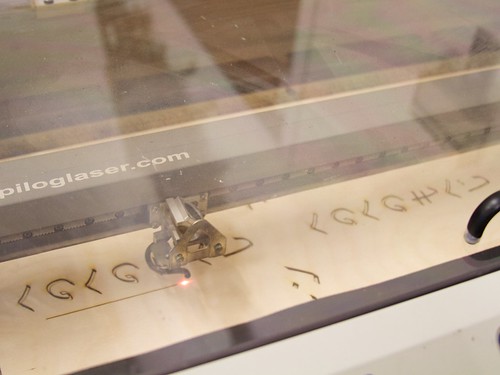
 

Cosplay Sword 3

In the mean time, we made the hilt details— what might count as greebles —by laser cutting two sheets of thin 1/8″ thick plywood on each side, in a shape slightly inset from the outline of the thicker plywood.  There are two of these, one to go on each side of the hilt.
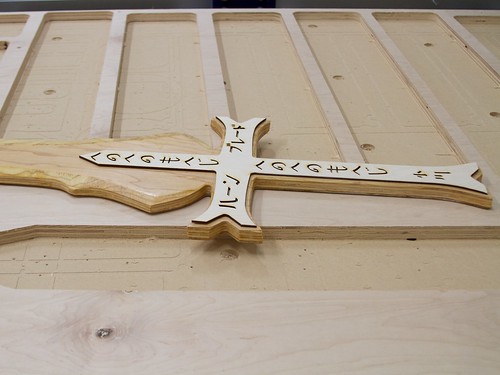
Cosplay Sword 2

Once the sanding sealer had dried enough to gently sand, we test-fit the parts together. The photo above shows how the parts look after laser cutting and with the slick, yellowish finish that the sanding sealer gives to the plywood.

Next, we spray painted the body of the sword. Primer gray for the hilt section and metallic silver for the blade section, and allowed it to dry overnight.

Separately, we painted the laser-cut overlays black with black one-part polyurethane finish (the same type that we used for our ASCII art Tie Fighter project), and allowed them to dry separately.

Cosplay Sword 4

In the morning, a little superglue attaches the newly-black hilt details, an old leather belt becomes some lashing details, with the help of a staple gun, and… it’s off to the show.

In case you’re interested, you can download a copy of Chris’s sword design here, as an Inkscape SVG file.


You can find more costume projects in our Halloween Project Archive.