You can make these simple LED ghosties (based on LED throwies) from a soda bottle, a couple of LEDs and batteries, string, and a scrap of fabric. Hang them in your trees, your haunted house, or in your porch for Halloween. They look especially excellent because the eyes seem to float in mid-air behind the fabric.
Continue reading LED Ghosties for Halloween
Tag Archives: LEDs
A dark detecting circuit for your jack-o’-lantern
Here’s an inexpensive electronic circuit that you can build to put in your Jack-o’lantern. It provides power to drive a few LEDs at night, and automatically turns them off during the daytime. It’s a simple and automatic dark-detecting circuit that you can use to for your very own photosensitive pumpkin.
Continue reading A dark detecting circuit for your jack-o’-lantern
Quick, easy, temporary, and beautiful LED garden lights
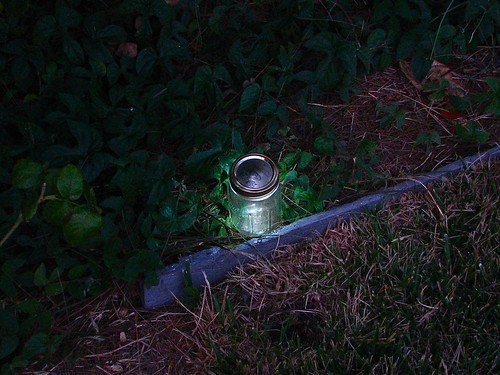
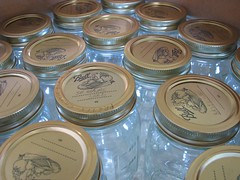
For a late night summer party, we wanted to deploy an array of maybe 20 or so little LED garden lights along the periphery of our back yard. And since it was for a one-time event, there wasn’t much sense in buying (or building) a set of nice looking permanent solar lights. So here is an alternative: make your own ultra-low cost temporary garden lights using LEDs, lithium coin cells, and mason jars.
Continue reading Quick, easy, temporary, and beautiful LED garden lights
A simple persistence of vision approach to Lissajous figures
Lissajous figures are interesting curves that occur in systems where oscillation happens in more than one direction, for example when a pendulum hanging from a string moves in its plane.
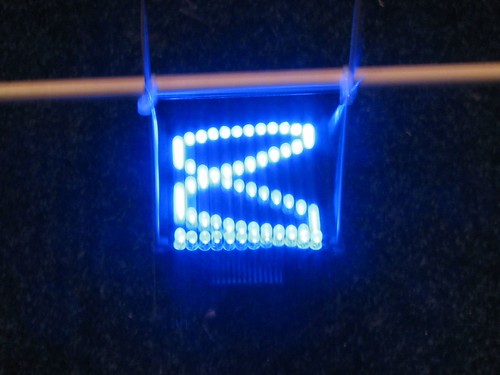
The “standard” way to play with Lissajous figures is on an oscilloscope, and the easy way is of course in a web app, but there is also something to be said for a demo that you can hold in your hands. In what follows, we build a simple apparatus that takes a persistence of vision approach to displaying Lissajous figures.
Continue reading A simple persistence of vision approach to Lissajous figures
Peggy Fail Whale!
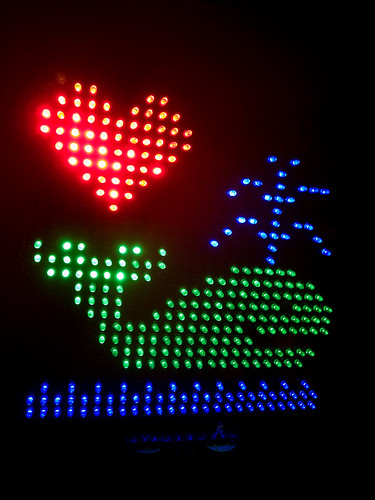
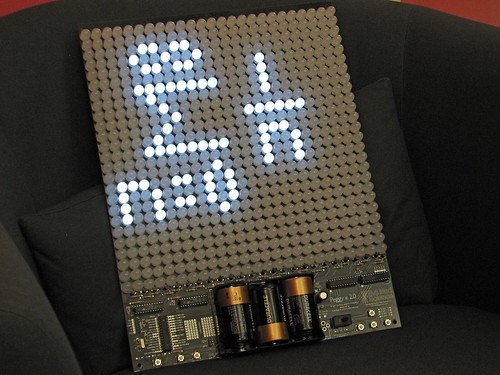
Sean O’Steen of The Fail Whale Fan Club (failwhale.com) and part time tinkerer captured the essence of the Twitter Fail Whale on his Peggy. Check out how Sean planned his peggy here. Sweet! Thanks to Scott Beale / Laughing Squid for the photo.
See also: a Fail Whale Kinetic Sculpture and cameo appearance on Laugh-Out-Loud Cats.
(Peggy 1.0 kits are available from our web store or at the Maker Shed.)
The Peggy Strikes Back
Today we have an update on our Peggy 2.0 Light Emitting Pegboard project, with (1) a new and improved version of the Peggy2 Arduino library, (2) links to several awesome examples of Peggy hacks– including a full-motion video hack, and (3) a new GUI application example that lets you display an image on the Peggy without writing a single line of code.
Continue reading The Peggy Strikes Back
Interactive LED Dining Table Circuit
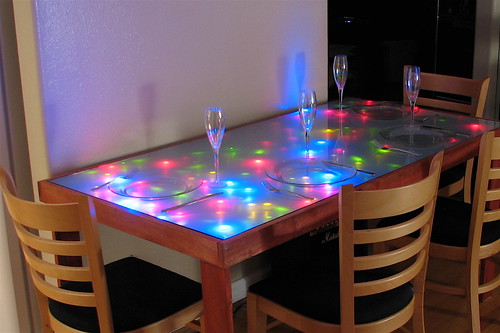
Today we’re releasing the circuit diagram for the Interactive LED Dining Table (aka our kitchen table).
Continue reading Interactive LED Dining Table Circuit
20 millicenturies of Evil Mad Scientist Laboratories
Happy birthday to us! Evil Mad Scientist Laboratories is now two years of age. Collected below is a “Best of Evil Mad Scientist” for the past year: Some of our favorite projects that we’ve published over the last twelve months. Here’s to the next year!
Quick projects:

Rubberbands made from old bicycle innertubes.
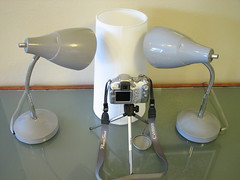
Light tent made from a lampshade.

Spool spinner from an old fan.
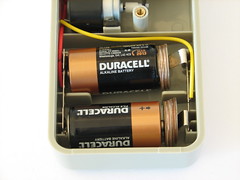
The $1.00 C to D adapter
Electronics projects

How to make a Joule Thief from Make: Weekend Projects.

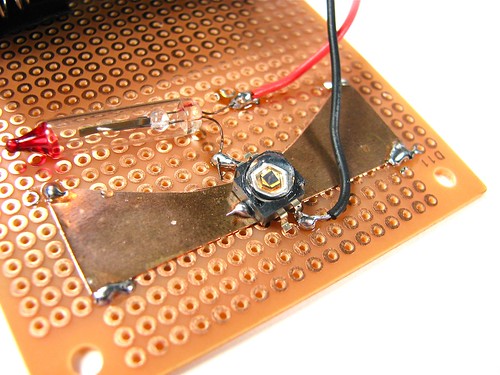
How to make a dark-detecting LED night light.

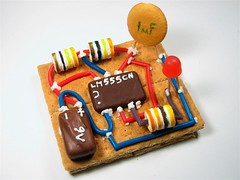
The Great Internet Migratory Box of Electronic Junk

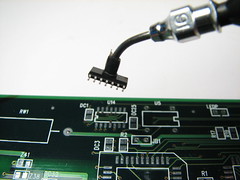
How to make a Sawed-off USB Key
AVR microcontroller projects
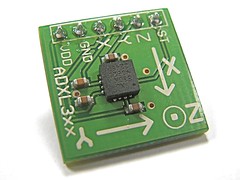
Using an ADXL330 accelerometer with an AVR microcontroller
Kit Projects
Crafty Projects
Food Hacking
CandyFab

Printing complex shapes: Sugar Chain
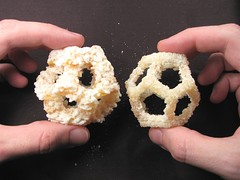
Candyfab improvements: higher resolution and edible output
Papercraft:
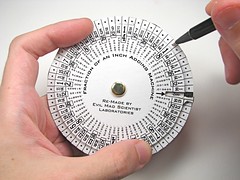
Rotary Fraction Adding Machine
Observations & silly projects:
Lego Projects:

Forbidden Lego review & build
Reviews:

Lee Valley & Veritas Catalog Review
Teardowns:
Easy high-power LED blinking circuit
Often times when people get started in electronics, they want to blink LEDs. This is this a great idea, and we really like blinking LEDs, so we’re happy to help. In the last year or two there’s also a growing chorus of people that want to drive high powered LEDs. That’s not always as easy, but it can be done.
Now by the time that you start talking about blinking the high power LEDs– you shouldn’t be surprised if people start whipping out the heavy artillery: 555 timer chips, transistors, boost converters, microcontrollers, solid state relays, and/or dedicated LED driver chips. While each of those does have its place, sometimes it’s nice to have a simpler and much less expensive alternative.
Here we describe what is possibly the simplest and cheapest circuit for driving and blinking high-power LEDs. The secret ingredient? Our good old friend the blinking incandescent light bulb.
Peggy version 2.0
Today we’re releasing an update to our “Peggy” open-source LED Pegboard project. Peggy version 2 has been redesigned from the ground up. And it looks… almost exactly the same. The changes under the hood are substantial, though, and we think that it’s a big improvement in many ways.
First and foremost, Peggy 2.0 still does the same darn thing: it provides efficient power to a 25 x 25 array of LED locations. Peggy is designed to take some of the sting, complexity, and mess out of playing with LEDs. It’s a versatile and powerful light-emitting pegboard that lets you efficiently drive hundreds of LEDs in whatever configuration you like, without so much as calculating a single load resistor. You can install anywhere from one to 625 LEDs, and Peggy will light them up for you.
Peggy can optionally be reprogrammed to do much more, of course. The biggest change is that the Peggy 2.0 hardware now supports simple animation capability with individually addressable LED locations. Besides the microcontroller, there are now four support chips that help to drive the rows and columns of the display. Now, we’re not talking live video feeds or long movies here (speed and memory considerations will spoil that party), but you might be surprised how much you can do with a little AVR microcontroller.
The second improvement has to do with the programming interfaces. As before, Peggy supports programming through a regular AVR ISP (in-system programming) connection, such as the USBtinyISP. However Peggy 2.0 is now also Arduino compatible: it supports programming through a USB-TTL cable, using the popular Arduino software environment. (This is the same programming arrangement that you’ll find on some of the popular Arduino-compatible boards such as the Boarduino and Bare Bones Boards.)
Continue reading Peggy version 2.0


