Tag Archives: LEDs

Paper Circuitry at Home: Electric Origami

toner - 15

This little LED-lit cube is much more than just a paper lantern: It’s a translucent and flexible thin-film electronic circuit that hooks up a battery to an LED, limber enough to be folded into an origami box. And the coolest thing about circuits like these? You can make them at home.
Continue reading Paper Circuitry at Home: Electric Origami

On the Bench: LED Traffic Signal Light

LED Stoplight

Many cities are switching to LEDs for their traffic signals, and is it any wonder? The energy savings are tremendous, never mind not having to change burnt-out bulbs all the time. Luckily for us, LED traffic signals are finally ubiquitous enough to show up at the surplus stores. Our local junk shop had a couple of big barrels of LED stoplights and turn signals of various sizes. We picked one out that still had the connector attached for screwing it into a regular light bulb socket.

LED Stoplight


Of course, after we made sure it worked, we promptly took it apart. It is a fabulous object, designed to be used, abused, taken apart, and maybe even fixed, though there is not much to go wrong. Click through for more gory photos and delightful design details.


Continue reading On the Bench: LED Traffic Signal Light

“Peggy,” A Light Emitting Pegboard Display

Resist1- Wall hanging

With all the cool things that you can do with LEDs today, there is still one thing that’s lacking: simplicity. If you want to run a bunch of LEDs at a time, you usually end up spending a fair bit of time worrying about series and parallel combinations, matching brightness, and picking load resistors. Or, if you’re a beginner, maybe you only get one third of the way through the previous sentence– wondering if you’re already in over your head.

Suppose that you want to make a big LED display for your window or wall: maybe it’s your logo, a symbol, your favorite 8-bit character, or maybe even a sign that spells out words like “OPEN” or “ON AIR.” How do you go about it? The usual DIY solution involves drilling holes in a panel to fit your LEDs, then spending a heck of a lot of time wiring everything up– ending up with one resistor per LED (and a three-dimensional mess if you happen to look at the back side of the panel). And, if you do everything in the most obvious ways, it can even end up consuming a surprising amount of power.

While I have certainly spent my share of time constructing things with the aforementioned technique, at some point it becomes clear that there has to be a better way. In this day and age, shouldn’t LEDs be about as difficult to play with as, say, a Lite Bright? Today we are releasing a new open-source hardware and software design that takes some of the sting, complexity, and mess out of playing with LEDs. It’s a versatile and powerful light-emitting pegboard that lets you efficiently drive hundreds of LEDs in whatever configuration you like, without so much as calculating a single load resistor.
Continue reading “Peggy,” A Light Emitting Pegboard Display

New goodies at the Evil Mad Science Shop

10 mm LEDs   10 mm pink LEDs
10 mm pink LEDs   10 mm pink LEDs

Big, bad, beautiful and bright 10 mm diffused PINK LEDs, just the thing to help you make that ultra-geeky Valentine’s day gift! Seriously hard to find. Cheaper than diamonds.
[Product page]

(Remember: What better way to say “I love you,” than with the gift of doped semiconductors exhibiting radiative recombination properties?)


22-pin dip socket
DON’T FEAR ART.

High-quality black and white vinyl stickers, 8.5″ x 1.5″, $1.00 each. [Product page]

Lots of people are apparently afraid of LEDs and wires. Show them that you aren’t.


And some less flashy goodies:
using lead forming tool

Resistor lead forming tools, as seen in this article.
[Product page]


ZIF Socket

20-pin DIP ZIF sockets. Cheap.
Perfect for programing ATtiny2313’s or other small DIP microcontrollers.

[Product page]


Also recently added, for those of you that find this sort of thing exciting: surplus 22-pin sockets and 10-pin headers. (Yow!)

Tales from the Auxiliary

The Evil Mad Science Auxiliary is a public group on Flickr for anyone to add photos that are (at least marginally) related to posts and projects from Evil Mad Scientist Laboratories.
Lately some fantastic photos and projects have shown up in the group, so we thought that we should stop and round up a few– not all– of the great things that we’ve seen there.

The photos below were taken by their respective owners; click on the individual photos to get the full story.

DSC_2180


A dark detector built by cyenobite, using a tiny battery holder.


Joule Thief 1


Beautiful Joule Thief light by Jimmie Rodgers


Rewired 16seg POV display: Shift registers!   

Adam Greig has been having fun with AlphaPOV. (Results here.)


Macro shots with light ring   Bristlebot version IIBristlebot version II   Cheapest bot on Earth

Francesco (Flickr user fdecomite) made this amazing army of BristleBots, photographed with the help of his spiffy LED ring light. He even made some excellent videos of the little guys in action.


LED arrays   Homebrew toy blaster effects
progress

Steve Lodefink has been busy building up this set of electronics for an extra-spiffy handlheld blaster. Based on 555 and 4017 chips, it has some elements in common with our little cylon circuit. I can’t wait to see what it looks like when it’s done!


SP_A0133   SP_A0130SP_A0112

Channon (Flickr user plik the geek) is building up one of our interactive LED kits.

He also decorated his office printer with an overly honest label. (Coincidentally, we also did this to our own office printer.)


Finished circuits!

Speaking of interactive LED kits, A Oli Wood contributed this fabulous time exposure of his completed circuit.

So… If you’ve got pictures or projects that were in some way inspired by our projects, we would as always love to see them in the Auxiliary. And to everyone who has contributed, thanks for your cool pictures!

Last minute Evil Mad Shopping and Projects

Lit up segments spell out the letter M   Segments visible

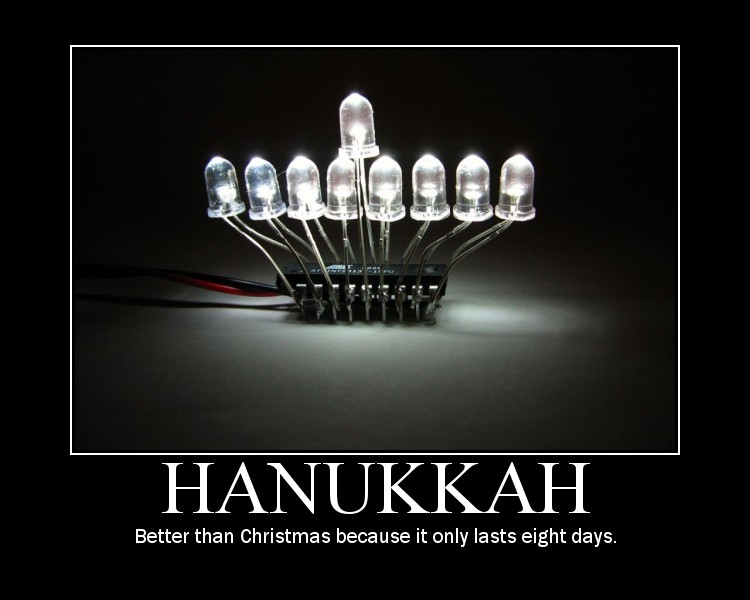
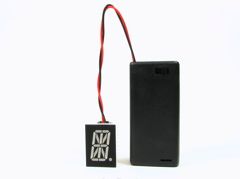
Time to make some LED Micro-Readerboards as ornaments for your tree this year? Watch the short video introduction to see what they do: display a message one character at a time.

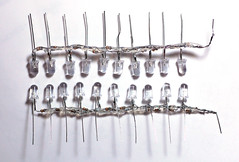
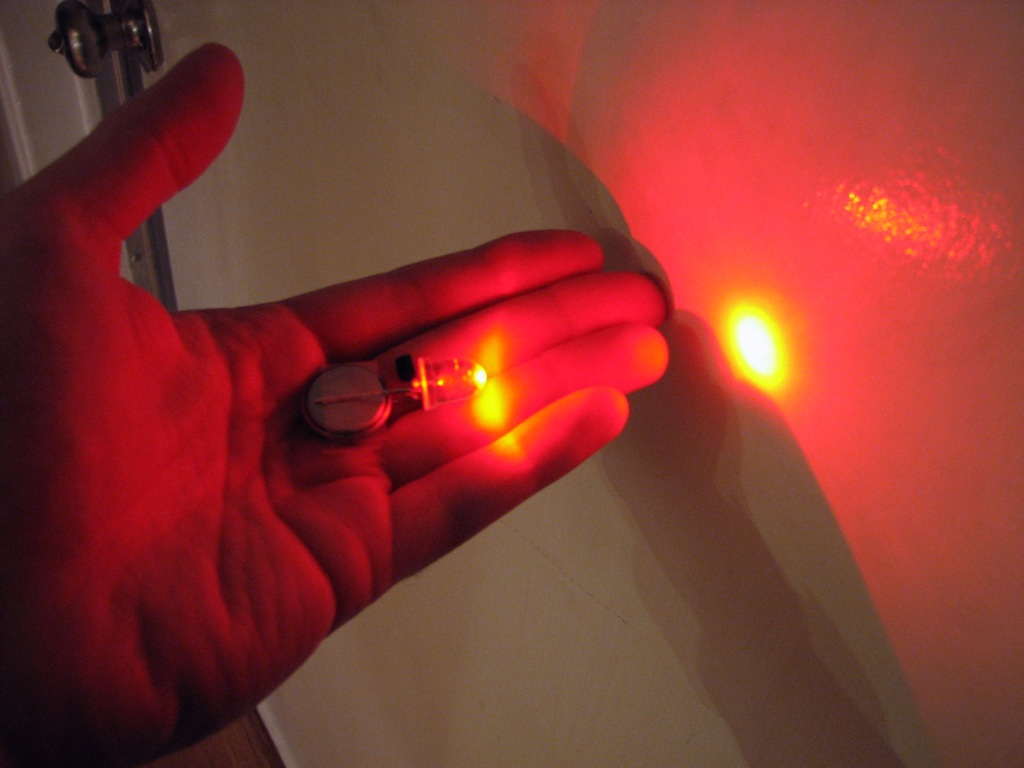
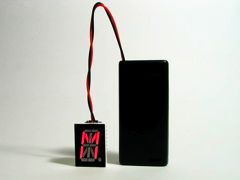
This is one of the open-source holiday electronics projects that we released last year. Our up-to-date build instruction are here, including source code. We also have an FAQ about this project, a page of technical data about it, and a discussion forum if you need help with it. The version 2.0 kits (which are still available at the Make Store) use a seriously awesome ultra-high brightness, deep red 16-segment alphanumeric display for long battery life.

As of today, you can also buy the LED displays alone– just the thing for your own custom microcontroller project, alphapov display, name tag, or ornament.

[Product Page]

Jellybean versus the mechanical mouse
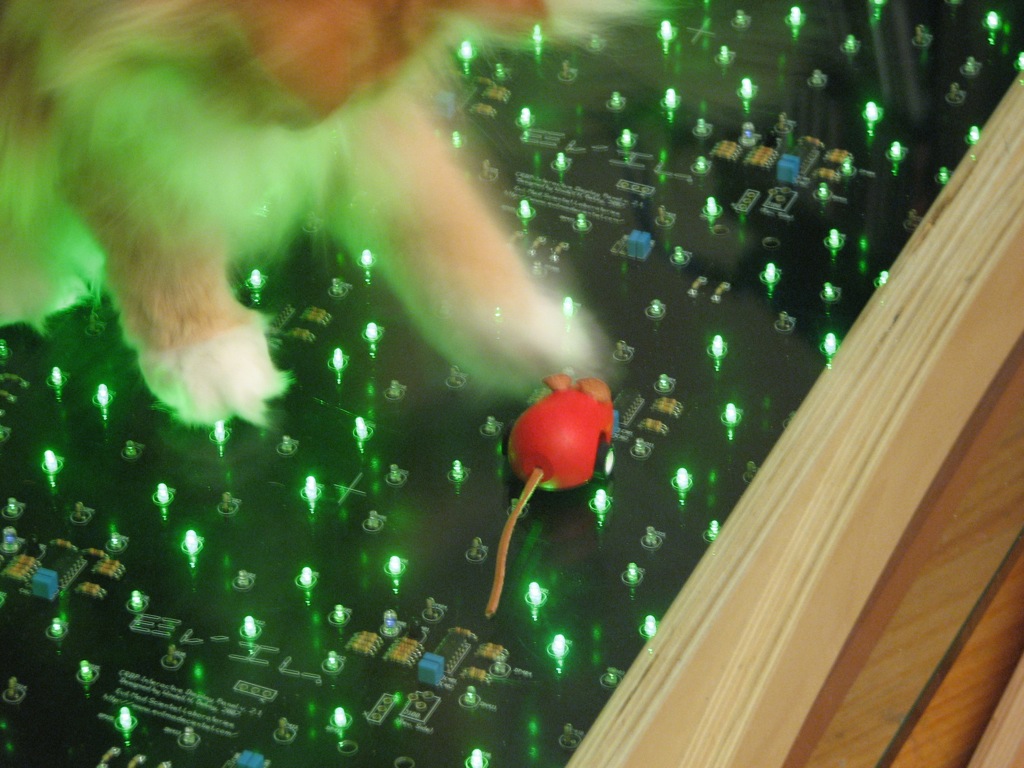
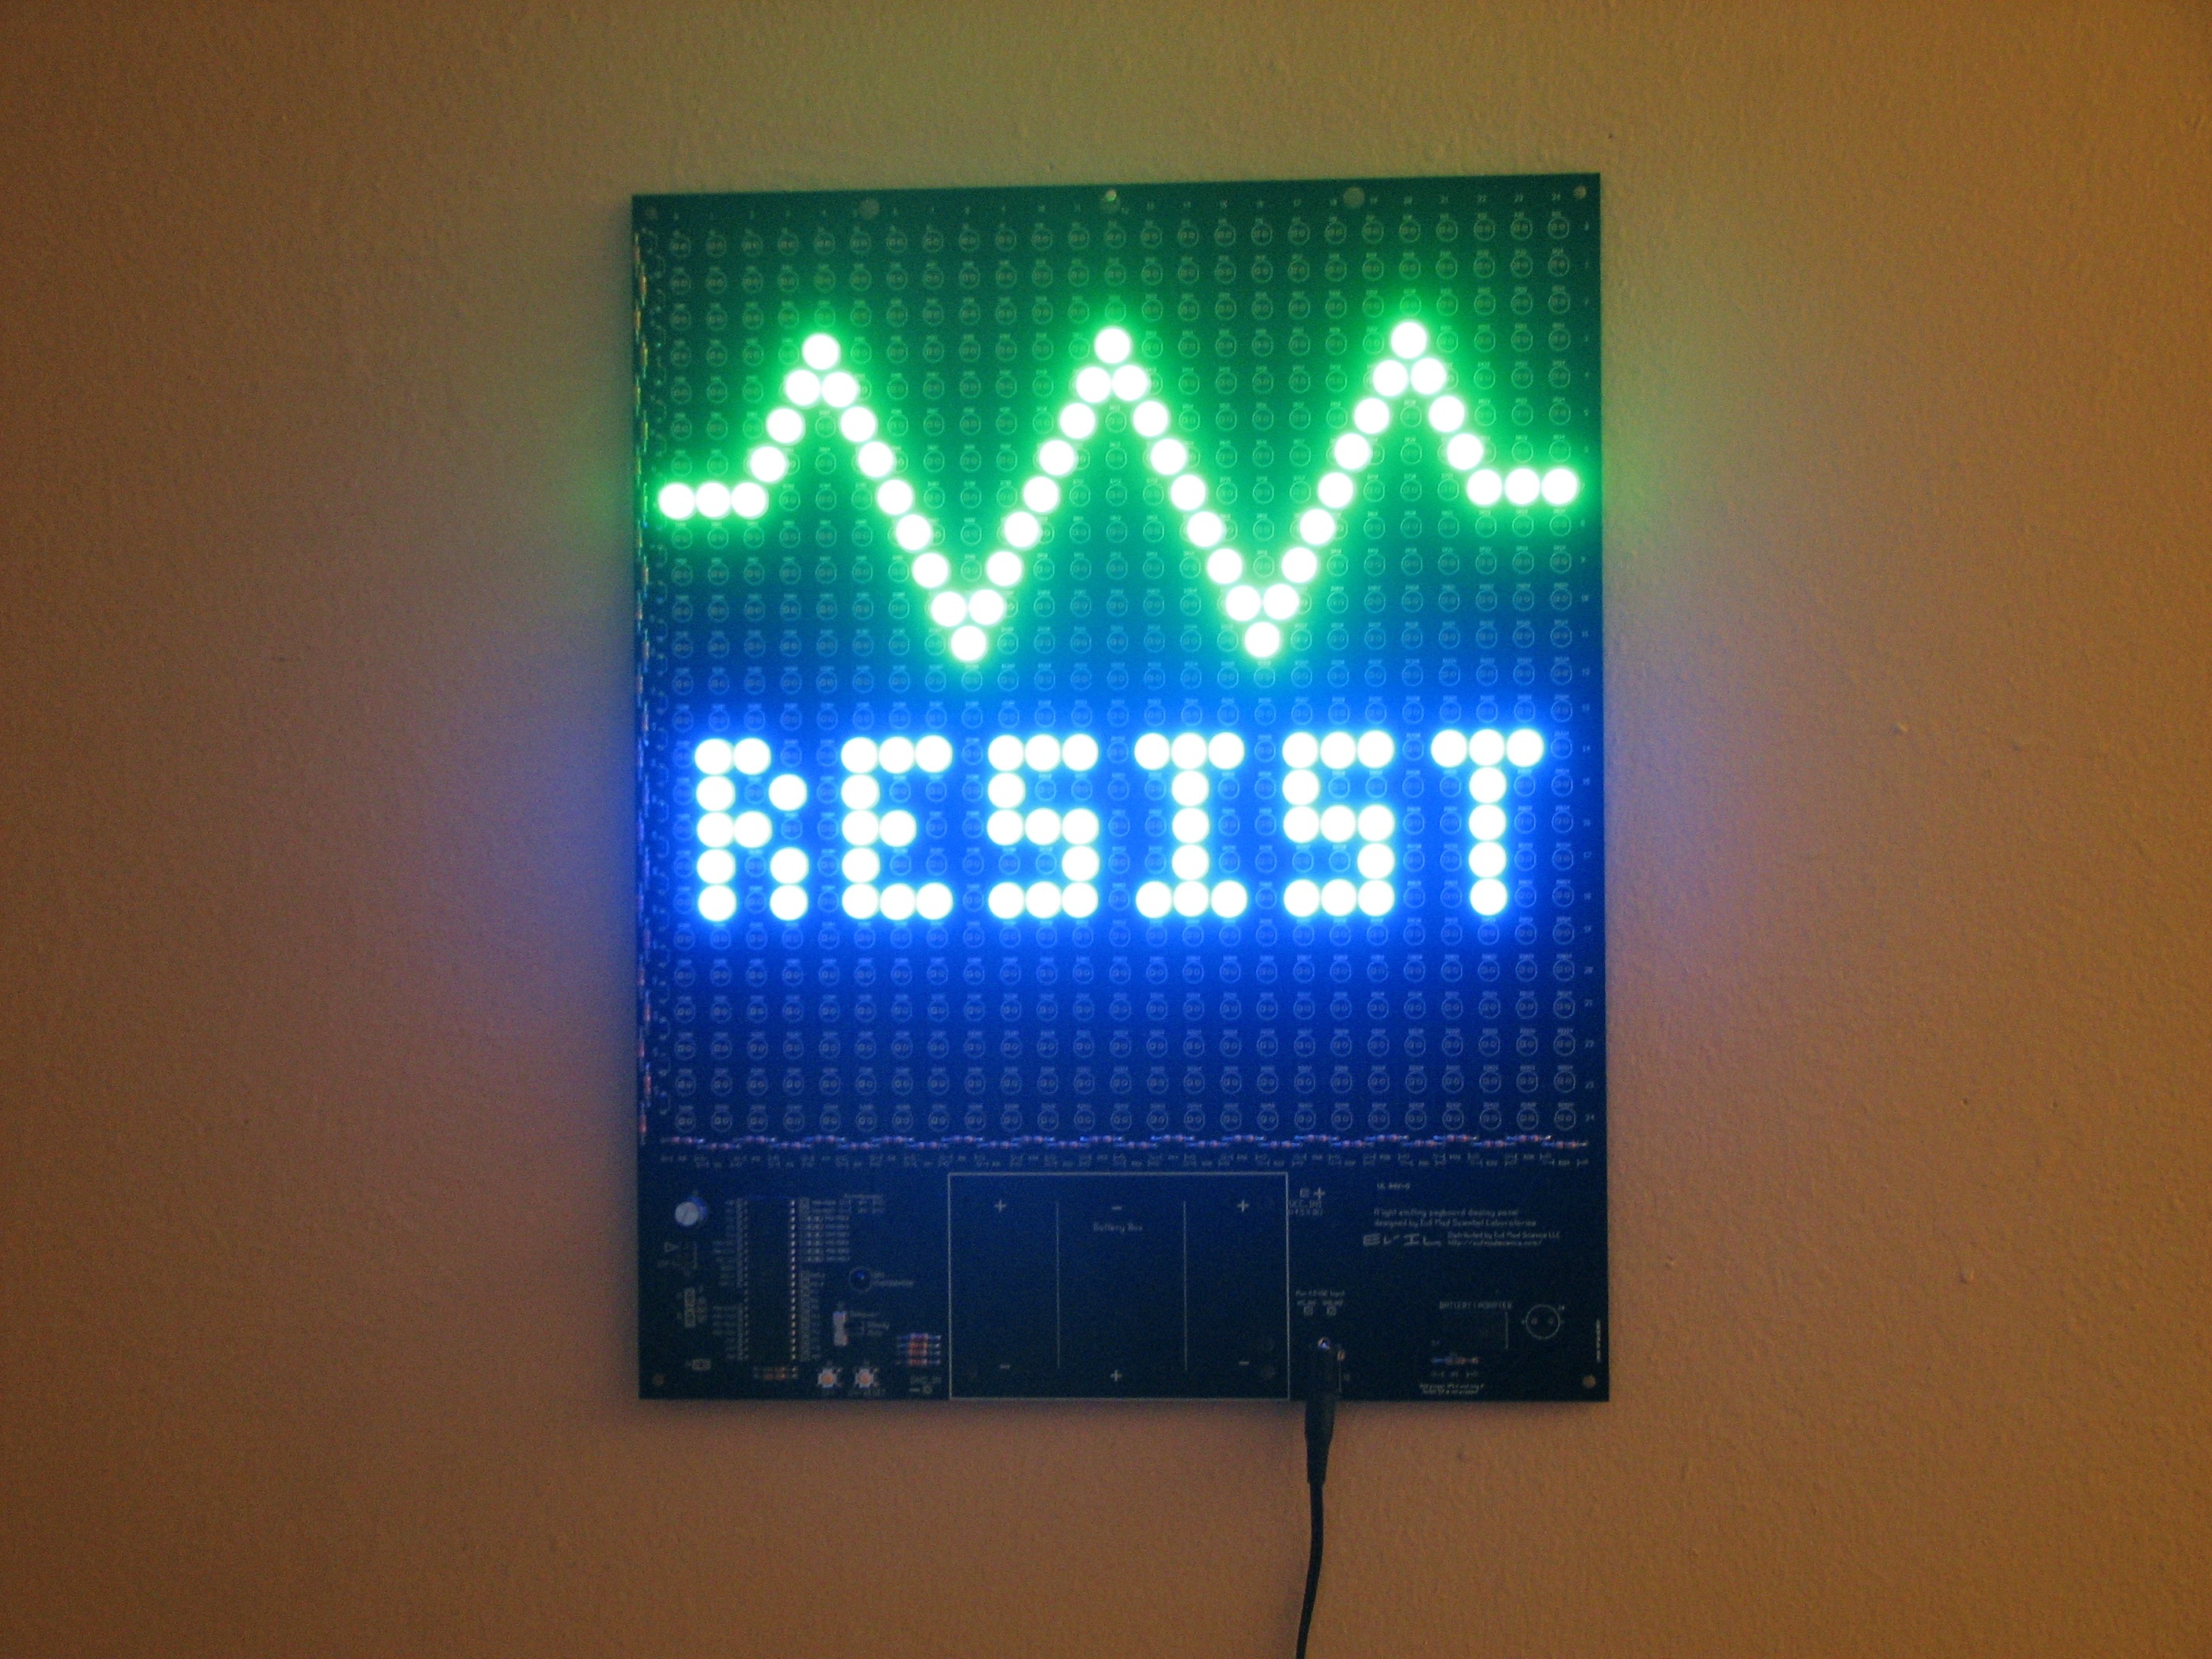
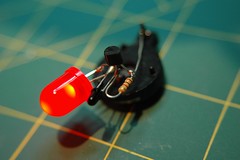
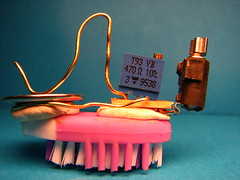
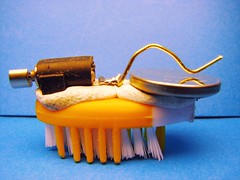
Next, the Interactive LED Panel Kits (as seen in the interactive LED coffee tables that we designed with Because We Can) now come with these beautiful black printed circuit boards. Pictured above, JellyBean combats a mechanical mouse on a table made with a special-order kit that has all green LEDs.

Quite a few of these tables have now been built and there’s even a new instructable from Deadly Computer about the process of building one. During the past month we’ve slowly caught up with the huge waiting list to get a kit, so it’s much easier to get one now. We have even made up some extras of the most popular kit combinations (8 panel with all blue LEDs or blue + white LEDs), which are available in stock to buy right now, shipped to arrive before Christmas to US addresses.

[Product Page]


bugStickers

Finally, we have some new multipurpose stickers for sale. Quite possibly the best gift in the world for the software developer in your life.

“These handy stickers will increase the visual appeal of many different items. If you happen to take them to any big box electronics stores, please bring your camera and post pictures in the Evil Mad Science Auxiliary.” We’re waiting for those action shots.

[Product Page]

A Simple and Cheap Dark-Detecting LED Circuit

Components   Complete

Stupidly bright.

Here’s a simple problem: “How do you make an LED turn on when it gets dark?” You might call it the “nightlight problem,” but the same sort of question comes up in a lot of familiar situations– emergency lights, street lights, silly computer keyboard backlights, and the list goes on.

Solutions? Lots. The time-honored tradition is to use a circuit with a CdS photoresistor, sometimes called a photocell or LDR, for “light-dependent resistor.” (Circuit Example 1, Example 2.) Photoresistors are reliable and cost about $1 each, but are going away because they contain cadmium, a toxic heavy metal whose use is increasingly regulated. There are many other solutions as well. Look here for some op-amp based photodetector circuits with LED output, and check out some of the tricks used in well-designed solar garden lights, which include gems like using the solar cell itself as the sensor. (Our own solar circuit collection is here.)

In this article we show how to build a very simple– perhaps even the simplest– darkness-activated LED circuit. To our LED and battery we add just three components, which cost less than thirty cents altogether (and much less if you buy in bulk). You can build it in less than five minutes or less (much less with practice).

What can you do with such an inexpensive light-controlled LED circuit? Almost anything really. But, one fun application is to make LED throwies that turn themselves off in the daytime to save power. Throwies normally can last up to two weeks. Adding a light-level switch like this can significantly extend their lifetime.

Continue reading A Simple and Cheap Dark-Detecting LED Circuit

LED Mini Menorahs:: Open source kits

Holiday motivation

All cynicism aside, one of the cool things about the holiday season is that it often provides a good excuse to play with lights.

Hanukkah in particular has been a festival of lights for more than a dozen centuries longer than there have been lights on Christmas trees. History notwithstanding, Hanukkah still lags behind Christmas in the transition from traditional light sources like candles towards microcontroller driven arrays of LEDs. While that may be simply due to the relative flammability of dry pine trees versus that of metal menorahs, the irony is that Hanukkah– unlike Christmas– actually requires observers to light up specific lights in a specific order, which is exactly the sort of thing that you want a microcontroller for.

Can’t find an open-source LED menorah at your local big box store? Not to worry!
Make one yourself from our instructions, which include source code for the AVR microcontroller (we use an ATtiny2313). Complete soldering kits to make your own– no programming needed– are also now available in quantity at our new web store.
(Note: While I cringe every time that I see Christmas displays up before Halloween, we aren’t actually too early in this case. Hanukkah starts on the evening of December 4th this year.)

Weekend Projects with Bre Pettis: Make a Joule Thief

Weekend Projects Podcast!
In this week’s Weekend Projects video podcast, Make Magazine’s Bre Pettis and I show you how to make a Joule Thief. The PDF file that goes with the podcast is here (450 kB PDF file).

So whatsa Joule Thief? It’s a little wisp of a circuit that allows you to drive a blue or white LED from a low voltage. Normally, if you want to light up a blue or white LED you need to provide it with 3 – 3.5 V, like from a 3 V lithium coin cell. But a 1.5 V battery like a AA cell simply will not work. But using the Joule Thief, it works like a charm. Not only does it work with a brand new battery, but it works until the battery is nearly dead– down to 0.3 V. That’s well below the point where your other toys will tell you the battery is dead, so it can steal every last joule of energy from the battery (hence the name). To learn how to make one, watch the video, which is available in a variety of formats.

The original site where we learned about the Joule thief shows you how to make a miniature version of this circuit, such that you can fit it in a tiny flashlight. However, in the video we show you how to make it big, large enough (1) to make with clumsy hands and (2) that you can see what we’re doing.

After the jump, some detailed photos of how the coil is wound in case you need more detail than in the video.

Continue reading Weekend Projects with Bre Pettis: Make a Joule Thief