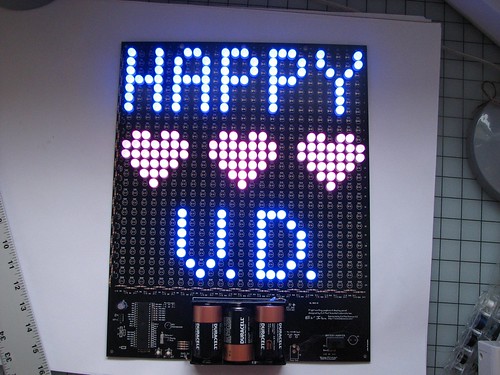
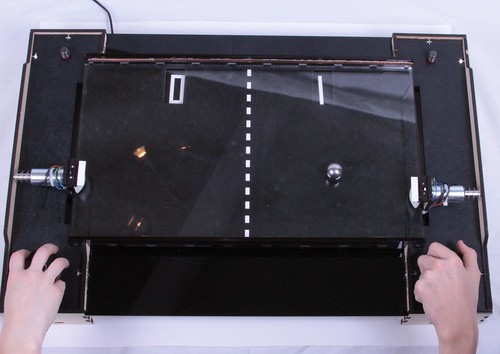
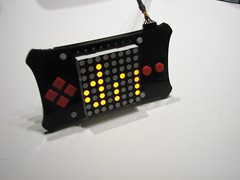
…We’ll just go ahead and file this one under the sillier uses of the Peggy LED kits.
Tag Archives: peggy 2
Peggy2LE Light Painting

Here, you can begin to see some interesting interplay between the fast refresh cycles on the screen and the motion of the board. One might imagine that there’s still a lot of yet-unexplored potential there– with those red/green/blue/yellow/white stripes and high speed digital control, you could make almost anything.
PeggyDraw 2
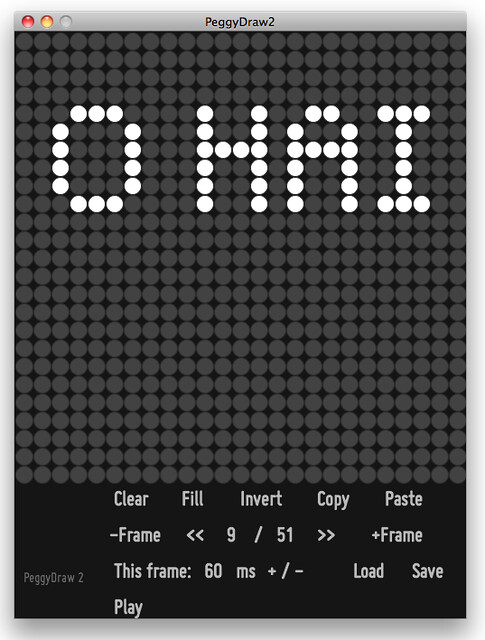
We are pleased to finally release PeggyDraw 2, a little bit of long-delayed software. It’s a Processing application that you can use to draw simple 1-bit animations on a 25×25 grid. The neat bit, of course, is that you can press the “Save” button, and the file that it saves is actually an Arduino program, ready to be programmed onto a Peggy 2.
You can download PeggyDraw 2 right here. It’s fully built in Processing, so that it works on Mac, Windows, and Linux. Also, open source, designed to be adaptable.
Some things to note about this program:
- If you don’t have Processing on your computer, download it here.
- The editing interface is easy point-and-click. Try it out to see how it works.
- You can individually pick different delay times per frame, as low as 20 ms, or give every frame the same duration.
- The frame data is stored in Arduino program memory, so you’re only limited by the flash memory in terms of frame number– over 250 frames fit on an ATmega328P.
- The output file is located in the PeggyDraw2 sketch directory, inside a directory named
“PeggyProgram”“data.” The file is called “PeggyProgram.pde.” - You can both save a file and later reload it for editing.
- The formats used in PeggyDraw 2 should be easily adaptable to write sequences for other types of LED grids, even of different aspect ratio and control software.
And, special thanks to Matt Mets, http://cibomahto.com for assistance with Processing.
Update, 3/19/2011: We’ve posted a new version, PeggyDraw 2 v. 1.1, available here. Note that the output file is now stored in the “data” directory, not a separate “PeggyProgram” directory.
2D Ising model on the Peggy
Maker Faire Detroit Pictures and Highlights
Maker Faire Detroit was a blast! It was held at The Henry Ford, which is a museum worth visiting in its own right. It is an amazing place we didn’t get to see nearly enough of and would love to go back and visit again.
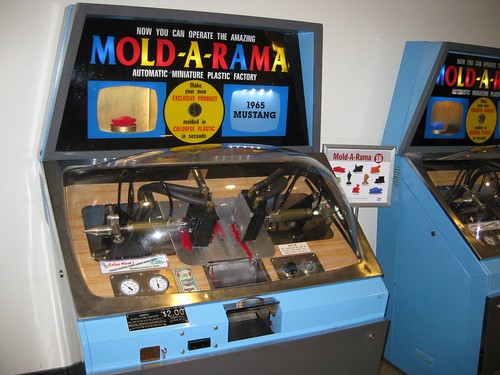
In addition to providing a history of American manufacturing and a showcase of amazing vehicles, they have Mold-A-Rama machines!
As usual, one of the most exciting things about Maker Faire for us was meeting and talking with other makers. We got to talk to the participants in an aluminum casting demonstration, who were using foam that was carved onsite with a CNC router. We also really enjoyed our neighbors at the faire with the Note Grinder, a machine that read player piano rolls optically and used door lock actuators to press the keys on a synth keyboard. We were impressed with how pleasant it was to listen to (even for two days straight!) especially with the rhythm accompaniment provided by the actuator motors.
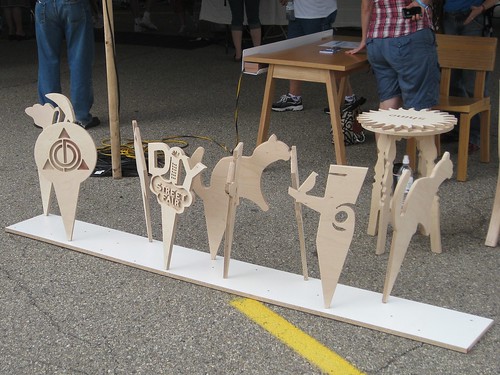
The fine folks at Context Furniture were passionate about the renaissance of craftsmanship in Detroit and had great stories of reclaimed buildings.
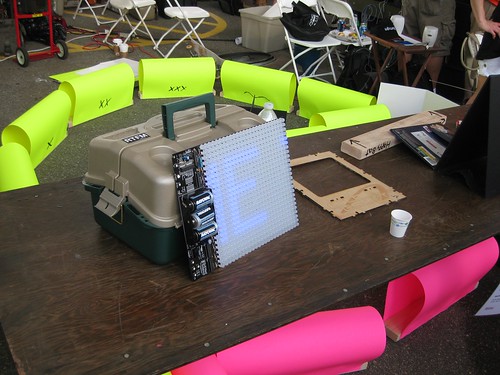
We were tickled to see several Evil Mad Science kits integrated into Maker Faire projects: a Peggy 2 being used as a readerboard, Wes and Don‘s 3D POV display with a Peggy 2LE, and Matt Mets’ Meggy Jr Sr.
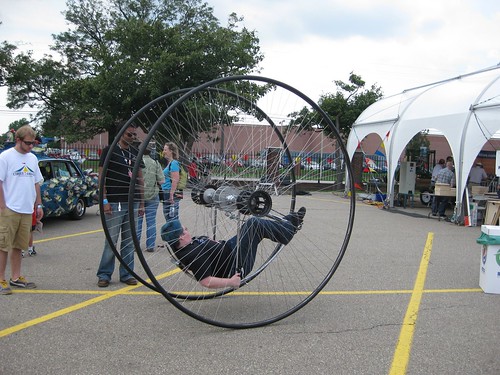
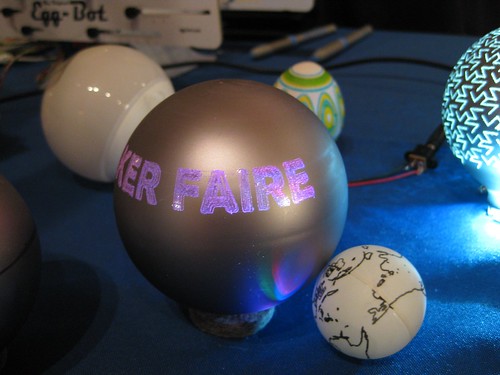
Our Eggbots performed like champs, and we even tried out engraving on glass holiday ornaments during the faire. The engraver scratched away the paint on the surface, and as you can see in the top picture, they were beautiful when lit from within by an LED. We didn’t come close to seeing everything, but we’ve put pictures of some of what we saw in a set on flickr. We hope to see you at Maker Faire New York!
Peggy Clock Contest: We’ve got winners!
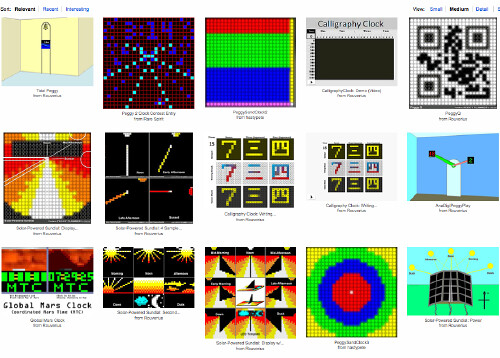
Here are the winners from the Peggy 2: Clock Concept Contest! We had a lot of fantastic entries, and had a verydifficult time deciding on not just first prize but on the runner ups. Thanks to everyone who participated, and congratulations to our fourteen winners!
First, our Ten Runner-ups:

1. Neat radial concept clock by rsx2112, complete with a demo appwritten in Processing. This is based on using the LEDs off-board, controlled by the Peggy 2.
2. Binary sudoku by jsarik
3. “Binary” morse code clock by Will Grainger. Above is the youtube demo of this concept.
We had no idea that numbers looked so cool in Morse code.
4. Flickering candle clock and hourglass clock concepts by Tom of Nekomi Tech. The twelve candles burn down their way through twelve hours, and the matched hourglasses give hours and minutes, perhaps by number of rows and/or number of dots.
5. The awesome Lab Clock from Emo Mosley.
6. Radial sand clock by Lego Robotics Instructor hastypete, with different-colored LEDs in rings. Can be used as a polar clock (left) or as an unusual sand clock (right).
7. Wedding clock by Squall Line Productions and Jared Style Design. Much more about this clock in this photoset.
8. “The Sands of Fuzzy Time” by C_Dave, featuring dripping sand and “fuzzy” text like you’d find on a word clock
9. We adore this simple “Crazy Eyes” Clock by pepehdez. “Small Eye = Hours, Big Eye = Minutes”
10. Among the different entries by Rouverius, we liked this one the best: a retro-game maze, where your health and gold give the time.
Our three Second Prize winners are as follows:
1. “Mascara de luz” (Mask of light) by Antonio Capo– a 3D sculpture made by cutting acrylic rods to different lengths, and lighting them selectively with the LEDs to simulate the passage of the sun during the day– a sort of advanced sculptural sundial. From what we can tell, this isn’t just a concept: he’s actually built it too (although perhaps not initially as a clock). Much more information about this fantastic project is available and linked from here.
2. World clock concept by AlliedEnvy. A classic design and clever use of the fixed LED colors. A neat thing that you can do on a clock like this is to change how far the sunlight extends by season.
AlliedEnvy also sumbitted a neat sky clock concept that reminds us of Ken Murphy’s History of the sky.
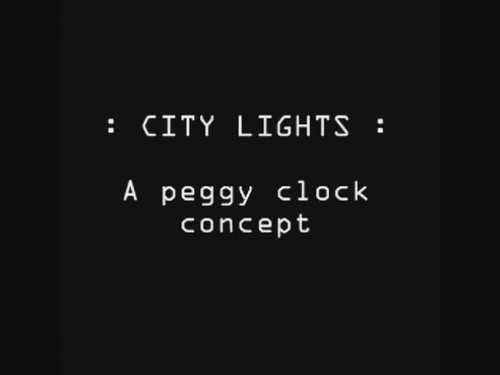
3. City lights clock concept by Vexelius.
This clock displays a city landscape that changes according to the time of the day. Time of day is shown by the lengths of the four buildings, and it also shows moon phase and weather.
And finally our First Prize winner:
This “station clock” by Jellmeister take advantage of the limited video capabilities of the Peggy in a surprising and elegant way.
It uses Peggy’s 25×25 matrix to follow the minute hand seamlessly around an old-fashioned station clock (Victoria in the example shown). Gradually moving by slowly changing the “anti-aliasing” allows this to move without any noticeable instantaneous change, to make the clock elegantly eye-catching rather than constantly attention-grabbing. Showing enough of the centre of the clock face allows the hour hand to be read as well, allowing instant easy telling of the time.
Again, our congratulations to all of the prize winners, and to everyone else for making us wish that we had set aside more prizes for the contest.
And prize winners: we’ll be in touch shortly. :)
Peggy Clock Contest: The end is near!
The deadline for our Peggy 2 Clock Concept Contest is midnight, tomorrow (Tuesday) evening. Some of the existing entries are shown above, and they haven’t even scratched the surface of what’s possible.
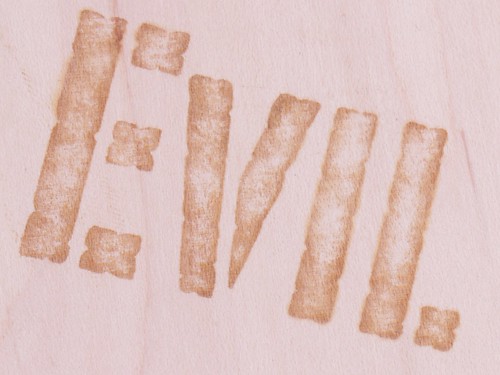
We’ve got fourteen prizes, including awesome soldering kits and exclusive Evil Mad Scientist Laboratories sew-on patches. All you need to do to get one? Show us a clever way to display the time on a Peggy 2 LED matrix display. Let’s see those clocks!
Evil Mad Scientist Laboratories: Year 4
Happy birthday to us! Evil Mad Scientist Laboratories has now been around for four years. We’ve collected some interesting projects from this past year to celebrate.
Microcontroller and Electronics Projects:
Moving from breadboard to protoboard

Revenge of the Cherry Tomatoes

Accelerometer with an AVR (updated)
Wallet-size LED Resistance Calculator
Science:

Gibberellic Acid and Giantism in Sprouts
Simple LED Projects:
Food Hacking:

Marmalade: easier than it looks
Kit Projects:
Crafty Projects:
Geek Design:

Typgraphical Character Coasters
And, don’t forget, you can win a Peggy 2 or one of 13 other prizes in our clock
concept contest, going on this week.
Related:
Peggy 2: Clock Concept Contest!
There are probably thousands of cool ways to build clocks based around an LED matrix, and we’ve seen some neat analog and digital clocks based on our Peggy 2 kit. But we’ve also come up with a few dozen other cool ways to show the time, and realized that we’ve only scratched the surface.
So today, we’re announcing a Clock Concept Contest: Show us your coolest idea about how to build a Peggy clock, and you could win one!
Continue reading Peggy 2: Clock Concept Contest!
Peggy 2: Adding a ChronoDot
Peggy 2 is our intelligent, Arduino-compatible (“freeduino” based), multiplexed 25 x 25 LED matrix, supporting up to 10 mm LEDs (or up to 5 mm LEDs in the Peggy 2LE version). It supports single-color LEDs at each point in the matrix, but you can mix and match different color LEDs throughout the matrix, and you don’t have to populate every LED location.
Since the whole matrix is available to control, it can be used to make an interesting clock in a lot of different ways.
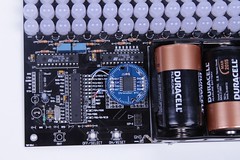
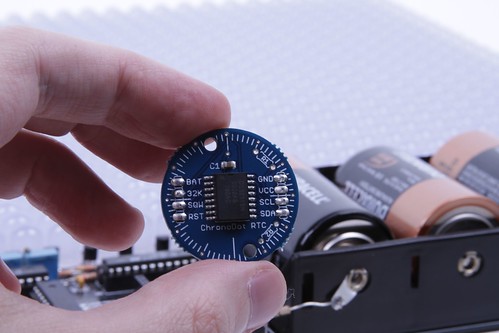
One of the things that is sometimes helpful on a clock is to get slightly better precision than is available from a regular quartz crystal, and we’ve been using Macetech’s ChronoDot module on our Bulbdial clock kit. However it’s almost as easy to add the ChronoDot to the Peggy, and here’s how to do so.


